第一步,安装swagger
使用程序包管理器控制台,输入如下命令:
PM> Install-Package Swashbuckle.AspNetCore -Version 5.0.0-rc4
第二部,StartUp.cs配置
ConfigureServices方法中添加如下代码:
      public void ConfigureServices(IServiceCollection services)
        {
            services.AddSwaggerGen(m=> {
                m.SwaggerDoc("SWG1",new OpenApiInfo {Title = "swaggerTest",Version= "SWG1" });
            });
            services.AddControllers();
        }
注意 SWG1 这是随便取的名字
Configure中添加如下代码,使用中间件:
 app.UseSwagger();
 app.UseSwaggerUI(m=>
   {
      m.SwaggerEndpoint("/Swagger/SWG1/swagger.json","swaggerTest");
   });
注意这里的,SWG1要和上面的SWG1名称保存一直。
在配置一下 launchSettings.json
 "profiles": {
    "IIS Express": {
      "commandName": "IISExpress",
      "launchBrowser": true,
      "launchUrl": "swagger/index.html",
      "environmentVariables": {
        "ASPNETCORE_ENVIRONMENT": "Development"
      }
    },
    "WebSwagger": {
      "commandName": "Project",
      "launchBrowser": true,
      "launchUrl": "weatherforecast",
      "applicationUrl": "http://localhost:5000",
      "environmentVariables": {
        "ASPNETCORE_ENVIRONMENT": "Development"
      }
    }
  }
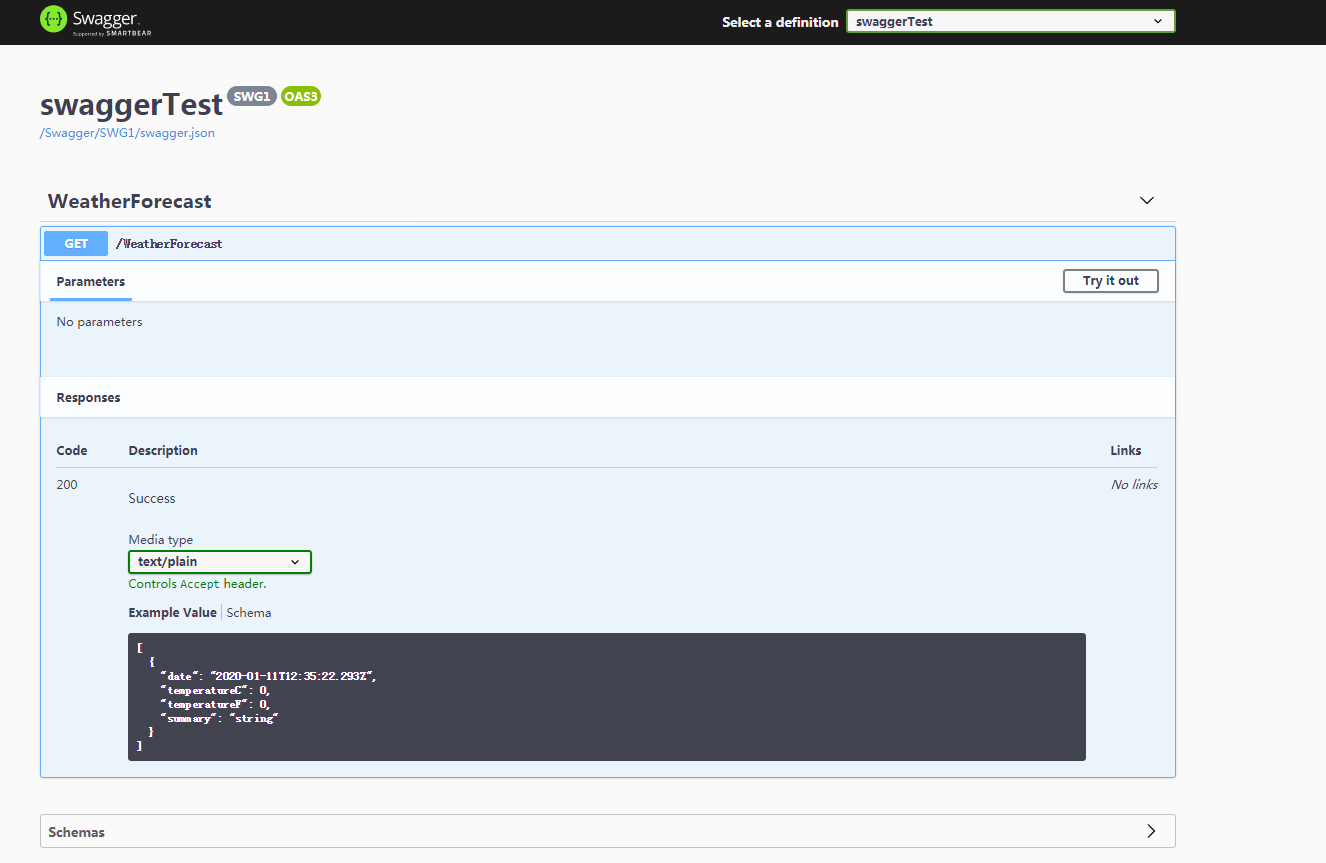
运行项目之后
http://localhost:49480/swagger/index.html