springboot中,已经内嵌了对activemq的支持,内部测试demo
1.添加activemq
<dependency>
<group Id>org.springframework.boot</group Id>
<actifact Id>spring-boot-starter-activemq<actifact Id>
</dependency>
2.创建消息队列对象
@Bean
public Queue queue() {
return new ActiveMQQueue("active.queue");
}
3.创建消息生产者
@RestController
public class Queue Controller {
@Autowired //注入消息队列模板,如果 no bean 【@Resource这个注解解决这个问题】
private JmsMessagingTemplate jmsMessagingTemplate;
@Autowire
private Queue queue;
@RequestMapping("/send")
public void send() {
this.msMessagingTemplate.convertAndSend(this.queue, "new message!"); //convertAndSend指定发送的目的地为当前的queue队列,内容为new message!
}
}
4.创建消息监听者
@RestController
public class CustomerController {
@JmsListener(destination= "active.queue") //来自spring4.1 监听jms
public void read ActiveQueue(String message) {
System.out.println("receive:" + message);
}
}
5.启动项目,测试
localhost:8080/send
扩展外部的activemq
1.配置文件配置 activemq服务端口号【远程或者本地自己配置】
spring.activemq.broker-url=tcp://192.168.1.111:66666
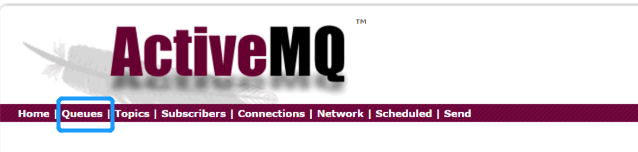
2.启动远程的activemq 进入管理页面 192.168.1.8161 输入默认用户名:admin 密码:admin;
单击Manager activeMQ broker=》单击Queues
3. 启动项目 输入:localhost:8080/send即可
(通过92.168.1.8161第三方消息队列可查看数据情况)