版权声明:本文为博主原创文章,未经博主允许不得转载。 https://blog.csdn.net/lxt610/article/details/89965135
目录
1、引言
我们在游戏开发过程中,经常要配合运营做一些推广等相关功能,其中二维码推广就是一种手段,今天我们一起来探讨一下!
2、方法一
2.1、场景搭建
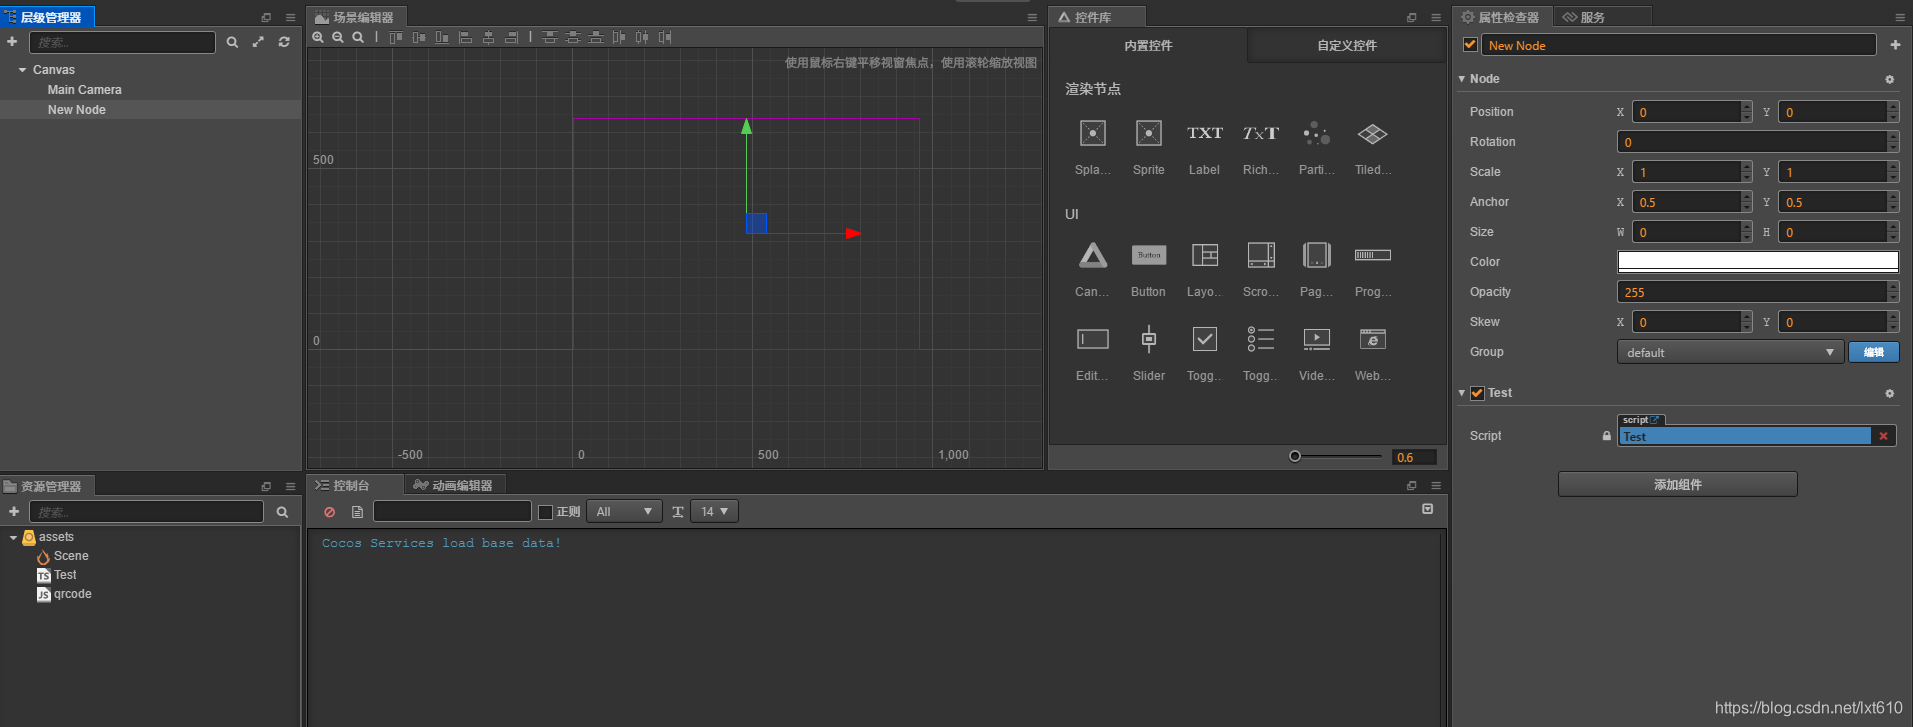
场景很简单,我们创建空节点,在创建一个Test.Ts,并挂在改空节点上。如图所示:
2.2、代码部分
代码比较简单,我们这里就不细说了:
const {ccclass, property} = cc._decorator;

@ccclass
export default class Test extends cc.Component {

    onLoad () {

        let div = document.createElement("div");
        let qrcode = new QRCode(div, "https://blog.csdn.net/lxt610/article/details/89954924");
        let img = div.children[1];
        img.onload = () => {
            var texture = new cc.Texture2D();
            texture.initWithElement(img);
            texture.handleLoadedTexture();
            var spriteFrame = new cc.SpriteFrame(texture);
            var node = new cc.Node();
            var sprite = node.addComponent(cc.Sprite);
            sprite.spriteFrame = spriteFrame;
            this.node.addChild(node);
        }
    }
}
2.3、效果展示
到这里我们启动项目,来看看演示效果!
2.4、Demo下载
为了方便大家使用这里直接给出下载链接,点击这里即可下载完整工程。
3、方法二
3.1、场景搭建
这里只需要创建一个纯色sprite(白色,做为二维码的底色),然后为其添加一个空节点!大小和父物体相同。如图所示:
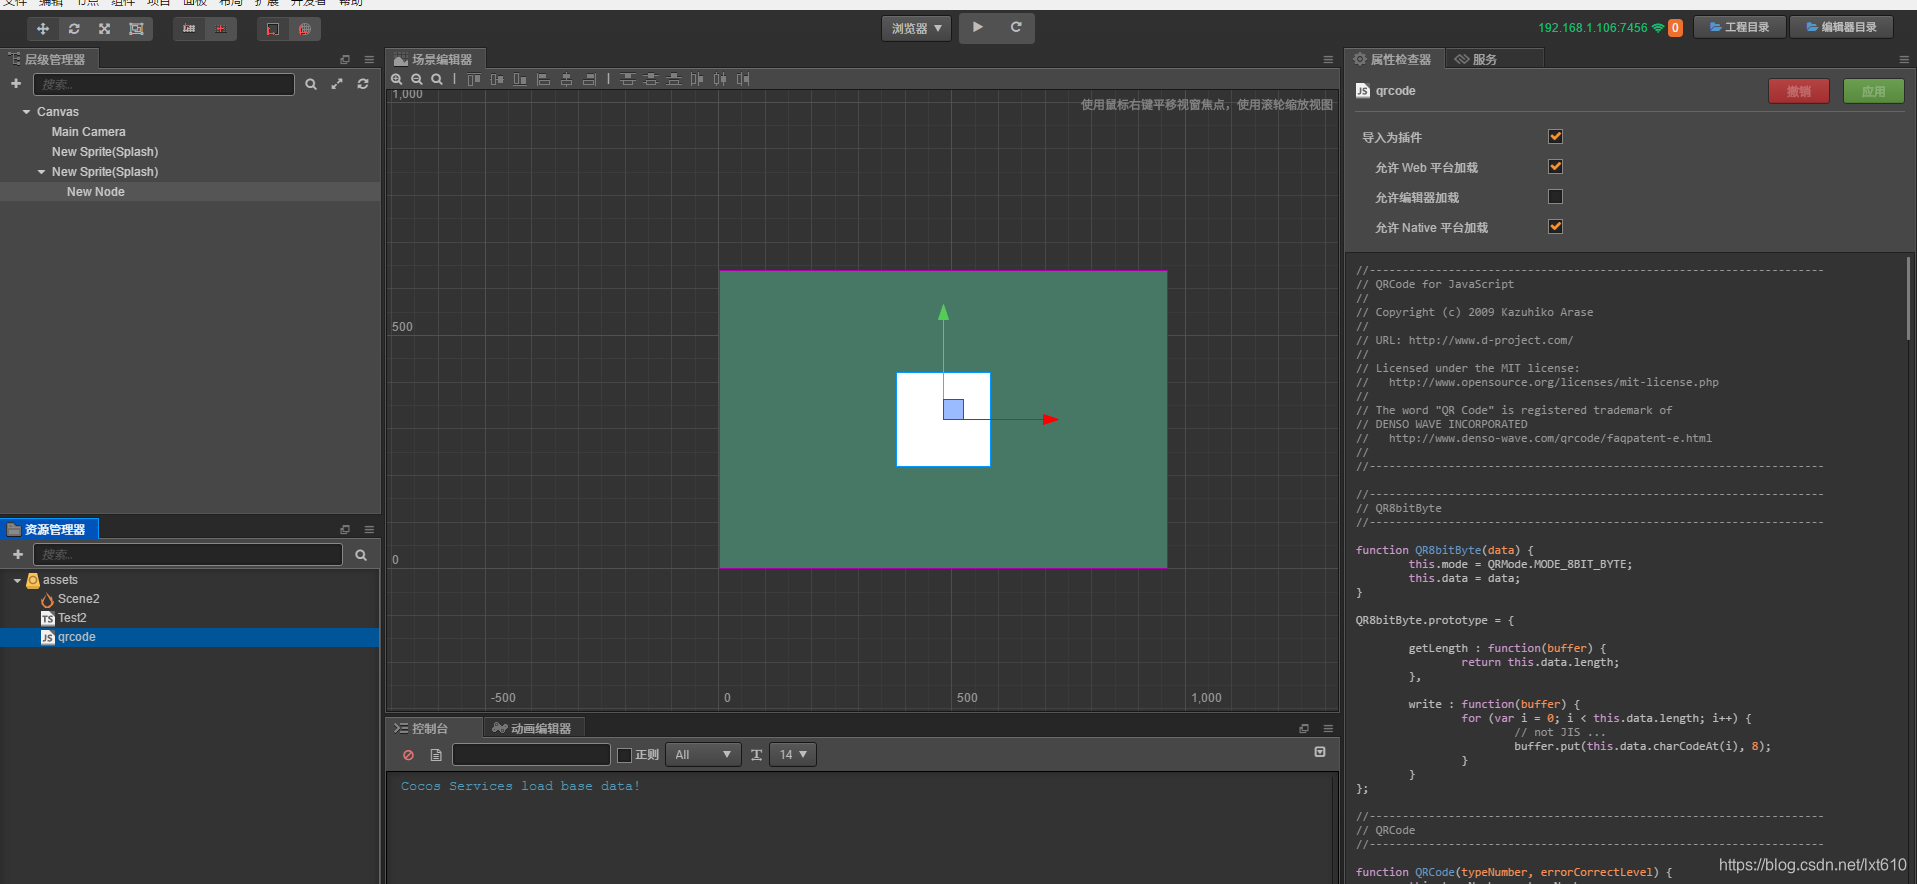
这里的背景默认为黑色,实在不想看,就在前面加了一个淡绿色的底色。通过上图我们可以看到这里的qrCode.js的部分代码,这里的qrCode.js为H5的二维码库和上面方法一的是不同的,大家根据需要来使用!最好不要放在一个项目中,可能并不能同时使用!大家自行验证!
3.2、代码部分
开始前清,确保已经把qrCode.js导入了项目!并把这里的QRCode设为如图所示的插件,同时勾选以上三项。和上面方法的不同之处是:这里使用Creator的画图组件cc.Graphics,把二维码画出来。详细代码如下:
const {ccclass, property} = cc._decorator;

@ccclass
export default class Test2 extends cc.Component {


    onLoad()
    {
        this.init('http://baidu.com')
    }

    // let url=toUtf8('Cocos Creator 教程:生成二维码');

    // let qrcode = new QRCode(-1, QRErrorCorrectLevel.H);
    // qrcode.addData(url);
    // qrcode.make();


    init(url:string)
    {
        //let urlTmp:string = toUtf8('Cocos Creator 教程:生成二维码')
		//注意 最好把qrImage与qrcode的节点长宽设置为2的倍数。不然可能会出现无法识别二维码
		let ctx:cc.Graphics = this.node.addComponent(cc.Graphics);
		if (typeof (url) !== 'string') {
			console.log('url is not string',url);
			return;
        }

		this.createQR(ctx,url);
	}

    createQR(ctx:cc.Graphics,url:string)
    {
		let qrcode:QRCode = new QRCode(-1, QRErrorCorrectLevel.H);
		qrcode.addData(url);
		qrcode.make();

        ctx.fillColor = cc.Color.BLACK;

		//块宽高
		let tileW = this.node.width / qrcode.getModuleCount();
		let tileH = this.node.height / qrcode.getModuleCount();

		// draw in the Graphics
		for (let row = 0; row < qrcode.getModuleCount(); row++) {
			for (let col = 0; col < qrcode.getModuleCount(); col++) {
				if (qrcode.isDark(row, col)) {
					// ctx.fillColor = cc.Color.BLACK;
					let w = (Math.ceil((col + 1) * tileW) - Math.floor(col * tileW));
					let h = (Math.ceil((row + 1) * tileW) - Math.floor(row * tileW));
					ctx.rect(Math.round(col * tileW)-this.node.width/2 , Math.round(row * tileH)-this.node.height/2, w, h);
					ctx.fill();
				}
			}
		}
	}
}
只需要把该脚本挂载与上面创建的空物体就可以了!
3.3、效果展示
到这里我们启动项目,来看看演示效果!
3.4、Demo下载
为了方便大家使用这里直接给出下载链接,点击这里即可下载完整工程。!
4、注意
- 不过如果Url中带有中文内容,在生成二维码前就要把字符串转换成UTF-8,然后再生成二维码,即:
let url=toUtf8(‘Cocos Creator 教程:生成二维码’);
- 还有要注意微博扫一扫:大约200 字以内,微信扫一扫:大约 160字以内,支付宝扫一扫:大约130字符以内,所以一般链接不能太长
- H5的二维码生成库qrcode,我们需要在项目中导入插件,下面的demo中已经放了这个库直接引入项目设为插件即可,两个演示项目的二维码生成库qrcode是不同的
- 两种方式生成的二维码DrawCall几乎相同
5、结束语
The End
好了,今天的分享就到这里,如有不足之处,还望大家及时指正,随时欢迎探讨交流!!!
喜欢的朋友们,请帮顶、点赞、评论!您的肯定是我写作的不竭动力!