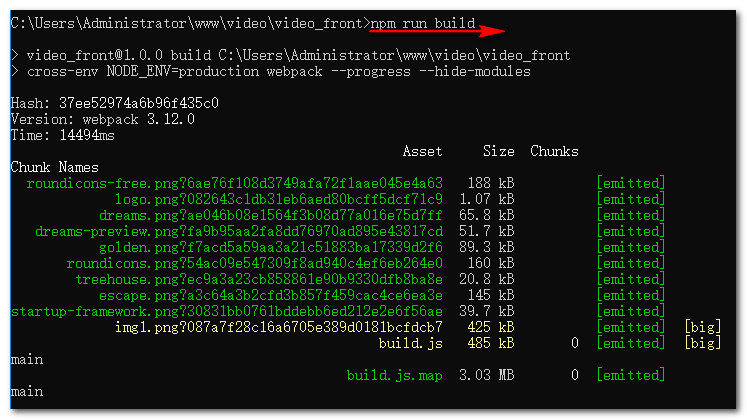
1,VUE逻辑编写完成后在当前项目下打包
npm run build
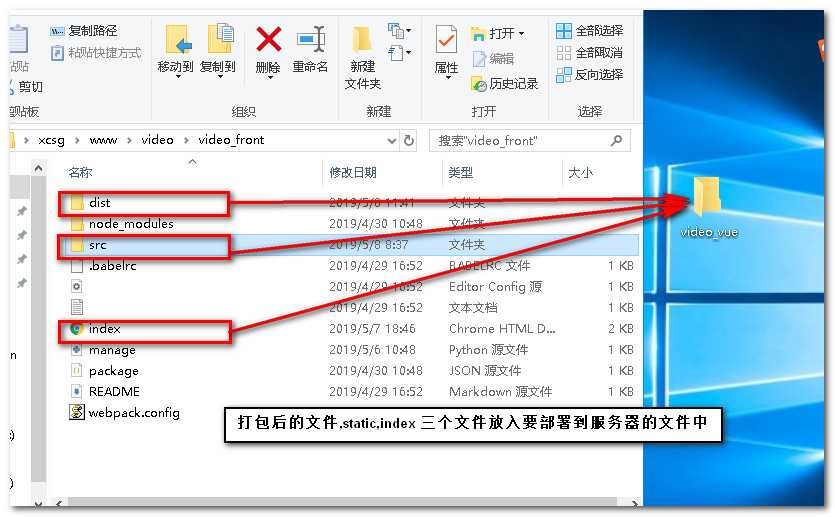
需要注意的是,当打包完毕后,需要将入口的index.html的项目dist路径改成相对路径

另外需要注意的一点是,一旦打包vue.js项目,需要确保项目内必须使用vue.js语法来写功能,比如a标签要替换成<router-link>, 传统的window.location.href跳转页面也要换成this.$router.push({ path: '/home/first' })这种形式。
2,建立要部署上线的前端文件夹,放入dist ,src(static),,index 三个文件
3,登录centos系统,运行 chmod 755 /root/video_vue 对项目文件授权
修改nginx 配置文件 vim /etc/nginx/conf.d/default.conf 增加下面的配置,这里前端服务默认监听80端口
扫描二维码关注公众号,回复:
6163049 查看本文章

//后端管理系统入口
server {
    listen       8000;
    server_name  localhost;

    access_log      /root/myweb_access.log;
    error_log       /root/myweb_error.log;


    client_max_body_size 75M;

    location / {
        include uwsgi_params;
        uwsgi_pass 127.0.0.1:8001;
        uwsgi_param UWSGI_SCRIPT video_back.wsgi;
        uwsgi_param UWSGI_CHDIR  /root/video_back;
    }


    location /static {
        alias /root/video_back/static;
    }

    location /upload {
        alias /root/video_back/upload;
    }
    error_page   500 502 503 504  /50x.html;
    location = /50x.html {
        root   /usr/share/nginx/html;
    }
}
//前端入库配置
server {
    listen       80;
    server_name  localhost;

    access_log      /root/video_vue_access.log;
    error_log       /root/video_vue_error.log;


    client_max_body_size 75M;


    location / {

        root /root/video_vue;
        index index.html;

    }

    error_log    /root/video_vue/error.log    error;

}
需要注意的是端口不能重复监听,所以之前的django服务需要让出80端口,改成监听8000,而uwsgi服务也需要让出8000端口改成在8001端口运行服务
4,mypro_wsgi.ini配置文件改端口(后台项目根目录下建立此文件)
[uwsgi]

    chdir           = /root/video_back
    module          = video_back.wsgi
    master          = true
    processes       = 3
    socket            = 0.0.0.0:8001
    vacuum          = true
    pythonpath      = /usr/bin/python3
    daemonize  = /root/video_back/uwsgi.log
5,重启nginx服务
systemctl restart nginx.service

完成访问测试
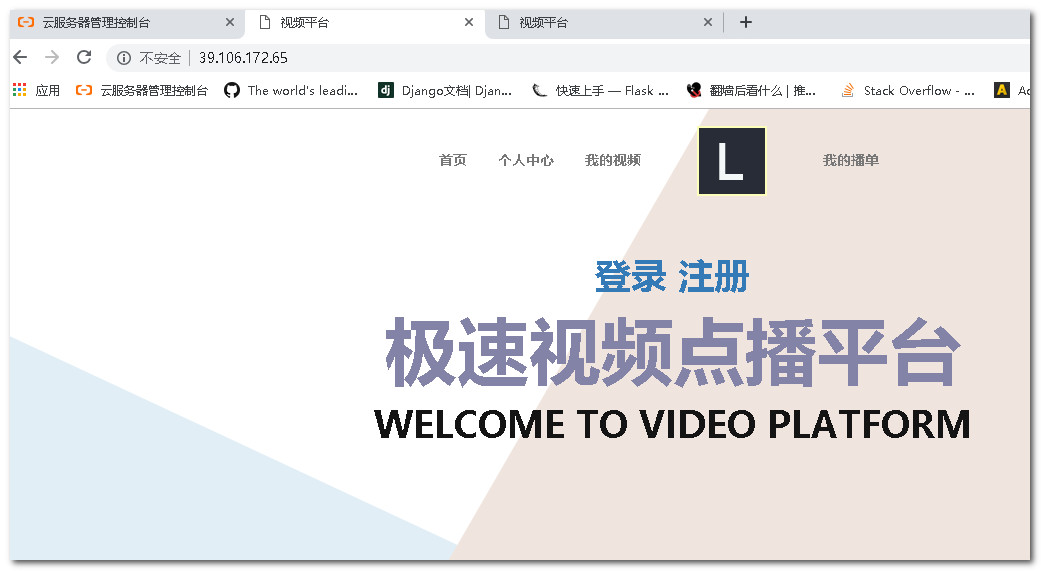
收工!!!