1.在该项目的目录下打开命令行窗口
输入命令后回车运行该命令,这样vue的脚手架工具会帮我们自动的对src目录下的源代码进行打包编译,生成一个能被浏览器运行的代码,同时这个代码也将是被压缩过后的代码。
npm run build
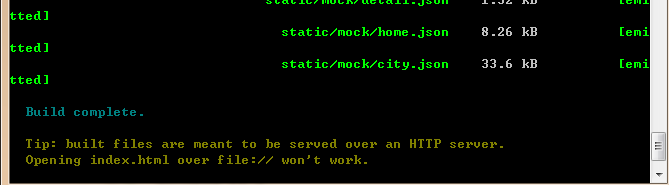
2.命令运行完毕后,命令窗口会显示如下
命令行显示Build complete,然后打开项目目录会发现目录中多出一个名字为dist的文件目录,这个目录里的代码就是我们最终要上线的代码,然后把这给目录里的东西(static文件和index.html)给后端同学扔到后台的服务器的根路径下就可以了
3.后端把dist文件里的东西放到一个文件夹下
如果后端同学想把我们给的static文件和index.html放到一个文件夹内,而不是根目录下,并且通过后端地址加文件夹名字访问的话,就需要前端修改config目录下的index.js文件里的build配置项里面的assetsPublicPath属性的内容
加入后端同学要放入的文件夹名字为project
  build: {
    // Template for index.html
    index: path.resolve(__dirname, '../dist/index.html'),

    // Paths
    assetsRoot: path.resolve(__dirname, '../dist'),
    assetsSubDirectory: 'static',
    assetsPublicPath: '/project',

    /**
     * Source Maps
     */

    productionSourceMap: true,
    // https://webpack.js.org/configuration/devtool/#production
    devtool: '#source-map',

    // Gzip off by default as many popular static hosts such as
    // Surge or Netlify already gzip all static assets for you.
    // Before setting to `true`, make sure to:
    // npm install --save-dev compression-webpack-plugin
    productionGzip: false,
    productionGzipExtensions: ['js', 'css'],

    // Run the build command with an extra argument to
    // View the bundle analyzer report after build finishes:
    // `npm run build --report`
    // Set to `true` or `false` to always turn it on or off
    bundleAnalyzerReport: process.env.npm_config_report
  }
修改完成之后运行npm run build重新打包编译获得dist文件夹里的内容就可以了