版权声明:技术共享 https://blog.csdn.net/u010742414/article/details/89921723
1: 完成课堂案例,掌握物理引擎的基本使用;
2: 了解Camera组件,完成Camera跟随玩家;

官方物理引擎案例
1: 准备好tiled地图;
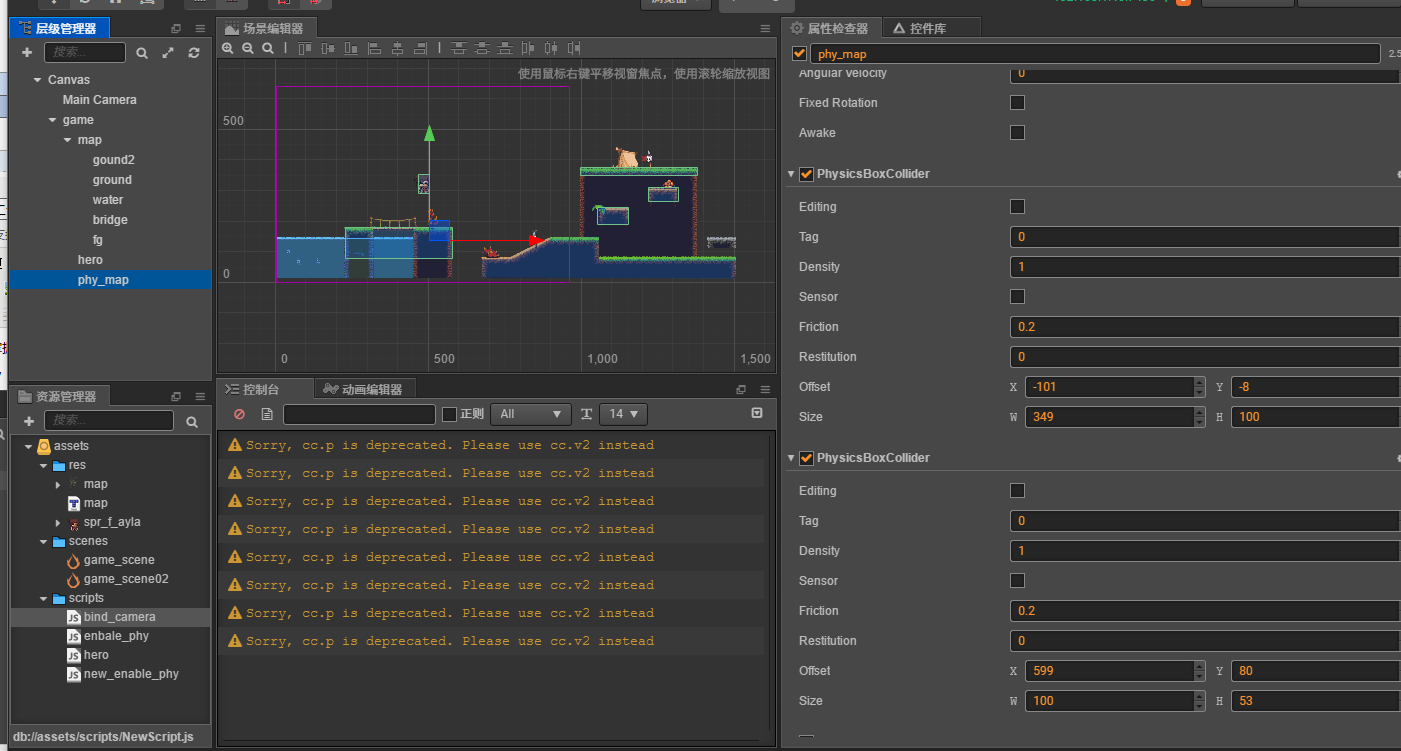
2: 为tiled地图编辑好物理碰撞器;
3: 放出角色,为角色编辑好物理碰撞器;
4: 监听键盘消息:
cc.systemEvent.on(cc.SystemEvent.EventType.KEY_DOWN, this.on_key_down.bind(this), this);
cc.systemEvent.on(cc.SystemEvent.EventType.KEY_UP, this.on_key_up.bind(this), this);
5: 设置角色的水平和竖直速度; 竖直600,水平400
6: 设置cc.Camera组件,设置Camera跟谁玩家;
开启物理引擎和debug模式脚本enable_phy.js
cc.Class({
    extends: cc.Component,

    properties: {
        // foo: {
        //    default: null,      // The default value will be used only when the component attaching
        //                           to a node for the first time
        //    url: cc.Texture2D,  // optional, default is typeof default
        //    serializable: true, // optional, default is true
        //    visible: true,      // optional, default is true
        //    displayName: 'Foo', // optional
        //    readonly: false,    // optional, default is false
        // },
        // ...
        is_debug: false, // 是否显示调试信息;
        // 重力加速度是一个向量, 有方向的,2D, Vec重力加速度的大小;
        gravity: cc.p(0, -320), // 系统默认的
    },

    // use this for initialization
    onLoad: function () {
        // 游戏引擎的总控制
        // cc.Director, cc.director 区别呢?
        // 大写的cc.Director是一个类, 小写cc.direcotr全局的实例
        cc.director.getPhysicsManager().enabled = true; // 开启了物理引擎
        // 独立的形状,打开一个调试区域,游戏图像的,逻辑区域;
        // 开始调试模式:
        if (this.is_debug) { // 开启调试信息
            var Bits = cc.PhysicsManager.DrawBits; // 这个是我们要显示的类型
            cc.director.getPhysicsManager().debugDrawFlags = Bits.e_jointBit | Bits.e_shapeBit;
        }
        else { // 关闭调试信息
            cc.director.getPhysicsManager().debugDrawFlags = 0;
        }
        // 重力加速度的配置
        cc.director.getPhysicsManager().gravity = this.gravity;
    },

    // called every frame, uncomment this function to activate update callback
    // update: function (dt) {

    // },
});
主角逻辑hero.js
cc.Class({
    extends: cc.Component,

    properties: {
    },

    // LIFE-CYCLE CALLBACKS:

    onLoad() {
        this.body = this.node.getComponent(cc.RigidBody);
        cc.systemEvent.on(cc.SystemEvent.EventType.KEY_DOWN, this.on_key_down.bind(this), this);
        cc.systemEvent.on(cc.SystemEvent.EventType.KEY_UP, this.on_key_up.bind(this), this);

        this.input_flag = 0;
    },

    start() {

    },
    jump: function() {
        var v = this.body.linearVelocity;
        v.y = 200;
        this.body.linearVelocity = v;
    },
    walk: function(dir) { // dir -1 左 1右
        var v = this.body.linearVelocity;
        v.x = dir * 200;
        this.body.linearVelocity = v;

        this.node.scaleX = dir; // 修改scaleX 1 或者-1实现横坐标镜像翻转
    },
    on_key_down: function(e) {
        console.log(e);
        switch (e.keyCode) {
            case cc.macro.KEY.a:
                this.input_flag = -1;
                break;
            case cc.macro.KEY.d:
                this.input_flag = 1;
                break;
            case cc.macro.KEY.w:
                this.jump();
                break;
        }
    },
    on_key_up: function(e) {
        switch (e.keyCode) {
            case cc.macro.KEY.a:
                this.input_flag = 0;
                break;
            case cc.macro.KEY.d:
                this.input_flag = 0;
                break;
            case cc.macro.KEY.w:
                break;
        }
    },
    update(dt) {
        if (this.input_flag !== 0) { // 注意一下 !=  !==对于0和1判断的区别
            this.walk(this.input_flag);
        }
    },
});
cc.Camera组件
1: 配置哪些物体受Camera组件影响;
Targets: 受Camera影响的物体的集合;
2: 配置Camera跟随目标:
var w_pos = this.target.convertToWorldSpaceAR(cc.p(0, 0));
var pos = this.node.parent.convertToNodeSpaceAR(w_pos);
摄像机和角色绑定,跟随移动bind_camera.js
cc.Class({
    extends: cc.Component,

    properties: {
        target: {
            default: null,
            type: cc.Node
        }
    },

    // LIFE-CYCLE CALLBACKS:

    // onLoad () {},

    start() {

    },

    update(dt) {
        // target到哪里,camera就到哪里
        /**
         * 1、target坐标转换成世界坐标
         * 2、target的世界坐标转化为camera父节点的坐标系下
         * 3、设置camera坐标
         */
        var wpos = this.target.convertToWorldSpaceAR(cc.v2(0, 0));
        var pos = this.node.parent.convertToNodeSpaceAR(wpos);
        // this.node.setPosition(pos);
        this.node.x = pos.x; // 此方法只移动x轴
    },
});