今天我们来通过Scrapy爬取腾讯招聘网的信息
网站地址:https://hr.tencent.com/position.php
拿到一个url我们要先看,我们所需要的信息是否在这个url中。
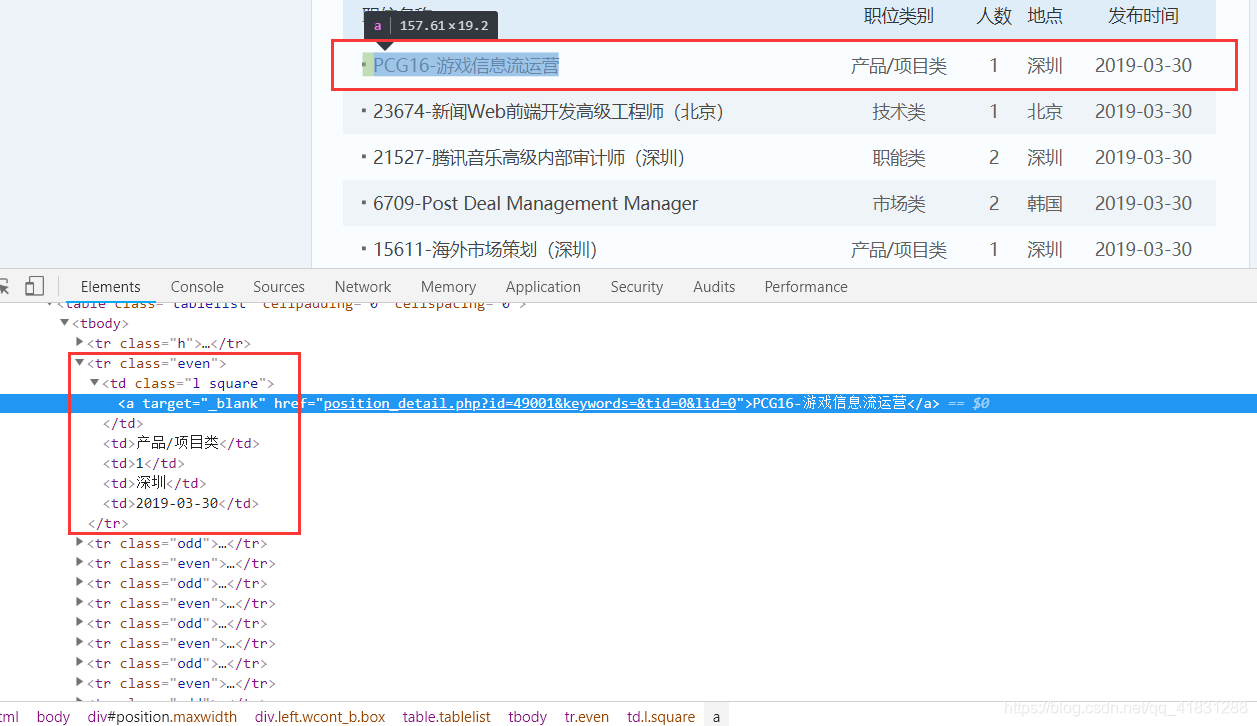
F12查看Elements.找到我们所需要的内容。
点击Network——response中查找看看有没有我们所需要的内容
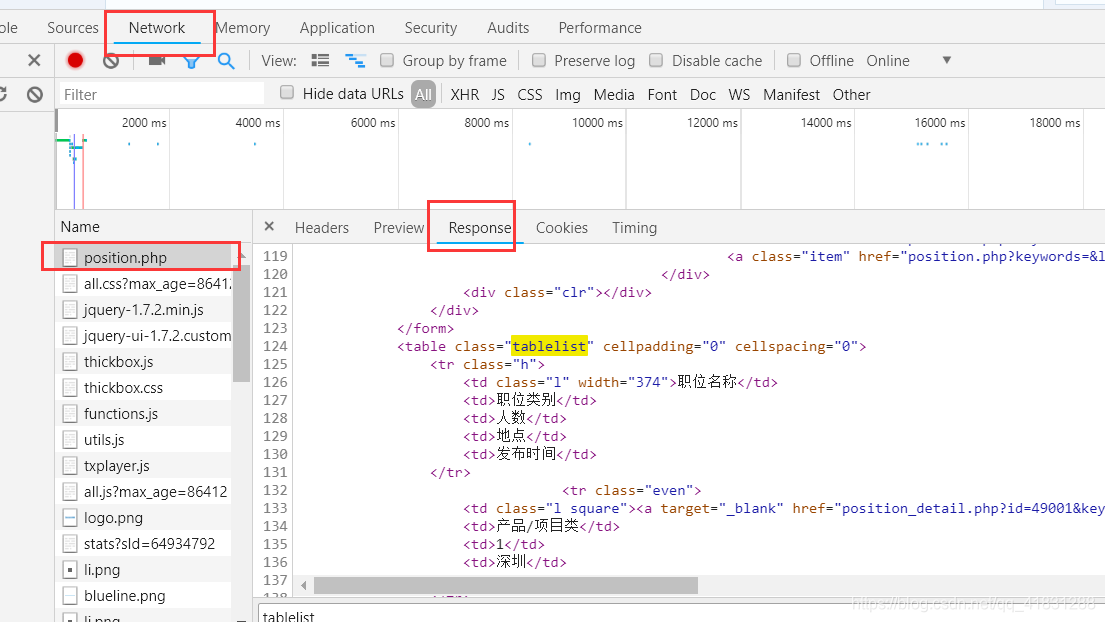
我们需要的内容是有的,所以url就是这个了。
下面我们开始爬。
创建scrapy项目:scrapy startproject tencent

创建爬虫文件:scrapy genspider hr tencent.com

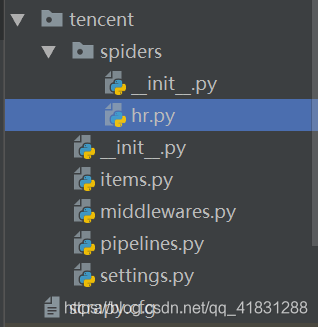
这样我们的爬虫就建好了,开始写。
hr.py
# -*- coding: utf-8 -*-
import scrapy


class HrSpider(scrapy.Spider):
    name = 'hr'
    allowed_domains = ['tencent.com']
    start_urls = ['https://hr.tencent.com/position.php']

    def parse(self, response):
        tr_list = response.xpath(".//table[@class='tablelist']/tr")[1:-1]
        for tr in tr_list:
            item = {}
            item["title"] = tr.xpath("./td[1]/a/text()").extract_first()
            item["position"] = tr.xpath("./td[2]/text()").extract_first()
            item["public_date"] = tr.xpath("./td[5]/text()").extract_first()
            yield item
        #找到下一页url
        next_url= response.xpath("//a[@id='next']/@href").extract_first()
        if next_url != "javascript:;":
            next_url = "https://hr.tencent.com/"+next_url
            yield scrapy.Request(
                next_url,
                callback=self.parse,

            )
这里呢,我们通过xpath来解析网页。构造一个next_urll,通过yield传递,实现翻页爬取。
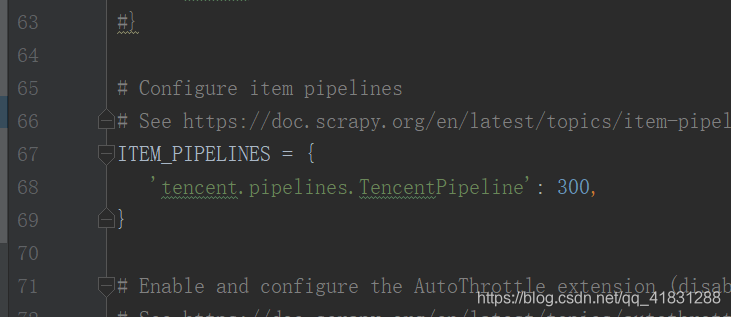
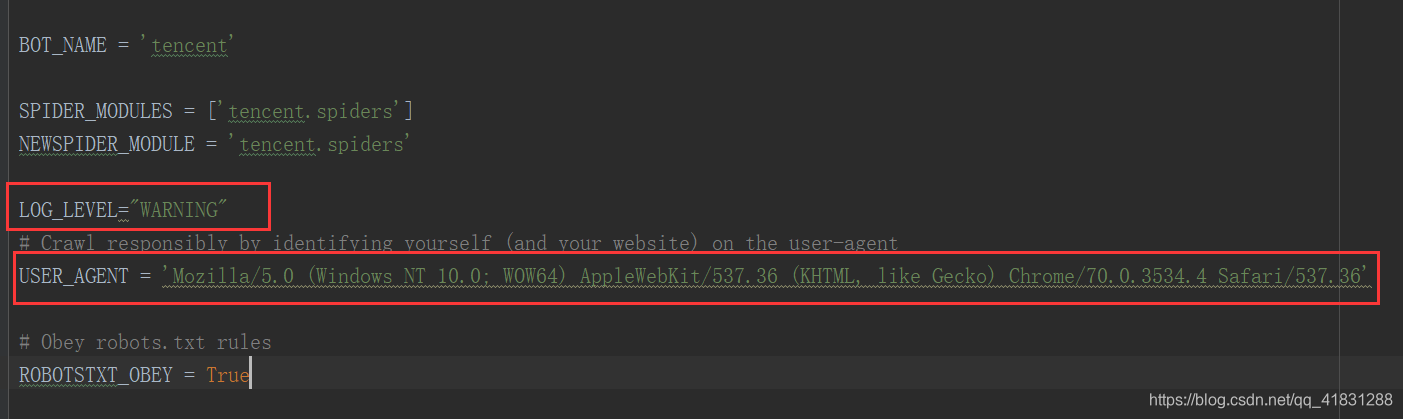
在settings文件中,我们需要做一些配置
将ITEM_PIPELINES部分解除注释
可以设置自己的user-agent以及日志等级
最后我们需要写一下piplines
# -*- coding: utf-8 -*-
# Define your item pipelines here
#
# Don't forget to add your pipeline to the ITEM_PIPELINES setting
# See: https://doc.scrapy.org/en/latest/topics/item-pipeline.html
class TencentPipeline(object):
def process_item(self, item, spider):
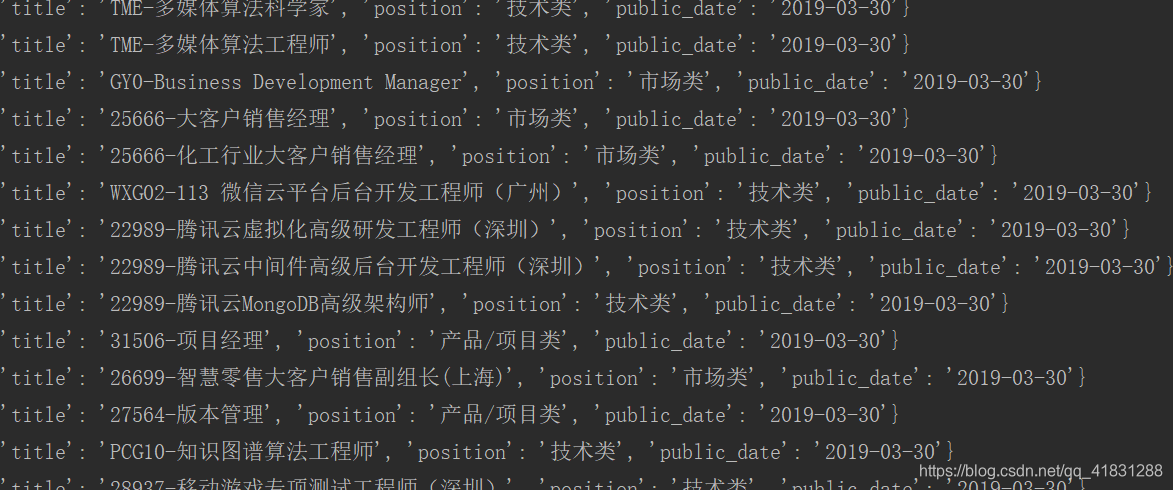
print(item)
collection.insert(item)
return item
ok了,爬虫大功告成!由于我也是现学现卖,所以是输出在控制台,还未保存到本地,过两天会更新保存到本地数据库的方法!