1、环境介绍
涉及到软件下载地址:https://pan.baidu.com/s/1hpcXUSJe85EsU9ara48MsQ
服务器:CentOS 6.8
JDK:jdk-8u191-linux-x64.tar.gz
hadoop:hadoop-3.1.1
hadoop3.1.1 HA高可用分布式集群安装部署:https://www.cnblogs.com/lufan2008/p/10312085.html
hbase:hbase-2.0.4-bin.tar.gz
2、安装 hbase
tar -zxvf /usr/local/soft/hbase-2.0.4-bin.tar.gz -C /usr/local/
vim /etc/profile

#增加HBASE环境变量内容
export HBASE_HOME=/usr/local/hbase-2.0.4
export PATH=$HBASE_HOME/bin:$PATH
使环境变量生效:source /etc/profile
vim /usr/local/hbase-2.0.4/conf/hbase-env.sh

#增加内容
#HBASE_CLASSPATH值一定要改成 hadoop 的目录,不然不认识集群名称
export HBASE_CLASSPATH=/usr/local/hadoop-3.1.1/etc/hadoop
export JAVA_HOME=/usr/local/jdk1.8.0_191
export HBASE_MANAGES_ZK=false
vim /usr/local/hbase-2.0.4/conf/regionservers

hadoop4
hadoop5
vim /usr/local/hbase-2.0.4/conf/hbase-site.xml

<configuration>
    <property>
        <name>hbase.unsafe.stream.capability.enforce</name>
        <value>false</value>
    </property>
    <property>
        <name>hbase.rootdir</name>
        <value>hdfs://mycluster/hbase</value>
    </property>
    <!--启用分布式集群-->
    <property>
        <name>hbase.cluster.distributed</name>
        <value>true</value>
    </property>
    <!--默认HMaster HTTP访问端口-->
    <property>
        <name>hbase.master.info.port</name>
        <value>16010</value>
    </property>
    <!--默认HRegionServer HTTP访问端口-->
    <property>
        <name>hbase.regionserver.info.port</name>
        <value>16030</value>
    </property>
    <property>
       <name>zookeeper.znode.parent</name>
       <value>/hbase</value>
    </property>
    <property>
        <name>hbase.zookeeper.quorum</name>
        <value>192.168.67.1:2181</value>
    </property>
    <property>
        <name>hbase.coprocessor.abortonerror</name>
        <value>false</value>
    </property>
</configuration>
#设置除了本机以外的所有master服务器的名称,每台master服务器上内容不一样,用于故障转移
#在 hadoop3 的上设置
vim /usr/local/hbase-2.0.4/conf/backup-masters

hadoop2
#设置除了本机以外的所有master服务器的名称,每台master服务器上内容不一样,用于故障转移
#在 hadoop2 的上设置
vim /usr/local/hbase-2.0.4/conf/backup-masters

hadoop3
3、启动和停止
#启动
start-hbase.sh

#停止
stop-hbase.sh
4、验证
4.1 访问地址:
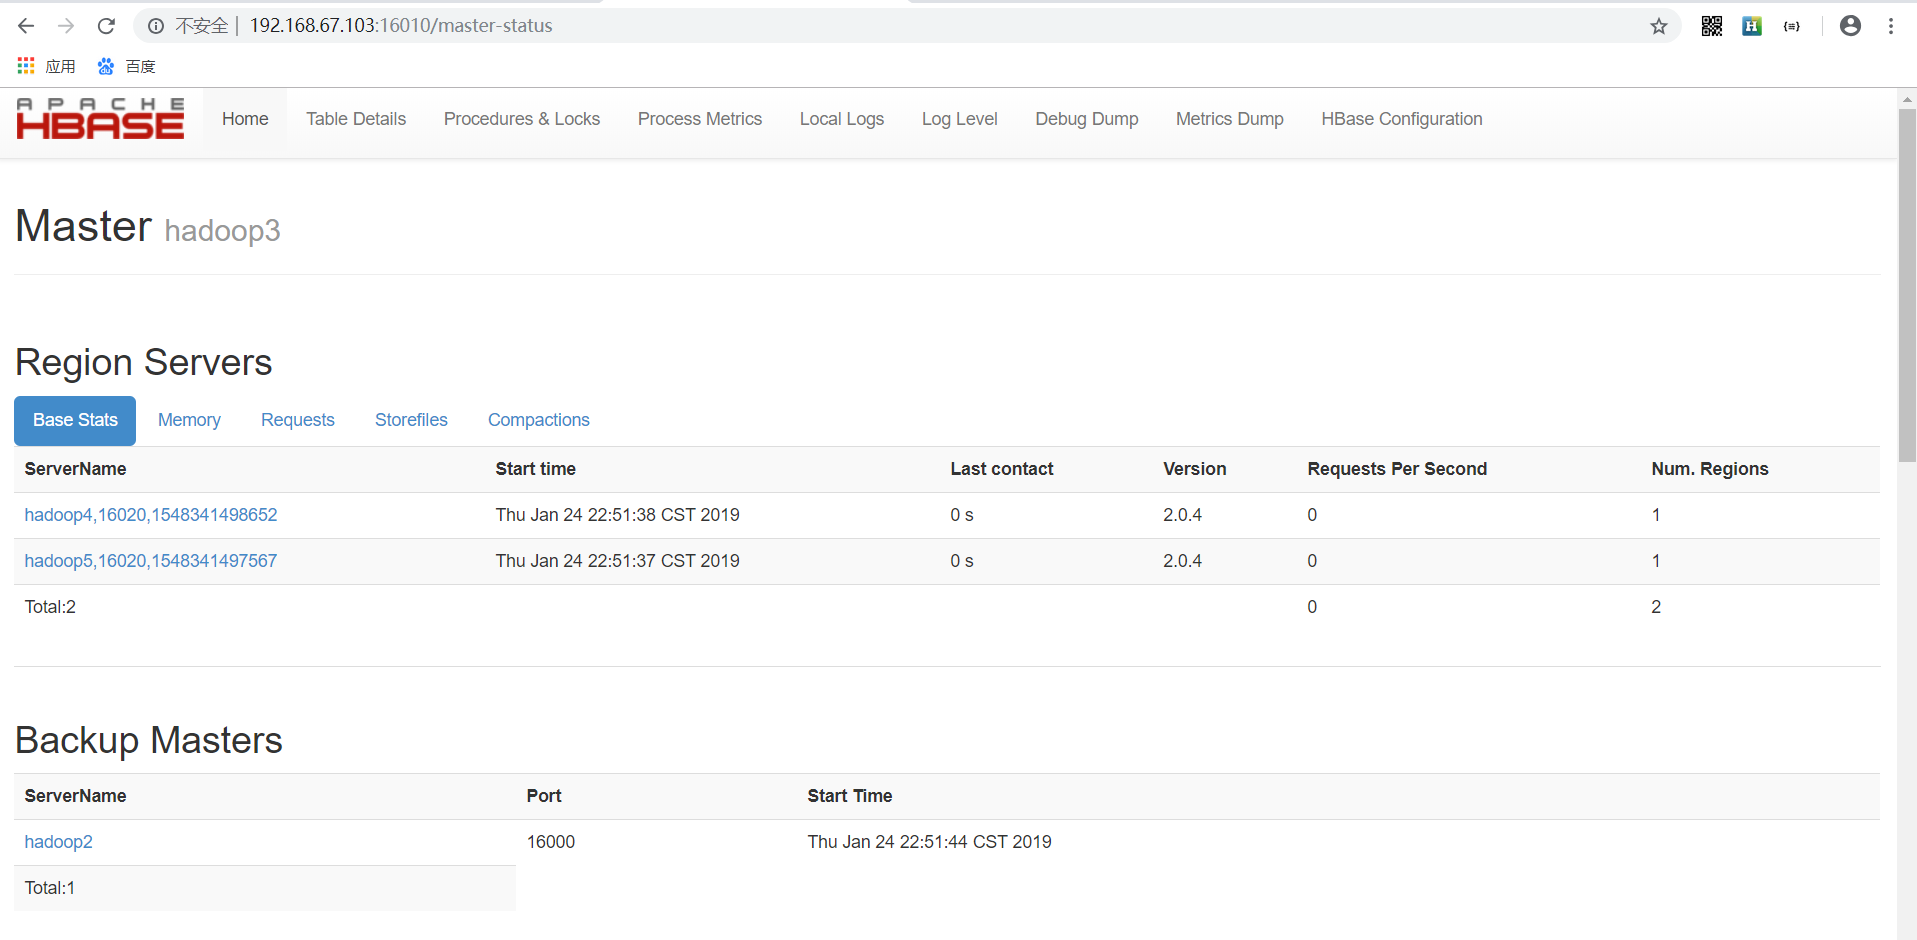
http://192.168.67.103:16010/master-status
http://192.168.67.102:16010/master-status
http://192.168.67.104:16030/rs-status
http://192.168.67.105:16030/rs-status