
前言
例如家喻户晓的Rxjava,只需要一句话 compile 'io.reactivex:rxjava:1.1.6',就可以添加到项目中,时间久了,是不是自己也想试试开源一下自己的成果,给大家用用。
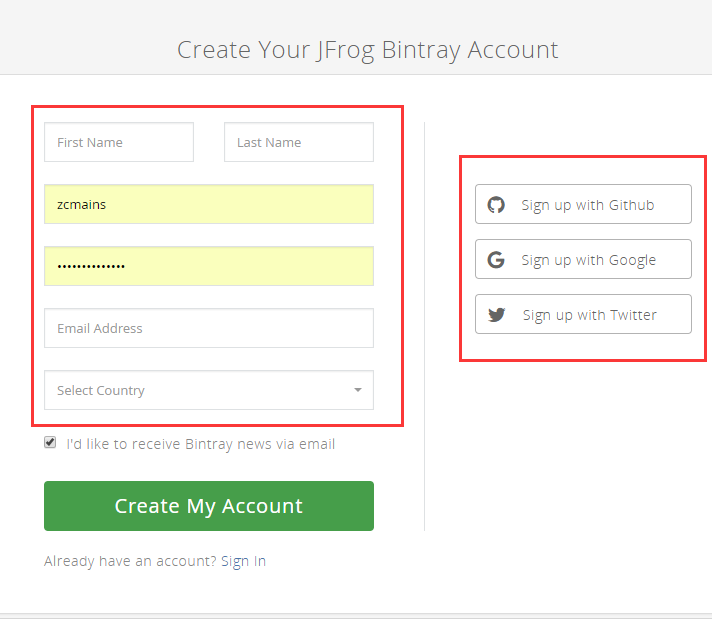
S1.注册(第一坑)
注册本来很简单,但是在这就有大坑,在查找资料时间发现,很多人直接扔的官网注册地址,但是官网注册默认是组织,有30天试用期,之后要付费。而且发布时候各种问题,折腾大半天,所以我们需要的网址是:正确注册地址、正确注册地址、正确注册地址
开始注册Bintray帐号
这时候有两种发布方式,一种是 gradle-bintray-plugin, 一种bintray-release
后面详细讲解两种发布方式先注册帐号完善信息

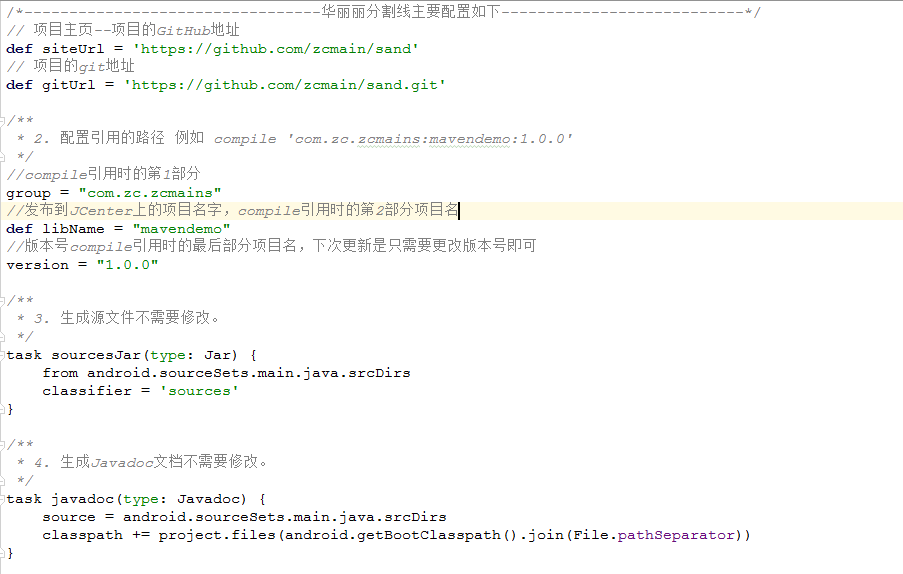
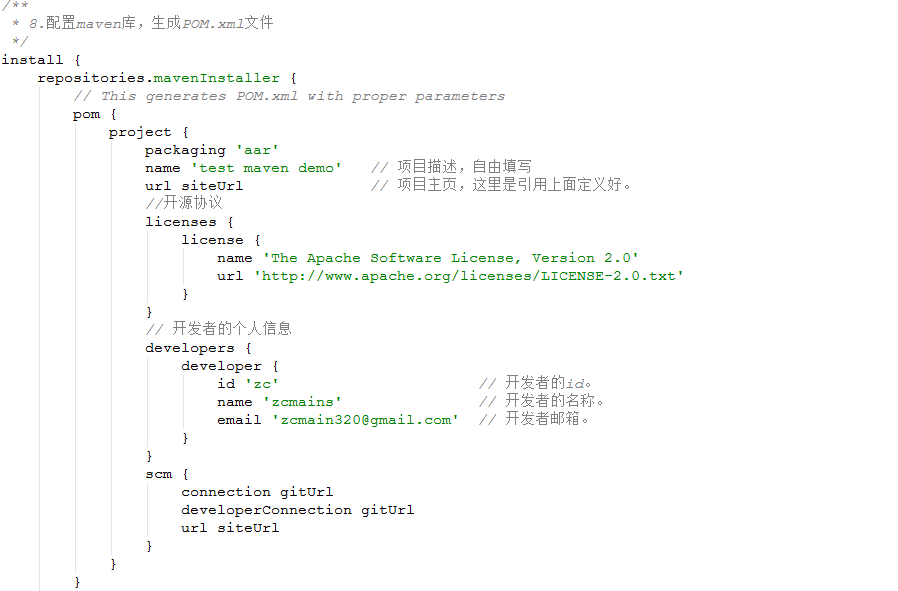
S2.工程配置
方式一(gradle-bintray-plugin)
buildscript {
    repositories {
        jcenter()
    }
    dependencies {
        classpath 'com.android.tools.build:gradle:2.3.2'
//      添加如下依赖
        classpath 'com.github.dcendents:android-maven-gradle-plugin:1.5'
        classpath 'com.jfrog.bintray.gradle:gradle-bintray-plugin:1.5'
    }
}

allprojects {
    repositories {
        jcenter()
    }
}

task clean(type: Delete) {
    delete rootProject.buildDir
}

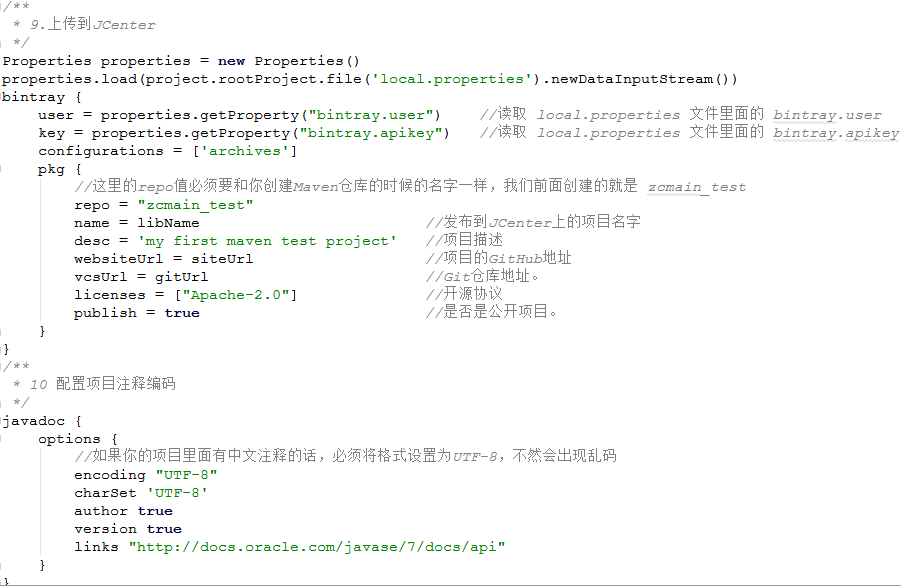


那么问题来了 user我知道是注册Bintray用户名,那apikey 从何而来呢?
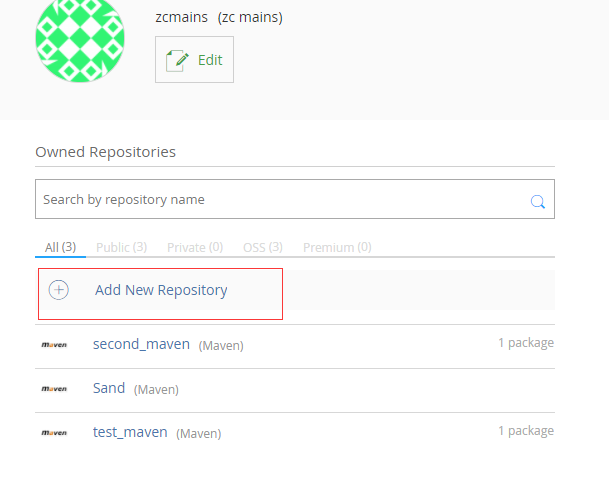
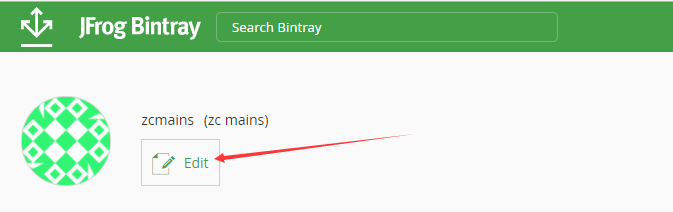
进入Bintray首页点击 头像右侧Edit

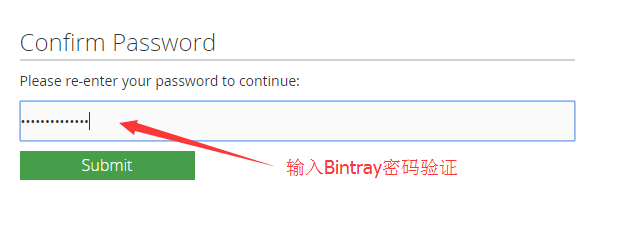
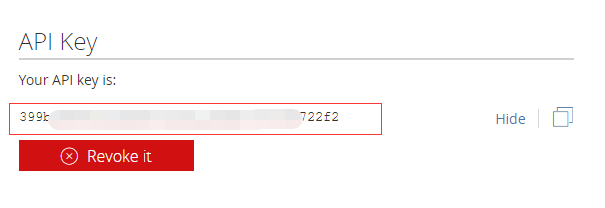
把user和apikey填到上面的local.properties文件中。配置工作就此结束。
4.将项目发不到创建好的jcenter仓库中心
4.1打开Android studio 中项目底部的终端Terminal窗口,Windows系统输入gradlew install,Mac加上在前面加上./,回车构建项目,如果成功的化会出现 BUILD SUCCESS

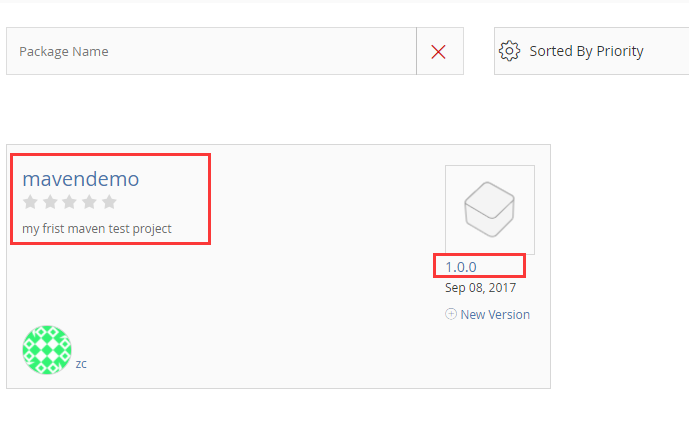
4.2然后进行第二步,输入gradlew bintrayUpload ,回车上传到仓库中。成功之后便可在仓库中看到
4.3现在需要最后一步,进入项目,右下角有个Add to Jcenter按钮
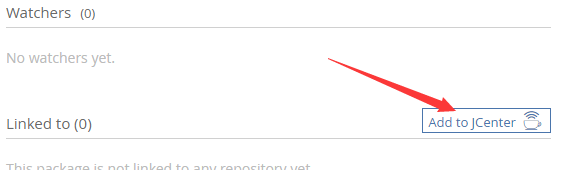
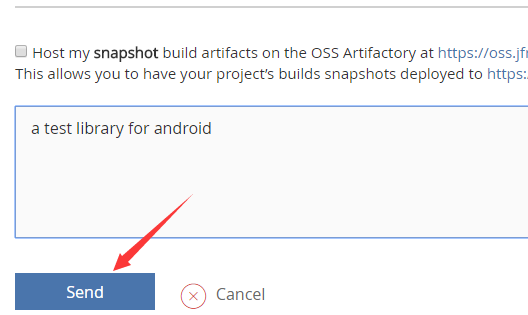
点击输入内容提交审核
审核通过之后,Add to Jcenter按钮会消失,同时会受到消息提示
至此,通过gradle-bintray-plugin方式,提交开源项目,就完成了。我们就可以愉快的在其他项目中仅仅引入一句代码就可使用了自己造的轮子了
compile 'com.zc.zcmains:mavendemo:1.0.0'
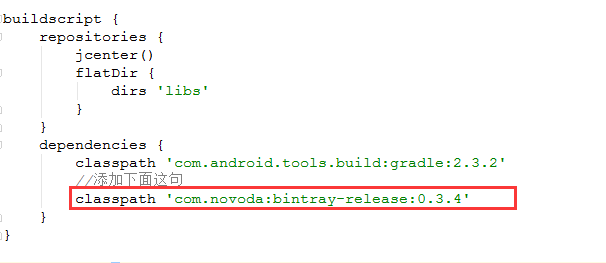
方式二(bintray-release)
和第一种方法不同,不需要去创建maven仓库,配置只需要两步
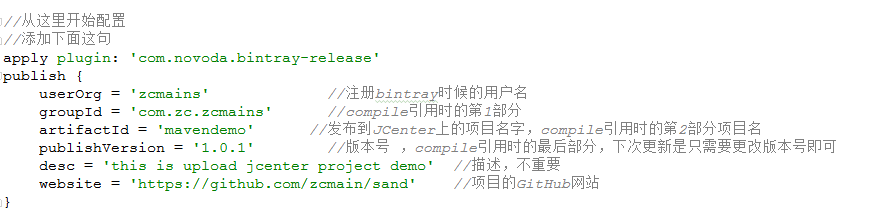
1. 配置项目的build.gradle,这里注意是Project的,不是Moudle的
3.开始提交我们项目到的仓库中心
gradlew clean build bintrayUpload
-PbintrayUser=zcmains //注册的用户名
-PbintrayKey=xxxxxxxxxxxxxxxxxxxxxx //之前获取的apikey,方法见方式一
-PdryRun=false 回车,等待运行完成,依然是看到BUILD SUCCESSFUL就搞定,后续步骤和方式一一样提交审核等待,通过后即可使用了。
PS:但是,说好的挖坑和填坑,肯定不会就这样:
填坑
-
坑1
What went wrong:
Execution failed for task ':mavendemo:bintrayUpload'.
Could not create package 'zcmains/zcmain_test/mavendemo': HTTP/1.1 401 Unauthorized [message:This resource requires authentication]
遇到这种错,提示local.properties中user或者apikey设置错误,先检查user名字和apikey是否设置错误,如果检查无误,极有可能是之前注册使用的官网地址,导致报错
-
坑2
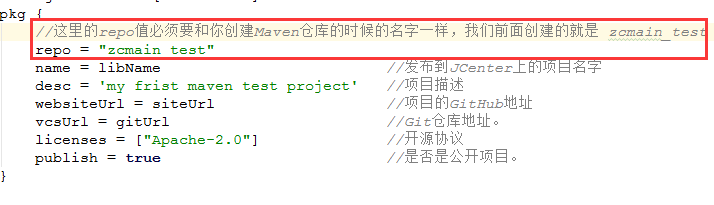
Could not upload to 'https://xxxxxxx.pom': HTTP/1.1 400 Bad Request [message:Unable to upload files: Maven group, artifact or version defined in the pom file do not match the file path 'xxxxxxx.pom']
说明library中rope的值和仓库名字不一致,检查两个值是否一致

坑3
What went wrong:
Execution failed for task ':FloatingActionButton:bintrayUpload'.
Could not create package 'dazhao/maven/FloatingActionButton': HTTP/1.1 404 Not Found
找不到用户名,说明local.properties中user填写,检查名字是否用的是注册名字
总结
整理整个过程
1.注册账号
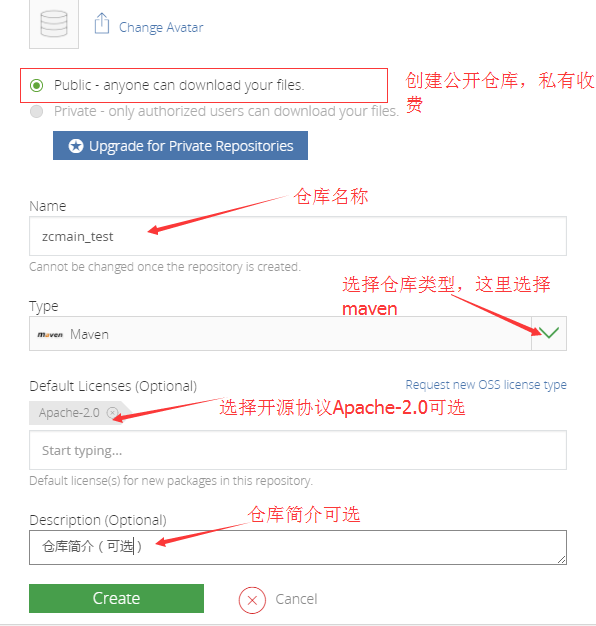
2.创建maven的Repository
3.在项目根目录的build.gradle中添加bintray插件
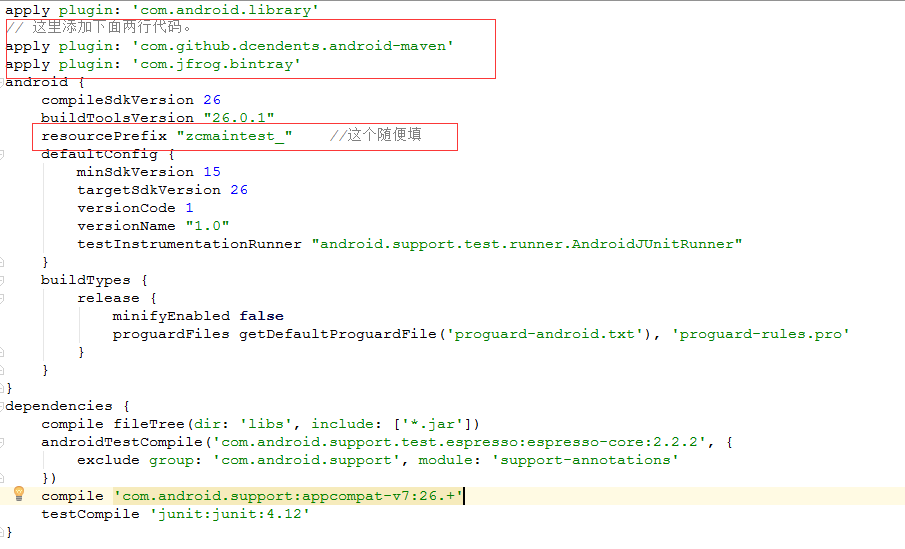
4.修改Module中的build.gradle中的配置
5.在local.properties中添加user和apikey的认证
6.在Android Studio的Terminal使用 gradlew install / bintrayUpload上传
7.最后在maven仓库中同步到Jcenter中
8.通过审核,开始使用