转载自:https://www.jianshu.com/p/f66972f0607a
首先我们应该注册一个JFrog Bintray的账号
Jfrog Bintray官网
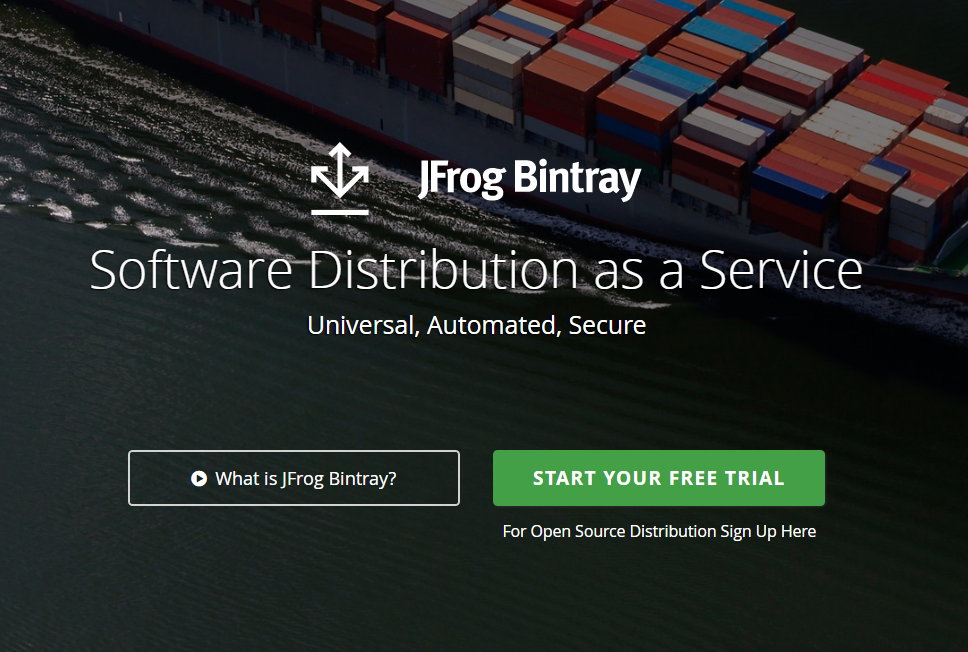
这里我们可以注意到那个绿色的按钮,START YOUR FREE TRIAL。注册吗,多简单的一件事啊。点了直接进去注册。注册完之后,直接开整,到最后发布的时候。你发现你会一直报错,我明明按照网上一步一步来的,怎么会报错。真正注册用于开发者的,是下面哪一行小字(我真的不明白为啥要那么不明显),For Open Source Distribution Sign Up Here,大家千万不要搞错了。
接下来输入按照注册的要求进行填写就好了,ps:一些邮箱不支持,例如163和qq。这里我是用gmai注册的,没有的话,大家不妨去注册一个,现在注册gmail需要使用手机了。选择国家地区代码的时候并找不到中国,前面国家随便选一个,然后直接在你手机前面加上86就行了。
注册成功,就可以看到我们的首页了。点击Edit Profile,如果你发现,你和我一样是七个那么注册成功。
Edit Profile界面
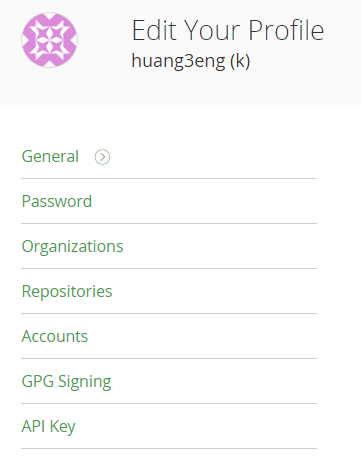
这里我们需要注意的信息,一个是你注册的账号,另一个是API Key,为接下来发布做准备。
准备一个需要发布的Android Studio项目
创建一个Android Studio项目,这里我们就是用默认的Module - app。现在项目的Build.gradle文件中添加需要需要使用到的依赖。
buildscript {
repositories {
  jcenter()
}
dependencies {
  classpath'com.android.tools.build:gradle:2.3.0'
  classpath'com.github.dcendents:android-maven-gradle-plugin:1.5'
  classpath'com.jfrog.bintray.gradle:gradle-bintray-plugin:1.5'
  // NOTE: Do not place your application dependencies here; they belong
  // in the individual module build.gradle files
  }
}
allprojects {
  repositories {
    jcenter()
  }
}
task clean(type: Delete) {
  deleterootProject.buildDir
}
有两点点非常重要,第一点就是gradle build tools的版本设置成1.1.2以上,因为以前的版本有严重的bug,我们将使用的是最新的版本2.3.0。第二点是根据你Gradle的版本,使用不同版本的android-maven-gradle-plugin。这里我的Gradle版本是3.3,所以使用的是com.github.dcendents:android-maven-gradle-plugin:1.5,具体版本直接对应的关系请到如下网站去查询,android-maven-gradle-plugin。

版本直接对应关系
接下来我们将修改local.properties。在里面定义api key的用户名以及被创建key的密码,用于bintray的认证。之所以要把这些东西放在这个文件是因为这些信息时比较敏感的,不应该到处分享,包括版本控制里面。幸运的是在创建项目的时候local.properties文件就已经被添加到.gitignore了。因此这些敏感数据不会被误传到git服务器。
bintray.user=YOUR_BINTRAY_USERNAME
bintray.apikey=YOUR_BINTRAY_API_KEY
bintray.user对应的就是你注册bintray时的账号,bintray.apikey对应的就https://bintray.com/profile/edit页面中的API KEY,点击进入还需要输入你注册时的密码。输入完成直接保存下。
接下来,打开我们module下的build.gradle文件,如下:
apply plugin:'com.android.library'     //建议使用library,毕竟你是给别人用的
apply plugin:'com.github.dcendents.android-maven'
apply plugin:'com.jfrog.bintray'

version="1.0.2"           // 对应的版本

android {
    compileSdkVersion 25
    buildToolsVersion "25.0.2"
    defaultConfig {
        // 请注意这里没有Application Id。别人在他的module下的build.gradle文件依赖中,添加你的你开源项目。你的
        //defaultConfig中有Application Id,别人也会有啊,那么有两个Application Id必然会报错
        minSdkVersion15
        targetSdkVersion25
        versionCode
        versionName"1.0"
        testInstrumentationRunner"android.support.test.runner.AndroidJUnitRunner"
    }
    buildTypes {
        release {
            minifyEnabled false
            proguardFiles getDefaultProguardFile('proguard-android.txt'), 'proguard-rules.pro'
        }
    }
}

dependencies {
    compile fileTree(dir:'libs',include: ['*.jar'])
    compile'com.android.support:appcompat-v7:25.3.1'
    testCompile'junit:junit:4.12'
}

defsiteUrl='https://github.com/x1ao3eng/GithubPro' // github上项目的地址
defgitUrl='https://github.com/x1ao3eng/GithubPro.git' //github上项目的git地址
group='com.x1aomeng.githubpro'
//一般用你项目的Application Id,这里一般用到哪里呢。
//举一个使用RecyclerView需要添加的依赖,compile'com.android.support:recyclerview-v7:25.3.1'
//com.android.support对应的就是上面的group,recyclerview-v7对应的就是module名字,25.3.1对应的是上面的version
install{
    repositories.mavenInstaller{
        pom {
            project{
                packaging'aar'
                // Add your description here
                name'Android Jcenter Test'
                url siteUrl
                // Set your license
                licenses {
                    license {
                        name'The Apache Software License, Version 2.0'
                        url'http://www.apache.org/licenses/LICENSE-2.0.txt'
                    }
                }
                developers{
                    developer {
                        id'huangxiaomeng'//填写的一些基本信息
                        name'x1ao3eng'
                        email'[email protected]'
                    }
                }
                scm {
                    connection gitUrl
                    developerConnection gitUrl
                    url siteUrl
                }
            }
        }
    }
}
task sourcesJar(type: Jar) {
    from android.sourceSets.main.java.srcDirs
    classifier='sources'
}
task javadoc(type: Javadoc) {
    source= android.sourceSets.main.java.srcDirs
    classpath+=project.files(android.getBootClasspath().join(File.pathSeparator))
}
task javadocJar(type: Jar,dependsOn: javadoc) {
    classifier='javadoc'
    from javadoc.destinationDir
}
artifacts {
    archivesjavadocJar
    archivessourcesJar
}
Properties properties =newProperties()
properties.load(project.rootProject.file('local.properties').newDataInputStream())
bintray {
    // 这里就使用到了,你之前在local.properties中添加的信息
    user = properties.getProperty("bintray.user")
    key = properties.getProperty("bintray.apikey")
    configurations = ['archives']
    pkg {
        repo ="maven"
        name ="GithubPro_for_jcenter_test"//发布到JCenter上的项目名字
        websiteUrl = siteUrl
        vcsUrl = gitUrl
        licenses = ["Apache-2.0"]
        publish =true
    }
}
完成这些之后先Rebuild或者Sync下你的Project,没什么问题的话。就可以把你项目生成到本地的仓库中了,Android Studio中默认即在Android\sdk\extras\android\m2repository这里,可以打开你Android Studio下方的Terminal 或则在Project下打开命令行,输入一下(可能还需要下载一遍Gradle):
gradlew install把项目上传到Bintray
把项目上传到Bintray,需要plugin的支持,在project目录下build.gradle文件的dependencies中添加(上面已添加过):
classpath'com.jfrog.bintray.gradle:gradle-bintray-plugin:1.5'接下来执行如下命令行,完成上传:
gradlew bintrayUpload这里我们一般会在进度97%或者98%卡住一会儿,ps:需要FQ,出去抽根烟或者倒杯咖啡。上传成功后,我们打开bintray上仓库的界面就可以看到我们的项目CithubPro_for_jcenter。

仓库界面
到这一步已经接近尾声了,但是我们的项目还没有发布到Jcenter,只是在你自己的仓库中。别人如果想要使用你的开源项目,需要在project目录下添加如下代码:
allprojects {
    repositories {
        jcenter()
        maven { url'https://dl.bintray.com/huang3eng/maven/'}
    }
}
然后在相应module目录下的build.gradle中添加:
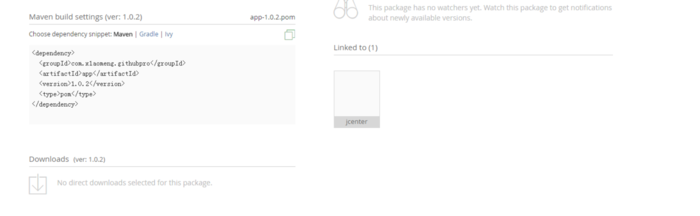
compile 'com.x1aomeng.githubpro:app:1.0.2'虽然这样已经可以使用,但是还是有诸多不便的,如果有使用十个不同人写的开源项目,那么不是要先添加十个别人maven仓库的地址。Android Studio现在默认已经关联到Jcenter这个远程仓库,所以我们最好还是发布到Jcenter上。打开你的项目,点击Add to Jcenter,什么也不需要填,直接Send就好了。接下来需要通过管理员的审核都行了(我这边审核用了四个多小时),一般你的项目没有什么中文或者全英语注释都可以通过(终于知道为啥那些国内开源项目也很少会有中文注释)。
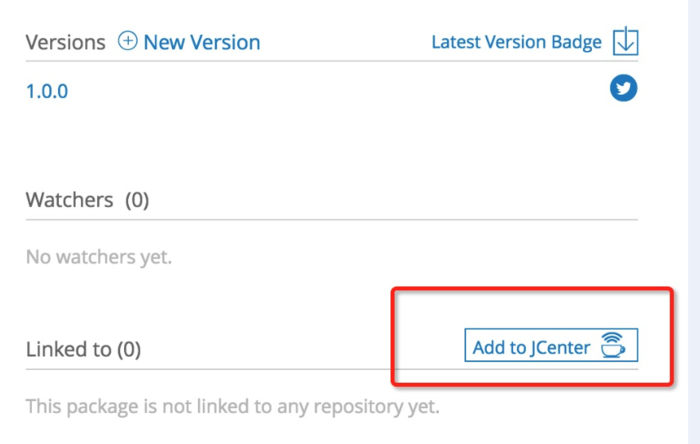
审核完成后,你会收到一份邮件让你确认,审核成功之后,你会发现项目中Linked to会多了一个Jcenter,这说明你的项目已经成功发不到Jcenter上了。我只能告诉你,你成功了与世界接轨的第一步。
总结
每个人的开发环境是不一样的,使用的版本也可能是不一样的。由于种种的不同,可能照着我的步骤,你会出现报错。网上将开源项目发布到Jcenter的文章也不少,使用的方式也可能不同。我这边文章主要把我自己踩过的一些坑记录下来,希望对你们哪怕只有一点点的帮助。第一次写简书,感觉又把整个过程梳理了一遍。如果有不对的地方或者更好的方法,请告诉我。
作者:奥斯特洛夫斯基c
链接:https://www.jianshu.com/p/f66972f0607a
來源:简书
简书著作权归作者所有,任何形式的转载都请联系作者获得授权并注明出处。