目录
1.为什么要使用页面静态化
在 淘淘商城46-商品详情页面之添加热点商品缓存 中,因为商品信息与描述十天半个月都不会变一次,而且访问量很大,所以我们使用了redis缓存热点商品。在商城项目中一台redis服务器是肯定不够,我们可以搭建redis集群( 淘淘商城26-linux单机搭建redis伪分布式集群方案 ),但是服务器毕竟很昂贵,有没有别的什么方案,既廉价又访问很快的技术呢?那就是页面静态化,通过一些技术手段(Freemarker)将动态的页面(JSP,asp.net,php) 转换成静态的页面,通过浏览器直接访问静态页面,达到访问速度高的效果。
页面静态化的优点:
- 通过浏览器直接访问静态的页面,不需要经过程序处理,它的访问速度高。
- 稳定性好。
- 更有效的防止安全漏洞问题,比如不易遭受黑客攻击。
- 静态的页面更容易被搜索引擎收录。
2.商品详情页面静态化方案
输出文件的名称:商品id+“.html”
输出文件的路径:工程外部的任意目录。
网页访问:使用nginx访问网页。在此方案下tomcat只有一个作用就是生成静态页面。
工程部署:可以把taotao-item-web部署到多个服务器上。
生成静态页面的时机:商品添加后,生成静态页面。可以使用Activemq,订阅topic(商品添加)
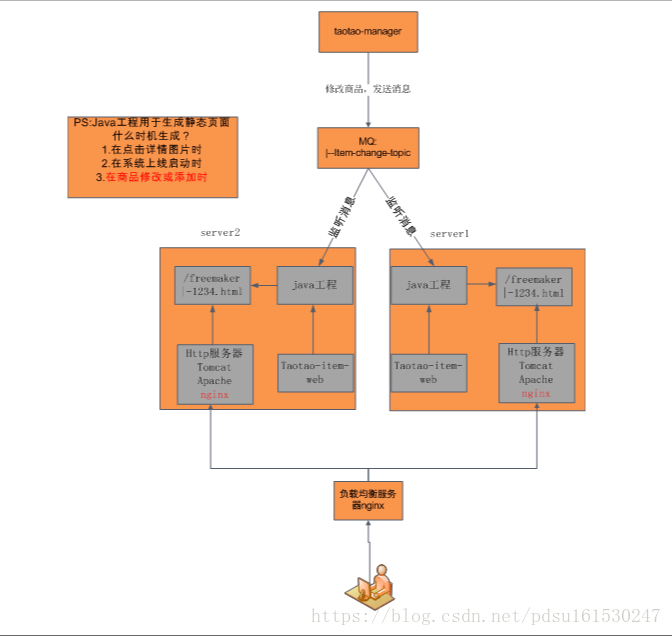
下面的生成商品静态页面与访问商品静态页面的流程:
taotao-manager中有对商品信息与描述的增删改查时,通过activeMQ发送消息,taotao-item-web接受消息生成静态页面,nginx用来访问静态页面
3.商品详情静态化方案实现
taotao-item-web接收消息:
先配置消息相关的配置文件(包括目的地,默认的消息监听容器)
编写listener (实现messagelistener接口)
listener 获取消息中的商品ID,查询出数据集,根据数据集和模板生成静态页面
3.1导入依赖
<dependency>
	<groupId>org.apache.activemq</groupId>
	<artifactId>activemq-all</artifactId>
</dependency>
3.2配置模板
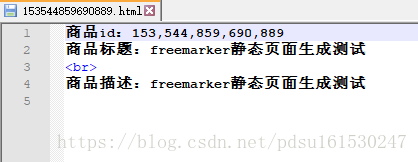
在WEB-INF下创建ftl/item.ftl模板
模板的内容很简单就是获取商品信息与描述
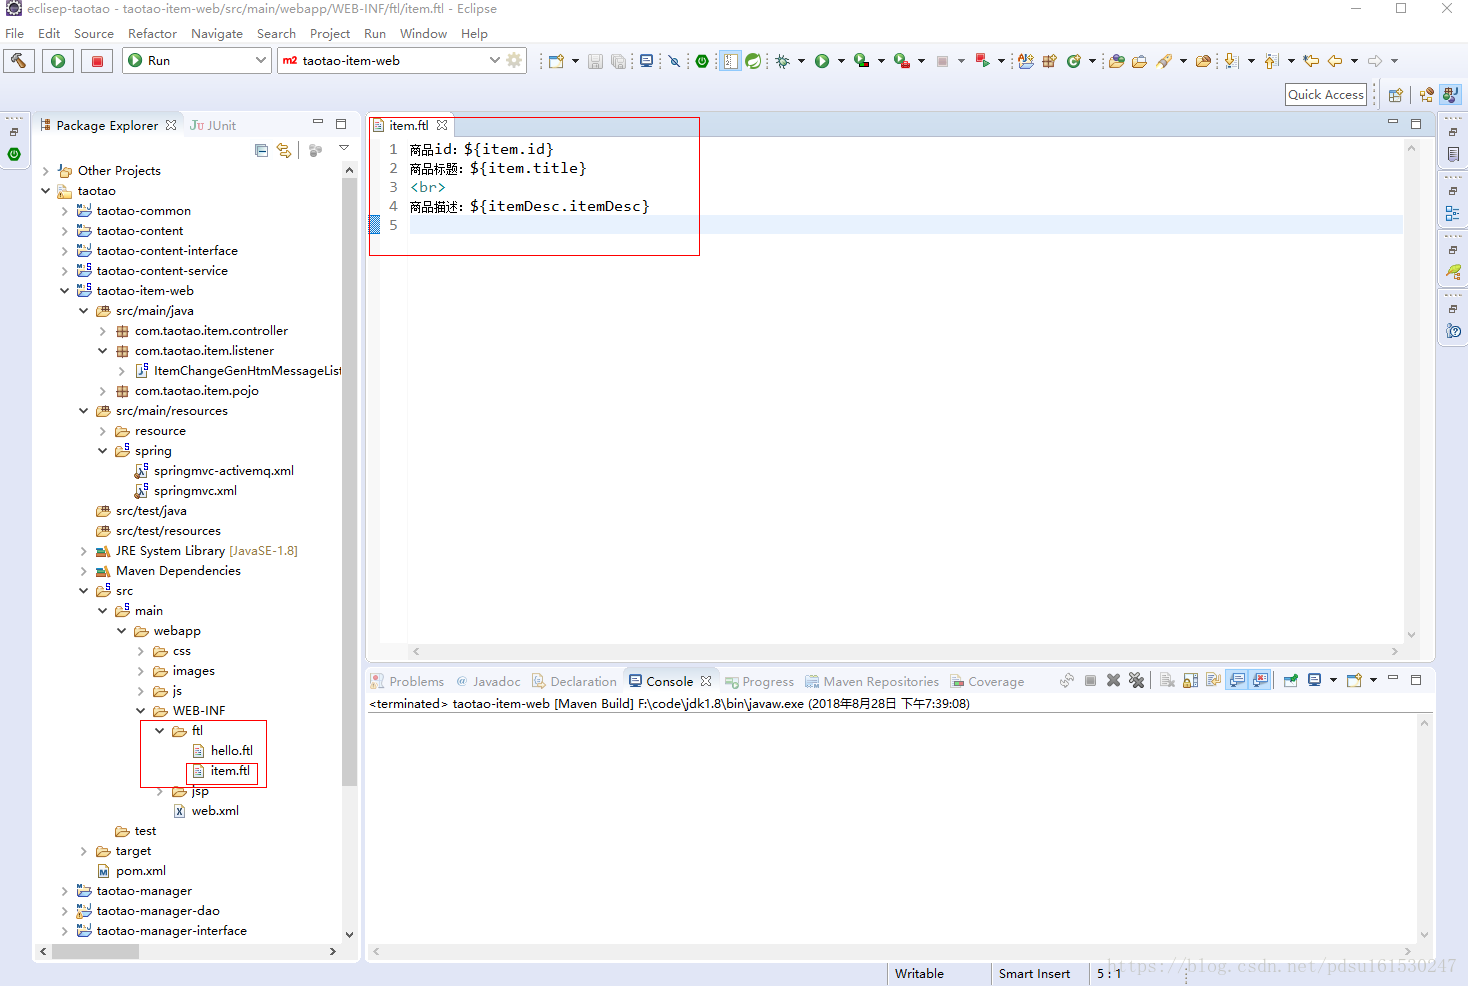
商品id:${item.id}
商品标题:${item.title}
<br>
商品描述:${itemDesc.itemDesc}
在springmvc的配置文件中配置freemarker的配置项
<!-- freemarker -->
<bean id="freemarkerConfig"
class="org.springframework.web.servlet.view.freemarker.FreeMarkerConfigurer">
<property name="templateLoaderPath" value="/WEB-INF/ftl/" />
<property name="defaultEncoding" value="UTF-8" />
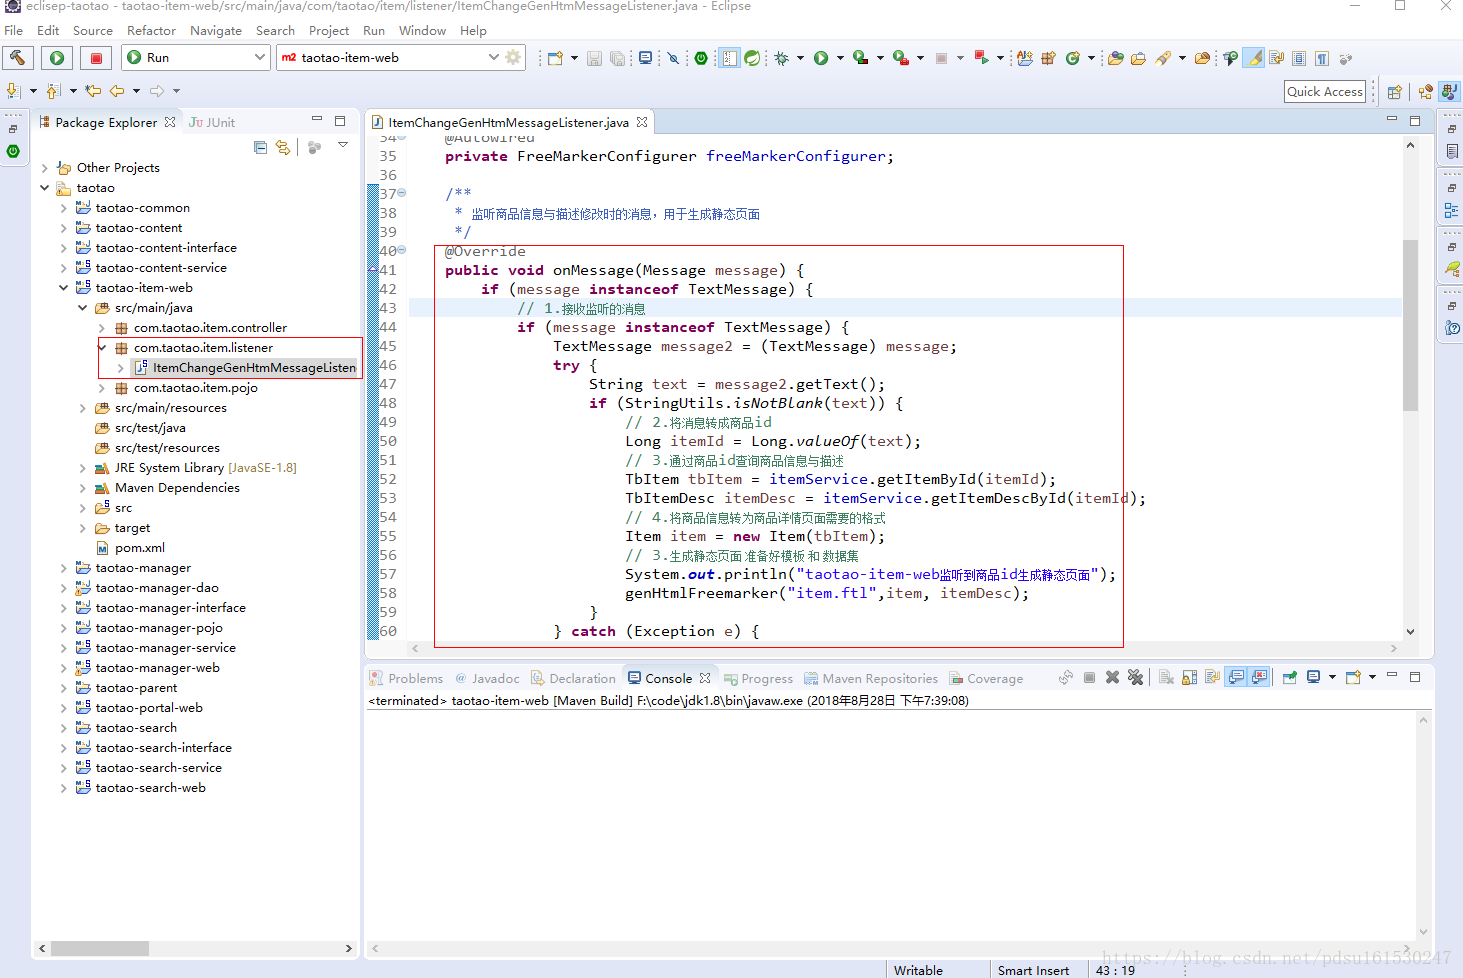
</bean>3.3编写监听器
监听器分为两部分:
第一部分监听商品id,并查询根据商品id查询商品信息与描述。
第二部分根据商品信息与描述和模板,生成静态页面
具体代码含义,注释上写的很清楚
package com.taotao.item.listener;

import java.io.File;
import java.io.FileWriter;
import java.io.Writer;
import java.util.HashMap;
import java.util.Map;

import javax.jms.Message;
import javax.jms.MessageListener;
import javax.jms.TextMessage;

import org.apache.commons.lang3.StringUtils;
import org.springframework.beans.factory.annotation.Autowired;
import org.springframework.web.servlet.view.freemarker.FreeMarkerConfigurer;

import com.taotao.item.pojo.Item;
import com.taotao.pojo.TbItem;
import com.taotao.pojo.TbItemDesc;
import com.taotao.service.ItemService;

import freemarker.template.Configuration;
import freemarker.template.Template;

/*
 * 监听器
 * 获取消息
 * 执行生成静态页面的业务逻辑
 */
public class ItemChangeGenHtmMessageListener implements MessageListener {

	@Autowired
	private ItemService itemService;
	@Autowired
	private FreeMarkerConfigurer freeMarkerConfigurer;

	/**
	 * 监听商品信息与描述修改时的消息,用于生成静态页面
	 */
	@Override
	public void onMessage(Message message) {
		if (message instanceof TextMessage) {
			// 1.接收监听的消息
			if (message instanceof TextMessage) {
				TextMessage message2 = (TextMessage) message;
				try {
					String text = message2.getText();
					if (StringUtils.isNotBlank(text)) {
						// 2.将消息转成商品id
						Long itemId = Long.valueOf(text);
						// 3.通过商品id查询商品信息与描述
						TbItem tbItem = itemService.getItemById(itemId);
						TbItemDesc itemDesc = itemService.getItemDescById(itemId);
						// 4.将商品信息转为商品详情页面需要的格式
						Item item = new Item(tbItem);
						// 3.生成静态页面 准备好模板 和 数据集
						System.out.println("taotao-item-web监听到商品id生成静态页面");
						genHtmlFreemarker("item.ftl",item, itemDesc);
					}
				} catch (Exception e) {
					e.printStackTrace();
				}

			}
		}
	}
	/**
	 * 根据模板与model生成静态页面
	 * @param templateName
	 * @param item
	 * @param itemDesc
	 * @throws Exception
	 */
	private void genHtmlFreemarker(String templateName, Item item, TbItemDesc itemDesc) throws Exception {
		// 1.从spring容器中获得FreeMarkerConfigurer对象
		// 2.从FreeMarkerConfigurer对象中获取Configuration对象
		Configuration configuration = freeMarkerConfigurer.getConfiguration();
		// 3.从Configuration对象中获取Template对象
		Template template = configuration.getTemplate(templateName);
		// 4.准备model
		Map<String, Object> model = new HashMap<>();
		model.put("item", item);
		model.put("itemDesc", itemDesc);
		// 5.指定输出的文件的路径,输出静态页面
		Writer writer = new FileWriter(new File("D:\\freemarker\\item\\" + item.getId() + ".html"));
		// 6、调用模板对象的process方法,生成文件。
		template.process(model, writer);
		// 7、关闭流。
		writer.close();
	}

}
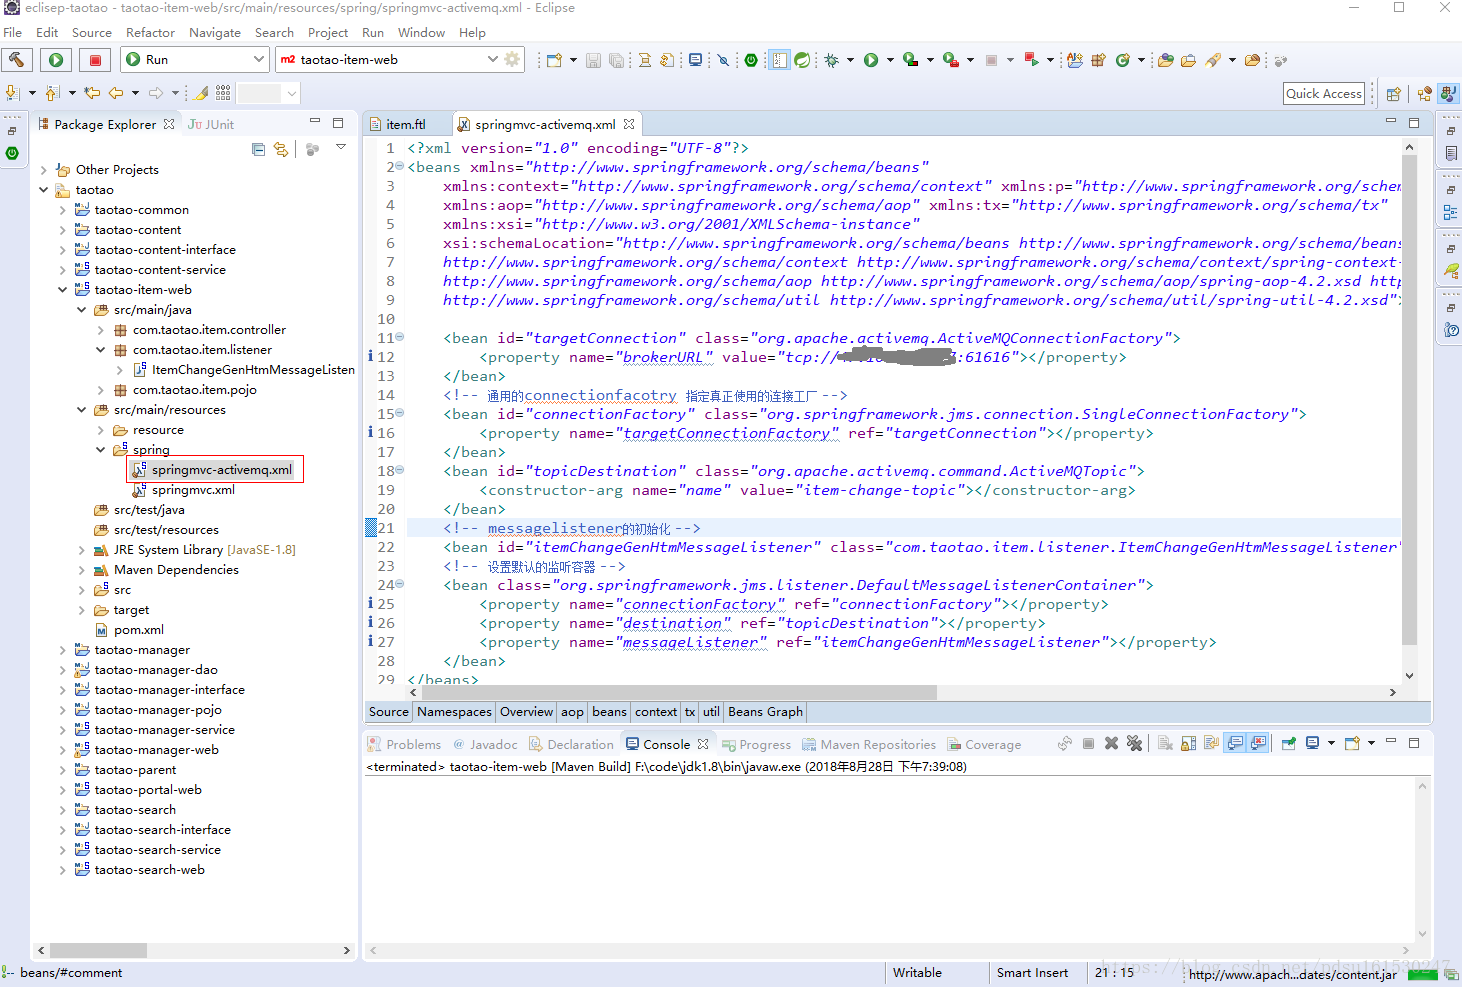
3.4springmvc-activemq.xml
需要配置消费者端的配置文件,
注意监听容器的初始化的messageListener属性的值要与自己创的监听对象一样
<?xml version="1.0" encoding="UTF-8"?>
<beans xmlns="http://www.springframework.org/schema/beans"
	xmlns:context="http://www.springframework.org/schema/context" xmlns:p="http://www.springframework.org/schema/p"
	xmlns:aop="http://www.springframework.org/schema/aop" xmlns:tx="http://www.springframework.org/schema/tx"
	xmlns:xsi="http://www.w3.org/2001/XMLSchema-instance"
	xsi:schemaLocation="http://www.springframework.org/schema/beans http://www.springframework.org/schema/beans/spring-beans-4.2.xsd
	http://www.springframework.org/schema/context http://www.springframework.org/schema/context/spring-context-4.2.xsd
	http://www.springframework.org/schema/aop http://www.springframework.org/schema/aop/spring-aop-4.2.xsd http://www.springframework.org/schema/tx http://www.springframework.org/schema/tx/spring-tx-4.2.xsd
	http://www.springframework.org/schema/util http://www.springframework.org/schema/util/spring-util-4.2.xsd">

	<bean id="targetConnection" class="org.apache.activemq.ActiveMQConnectionFactory">
		<property name="brokerURL" value="tcp://192.168.25.133:61616"></property>
	</bean>
	<!-- 通用的connectionfacotry 指定真正使用的连接工厂 -->
	<bean id="connectionFactory" class="org.springframework.jms.connection.SingleConnectionFactory">
		<property name="targetConnectionFactory" ref="targetConnection"></property>
	</bean>
	<bean id="topicDestination" class="org.apache.activemq.command.ActiveMQTopic">
		<constructor-arg name="name" value="item-change-topic"></constructor-arg>
	</bean>
	<!-- messagelistener的初始化 -->
	<bean id="itemChangeGenHtmMessageListener" class="com.taotao.item.listener.ItemChangeGenHtmMessageListener"></bean>
	<!-- 设置默认的监听容器 -->
	<bean class="org.springframework.jms.listener.DefaultMessageListenerContainer">
		<property name="connectionFactory" ref="connectionFactory"></property>
		<property name="destination" ref="topicDestination"></property>
		<property name="messageListener" ref="itemChangeGenHtmMessageListener"></property>
	</bean>
</beans>
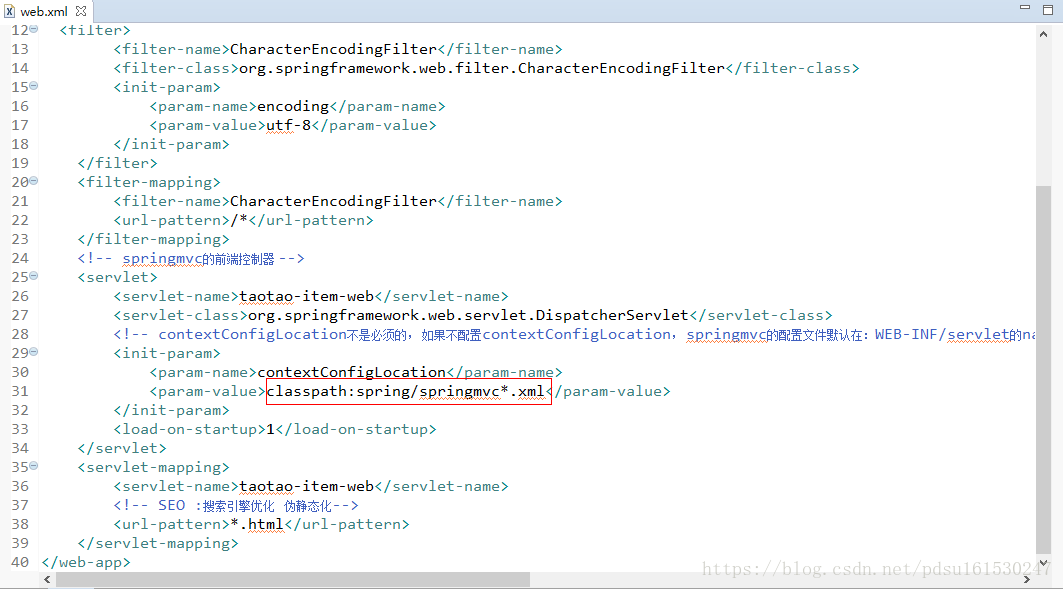
3.5配置web.xml
扫描所有springmvc*.xml文件
3.6运行测试
启动taotao-content-、taotao-manager、taotao-search、taotao-item-web、taotao-manager-web
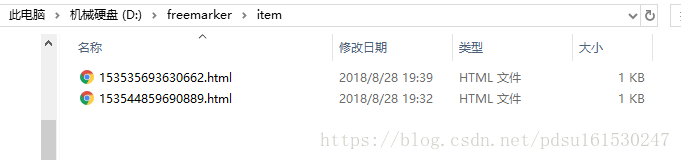
访问taotao-manager-web后台管理系统,修改或者新增商品时即可看到D:\freemarker\item下生成对应修改商品id的静态页面

4.商品详情页面模板创建与访问
4.1模板创建
上面的item.ftl模板仅仅是测试使用,跟真正的商品详情的页面还差的远,我们需要修改真正的商品详情页面为模板文件。
原来使用的是JSP展示页面,我们可以参考原来的JSP页面样式展示,将JSP中的JSTL标签,@page等语法,换成freemarker的标签及语法规则。并命名文件名为.ftl。
将jsp页面改造成ftl模板的大致思路是:
- 将jsp页面头部的<%@ pagexxxx%>、<%@ taglib xxxxx%>全部去掉
- 将<jsp:include page="xxxxx.jsp"></jsp:include>替换为<#include "xxxxx.ftl"/>
- 将<c:forEach></c:forEach>替换为<#list></#list>
- 将<c:choose></c:forEach>、<c:choose></c:choose>、<c:when></c:when>、<c:otherwise></c:otherwise>全部使用<#if><#else></#if>替换
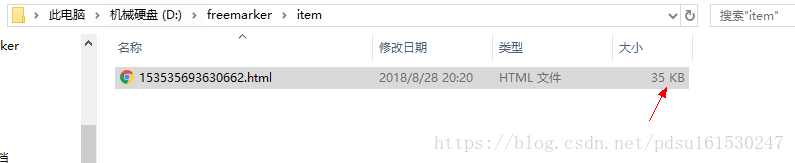
改造完成后启动项目,在taotao-manager-web中修改或者新增商品,会发现D:\freemarker\item生成了商品详情的静态页面
点击访问时发现没js、css、images


将资料中的js、css、images导入生成的静态页面的上一级目录
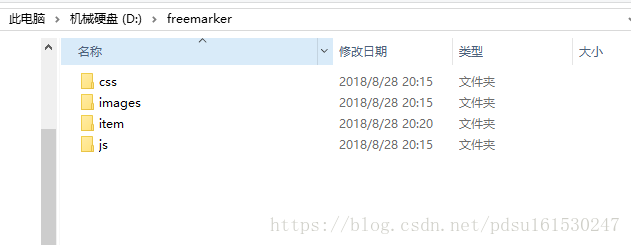
即使导入了其实也没有用,因为在153535693630662.html中js、css、images等静态资源是相对路径,是file://访问不了相对路径,需要http协议访问时才可以使用相对路径。
4.2http服务器安装与配置
这里使用nginx,将nginx解压至一个没有中文的目录,.
然后修改conf/nginx.conf配置文件。
将root指向的路径改为静态页面的路径,我这里还修改的了端口,默认是80,但是我的被占用了,就改为8888了

4.3启动nginx
cd到nginx所在的目录:
启动命令:start nginx.exe
关闭命令: nginx.exe -s stop
刷新配置文件:nginx. exe -s reload
测试访问静态页面:
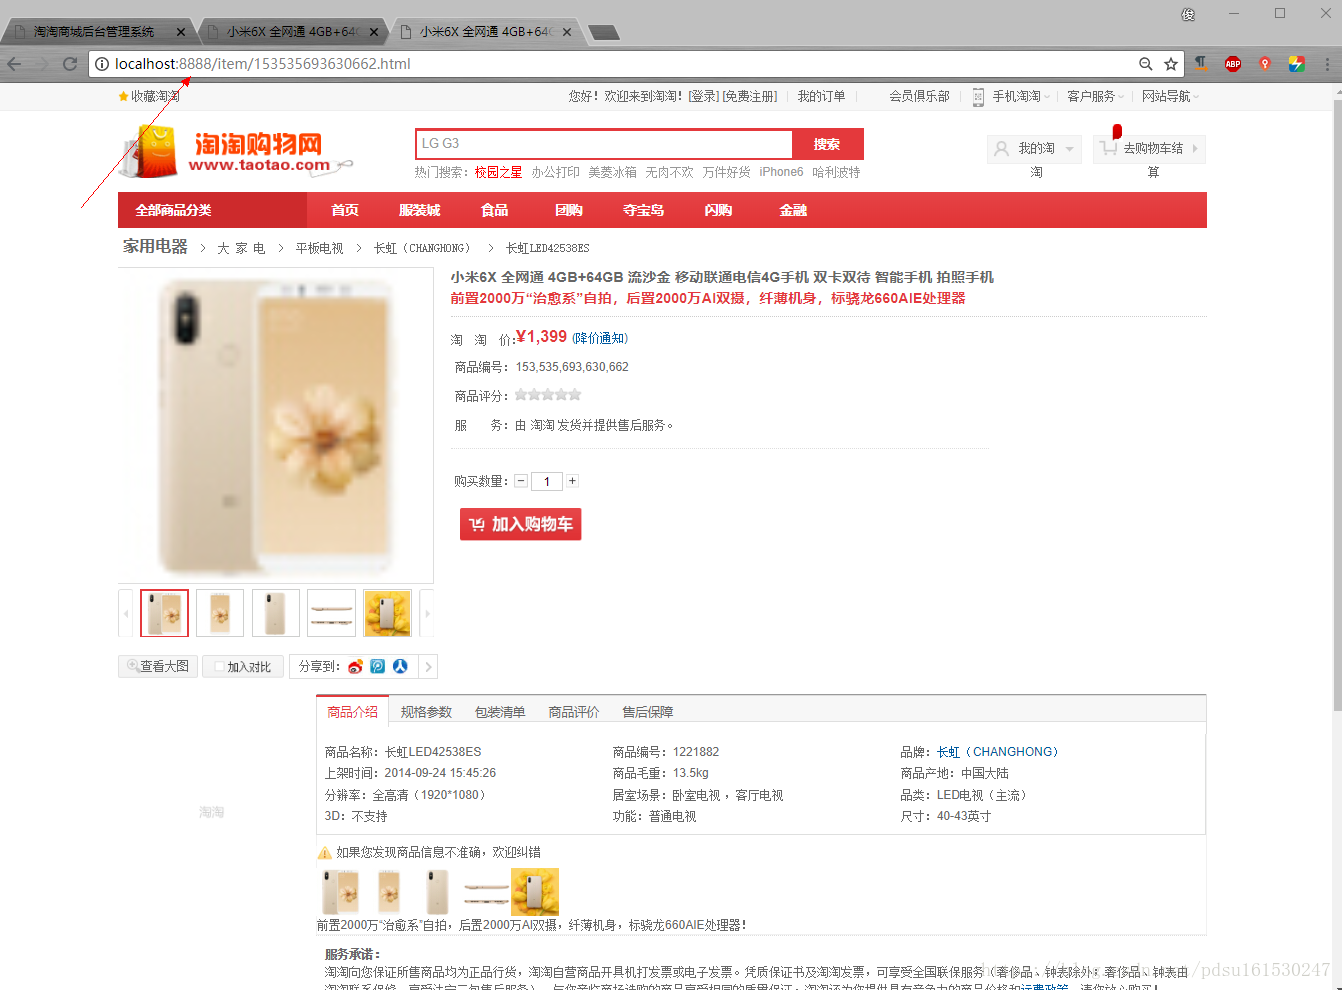
访问成功