1、opencv3.3以上版本安装
忽略,见博客效果图
在OpenCV3.3版本发布中把DNN模块从扩展模块移到了OpenCV正式发布模块中,当前DNN模块最早来自Tiny-dnn,可以加载预先训练好的Caffe模型数据,OpenCV做了近一步扩展支持所有主流的深度学习框架训练生成与导出模型数据加载,常见的有如下:
Caffe
TensorFlow
Torch/PyTorch
OpenCV中DNN模块已经支持与测试过这些常见的网络模块
AlexNet
GoogLeNet v1 (also referred to as Inception-5h)
ResNet-34/50/…
SqueezeNet v1.1
VGG-based FCN (semantical segmentation network)
ENet (lightweight semantical segmentation network)
VGG-based SSD (object detection network)
MobileNet-based SSD (light-weight object detection network)
一:GoogleNet Caffe模型数据说明
OpenCV通过支持加载这些预先训练好的模型,实现图像分类、对象检测、语义分割、风格迁移等功能。支持Android/iOS等移动端平台开发。下面我们就以OpenCV3.3 使用Caffe的GoogleNet数据模型为例,实现对图像常见分类,OpenCV3.3的DNN模块使用的模型支持1000种常见图像分类、googlenet深度学习网络模型是2014图像分类比赛的冠军、首先是下载相关的数据模型文件
bvlc_googlenet.caffemodel
bvlc_googlenet.prototxt
其中prototxt是一个文本的JSON文件、一看就明白啦,另外一个文件二进制文件。文本文件只有你下载了OpenCV3.3解压缩之后就会在对应的目录发现。模型文件需要从以下地址下载即可: http://dl.caffe.berkeleyvision.org/bvlc_googlenet.caffemodel
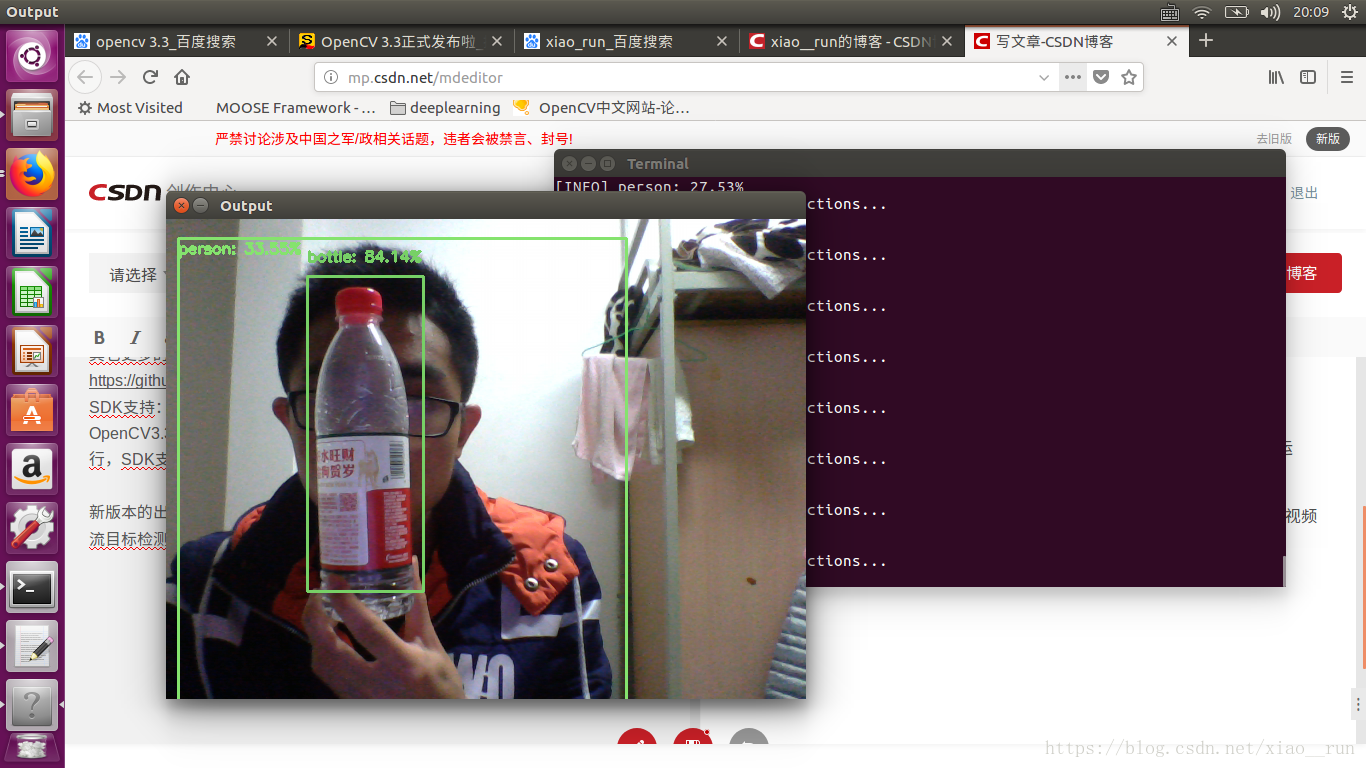
接下来我们用python调用Moblenet
# USAGE
# python deep_learning_object_detection.py --image images/example_01.jpg \
#   --prototxt MobileNetSSD_deploy.prototxt.txt --model MobileNetSSD_deploy.caffemodel

# import the necessary packages
import numpy as np
import argparse
import cv2

# construct the argument parse and parse the arguments
ap = argparse.ArgumentParser()
ap.add_argument("-i", "--image", required=True,
    help="path to input image")
ap.add_argument("-p", "--prototxt", required=True,
    help="path to Caffe 'deploy' prototxt file")
ap.add_argument("-m", "--model", required=True,
    help="path to Caffe pre-trained model")
ap.add_argument("-c", "--confidence", type=float, default=0.2,
    help="minimum probability to filter weak detections")
args = vars(ap.parse_args())

# initialize the list of class labels MobileNet SSD was trained to
# detect, then generate a set of bounding box colors for each class
CLASSES = ["background", "aeroplane", "bicycle", "bird", "boat",
    "bottle", "bus", "car", "cat", "chair", "cow", "diningtable",
    "dog", "horse", "motorbike", "person", "pottedplant", "sheep",
    "sofa", "train", "tvmonitor"]
COLORS = np.random.uniform(0, 255, size=(len(CLASSES), 3))

# load our serialized model from disk
print("[INFO] loading model...")
net = cv2.dnn.readNetFromCaffe(args["prototxt"], args["model"])

# load the input image and construct an input blob for the image
# by resizing to a fixed 300x300 pixels and then normalizing it
# (note: normalization is done via the authors of the MobileNet SSD
# implementation)
image = cv2.imread(args["image"])
(h, w) = image.shape[:2]
blob = cv2.dnn.blobFromImage(cv2.resize(image, (300, 300)), 0.007843, (300, 300), 127.5)

# pass the blob through the network and obtain the detections and
# predictions
print("[INFO] computing object detections...")
net.setInput(blob)
detections = net.forward()

# loop over the detections
for i in np.arange(0, detections.shape[2]):
    # extract the confidence (i.e., probability) associated with the
    # prediction
    confidence = detections[0, 0, i, 2]

    # filter out weak detections by ensuring the `confidence` is
    # greater than the minimum confidence
    if confidence > args["confidence"]:
        # extract the index of the class label from the `detections`,
        # then compute the (x, y)-coordinates of the bounding box for
        # the object
        idx = int(detections[0, 0, i, 1])
        box = detections[0, 0, i, 3:7] * np.array([w, h, w, h])
        (startX, startY, endX, endY) = box.astype("int")

        # display the prediction
        label = "{}: {:.2f}%".format(CLASSES[idx], confidence * 100)
        print("[INFO] {}".format(label))
        cv2.rectangle(image, (startX, startY), (endX, endY),
            COLORS[idx], 2)
        y = startY - 15 if startY - 15 > 15 else startY + 15
        cv2.putText(image, label, (startX, y),
            cv2.FONT_HERSHEY_SIMPLEX, 0.5, COLORS[idx], 2)

# show the output image
cv2.imshow("Output", image)
cv2.waitKey(0)