游戏里经常会遇到各种画线的需求,今天我们利用GL来实现其中的两个画线功能。
一、屏幕画线
屏幕画线是一种很好的用户交互方式,通过屏幕画线可以控制游戏中的各种元素,Unity提供了UnityEnige.GL库很方便的实现了这个功能。首先我们来看如何实现两点之间画线:
void DrawLine(Vector3 start, Vector3 end)
{
    if (!beginDraw)
        return;
    GL.PushMatrix();
    GL.LoadOrtho();

    lineMaterial.SetPass(0);
    GL.Begin(GL.LINES);

    GL.Vertex3(start.x, start.y, start.z);
    GL.Vertex3(end.x, end.y, end.z);

    GL.End();
    GL.PopMatrix();
}
可以看到,只要确定好两点位置,调用GL.Vertex3(float x, float y, float z)将点的位置作为参数传就去就好了。
OK,那么有了以上基础,我们稍作改动,就可以实现屏幕实时画线了,首先要记录拖动时的点的位置:
void OnGUI()
{
    Event e = Event.current;

    if (e != null && e.type != null) {
        if (e.type == EventType.MouseDown) {
            beginDraw = true;
        }
        if (e.type == EventType.MouseDrag) {

            if (Vector3.Distance(curPos, Input.mousePosition) > interval) {
                curPos = Input.mousePosition;

                posList.Add(new Vector3(curPos.x / Screen.width, curPos.y / Screen.height, 0));
            }
        }
        if (e.type == EventType.MouseUp) {
            beginDraw = false;
            ClearLines();
        }
    }
}

void ClearLines()
{
    beginDraw = false;
    posList.Clear();
    curPos = Vector3.zero;
}其中,interval用来控制点与点之间的间距,然后利用GL完成点连线:
void DrawLine()
{
    if (!beginDraw)
        return;
    GL.PushMatrix();
    GL.LoadOrtho();

    lineMaterial.SetPass(0);
    GL.Begin(GL.LINES);
    for (int i = 0; i < posList.Count - 1; i++) {
        Vector3 pos = posList[i];

        GL.Vertex3(pos.x, pos.y, pos.z);
        GL.Vertex3(posList[i + 1].x, posList[i + 1].y, posList[i + 1].z);
    }

    GL.End();
    GL.PopMatrix();
}
完成后效果:
这里需要注意的一点是,因为两点成一线,GL.Vertex3()要成对出现,比如说A,B,C三个点,那么就要写成:
//线段AB
GL.Vertex3(A);
GL.Vertex3(B);
//线段BC
GL.Vertex3(B);
GL.Vertex3(C);
//线段CA
GL.Vertex3(C);
GL.Vertex3(A);
而不是:
GL.Vertex3(A);
GL.Vertex3(B);
GL.Vertex3(C);
二、线框渲染(Wireframe)
将物体以线框显示,常见于特殊的游戏效果表现,或者建筑设计展示,也是3D软件中模型显示的基本功能,包括Unity里也有这个功能,但仅限于Scene窗口。那么如何在Game中实现同样的效果呢,方法也不少,今天介绍一种GL+Shader的方案。万变不离其宗,既然用了GL,那么原理还是一样的,只是这次绘制的线是基于网格顶点信息:
private void OnRenderObject()
    {
        LineMat.SetColor("_LineColor", LineColor);
        Mesh mesh = meshFilter.sharedMesh;

        var vertices = mesh.vertices;
        var triangles = mesh.triangles;

        lines = new Vector3[triangles.Length];
        int count = 0;
        for (int i = 0; i < triangles.Length/3; i++)
        {
            lines[count++] = vertices[triangles[i*3]];
            lines[count++] = vertices[triangles[i*3 + 1]];
            lines[count++] = vertices[triangles[i*3 + 2]];
        }

        LineMat.SetPass(0);

        GL.PushMatrix();

        //转换到世界坐标
        GL.MultMatrix(transform.localToWorldMatrix);

        GL.Begin(GL.LINES);

        for (int i = 0; i < lines.Length/3; i++)
        {
            GL.Vertex(lines[i*3]);
            GL.Vertex(lines[i*3 + 1]);
            GL.Vertex(lines[i*3 + 1]);
            GL.Vertex(lines[i*3 + 2]);
            GL.Vertex(lines[i*3 + 2]);
            GL.Vertex(lines[i*3]);
        }

        GL.End();

        GL.PopMatrix();
    }
可以看到,在绘制三角形的时候,首尾各一次,其他顶点出现两次。为了控制绘制线框的颜色,接下来,需要一个简单的Shader:
Shader "LineColor" {

    Properties{
        _LineColor ("Line Color", Color) = (1.0, 1.0, 1.0, 1.0)
    }

    SubShader {
        Pass {
            Tags { "RenderType"="Opaque"}
            CGPROGRAM

            #pragma vertex vert
            #pragma fragment frag

            #include "UnityCG.cginc"

            struct v2f
            {
                half4 pos : SV_POSITION;
            };

            fixed4 _LineColor;

            v2f vert(appdata_base  v)
            {
                v2f o;
                o.pos = mul(UNITY_MATRIX_MVP, v.vertex);
                return o;
            }

            fixed4 frag(v2f i) : COLOR
            {
                return _LineColor;
            }

            ENDCG
        }
    }
}
OK,到这里,我们把脚本拖给一个现有的模型,就大功告成啦!
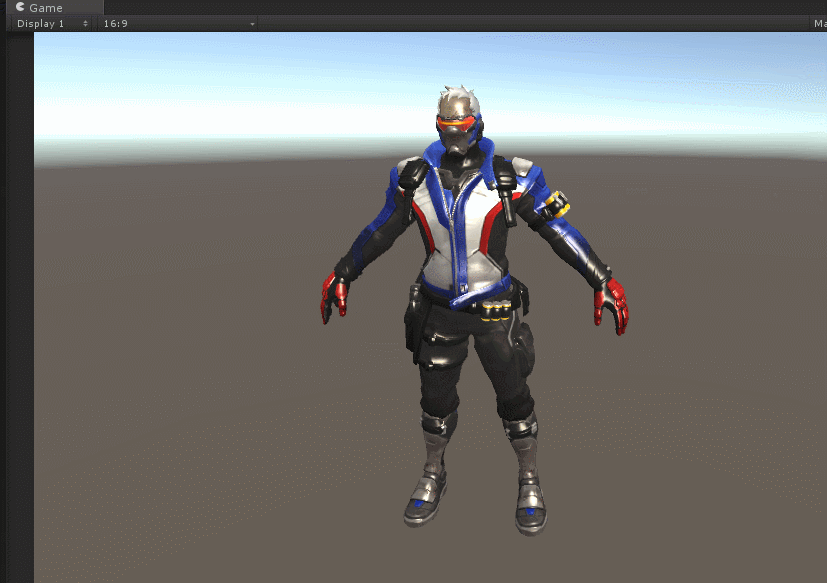
可以看到模型和线框可以同时显示,并不冲突,而且可以改变线框为自己想要的颜色,这一切都得益于GL!今天的技能Get到了吗?