springCloud微服务搭建之eureka单节点模式
这是SpringCloud系列的第一篇文章,主要目的是为了搭建一个微服务模板,以后项目中使用的时候直接拿过来修改一下就可能直接使用。
eurka最为spring官方推荐的服务发现和注册中心,我们就直接使用它。
文章包含两部分:
单节点模式搭建和配置文件讲解
集群模式搭建和配置文件讲解
本片先讲单节点模式
单节点模式eureka
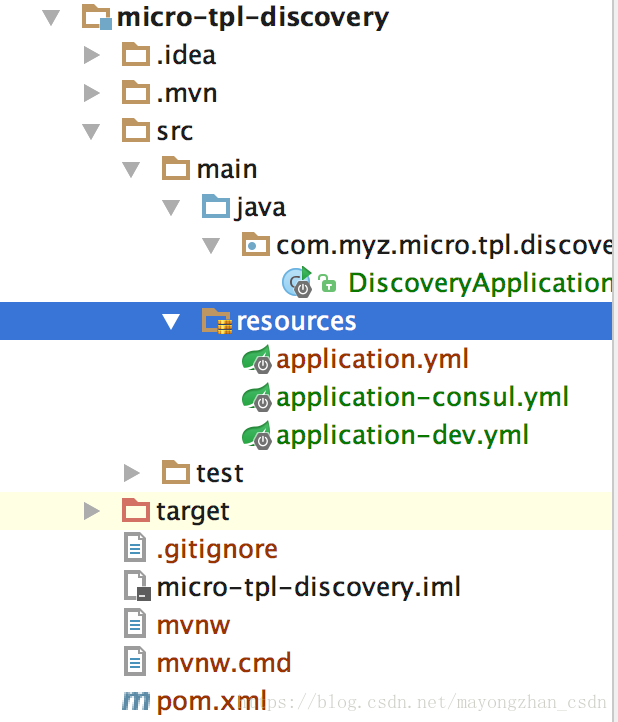
开发工具使用的idea,它集成了Spring,能直接从spring.io下载springClound的各个组件对应的jar,通过勾选你项目需要组件,直接写入你项目的pom文件依赖,能够快速准确搭建你的应用。
New Project -> Spring Initializr,之后可以一路next。
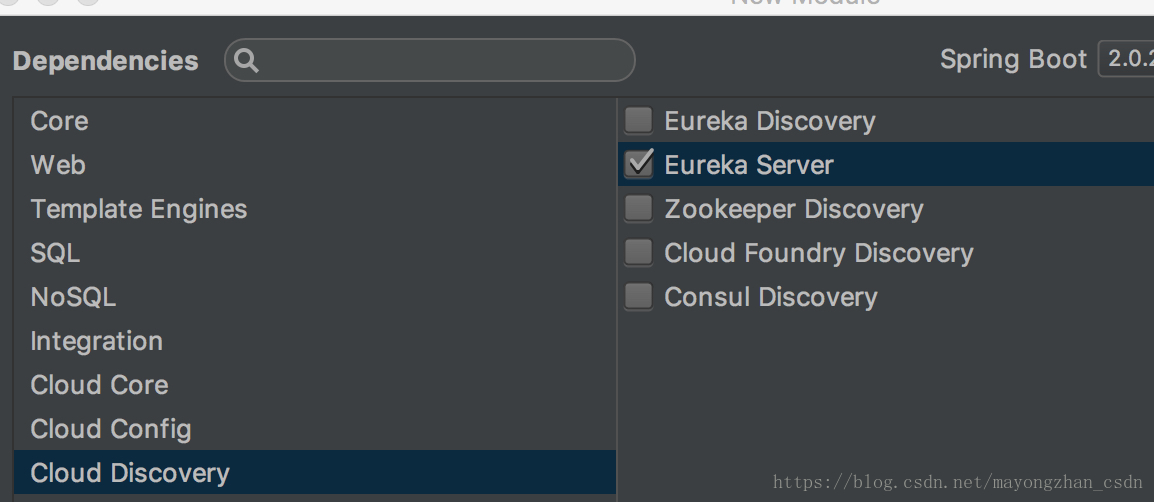
到这里我们选择eurekaServer。
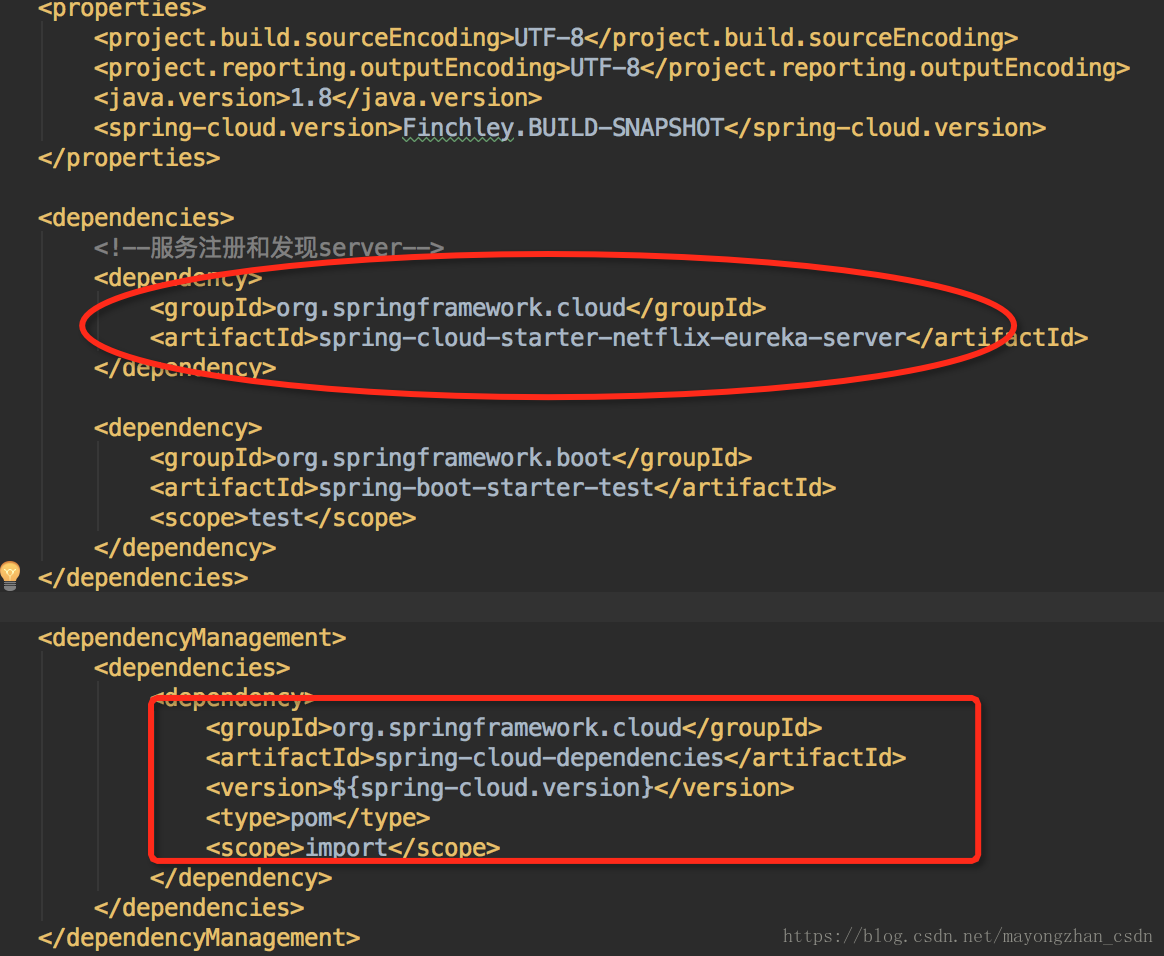
生成的pom文件类似于这样的
编写启动类
@SpringBootApplication
@EnableEurekaServer //eureka server
public class DiscoveryApplication {

    public static void main(String[] args) {

        SpringApplication.run(DiscoveryApplication.class);
//        new SpringApplicationBuilder(ConsulApplication.class).web(WebApplicationType.SERVLET).run(args);
    }
}
配置文件
我们使用.yml格式的,它跟properties的区别是有层级,看起来更直观,有提示,使用起来更方便。
application.yml
server:
  port: 8001
  servlet:
    context-path: /
spring:
  profiles:
    active: local
  application:
    name: micro-tpl-discovery-eureka
eureka:
  instance:
    hostname: localhost
  client:
    fetch-registry: false
    register-with-eureka: false
    service-url:
      defaultZone: http://${eureka.instance.hostname}/${server.port}/eureka/
里边有两个配置项:
1)eureka.client.register-with-eureka: false 表示自己作为一个服务注册到eureka
2)eureka.client.fetch-registry: false 表示自己不去eureka中拉去注册信息。
eureka后续变更为集群模式,会相互注册,相互拉去注册信息,这里不让自己去拉去,它只是作为一个server存在
好了直接右键run启动类
浏览器访问:http://localhost:8001/
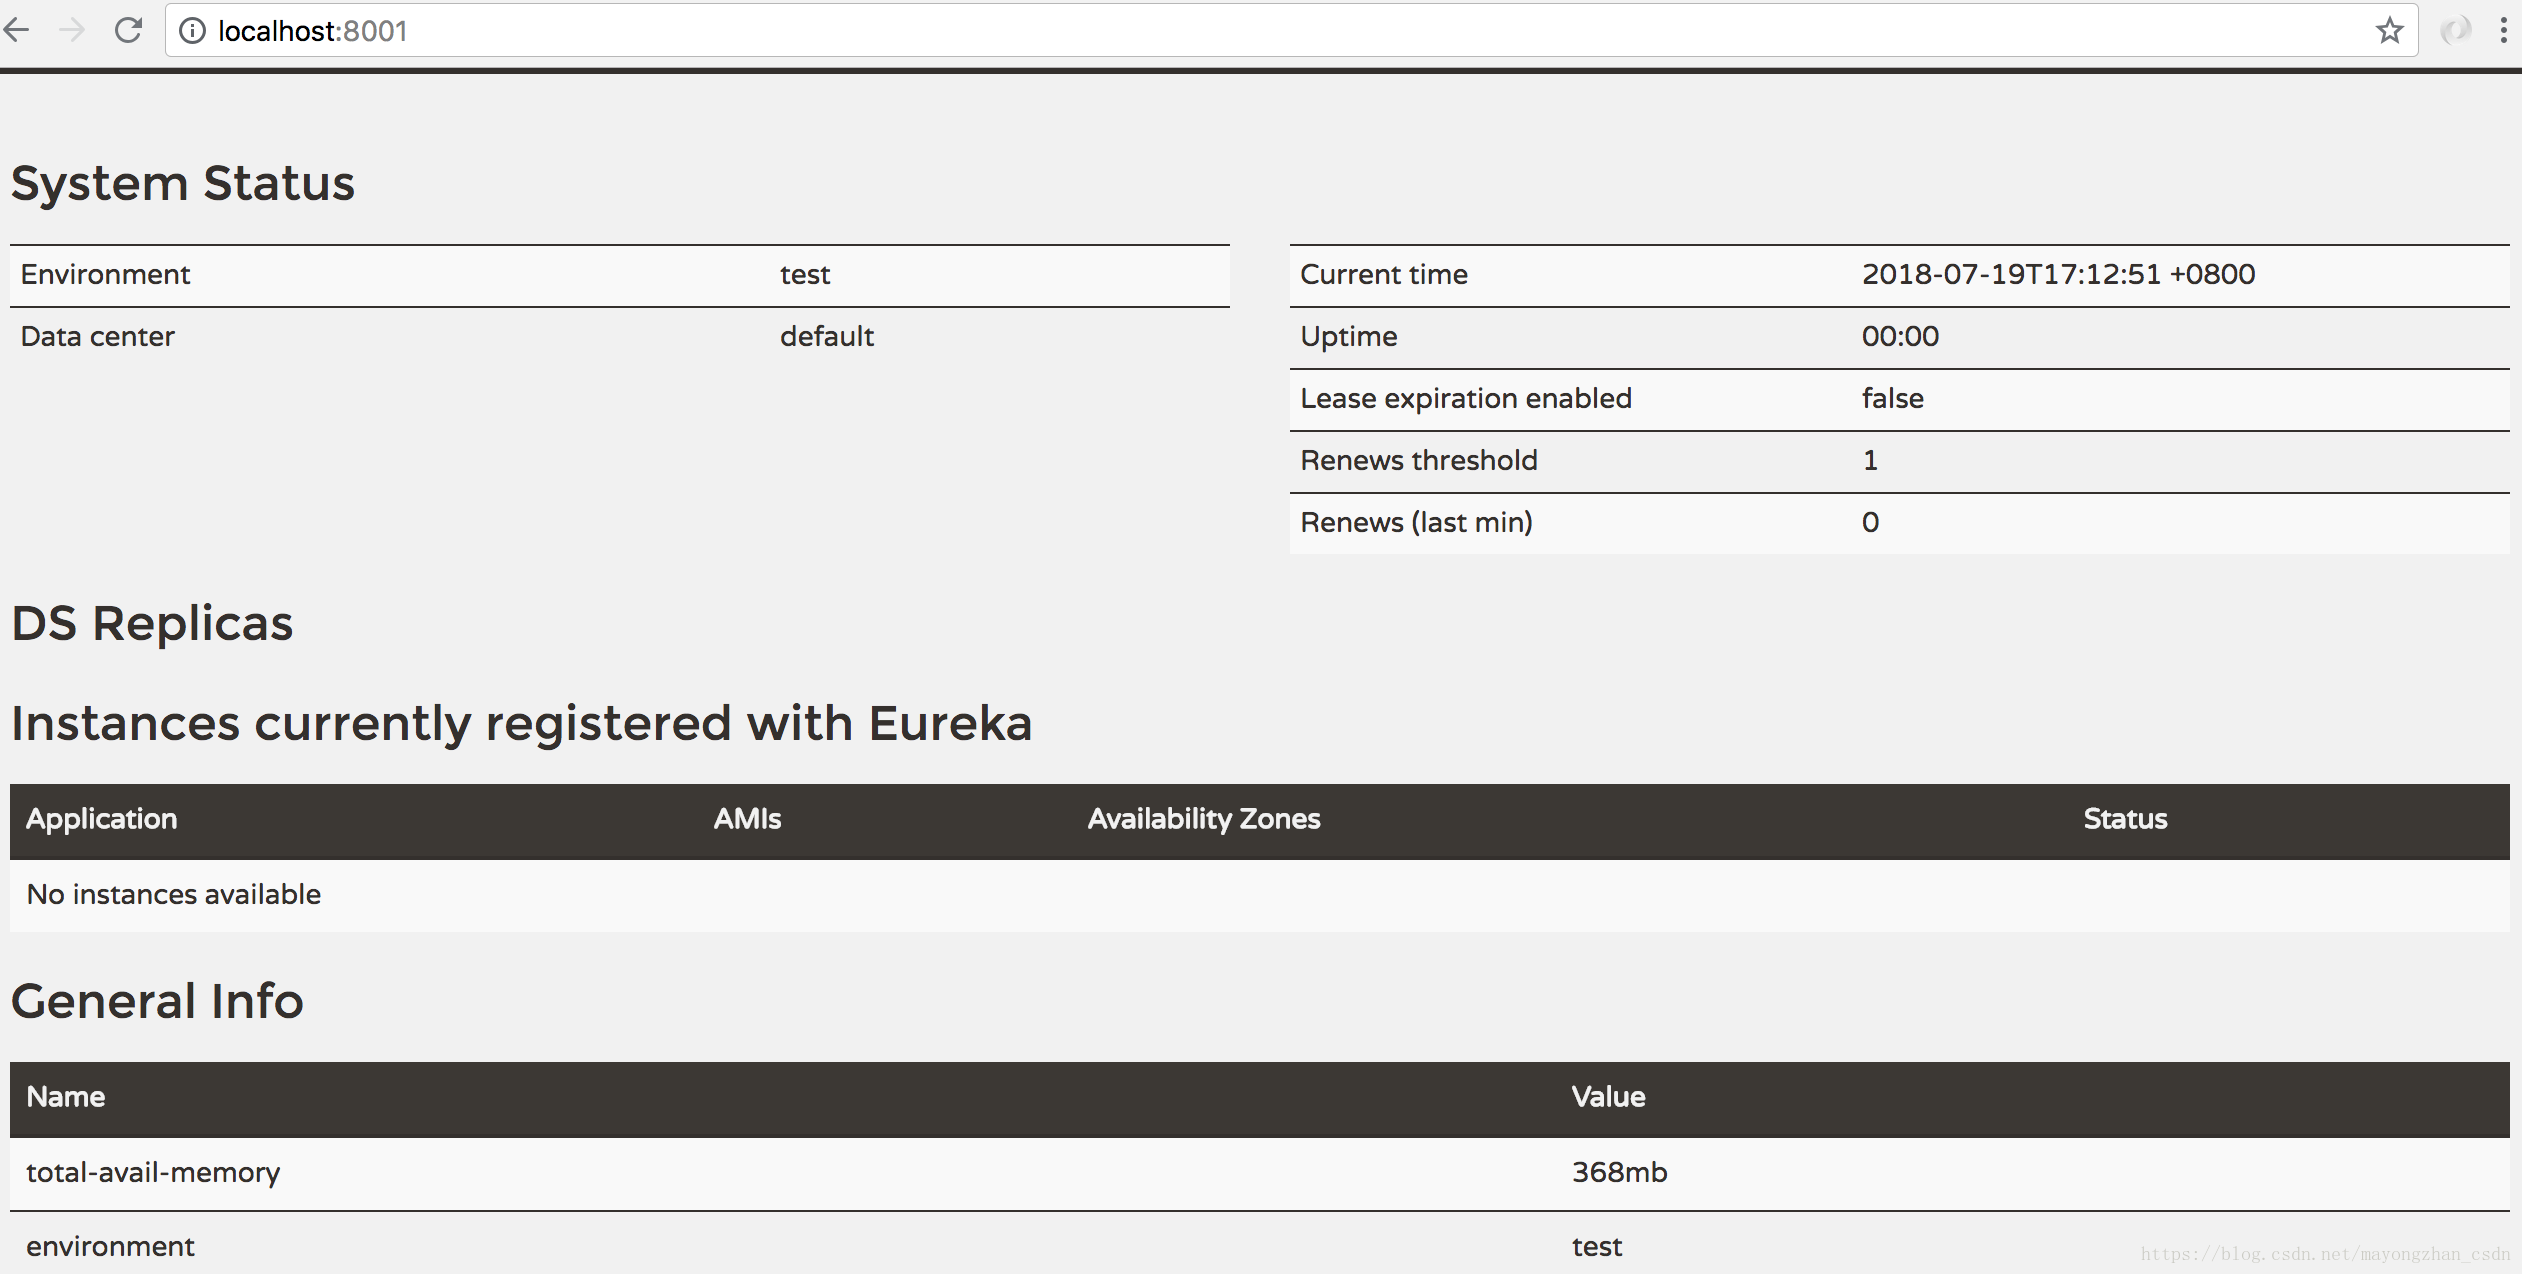
能够看到如上界面就算是访问成功了。
现在只有一个注册中心,我们没法继续往下讲,也没法做实验,但这是我们迈向SpringCloud微服务的第一步。