一、前言
Spring Cloud是一套完整的开源的微服务解决方案,它提供了诸多的微服务组件,基于springBoot开箱即用。今天先介绍一下微服务中最重要的组件注册中心。本片文章将使用Eureka搭建一个简单的注册中心。
二、开发工具及相关版本号
| 开发工具 | 版本号 |
|---|---|
| idea | 2018.2.4 |
| spring boot | 2.1.3 |
| spring cloud | Greenwich.RELEASE |
| java | 1.8 |
三、开始写代码
- 新建一个spring-boot项目,引入如下依赖
<?xml version="1.0" encoding="UTF-8"?>
<project xmlns="http://maven.apache.org/POM/4.0.0" xmlns:xsi="http://www.w3.org/2001/XMLSchema-instance"
         xsi:schemaLocation="http://maven.apache.org/POM/4.0.0 http://maven.apache.org/xsd/maven-4.0.0.xsd">
    <modelVersion>4.0.0</modelVersion>
    <parent>
        <groupId>org.springframework.boot</groupId>
        <artifactId>spring-boot-starter-parent</artifactId>
        <version>2.1.3.RELEASE</version>
        <relativePath/> <!-- lookup parent from repository -->
    </parent>
    <groupId>com.example</groupId>
    <artifactId>demo</artifactId>
    <version>0.0.1-SNAPSHOT</version>
    <name>demo</name>
    <description>Demo project for Spring Boot</description>

    <properties>
        <java.version>1.8</java.version>
        <spring-cloud.version>Greenwich.RELEASE</spring-cloud.version>
    </properties>

    <dependencies>
    	<!--eureka server-->
        <dependency>
            <groupId>org.springframework.cloud</groupId>
            <artifactId>spring-cloud-starter-netflix-eureka-server</artifactId>
        </dependency>

        <dependency>
            <groupId>org.springframework.boot</groupId>
            <artifactId>spring-boot-starter-test</artifactId>
            <scope>test</scope>
        </dependency>
        <!-- 注册中心的安全配置-->
        <dependency>
            <groupId>org.springframework.boot</groupId>
            <artifactId>spring-boot-starter-security</artifactId>
        </dependency>
    </dependencies>

    <dependencyManagement>
        <dependencies>
            <dependency>
                <groupId>org.springframework.cloud</groupId>
                <artifactId>spring-cloud-dependencies</artifactId>
                <version>${spring-cloud.version}</version>
                <type>pom</type>
                <scope>import</scope>
            </dependency>
        </dependencies>
    </dependencyManagement>

    <build>
        <plugins>
            <plugin>
                <groupId>org.springframework.boot</groupId>
                <artifactId>spring-boot-maven-plugin</artifactId>
            </plugin>
        </plugins>
    </build>

    <repositories>
        <repository>
            <id>spring-milestones</id>
            <name>Spring Milestones</name>
            <url>https://repo.spring.io/milestone</url>
        </repository>
    </repositories>

</project>
- 添加配置文件 application.yml
server:
 port: 8080
eureka:
 instance:
   hostname: localhost
 client:
   # 表示是否注册自身到eureka服务器
    register-with-eureka: false
   # 是否从eureka上获取注册信息
    fetch-registry: false
   service-url:
     defaultZone: http://admin:admin@localhost:8081/eureka/
 server:
   enable-self-preservation: false
spring:
 security:
   user:
     name: admin
     password: admin
 application:
    name: eureka-server
- 启动类上添加@EnableEurekaServer注解
import org.springframework.boot.SpringApplication;
import org.springframework.boot.autoconfigure.SpringBootApplication;
import org.springframework.cloud.netflix.eureka.server.EnableEurekaServer;

@EnableEurekaServer
@SpringBootApplication
public class DemoApplication {


    public static void main(String[] args) {


        SpringApplication.run(DemoApplication.class, args);
    }

}
- 配置spring Security关闭CSRF,新版的Secrity默认开启了CSRF如果不关闭会导致认证403,服务注册不到注册中心
import org.springframework.context.annotation.Configuration;
import org.springframework.security.config.annotation.web.builders.HttpSecurity;
import org.springframework.security.config.annotation.web.configuration.EnableWebSecurity;
import org.springframework.security.config.annotation.web.configuration.WebSecurityConfigurerAdapter;

@EnableWebSecurity
@Configuration
public class WebSecurityConfig extends WebSecurityConfigurerAdapter {


    @Override
    protected void configure(HttpSecurity http) throws Exception {


        http.csrf().disable(); //关闭csrf
        http.authorizeRequests().anyRequest().authenticated().and().httpBasic(); //开启认证
    }

}
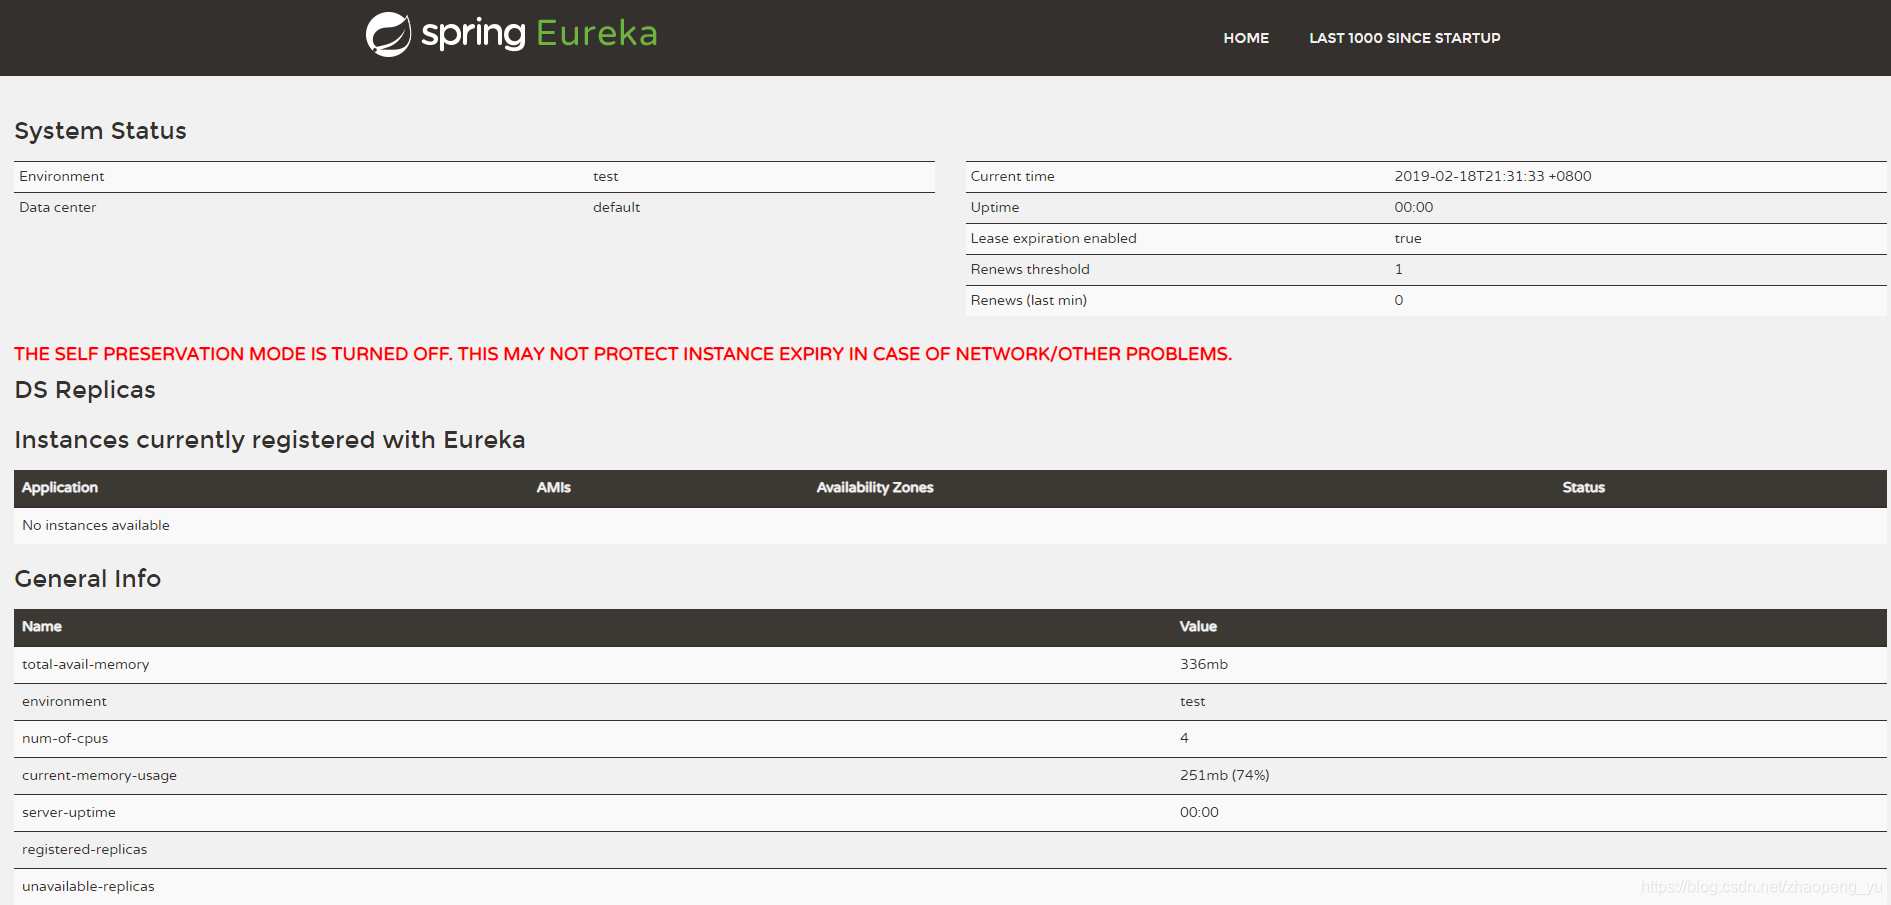
- 启动项目
浏览器输入:http://localhost:8080
看到下图便成功了
四、注意事项
- 在配置注册中心时,处于安全的考虑便添加了spring-security框架,所以在访问localhost:8080时需要认证,认证的用户名、密码在配置文件中已配置。
- 新版的spring-security框架默认开启了CSRF,一定记得关闭!
五、小节
Spring Cloud是一套开箱即用的微服务工具箱,所以在使用的过程中还是很简单的 !
本项目的代码以上传至GitHub,地址:俞兆鹏的GitHub