jupyter notebook是一个网页版的python编写交互模式,他的功能类似于ipython,但是他使用过程很类似我们使用纸和笔操作, 可轻松擦除我们先前写的代码。并且他还可以将我们的编写的代码进行保存记录,用来做笔记以及编写简单代码相当方便。那么下面让我们来看如何安装使用jupyter notebook。
在centos下的安装操作如下。
1、把python2升级到python3,传送门《CentOS7.3中将Python2.7.5 升级到Python3.5.1》》
2、升级安装完成之后,要将pip等升级到最新,否则会报错。
pip install --upgrade pip
3、安装jupyter等
pip install ipython jupyter notebook
4、配置
运行:jupyter notebook --generate-config
生成的config file在/home/user/.jupyter/jupyter_notebook_config.py
为了比较安全的访问服务器资源,我们需要设置登录密码和设置https来实现安全登录。
如果有条件可以通过安全认证中心来发放秘钥和认证。首先打开ipython,生成sha1的密码,如下:
    from notebook.auth import passwd
    passwd()
    #Enter password
    #output sha1:49acd1a985cc:beb1fb6859665bfa721e65e78fc511c41basdasa.
然后生成一个自签名认证的key,如下:
    openssl req -x509 -nodes -days 365 -newkey rsa:4096 -keyout jkey.key -out jcert.pem
最后如下配置即可:
    vi /root/.jupyter/jupyter_notebook_config.py
    c.NotebookApp.password = 'sha1:<your-sha1-hash-value>'
    c.NotebookApp.port = 8888
    c.NotebookApp.ip = '*'
    c.NotebookApp.open_browser = False
    c.NotebookApp.certfile = '/home/user/jcert.pem'
    c.NotebookApp.keyfile = '/home/user/jkey.key'
    #保存退出即可
5、使用
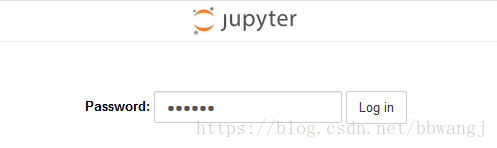
由于jupyter使用的8888作为默认端口,所以我需要把端口给开放并重启防火墙。直接在命令行输入:jupyter notebook.就可以使用了。浏览器输入 http://192.168.80.111:8888/tree 进行打开
Dockerfile安装
FROM python:3.5.5
RUN pip install --upgrade pip
RUN pip install ipython jupyter notebook
RUN ln -s /usr/local/python/bin/jupyter /usr/bin/jupyter
RUN jupyter notebook --generate-config --allow-root
RUN rm /root/.jupyter/jupyter_notebook_config.py
COPY jupyter_notebook_config.py /root/.jupyter/
EXPOSE 8888
CMD ["jupyter", "notebook", "--allow-root"]
完整的dockerfile:https://github.com/fungitive/jupyter-dockerfile