系列章节:
WebApi系列文章第一篇介绍如何使用WebAPI:
介绍:
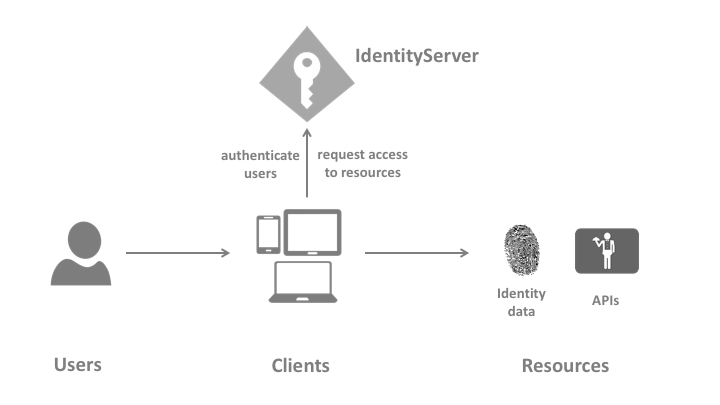
IdentityServer是一个OpenID Connect提供者 - 它实现了OpenID Connect和OAuth 2.0协议。是一种向客户发放安全令牌的软件。
官网给出的功能解释是:
- 保护您的资源
- 使用本地帐户存储或通过外部身份提供商对用户进行身份验证
- 提供会话管理和单点登录
- 管理和认证客户
- 向客户发布身份和访问令牌
- 验证令牌
IdentityServe4的四种模式:
- 授权码模式(authorization code)
- 简化模式(implicit)
- 密码模式(resource owner password credentials)
- 4、客户端模式(client credentials)
以下是IdentityServer的一个大致流程图:
注册IdentityServe4认证服务器:
现在asp.net core止呕我们选中空模版。因为本身写的业务也不多,只是为了做token的认证处理,所有建这个做测试比较方便。

创建代码示例:
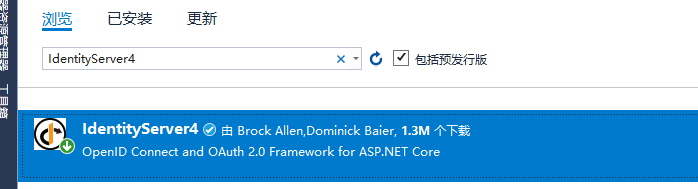
什么时候都不要忘记添加引用哦:
NuGet命令行:Install-Package IdentityServer4
当然你也可以这样:
然后创建config.cs类来处理我们的一些业务:


 //定义范围
        #region 定义要保护的资源(webapi)
        public static IEnumerable<ApiResource> GetApiResources()
        {
            return new List<ApiResource>
            {
                new ApiResource("FirstAPI", "API接口安全测试")
            };
        }
        #endregion

        #region 定义可访问客户端
        public static IEnumerable<Client> GetClients()
        {
            return new List<Client>
            {
                new Client
                {
                    //客户端id自定义
                    ClientId = "YbfTest",

                    AllowedGrantTypes = GrantTypes.ClientCredentials, ////设置模式,客户端模式

                    // 加密验证
                    ClientSecrets = new List<Secret>
                    {
                        new Secret("secret".Sha256())
                    },

                    // client可以访问的范围,在GetScopes方法定义的名字。
                    AllowedScopes = new List<string>
                    {
                        "FirstAPI"
                    }
                }
            };
        }
        #endregion
以上就是一个基本的处理类了。然后我们开始在Startup.cs 配置IdentityServer4:
 public void ConfigureServices(IServiceCollection services)
        {
            services.AddIdentityServer()
                 .AddDeveloperSigningCredential()
                 .AddInMemoryApiResources(Config.GetApiResources())  //配置资源
                 .AddInMemoryClients(Config.GetClients());//配置客户端
        }
 public void Configure(IApplicationBuilder app, IHostingEnvironment env)
        {
            if (env.IsDevelopment())
            {
                app.UseDeveloperExceptionPage();
            }
            //将IddiTyServer添加到管道中。
            app.UseIdentityServer();

            app.Run(async (context) =>
            {
                await context.Response.WriteAsync("Hello World!");
            });
        }
这样就可以启动项目了,确认项目启动完成后,还要确认服务是否开启成功:在地址后增加地址:/.well-known/openid-configuration 例如:

出现以上结果就是启动成功了。【未完待续】