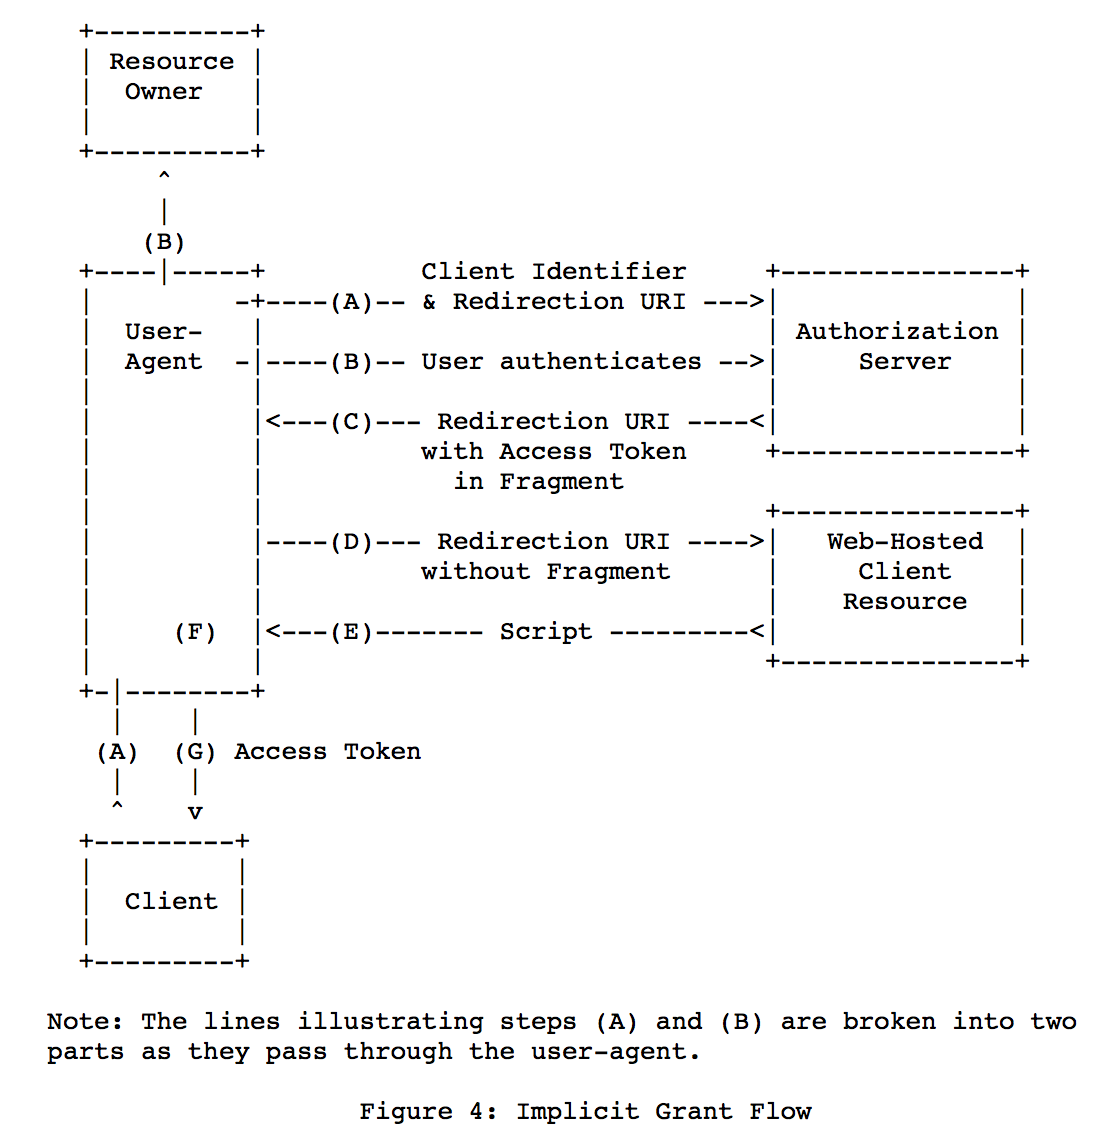
今天的内容是授权模式中的简化模式,还是先看以下授权流程图:
在这种模式中我们将与OpenID结合使用,所以首先我们要了解OpenID和OAuth的区别,关于他们的区别,在我上一篇博客《理解OpenID和OAuth的区别》中做了的一些简要的介绍,这里不再多说。
授权服务器我们还是在之前的基础上改动,首先我们需要在Config类里面添加对OpenID Connect Identity Scopes的支持,与OAuth2.0相比,OIDC(OpenID Connect)同样需要Scopes的概念,他也需要保护Scopes范围的内容而也需要让用户去访问的内容,但是OIDC中这里的范围并不是用户要访问的API,而是用户标识、用户名、Email等信息。
添加对OpenId(SubjectId) Profile(first name last name etc...)的支持范围,并返回一个IdentityReSource的集合,添加以下代码:
//添加对OpenID Profile范围的支持
 public static IEnumerable<IdentityResource> GetIdentityResources()
 {
       return new List<IdentityResource>{
              new IdentityResources.OpenId(),
              new IdentityResources.Profile(),
         };
 }
再天际一个客户端,基于Implicit授权模式,添加以下代码:
new Client(){
    ClientId="impClient",
    AllowedGrantTypes=GrantTypes.Implicit,

    //用于登录成功后的RedirectUri
    RedirectUris={"http://localhost:5004/signin-oidc"},

    //用于注销后的RedirectUri
    PostLogoutRedirectUris={"http://localhost:5004/signout-callback-oidc"},

    //允许访问的范围
    AllowedScopes={
             IdentityServerConstants.StandardScopes.OpenId,
             IdentityServerConstants.StandardScopes.Profile
           }
  }
下面我们还要将IdentityResource注入到IdentityServer中,在ConfigureService中,添加:
.AddInMemoryIdentityResources(Config.GetIdentityResources())
修改返回的TestUser的方法,在每一个用户中添加一个声明属性的集合,返回一个name和address信息,改动如下:
return new List<TestUser>{
     new TestUser(){
         SubjectId="1",
         Username="allen",
         Password="123456",
         Claims=new List<Claim>
              {
                  new Claim("name","Allen"),
                  new Claim("address","http://allen.com")
              }
         },
      new TestUser(){
         SubjectId="2",
         Username="alisa",
         Password="123456",
         Claims=new List<Claim>
                {
                    new Claim("name","Alisa"),
                    new Claim("address","http://alisa.com")
                }
         }
OIDC所需的所有协议已经内置在IdentityServer4中了,需要为登录、注销、同意授权内容以及错误等提供UI的部分,IdentityServer4提供了一个简单的基于MVC的UI界面,我们可以直接download到我们的服务端里,在控制台使用命令:
如果你是Windows系统,使用以下命令:
iex ((New-Object System.Net.WebClient).DownloadString('https://raw.githubusercontent.com/IdentityServer/IdentityServer4.Quickstart.UI/release/get.ps1'))如果你是MacOS或者Linux用户,使用:
\curl -L https://raw.githubusercontent.com/IdentityServer/IdentityServer4.Quickstart.UI/release/get.sh | bash执行完成后,会发现多了一个QuickStart文件夹,放置了所用到的Controller,Views文件夹下也放置了对应的视图,
由于我创建的是WebApi项目,所以还要在StartUp.cs里面将原来我们注释掉的app.UseMvc()解开,另外在配置默认路由前还要添加使用静态文件,以使用我们的静态文件夹下的样式,app.UseStaticFiles(); 以上内容都修改完成后,下面我们新建一个Mvc的项目,去请求我们的授权服务器,如何创建不再赘述,创建完成后添加对OIDC认证的支持,在ConfigureServices的方法中添加以下代码:
using System;
using System.Collections.Generic;
using System.Linq;
using System.Threading.Tasks;
using Microsoft.AspNetCore.Builder;
using Microsoft.AspNetCore.Hosting;
using Microsoft.Extensions.Configuration;
using Microsoft.Extensions.DependencyInjection;
using System.IdentityModel.Tokens.Jwt;

namespace MvcClient
{
    public class Startup
    {
        public Startup(IConfiguration configuration)
        {
            Configuration = configuration;
        }

        public IConfiguration Configuration { get; }

        // This method gets called by the runtime. Use this method to add services to the container.
        public void ConfigureServices(IServiceCollection services)
        {
            JwtSecurityTokenHandler.DefaultInboundClaimTypeMap.Clear();

            //添加认证服务到DI中,
            services.AddAuthentication(options=>{
                //使用Cookies作为唯一的认证用户的主要手段
                options.DefaultScheme="Cookies";
                //需要用户登录才可进入该应用程序,使用OpenID Connect scheme
                options.DefaultChallengeScheme="oidc";
            })
            //添加可以处理Cookie的处理程序
            .AddCookie("Cookies")

            //配置OpenID Connect协议
            .AddOpenIdConnect("oidc",options=>{
                //OIDC协议执行完成,发布Cookie
                options.SignInScheme="Cookies";

                //授权服务器地址
                options.Authority="http://localhost:5000";
                options.RequireHttpsMetadata=false;
                //指定客户端Id
                options.ClientId="impClient";
                //保存令牌在Cookie中
                options.SaveTokens=true;
            });

            services.AddMvc();
        }

        // This method gets called by the runtime. Use this method to configure the HTTP request pipeline.
        public void Configure(IApplicationBuilder app, IHostingEnvironment env)
        {
            if (!env.IsDevelopment())
            {
                app.UseDeveloperExceptionPage();
            }
            else
            {
                app.UseExceptionHandler("/Home/Error");
            }

            app.UseStaticFiles();

            //添加认证中间件
            app.UseAuthentication();

            app.UseMvc(routes =>
            {
                routes.MapRoute(
                    name: "default",
                    template: "{controller=Home}/{action=Index}/{id?}");
            });
        }
    }
}
注意配置启动时将MvcClient启动端口改为5004,因为我在服务端指定的客户端的端口为5004,接着我们添加一个Action,使他需要进行授权访问,
[Authorize]
public IActionResult Authorize()
{
return View();
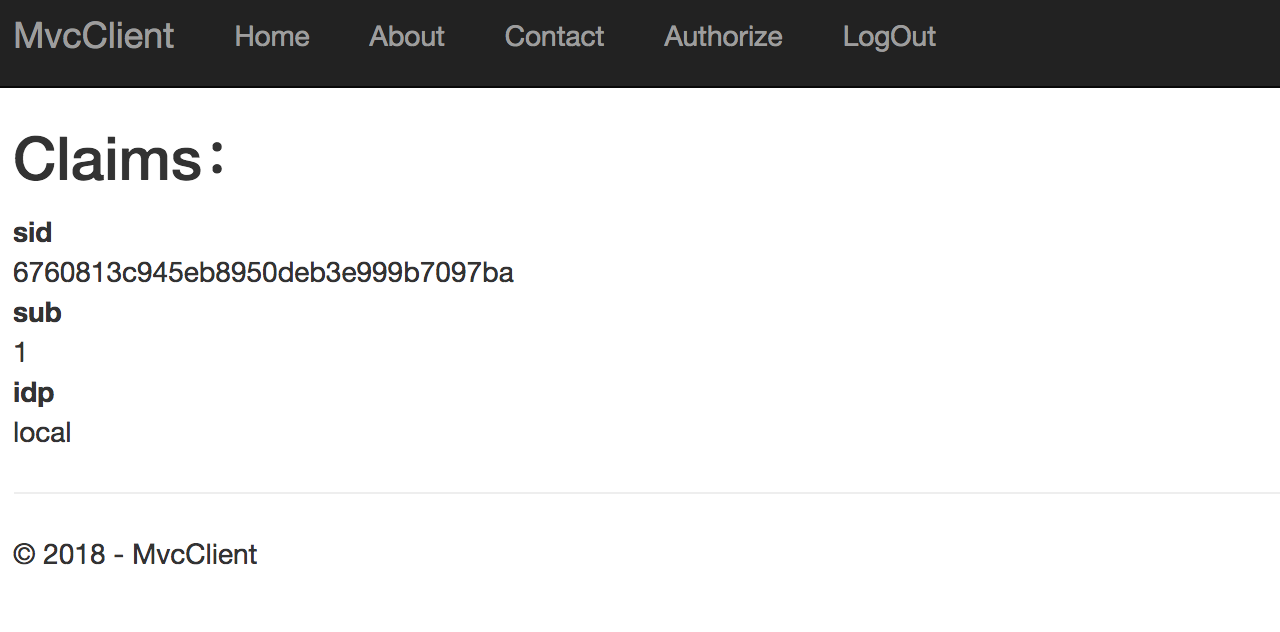
}并添加对应的视图,展示用户信息:
@{
    ViewData["Title"] = "Authorize";
}

<h2>Claims:</h2>
<dl>
@foreach (var claim in User.Claims)
    {
        <dt>@claim.Type</dt>
        <dd>@claim.Value</dd>
    }
</dl>
至此,我们的配置就完成了,下面我们运行看下效果,首先run下服务端,再启动我们的客户端,客户端点击Authorize菜单:
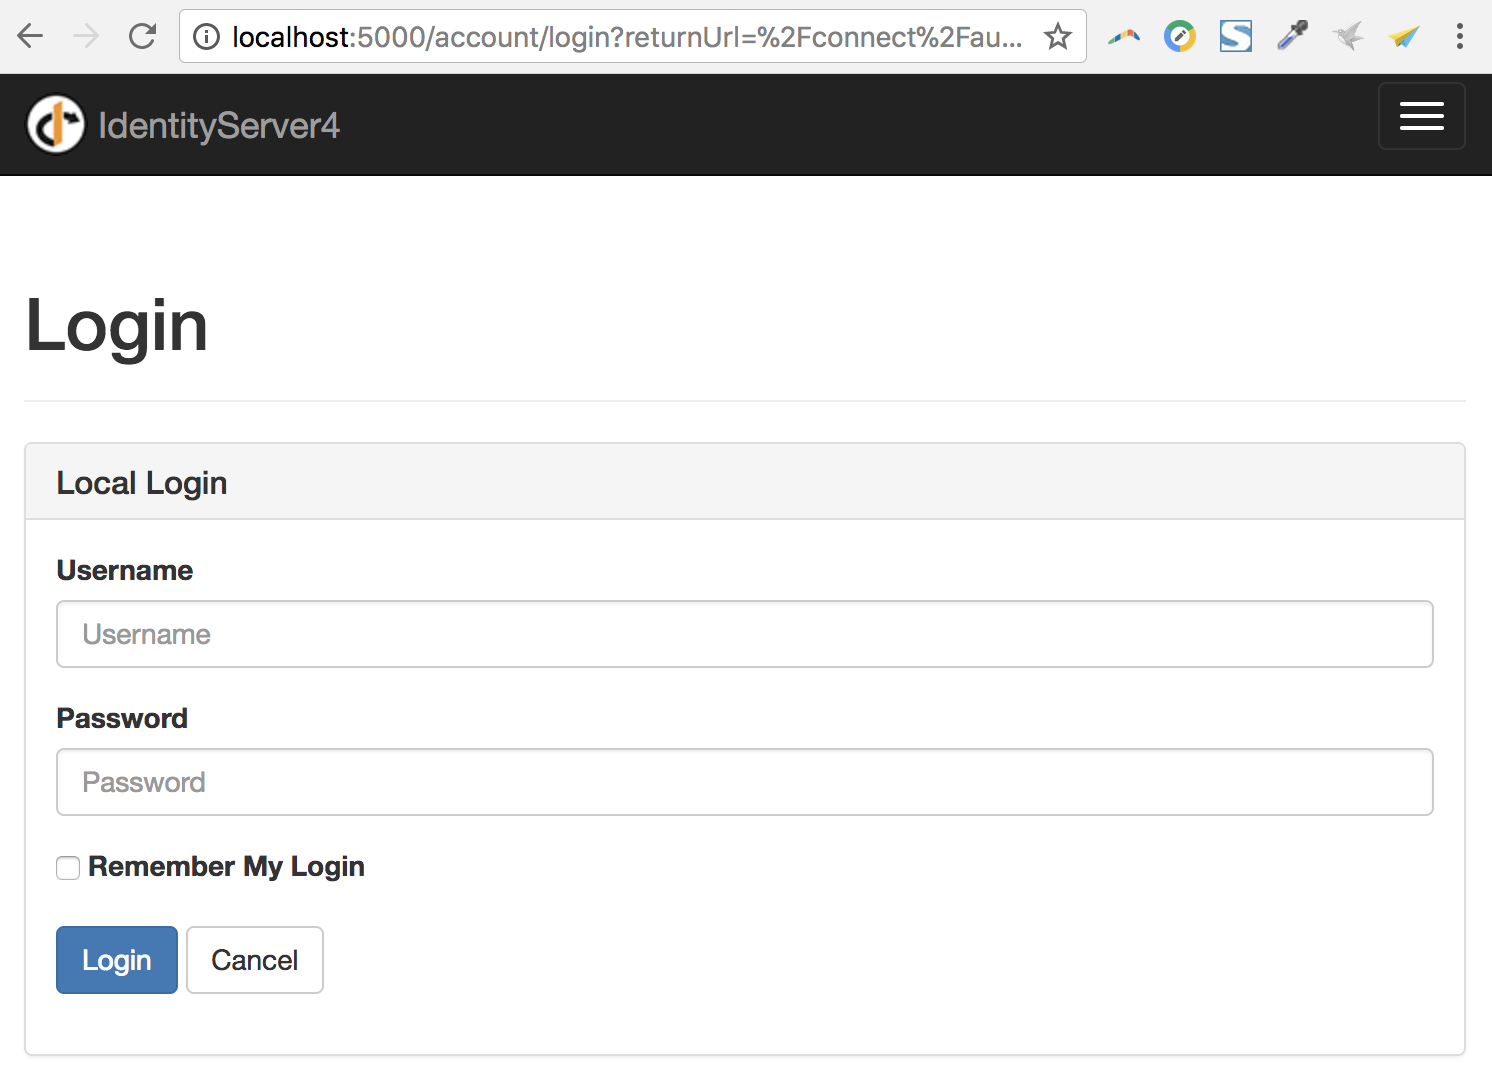
这个就对应我们那个需要QQ登录的界面了,需要通过认证,我们输入我们事先配置的用户名和密码,allen 123456,
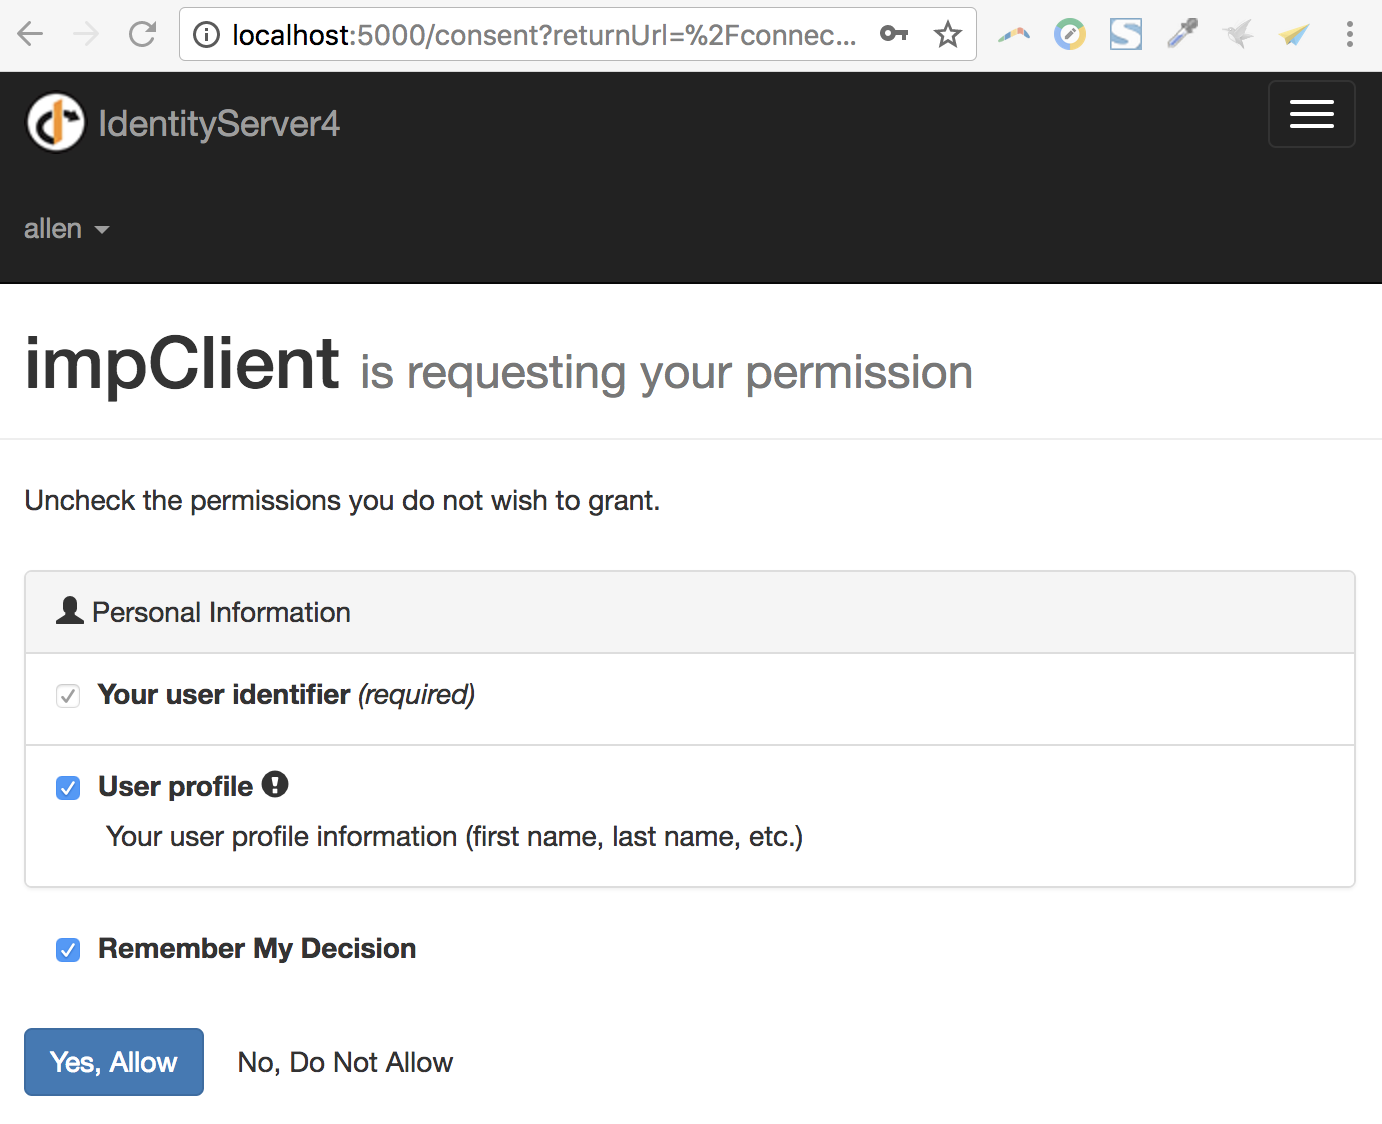
到consent页面是要通过我们的授权,将我们用户信息共享给客户端,现在我们选择用户profile,点击允许:
当我们点击不允许读取用户信息的时候:
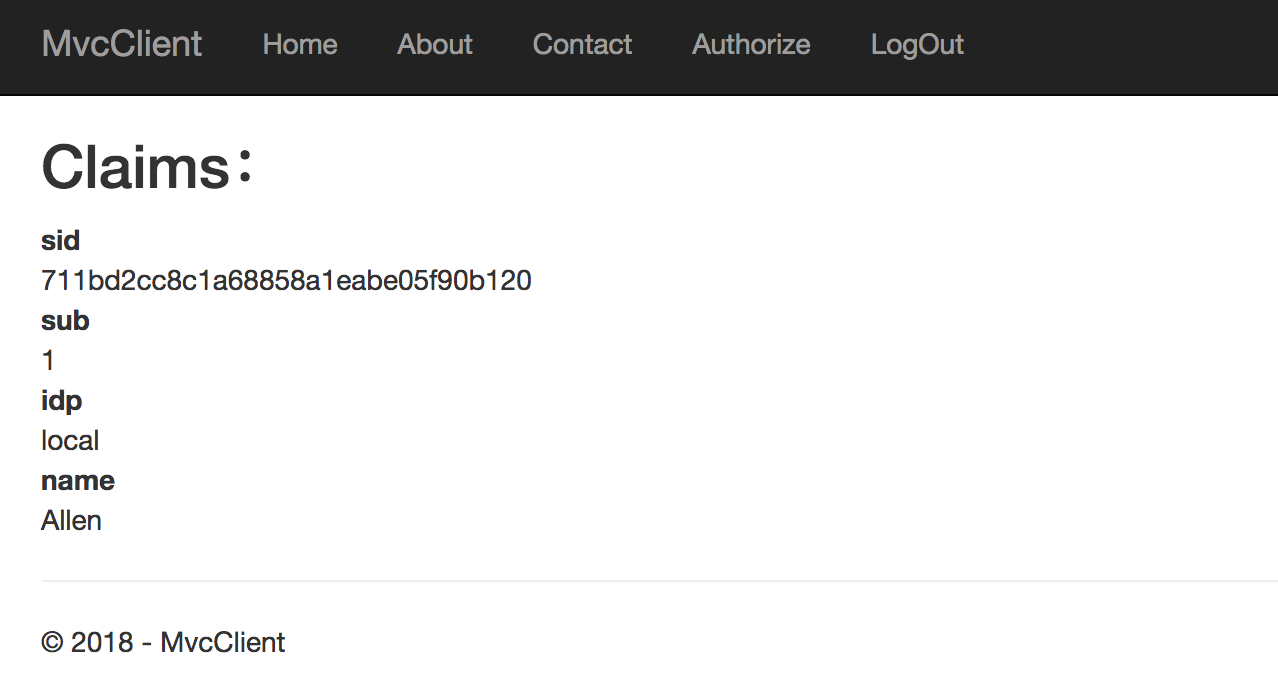
在不允许读取的情况下,我们是无法看到用户名的。下面我们再添加一个注销登录的方法,
//注销登录
public async Task LogOut()
{
     await HttpContext.SignOutAsync("Cookies");
     await HttpContext.SignOutAsync("oidc");
}
执行退出:
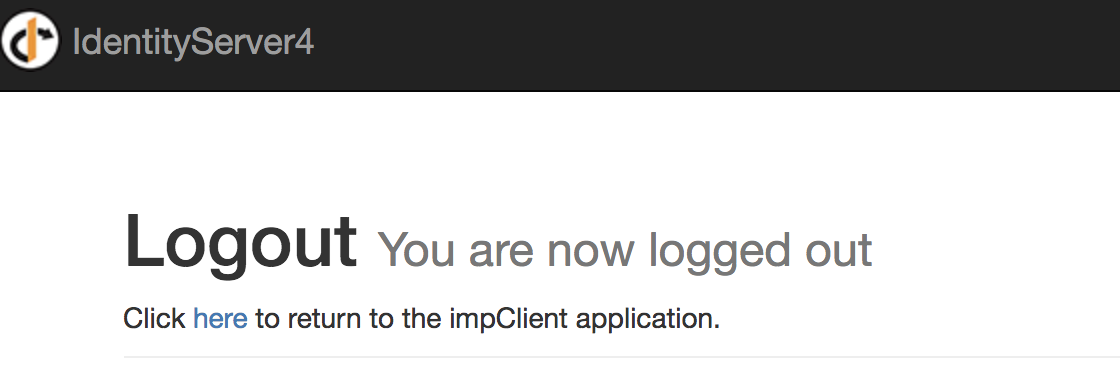
至此整个Implicit授权模式的过程就进行完了。

扫描二维码关注我的公众号,共同学习,共同进步!