通过阿贝云免费云服务器部署vue3+vite项目
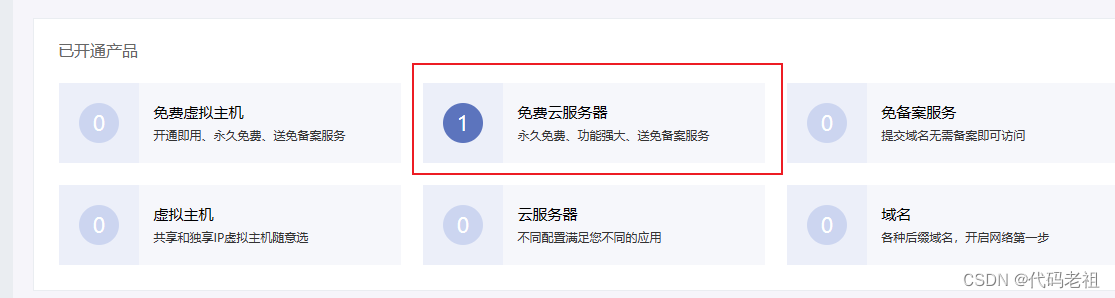
首先访问阿贝云登录后申请服务器,需要关注微信公众号绑定
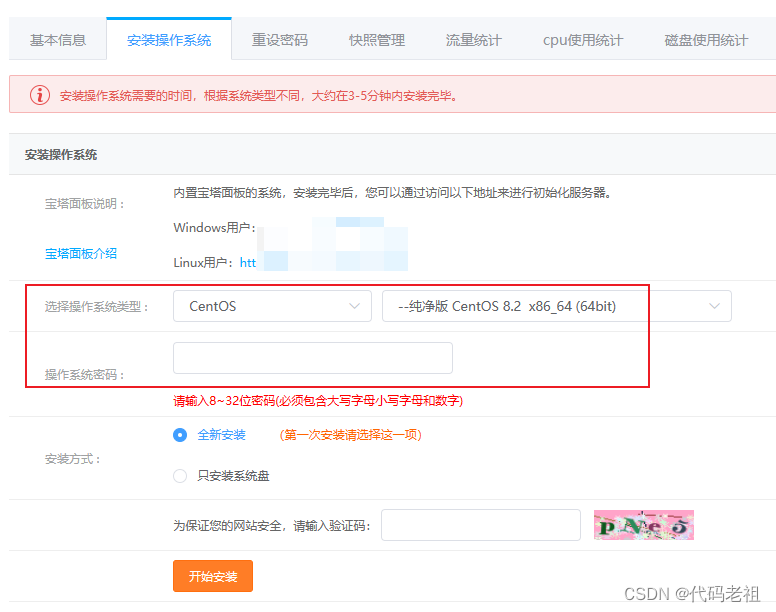
然后我们给服务器安装操作系统,这里我使用了centos7.6
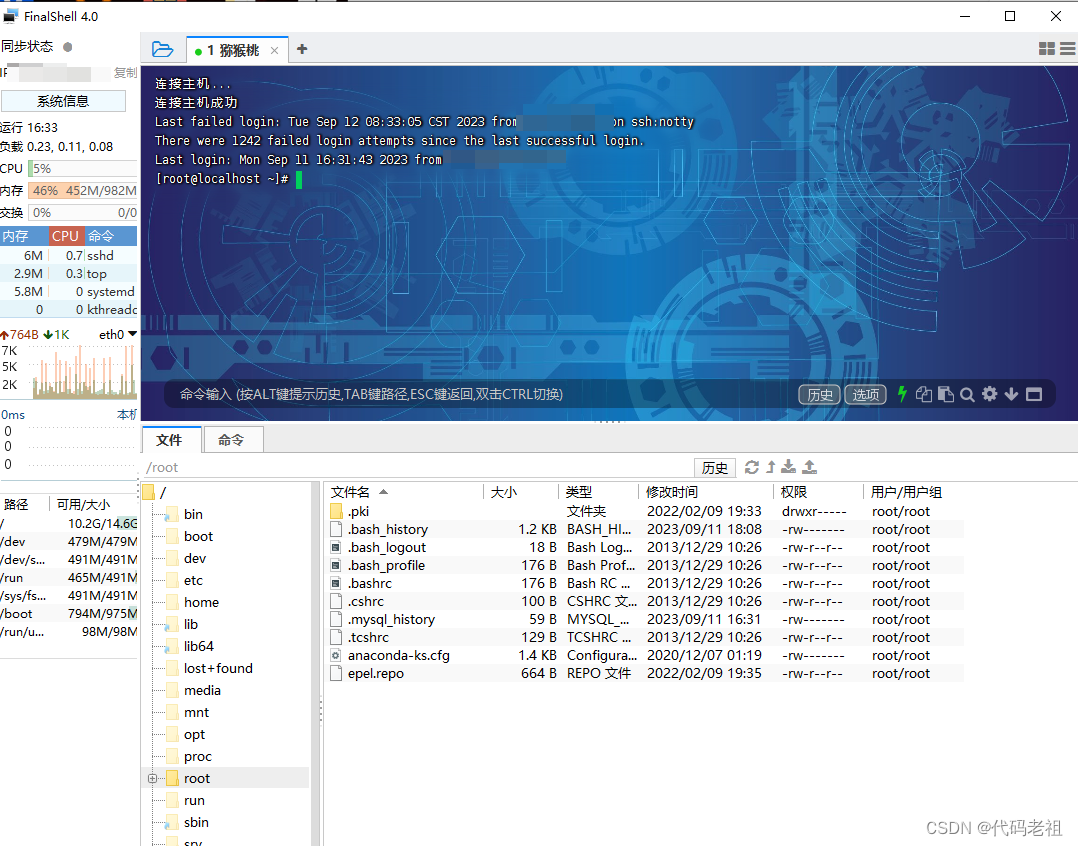
这里我使用finalshell 连接服务器
我们首先配置nginx
安装所需环境
Nginx 是 C语言 开发,建议在 Linux 上运行,当然,也可以安装 Windows 版本,本篇则使用 CentOS 7 作为安装环境。
一. gcc 安装
安装 nginx 需要先将官网下载的源码进行编译,编译依赖 gcc 环境,如果没有 gcc 环境,则需要安装:
yum -y install gcc-c++
二. PCRE pcre-devel 安装
PCRE(Perl Compatible Regular Expressions) 是一个Perl库,包括 perl 兼容的正则表达式库。nginx 的 http 模块使用 pcre 来解析正则表达式,所以需要在 linux 上安装 pcre 库,pcre-devel 是使用 pcre 开发的一个二次开发库。nginx也需要此库。命令:
yum install -y pcre pcre-devel
三. zlib 安装
zlib 库提供了很多种压缩和解压缩的方式, nginx 使用 zlib 对 http 包的内容进行 gzip ,所以需要在 Centos 上安装 zlib 库。
yum install -y zlib zlib-devel
四. OpenSSL 安装
OpenSSL 是一个强大的安全套接字层密码库,囊括主要的密码算法、常用的密钥和证书封装管理功能及 SSL 协议,并提供丰富的应用程序供测试或其它目的使用。
nginx 不仅支持 http 协议,还支持 https(即在ssl协议上传输http),所以需要在 Centos 安装 OpenSSL 库。
yum install -y openssl openssl-devel
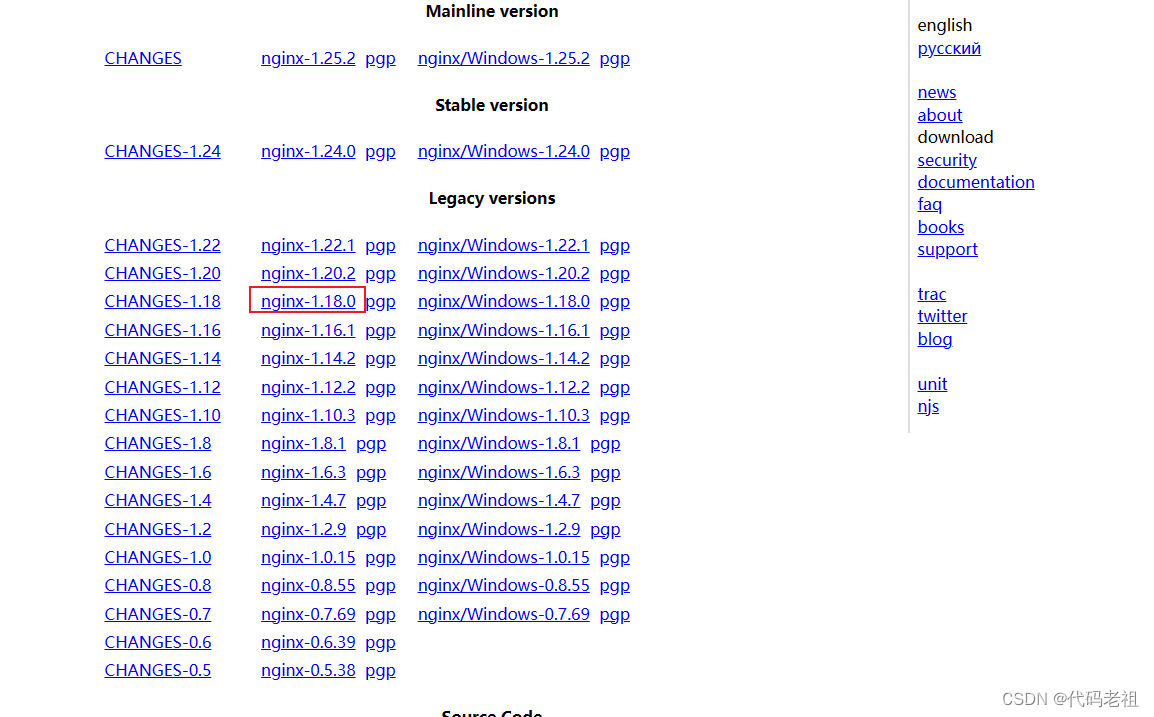
我们首先访问nginx的下载地址,下载nginx-1.18.0.tar.gz
然后进入服务器的home cd /home
把nginx的压缩包拖进去
tar -xvf nginx-1.18.0.tar.gz 解压安装包
cd nginx-1.18.0 进入到nginx目录
1.使用默认配置
./configure 运行configure配置文件
make 编译
make install 编译后安装
查找安装路径:
whereis nginx 查看nginx装到哪儿去了
cd /usr/local/nginx

conf 目录: nginx软件的配置文件所在目录
html 目录:nginx默认代理的网页所在目录
logs目录:nginx软件运行时产生的日志文件所在目录
sbin目录:nginx软件启动命令所在目录
cd sbin
# 执行nginx命令, 就是启动nginx这个软件
./nginx
# 测试nginx软件是否启动成功, 测试之前先关闭服务器防火墙
systemctl stop firewalld
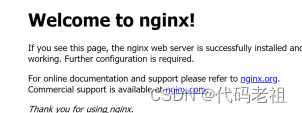
在浏览器中输入服务器的IP地址
启动、停止nginx
cd /usr/local/nginx/sbin/ 进入到nginx安装目录下的sbi目录
./nginx 启动nginx
./nginx -s stop 停止nginx
./nginx -s quit 退出nginx
./nginx -s reload 重启nginx
./nginx -s quit:此方式停止步骤是待nginx进程处理任务完毕进行停止。
./nginx -s stop:此方式相当于先查出nginx进程id再使用kill命令强制杀掉进程。
查询nginx进程:
ps aux|grep nginx
开机自启动
即在rc.local增加启动代码就可以了。
vi /etc/rc.local
增加一行 /usr/local/nginx/sbin/nginx
设置执行权限:
chmod 755 /etc/rc.local
重启试一下
reboot
到这里,nginx就安装完毕了,启动、停止、重启操作也都完成了,当然,你也可以添加为系统服务,我这里就不在演示了。
在vue项目 npm run build 我们获得了一个dist文件夹
把这个拖到nginx的 /usr/local/nginx/html
cd /usr/local/nginx/html
修改配置文件
cd /usr/local/nginx/conf
找到nginx.conf
修改 server
 server {
        listen       80;
        server_name  localhost;

        #charset koi8-r;

        #access_log  logs/host.access.log  main;
        location / {
            root   /usr/local/nginx/html/dist/;
            index  index.html index.htm;
            try_files $uri $uri/ /index.html;
        }
        #error_page  404              /404.html;

        # redirect server error pages to the static page /50x.html
        #
        error_page   500 502 503 504  /50x.html;
        location = /50x.html {
            root   html;
        }
        location /gpp/ {
            proxy_set_header Host $http_host;
            proxy_set_header X-Real-IP $remote_addr;
            proxy_set_header X-Forwarded-For $proxy_add_x_forwarded_for;
            proxy_set_header X-Forwarded-Proto $scheme;
            #rewrite ^/api/(.*)$ /$1 break;  #重写
            proxy_pass http://127.0.0.1:9992/; # 设置后端服务器的协议和地址
        }
        # proxy the PHP scripts to Apache listening on 127.0.0.1:80
        #
        #location ~ \.php$ {
        #    proxy_pass   http://127.0.0.1;
        #}

        # pass the PHP scripts to FastCGI server listening on 127.0.0.1:9000
        #
        #location ~ \.php$ {
        #    root           html;
        #    fastcgi_pass   127.0.0.1:9000;
        #    fastcgi_index  index.php;
        #    fastcgi_param  SCRIPT_FILENAME  /scripts$fastcgi_script_name;
        #    include        fastcgi_params;
        #}

        # deny access to .htaccess files, if Apache's document root
        # concurs with nginx's one
        #
        #location ~ /\.ht {
        #    deny  all;
        #}
    }
cd /usr/local/nginx/sbin/ 进入到nginx安装目录下的sbi目录
./nginx -s reload 重启nginx
可以访问了