技术栈:vue3+ts+vite+vue-router+element-plus+pinia
1、vite创建vue3+ts项目:
为什么选择vite而不是vue-cli:
vite 是一个基于 Vue3 单文件组件的非打包开发服务器,它做到了本地快速开发启动:
快速的冷启动,不需要等待打包操作;
即时的热模块更新,替换性能和模块数量的解耦让更新飞起;
真正的按需编译,不再等待整个应用编译完成,这是一个巨大的改变。(平均一秒run)
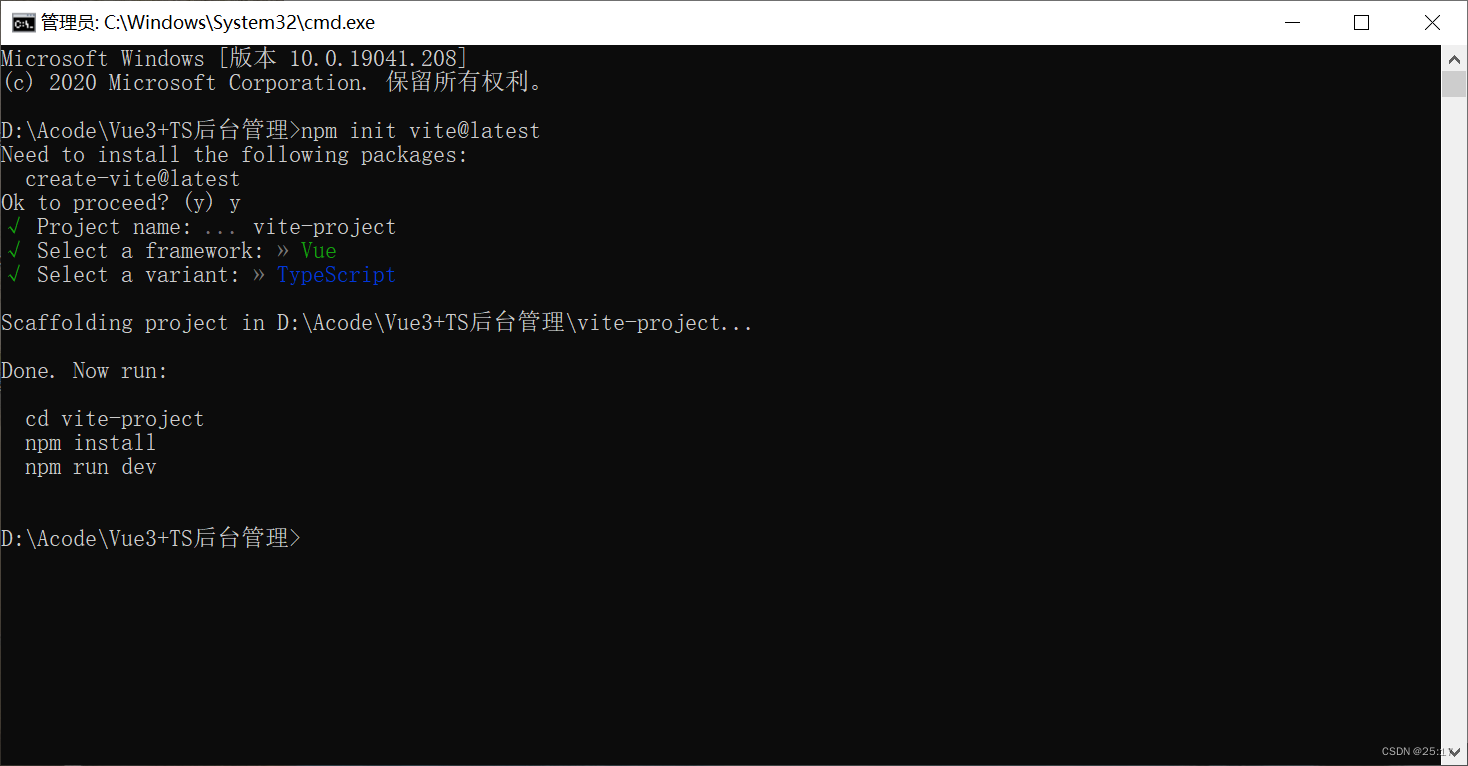
1.1 初始化
cnpm init vite@latest
1.2 项目信息
- 输入项目名称
- 选择Vue(如果上下键不能选择,就手动输入选项,再回车)
- 选择TypeScript
- 创建完毕
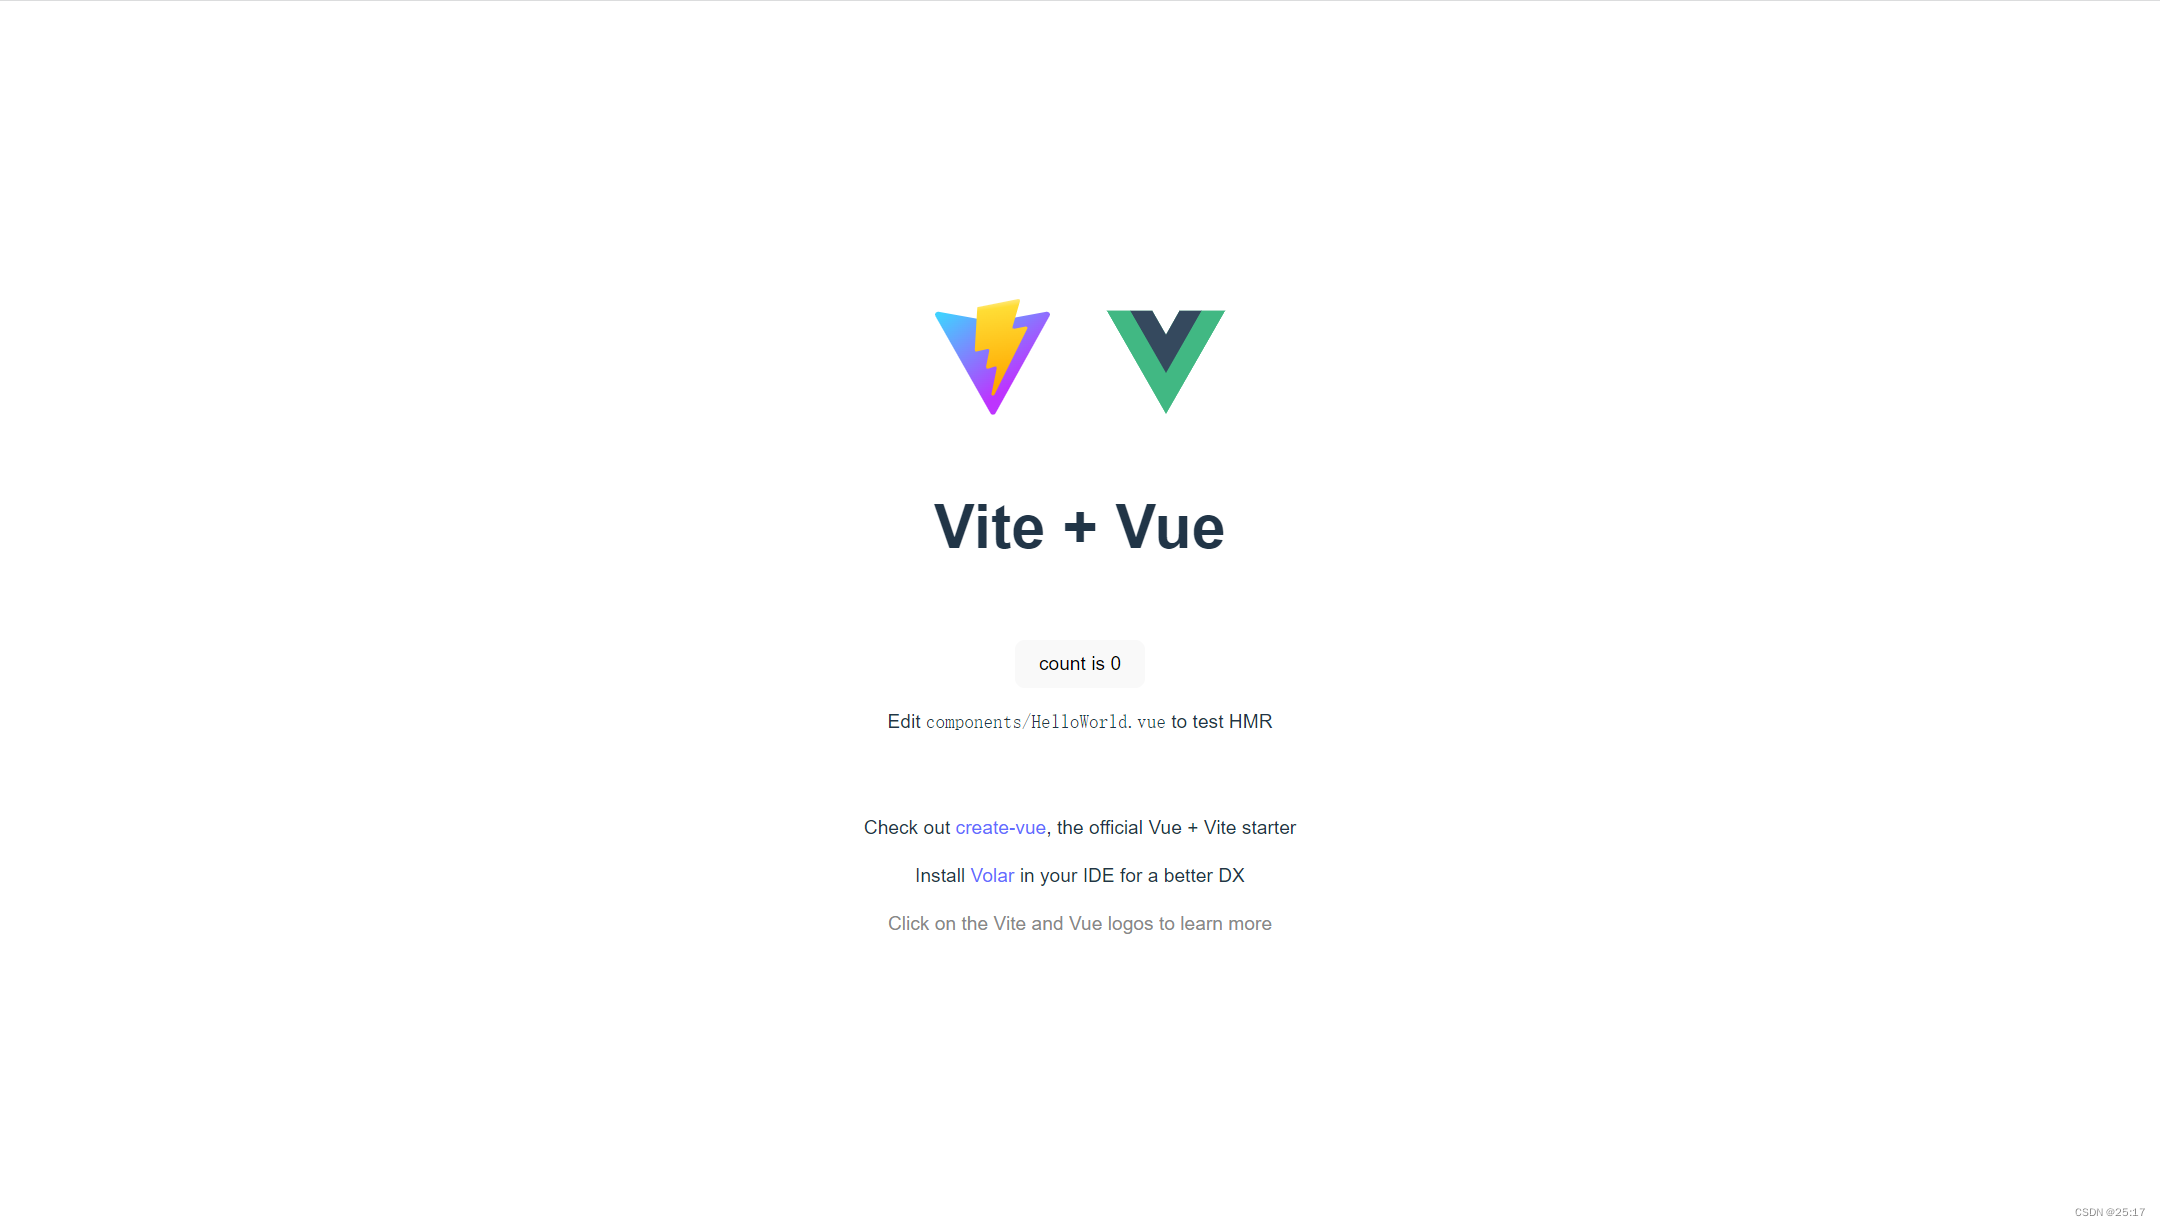
1.3 效果:

1.4 vscode打开,新建终端
(1)初始化
cnpm i
(2)运行
cnpm run dev
(3)效果
1.5 其他配置
(1)依赖
npm i @types/node -D
(2)修改vite.config.ts配置文件代码
import {

     defineConfig } from 'vite'
import vue from '@vitejs/plugin-vue'
import {

     resolve } from "path"

// https://vitejs.dev/config/
export default defineConfig({


  plugins: [vue()],
  resolve: {


    // ↓路径别名,主要是这部分
    alias: {


      "@": resolve(__dirname, "./src")
    }
  }
})
1.6 报错汇总
(1)插件
使用vscode编写代码的时候,vue3中使用插件时需要禁用以前vue2常使用的插件Vetur,而安装Vue Language Features (Volar)插件。不然代码会提示报错。
(2)报错:找不到模块“xxx”或其相应的类型声明
解决1:没配置依赖
npm i @types/node -D
解决2:
也可能是因为typescript 只能理解 .ts 文件,无法理解 .vue文件。因此需要给.vue文件加上类型说明文件。
在项目根目录或 src 文件夹下创建一个env.d.ts 文件,
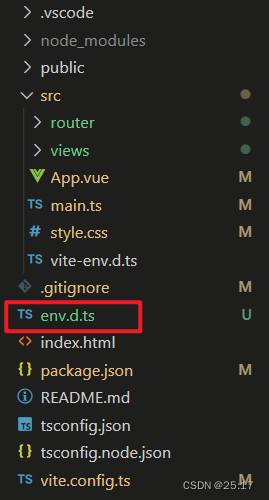
并在文件中写入以下内容:
declare module '*.vue' {


  import type {

     DefineComponent } from 'vue'
  // eslint-disable-next-line @typescript-eslint/no-explicit-any, @typescript-eslint/ban-types
  const component: DefineComponent<{

    }, {

    }, any>
  export default component
}
2、配置路由:
2.1 安装路由
cnpm i vue-router
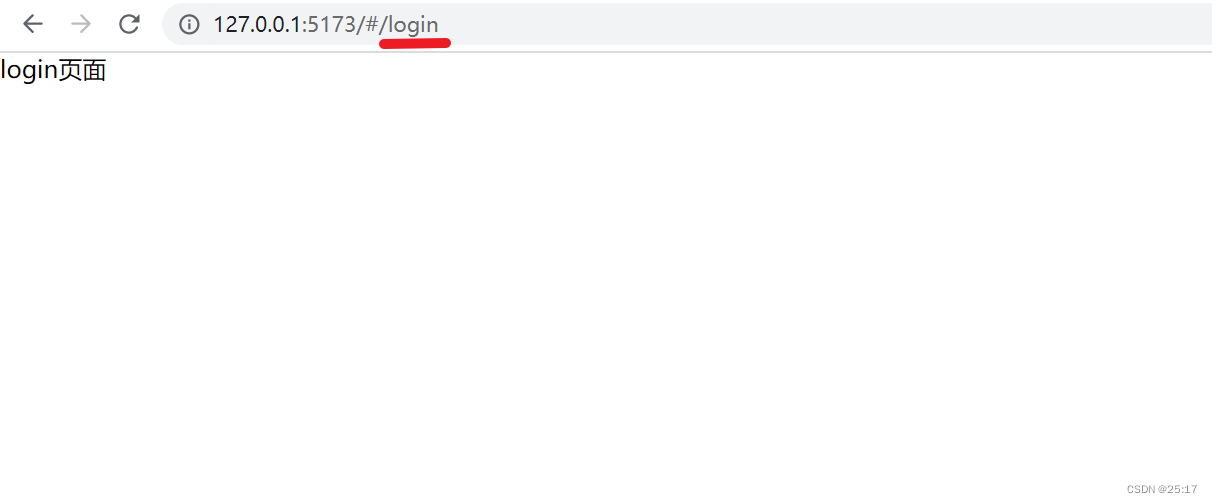
2.2 在src文件夹下创建views/login/index.vue
<template>
  <div>login页面</div>
</template>

<script setup lang="ts">
</script>

<style lang="less" scoped></style>
2.3 在src文件夹下创建router/index.ts
将Home.vue 和 About.vue 全部清空,重新建立vue文件模板(template + script + style)
制作登录页和首页
import {

    createRouter,createWebHashHistory} from 'vue-router'
const router=createRouter({


    history:createWebHashHistory(),
    routes:[
        {


            path:"/login",
            name:'login',
            component:()=>import ('../views/login/index.vue')
        }
    ]
})

export default router
2.4 src/main.ts中导入挂载路由
import {

     createApp } from 'vue'
import './style.css'
import App from './App.vue'
import router from './router/index'

const app = createApp(App)
app.use(router)
app.mount('#app')
2.5 src/App.vue中设置路由出口,其他内容都删除
<template>
    <div>
        <router-view></router-view>
    </div>
</template>

<script setup lang='ts'>
import {

     ref } from "vue"

</script>

<style lang="less" scoped>

</style>
2.6 效果
3、配置ts文件采用@方式导入:
在tsconfig.json文件中添加配置
{


  "compilerOptions": {


    "target": "ESNext",
    "useDefineForClassFields": true,
    "module": "ESNext",
    "moduleResolution": "Node",
    "strict": true,
    "jsx": "preserve",
    "resolveJsonModule": true,
    "isolatedModules": true,
    "esModuleInterop": true,
    "lib": ["ESNext", "DOM"],
    "skipLibCheck": true,
    "noEmit": true,

    "baseUrl": ".",
    "paths": {


      "@/*": ["src/*"]
    }
  },
  "include": ["src/**/*.ts", "src/**/*.d.ts", "src/**/*.tsx", "src/**/*.vue"],
  "references": [{

     "path": "./tsconfig.node.json" }]
}
4、安装代码检测工具
4.1 安装
cnpm install --save-dev eslint eslint-plugin-vue
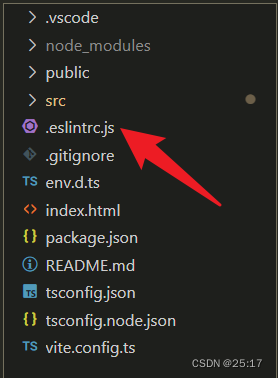
4.2 在根目录创建.eslintrc.js文件
4.3 复制代码
在rules可以添加自己的验证规则
module.exports = {


  root: true,
  parserOptions: {


    sourceType: "module",
  },
  parser: "vue-eslint-parser",
  extends: [
    "plugin:vue/vue3-essential",
    "plugin:vue/vue3-strongly-recommended",
    "plugin:vue/vue3-recommended",
  ],
  env: {


    browser: true,
    node: true,
    es6: true,
  },
  rules: {


    "no-console": "off",
    "comma-dangle": [2, "never"], //禁止使用拖尾逗号
  },
};
5、安装css 预处理器 sass:
cnpm install -D sass sass-loader
6、引入element-plus:
6.1 安装
cnpm install element-plus --save
6.2 src/main.ts中引入
import {

     createApp } from "vue";
import "./style.css";
import App from "./App.vue";
import router from "./router/index";
import ElementPlus from "element-plus";
import "element-plus/dist/index.css";

const app = createApp(App);
app.use(router);
app.mount("#app");
app.use(ElementPlus);
6.3 使用
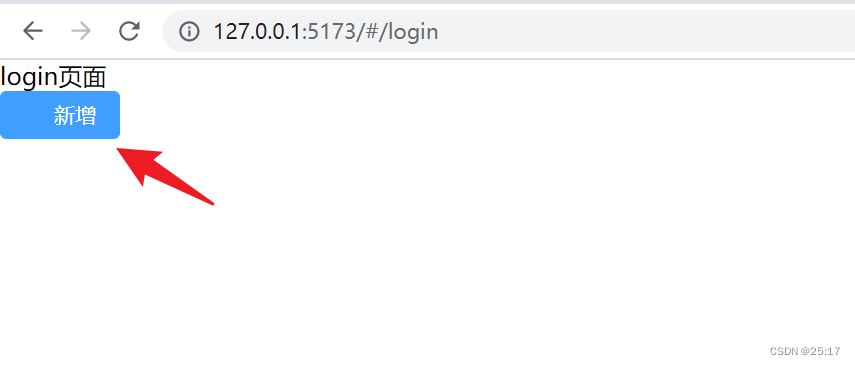
src/views/login.vue
<template>
  <div>login页面</div>
  <el-button type="primary" size="default" icon="el-icon-plus">新增</el-button>
</template>

<script setup lang="ts">

</script>

<style lang="scass" scoped></style>
效果:
7、安装pinia:
7.1 安装
npm install pinia
7.2 src/main.ts中全局引入
import {

     createApp } from "vue";
import "./style.css";
import App from "./App.vue";
import router from "./router/index";
import ElementPlus from "element-plus";
import "element-plus/dist/index.css";
import {

     createPinia } from "pinia";
const pinia = createPinia();

const app = createApp(App);
app.use(router);
app.mount("#app");
app.use(ElementPlus);
app.use(pinia);
以上,搭建完成。