本文使用CPU来做运算,未使用GPU。练习项目,参考了网上部分资料。
如果要用pytorch做检测,可以参考这里
以下是代码,仅供参考:
import cv2 as cv
import numpy as np
import matplotlib.pyplot as plt
#读取支持的类名文件coco.names
classNamesFile = './coco.names'
classNames = []
with open(classNamesFile,'rt') as f:
classNames = f.read().rstrip('\n').split('\n')
classNum = len(classNames)
print('Total ' + str(classNum) + ' classes: ')
print(classNames)
#置信度阈值
confidenceThreshold = 0.5
#非极大值抑制参数
NMSThreshold = 0.3
#Blob参数
targetWidth = 608
#yolov3的模型配置和权重
modelConfigFile = './yolov3.cfg'
modelWeightsFile = './yolov3.weights'
#读取dnn网络
net = cv.dnn.readNetFromDarknet(modelConfigFile, modelWeightsFile)
#设置网络偏好使用的后端和目标,这里使用CPU
net.setPreferableBackend(cv.dnn.DNN_BACKEND_OPENCV)
net.setPreferableTarget(cv.dnn.DNN_TARGET_CPU)
#获取网络的层名
layerNames = net.getLayerNames()
#print("All layer names:")
#print(layerNames)
#获得未连接的输出层
#https://blog.csdn.net/weixin_43745234/article/details/124628811
outputLayerNames = [layerNames[i - 1] for i in net.getUnconnectedOutLayers()]
print(outputLayerNames)
#读取视频
video = cv.VideoCapture('../../SampleVideos/Party.mp4')
width = video.get(cv.CAP_PROP_FRAME_WIDTH)
height = video.get(cv.CAP_PROP_FRAME_HEIGHT)
fps = video.get(cv.CAP_PROP_FPS)
fourcc = int(video.get(cv.CAP_PROP_FOURCC))
totalFrames = video.get(cv.CAP_PROP_FRAME_COUNT)
print("Video Properties: resolution - (", width, height, ") FPS - "
, fps, " FOURCC - "
, chr(fourcc&0xFF), chr((fourcc>>8)&0xFF), chr((fourcc>>16)&0xFF),chr((fourcc>>24)&0xFF)
, " Frame Count - ", totalFrames)
def DebugOutputs(outputs):
print("Length of Outputs:")
print(len(outputs))
for i in range(len(outputs)):
print(outputs[i].shape)
print(outputs[i][0])
def FindObjects(outputs, img, confidenceThreshold):
h,w,c = img.shape
print(h,w,c)
boxes = []
classIds = []
confidences = []
for output in outputs:
for detection in output:
scores = detection[5:]
classId = np.argmax(scores)
confidence = scores[classId]
#设置置信度阈值
if confidence > confidenceThreshold:
#yolov3的输出层的shape一般是一个二维数组(nBoxes, 85)
#nBoxes 表示该层输出的边界框的数量
#85列信息 表示每个边框相关的信息,比如边框位置(中心X,Y,长度和宽度W,H(百分比)),
# 第五个值为该边框最有可能的物体分类ID号(confidence,置信度)
# 剩下的80个位置的值是每一类物体的ID和为该物体的概率信息等
#print(detection)
#print(detection[0],detection[1],detection[2],detection[3],detection[4])
boxWidth = int(detection[2] * w)
boxHeight = int(detection[3] * h)
boxX,boxY = int(detection[0] * w - boxWidth / 2),int(detection[1] * h - boxHeight / 2)
boxes.append([boxX,boxY,boxWidth,boxHeight])
classIds.append(classId)
confidences.append(float(confidence))
#print("Detected classes:")
#for id in classIds:
#print(classNames[id])
#非极大值抑制
indices = cv.dnn.NMSBoxes(boxes, confidences, confidenceThreshold, NMSThreshold)
#print(indices)
for index in indices:
box = boxes[index]
x,y,w,h = box[0],box[1],box[2],box[3]
#print(box)
#绘制边框和文字信息
cv.rectangle(img, (x,y), (x+w,y+h), (0,255,0),2)
text = '{}: {:.3f}'.format(classNames[classIds[index]], confidences[index])
(text_w, text_h), baseline = cv.getTextSize(text, cv.FONT_HERSHEY_SIMPLEX, 0.5, 2)
cv.rectangle(img, (x, y - text_h - baseline), (x + text_w, y), (255,0,255), -1)
cv.putText(img, text, (x, y - 5), cv.FONT_HERSHEY_SIMPLEX, 0.5, (0, 0, 0), 2)
while (True):
ret,frame = video.read()
if ret == False:
break;
#从Image创建blob
#参考资料:https://blog.csdn.net/weixin_42216109/article/details/103010206
blob = cv.dnn.blobFromImage(frame, 1/255, (targetWidth, targetWidth), [0,0,0])
net.setInput(blob)
#拿到输出层的结果
outputs = net.forward(outputLayerNames)
#DebugOutputs(outputs)
FindObjects(outputs, frame, confidenceThreshold)
cv.imshow('VideoPlayer', frame)
if cv.waitKey(1) & 0xFF == ord('q'):
break;
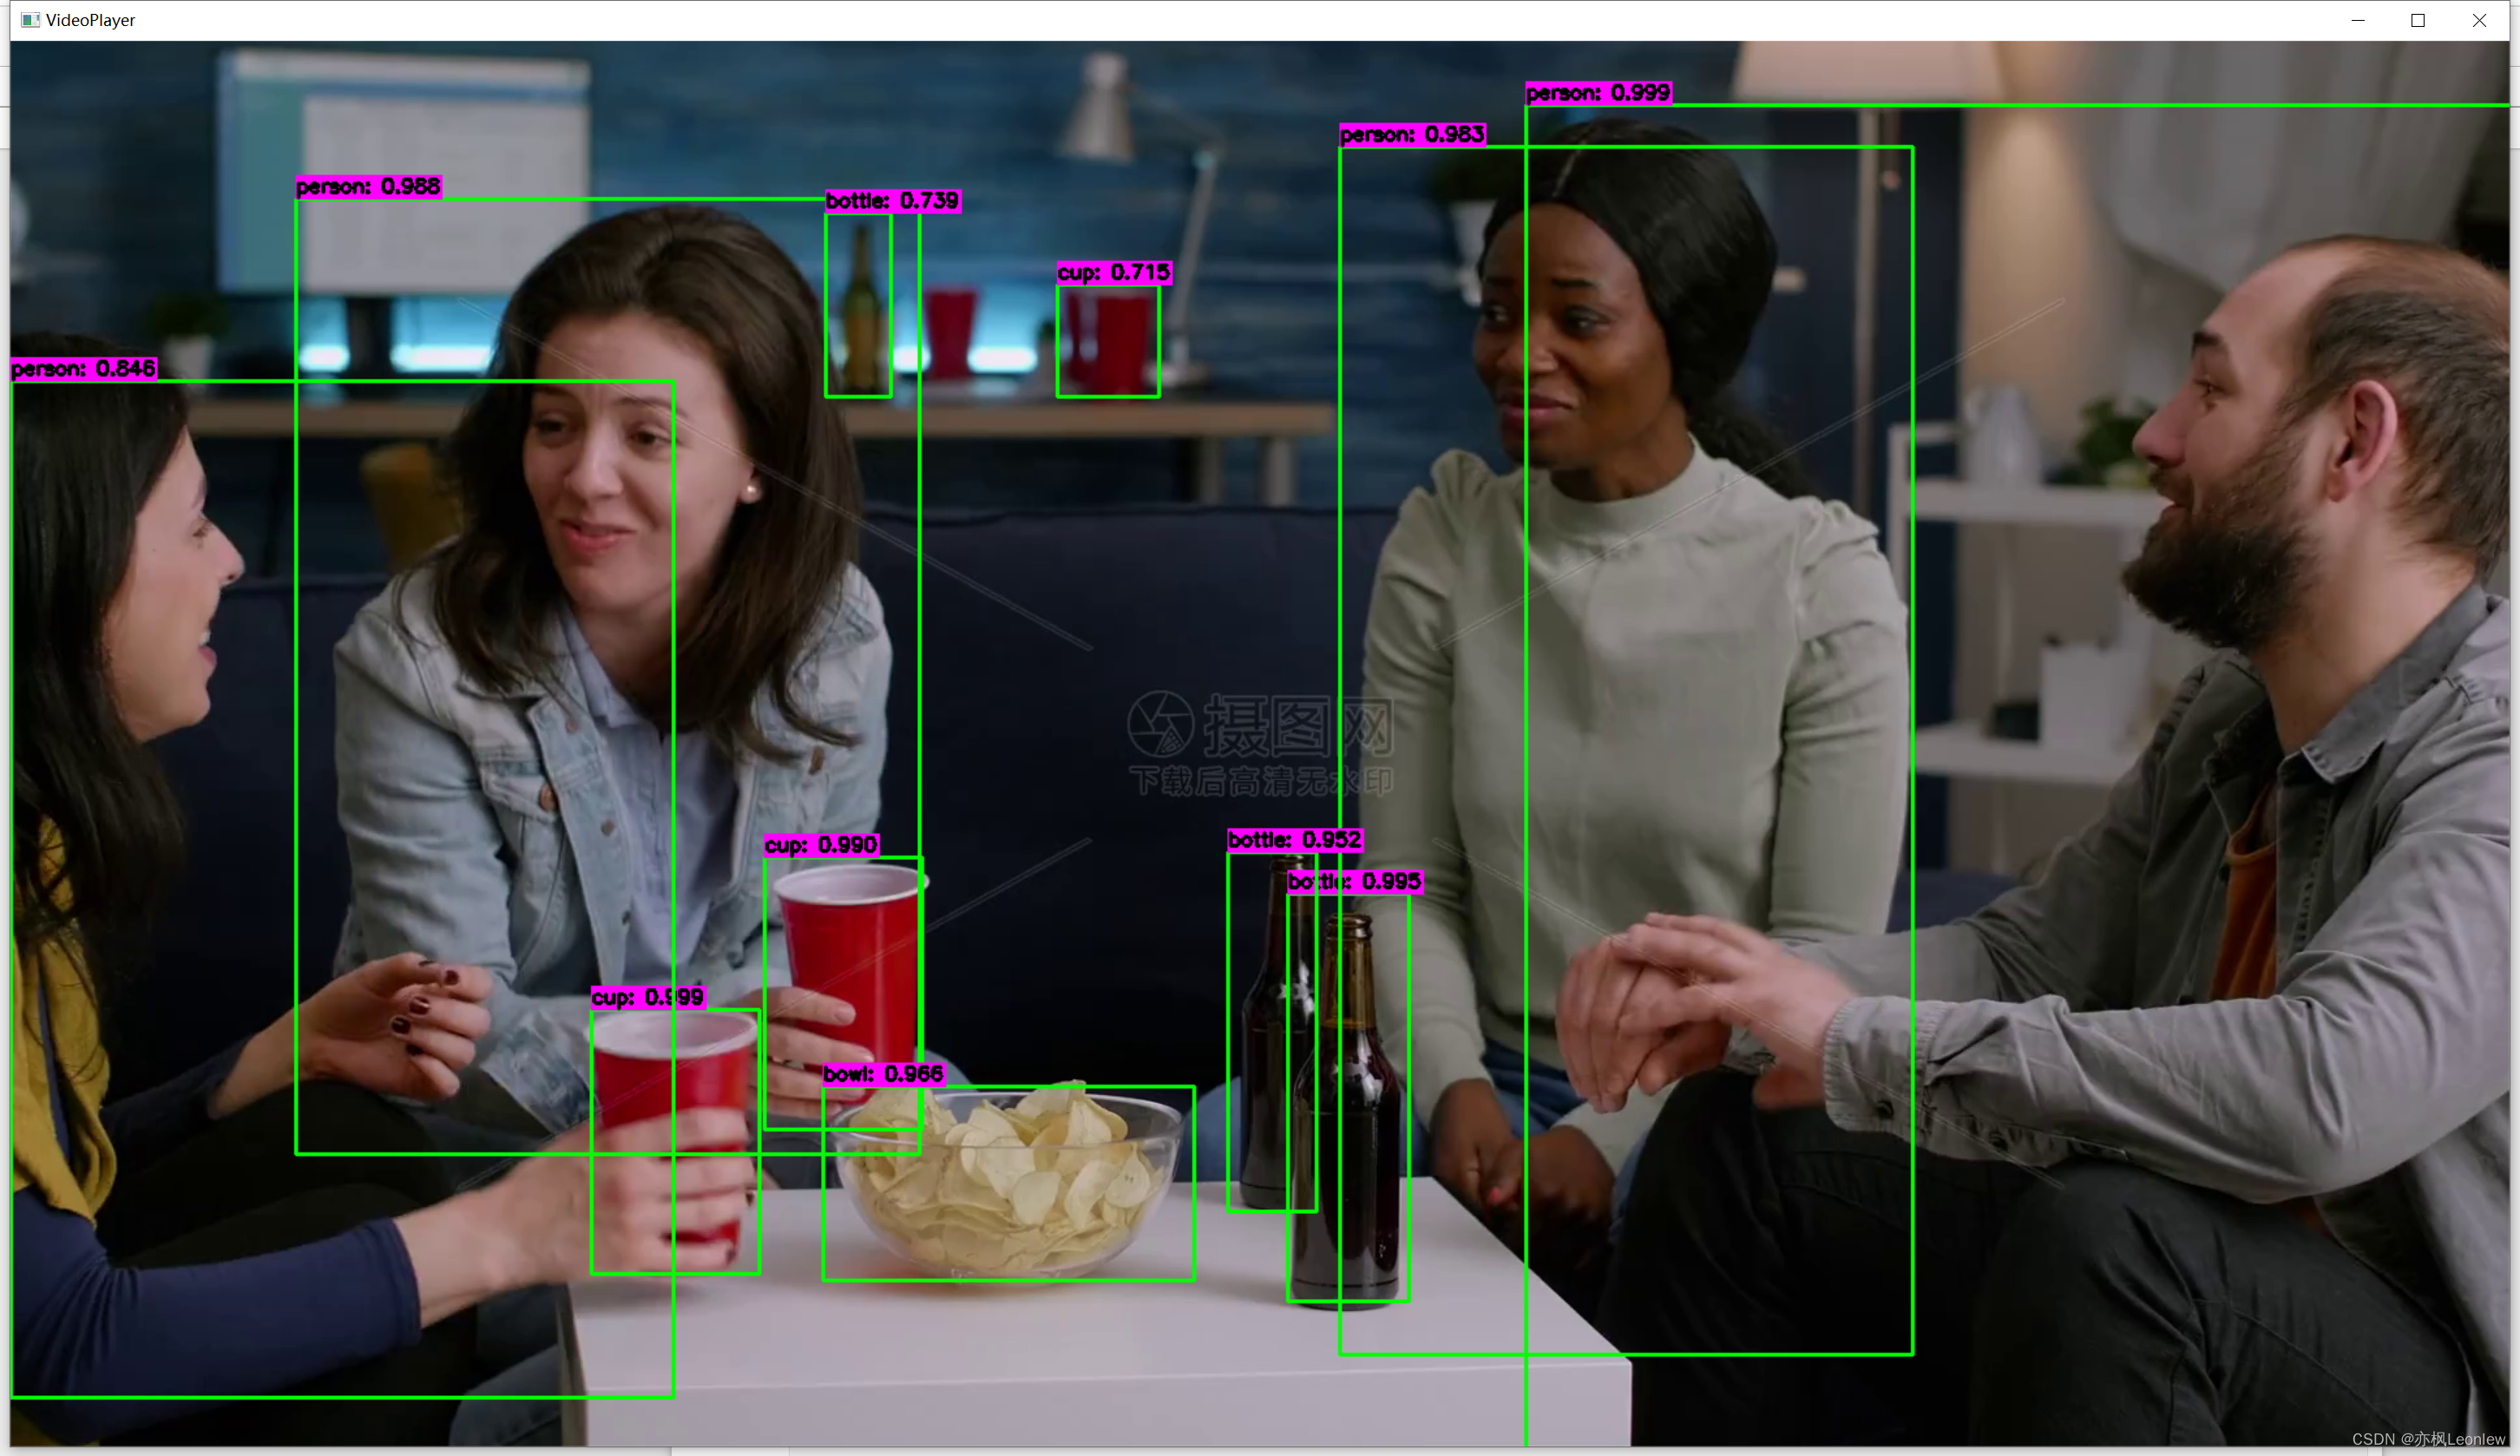
video.release()
cv.destroyAllWindows()运行结果,还不错: