
文章目录
常用的命令
Scrapy是一个用于爬取网站数据的Python框架,以下是一些常用的Scrapy命令:
开始的时候 用 cd 进入你想创建scrapy 的文件夹 ,然后开始下面的操作
-
创建新的Scrapy项目:
scrapy startproject project_name这个命令会创建一个新的Scrapy项目,其中
project_name是你为项目指定的名称。 -
创建一个新的Spider:
scrapy genspider spider_name website_url这个命令会生成一个新的Spider文件,你需要提供
spider_name作为Spider的名称和website_url作为爬取的起始网址。 -
运行Spider:
scrapy crawl spider_name这个命令会启动指定的Spider,开始爬取数据。你需要将
spider_name替换为你要运行的Spider的名称。 -
导出爬取数据为JSON文件:
scrapy crawl spider_name -o output.json这个命令会运行Spider并将爬取的数据导出为一个JSON文件。你可以将
output.json替换为你想要的输出文件名和格式。 -
导出爬取数据为CSV文件:
scrapy crawl spider_name -o output.csv这个命令与上面的命令类似,不过它将数据导出为CSV格式。
-
查看可用的Spider:
scrapy list这个命令会列出项目中所有可用的Spider,你可以选择其中一个来运行。
-
检查Spider的数据爬取情况:
scrapy crawl spider_name --loglevel=INFO这个命令会以INFO级别的日志显示Spider的爬取情况,有助于调试和监视爬取过程。
-
检查Spider的爬取速度和性能:
scrapy crawl spider_name --profile=output.cprofile这个命令会生成性能分析文件,你可以使用工具来分析Spider的性能瓶颈。
开始爬虫
请求与响应
import scrapy


class ExampleSpider(scrapy.Spider):
    name = "example" #爬虫的名字(唯一)
    allowed_domains = ["ssr1.scrape.center"] # 限定的域名,可选
    start_urls = ["https://ssr1.scrape.center/"] #当前的域名

    def parse(self, response):
    # 当在命令行运行scrapy crawl example 之后会发送请求,得到一个响应对象responce
        print(response.text)
        print(response.status)
        pass
让控制台只输出想要的信息
在你的settings 文件中加入
LOG_FILE = "爬虫名字.log"
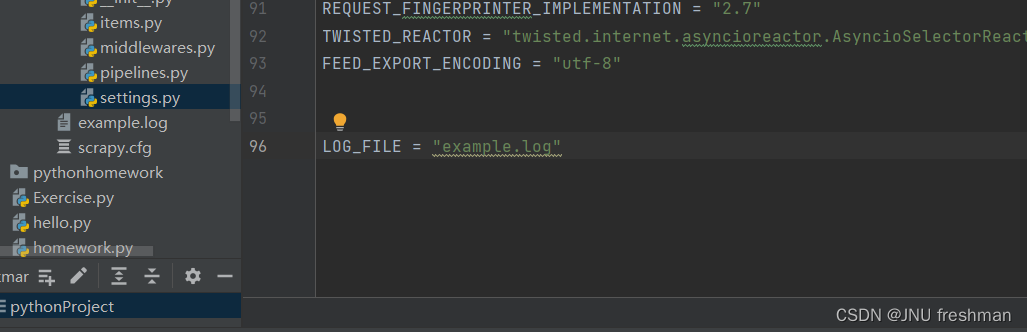
这样,那些日志就只会存储在日志文件中,而不是在控制台中
创建一个py 文件来帮忙运行爬虫
在你的爬虫项目里创建一个py 文件
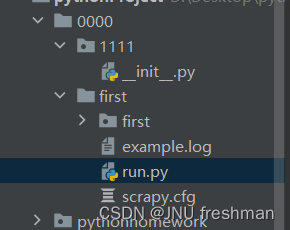
在你的run 文件中
from scrapy.cmdline import execute

execute(["scrapy","crawl","example"])
# 对应于你的运行scrapy crawl example
#这样你就可以直接运行run 文件来实现你的结果了
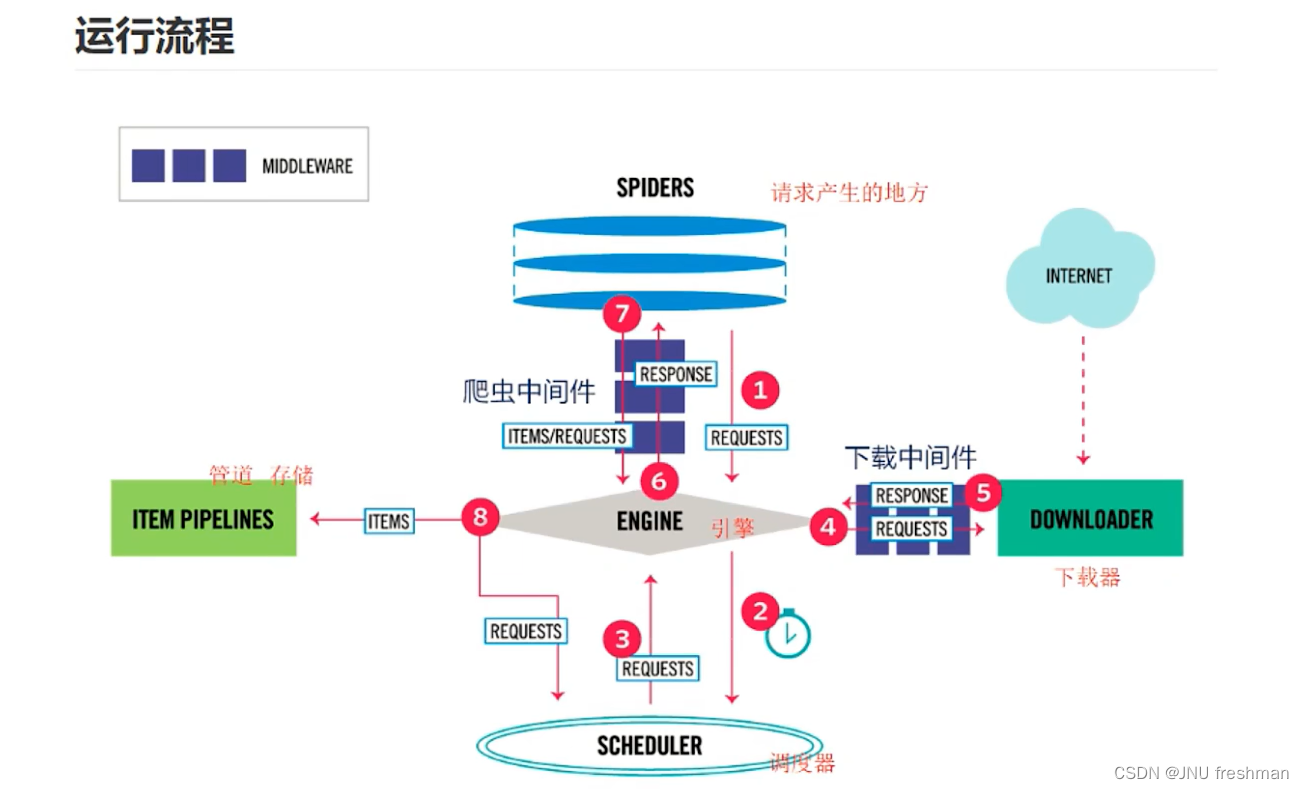
工作原理图
实战
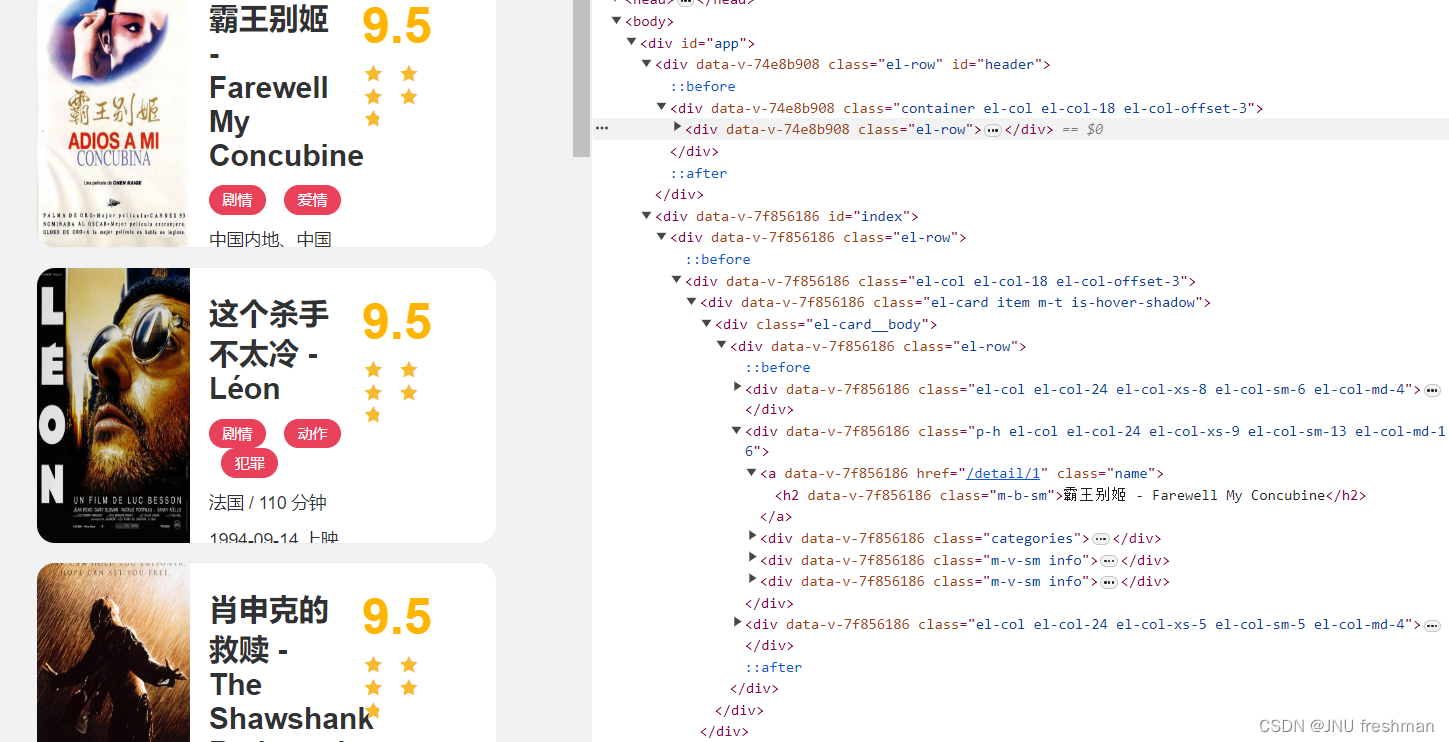
网站https://ssr1.scrape.center/爬取电影名
import scrapy
from lxml import etree

class ExampleSpider(scrapy.Spider):
    name = "example" #爬虫名字
    allowed_domains = ["ssr1.scrape.center"] #限定的域名(可选)
    start_urls = ["https://ssr1.scrape.center/"]# 起始的域名

    def parse(self, response):
        html = etree.HTML(response.text)#对返回的html 文本进行解析
        allname = html.xpath(r'//h2[@class="m-b-sm"]/text()')# 寻找电影名字
        print(allname)
        pass
效果:

scrapy 本身自带的选择器
Scrapy 提供了一个强大的选择器(Selector)工具,用于解析和提取 HTML 或 XML 中的数据。选择器提供了类似于 XPath 和 CSS 选择器的语法,使你能够以简单而灵活的方式定位和提取所需的数据。
Scrapy 的选择器主要有两种:基于 XPath 的 Selector 和基于 CSS 选择器的 SelectorList。你可以使用这两者中的任意一种或两者结合使用,具体取决于你更喜欢使用的语法和场景。
以下是使用 Scrapy 选择器的简单示例:
import scrapy

class MySpider(scrapy.Spider):
    name = 'example'
    start_urls = ['https://example.com']

    def parse(self, response):
        # 使用 XPath 选择器
        titles_xpath = response.xpath('//h2[@class="title"]/text()').extract()
        for title in titles_xpath:
            self.log(f'Title (XPath): {

      title}')

        # 使用 CSS 选择器
        titles_css = response.css('h2.title::text').extract()
        for title in titles_css:
            self.log(f'Title (CSS): {

      title}')
在这个例子中,response.xpath 和 response.css 方法返回的是选择器对象,可以使用 .extract() 或 .extract_first() 方法从中提取数据。在解析网页时,你可以使用这些选择器选择和提取网页中的元素和数据。
如果你需要更复杂的解析,Scrapy 还提供了 Item 和 ItemLoader,用于定义和加载结构化的数据,以及在爬取和处理数据时提供更高层次的抽象。
使用全部scrapy 自身选择器进行爬虫
当加上注释时,通常需要解释代码中的关键步骤、选择器以及数据处理部分。以下是加上注释的代码:
import scrapy

import pandas as pd

class ExampleSpider(scrapy.Spider):
    name = "example"  # 爬虫名字

    start_urls = ["https://www.bookschina.com/24hour/62700000/1_0_0"]

    def parse(self, response):
        # 存储数据的列表
        namestore = []
        pricestore = []
        htmlstore = []

        # 使用 XPath 选择器提取书名、价格和图片网址
        allname = response.xpath(r'//h2[@class="name"]/a/text()').extract()
        allprice = response.xpath(r'//div[@class ="priceWrap"]/span[@class = "sellPrice"]/text()').extract()
        allhtml = response.xpath(r'//div[@class = "cover"]/a/img/@data-original').extract()

        # 遍历并将数据添加到列表
        for name in allname:
            namestore.append(name)
        for htmla in allhtml:
            htmlstore.append(htmla)
        for price in allprice:
            pricestore.append(price[1:])  # 去掉价格前面的符号(假设价格以符号开始)

        # 创建 DataFrame 并保存为 Excel 文件
        data = {

    "书名": namestore, "价格": pricestore, "图片网址": htmlstore}
        df = pd.DataFrame(data)
        df.to_excel(r"d:\Desktop\电影.xlsx")
这些注释涵盖了代码的主要部分,解释了从网页中提取数据的步骤以及数据存储的方式。请注意,注释可以根据你的实际需求进一步详细或调整。
注意,上面的代码是没有使用etree 模块的
爬取多个网站
import scrapy
from lxml import etree
import pandas as pd
class ExampleSpider(scrapy.Spider):
    name = "example" #爬虫名字
    #allowed_domains = ["ssr1.scrape.center"] #限定的域名(可选)
    start_urls = ["https://www.bookschina.com/24hour/62700000/1_0_1",
                  "https://www.bookschina.com/24hour/62700000/1_0_2",
                  "https://www.bookschina.com/24hour/62700000/1_0_3"]

    def parse(self, response):
        namestore = []
        pricestore = []
        htmlstore = []
        #responce.xpath 返回的是一个选择器对象,通过extract 可以得到具体内容
        allname = response.xpath(r'//h2[@class="name"]/a/text()').extract()
        allprice = response.xpath(r'//div[@class ="priceWrap"]/span[@class = "sellPrice"]/text()').extract()
        allhtml = response.xpath(r'//div[@class = "cover"]/a/img/@data-original').extract()
        for name in allname:
            namestore.append(name)
        for htmla in allhtml:
            htmlstore.append(htmla)
        for price in allprice:
            pricestore.append(price[1:])
        data = {

    "书名":namestore,"价格":pricestore,"图片网址":htmlstore};
        d = pd.DataFrame (data)
        try:
            p = pd.read_excel(r"d:\Desktop\2223.xlsx")
        except FileNotFoundError:
            p = pd.DataFrame()

            # 合并新数据和已有数据
        combined_data = pd.concat([p, d])

        # 保存到 Excel 文件
        combined_data.to_excel(r"d:\Desktop\2223.xlsx", index=False)