一、导航跳转
- 页面A
import SwiftUI

struct NavJumpAView: View {

    @State var isNavPush = false

    var body: some View {
        NavigationView {
            VStack {
                NavigationLink(isActive: $isNavPush) {
                    NavJumpBView()
                } label: {
                }

                Button {
                    isNavPush = true
                } label: {
                    Text("导航跳转")
                }
            }
            .navigationBarTitle("页面A")
                .padding()
        }
    }
}
- 页面B
struct NavJumpBView: View {

    @State var isNavPush = false

    var body: some View {
        NavigationView {
            VStack {
                Image(systemName: "globe")
                    .imageScale(.large)
                    .foregroundColor(.accentColor)
                Text("Hello, world!")
            }
            .padding()
        }
    }
}
二、导航设置
struct NavJumpBView: View {
@Environment(\.presentationMode) var presentationMode
var body: some View {
VStack {
Image(systemName: "globe")
.imageScale(.large)
.foregroundColor(.accentColor)
Text("Hello, world!")
}
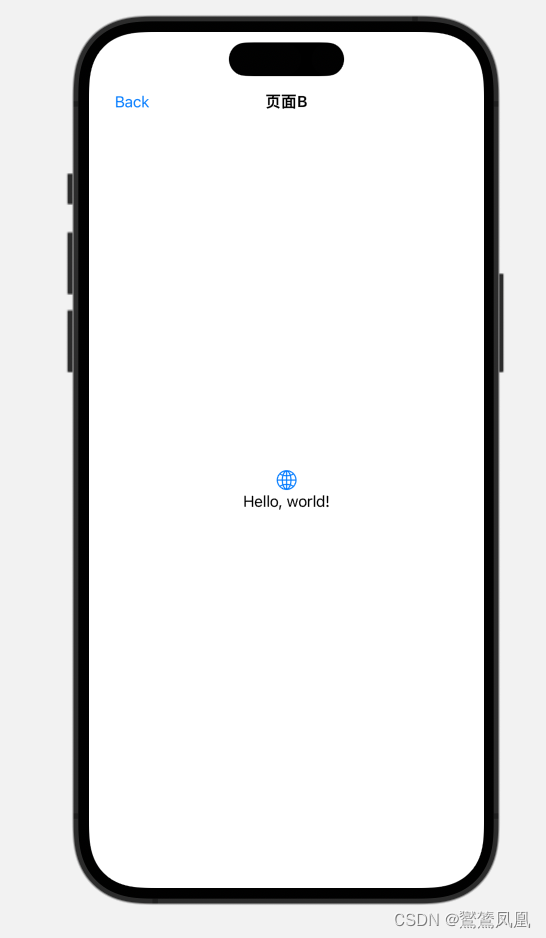
.navigationBarTitle("页面B", displayMode: .inline) // 设置标题displayMode,默认的是:automatic(大标题)
.navigationBarBackButtonHidden(true) // 隐藏系统的导航返回按钮
.navigationBarItems(leading: Button(action: {// 自定义导航的返回按钮
presentationMode.wrappedValue.dismiss() // 返回上级页面
}, label: {
if let resBundlePath = Bundle.main.path(forResource: "CommonResource", ofType: "bundle"),
let resBundle = Bundle(path: resBundlePath) {
Image("arrow_left_dark@2x", bundle: resBundle).background(Color.red) // 导航返回按钮图标
Text("Back")
} else {
Text("Back")
}
}))
.padding()
}
}
三、Present跳转(模态跳转)
struct NavJumpAView: View {

    @Environment(\.presentationMode) var presentationMode

    @State var isNavPush = false
    @State var isPresent = false

    var body: some View {
        NavigationView {
            VStack {
                NavigationLink(isActive: $isNavPush) {
                    NavJumpBView()
                } label: {
                }

                Button {
                    isNavPush = true
                } label: {
                    Text("导航跳转")
                }
                Spacer(minLength: 5).frame(height: 15)
                Button {
                    isPresent = true
                } label: {
                    Text("模态跳转")
                }
            }
            .navigationBarTitle("页面A", displayMode: .inline)
            .sheet(isPresented: $isPresent) {
                NavJumpBView()
            }
            .navigationBarItems(leading: Button(action: {
                presentationMode.wrappedValue.dismiss()
            }, label: {
                Text("Back").foregroundColor(.black)
            }))
                .padding()

        }
    }
}
跳转全屏
// 只需要将上面的 “ sheet”替换成“ fullScreenCover”的方式就可以了
.fullScreenCover(isPresented: $isPresent, content: {
      PresentB()
  })
四、返回页面
@Environment(\.presentationMode) var presentationMode

presentationMode.wrappedValue.dismiss() // 返回上级页面