Vue『卡片拖拽式课程表』
概述
在本篇技术博客中,我们将介绍一个使用Vue实现的『卡片拖拽式课程表』。这个课程表允许用户通过拖拽课程卡片来安排不同的课程在时间表上的位置。我们将逐步讲解代码实现,包括课程表的布局、拖拽功能的实现,以及如何动态显示课程信息。让我们一起开始吧!
项目概览
在我们的Vue『卡片拖拽式课程表』中,我们将有两个主要组件:CoursePanel和vCoursePanel。其中CoursePanel组件表示每门课程的卡片,用于拖拽到时间表上;vCoursePanel则是时间表上的单元格,它可以接收被拖拽的课程卡片。
项目结构
我们的项目文件结构如下所示:- src/
- components/
- CoursePanel.vue
- vCoursePanel.vue
- views/
- CourseSchedule.vue
CoursePanel.vue和vCoursePanel.vue分别对应上述的两个主要组件,而CourseSchedule.vue则是我们主要的视图组件,包含了课程表的布局和逻辑。
CoursePanel组件
让我们先来看看CoursePanel.vue组件的代码:
<template>
  <div
    class="course-panel"
    draggable="true"
    @dragstart="handleDragStart"
    @dragend="handleDragEnd"
    :data-key="courseKey"
  >
    <h1>{

   { courseName }}</h1>
    <span class="remove-btn">x</span>
  </div>
</template>

<script setup>
const props = defineProps({
  courseName: {
    type: String,
    default: 'Null'
  },
  courseKey: {
    type: String,
    default: 'Null'
  }
});

const emit = defineEmits(['handleDragEnd'])

function handleDragStart (e) {
  const tar = e.target;
  tar.style.opacity = '.6';
}

function handleDragEnd (e) {
  const tar = e.target;
  tar.style.opacity = '1';

  emit('handleDragEnd', tar);
}
</script>

<style lang="scss">
  .course-panel {
    position: relative;
    width: 150px;
    height: 100px;
    background-color: orange;
    margin: 10px auto;
    padding: 10px;
    box-sizing: border-box;
    cursor: move;

    h1 {
      font-size: 20px;
      font-weight: normal;
      text-align: center;
    }

    .remove-btn {
      position: absolute;
      top: 0px;
      right: 10px;
      color: #fff;
    }
  }
</style>
CoursePanel组件是用于展示单个课程信息的卡片。它接收两个prop:courseName和courseKey。courseName用于展示课程名称,courseKey用于在拖拽结束后标识该课程的唯一键。
组件中使用了draggable属性来将元素设置为可拖拽,并监听了dragstart和dragend事件。在拖拽开始时,handleDragStart函数会将被拖拽的课程卡片的不透明度设置为0.6。在拖拽结束时,handleDragEnd函数将不透明度恢复为1,并通过emit方法触发handleDragEnd事件,将当前课程卡片的信息传递给父组件。
vCoursePanel组件
接下来,我们来看看vCoursePanel.vue组件的代码:
<script setup>
import { ref } from 'vue';

const cellData = ref({
  '1-1': 'chinese',
  '2-5': 'english',
  '3-3': 'mathmatics'
})

export default {
  mounted (el, bindings) {
    const oRemoveBtn = el.querySelector('.remove-btn');
    const { cellData, weekday, timeSlot } = bindings.value;

    oRemoveBtn.addEventListener('click', handleRemovePanel, false);

    function handleRemovePanel () {
      delete cellData[`${ weekday }-${ timeSlot }`];
    }
  }
}
</script>
vCoursePanel组件表示时间表上的单元格。它接收一个prop:bindings.value,其中包含了时间表的位置信息(weekday和timeSlot)以及时间表上已经安排的课程信息(cellData)。
在组件的mounted生命周期中,我们监听了remove-btn元素的点击事件,当点击删除按钮时,会从cellData对象中删除对应时间表位置的课程信息,实现了删除课程的功能。
主视图组件 CourseSchedule
我们来看看主视图组件 CourseSchedule.vue 的代码:
<template>
  <div class="board">
    <div class="left">
      <course-panel
        v-for="({ name }, key) in data.courses"
        :course-name="name"
        :course-key="key"
        @handle-drag-end="handleDragEnd"
      ></course-panel>
    </div>
    <div
      class="right"
      @dragover="handleDragOver"
      @dragenter="handleDragEnter"
    >
      <table border="1">
        <tr>
          <th>时间段 / 星期</th>
          <th
            v-for="(weekday, index) of data.weekday"
            :key="index"
          >{

   { weekday }}</th>
        </tr>
        <tr
          v-for="(timeSlot, index) of data.time_slot"
          :key="index"
        >
          <th>{

   { timeSlot }}</th>
          <td
            v-for="weekday in 7"
            :data-weekday="weekday"
            :data-time-slot="index"
          >
            <template v-if="cellData[`${ weekday }-${ index }`]">
              <course-panel
                :course-name="data.courses[cellData[`${ weekday }-${ index }`]].name"
                :course-key="cellData[`${ weekday }-${ index }`]"
                v-course-panel="{
                  cellData,
                  weekday,
                  timeSlot: index
                }"
              ></course-panel>
            </template>
          </td>
        </tr>
      </table>
    </div>
  </div>
</template>

<script setup>
import CoursePanel from './CoursePanel';
import vCoursePanel from './vCoursePanel';
import { ref } from 'vue';

const data = {
  weekday: [
    "星期一",
    "星期二",
    "星期三",
    "星期四",
    "星期五",
    "星期六",
    "星期日"
  ],
  time_slot: [
    "08:00-08:50",
    "09:00-09:50",
    "10:00-10:50",
    "11:00-11:50",
    "14:00-14:50",
    "15:00-15:50",
    "16:00-16:50",
    "17:00-17:50"
  ],
  courses: {
    chinese: {
      name: "语文",
      teachers: [
        "张三",
        "李四"
      ]
    },
    mathmatics: {
      name: "数学",
      teacher: [
        "王五",
        "赵六"
      ]
    },
    english: {
      name: "英语",
      teacher: [
        "野田生",
        "小夏"
      ]
    }
  }
}

/**
 * weekday
 * timeSlot
 *
 * {
 *   1-5: chinese / english / mathmatics
 * }
 */

let targetCell = null;

const cellData = ref({
  '1-1': 'chinese',
  '2-5': 'english',
  '3-3': 'mathmatics'
})


function handleDragOver (e) {
  e.preventDefault();
}

function handleDragEnter (e) {
  e.preventDefault();
  const tar = e.target;
  const tagName = tar.tagName.toLowerCase();

  targetCell = tagName !== 'td' ? null : tar;
}

function handleDragEnd (target) {
  if (targetCell) {
    const weekday = targetCell.dataset.weekday;
    const timeSlot = targetCell.dataset.timeSlot;
    const prop = `${ weekday }-${ timeSlot }`;

    if (!cellData.value[prop]) {
      const key = target.dataset.key;
      cellData.value[prop] = key;
    }
  }
}
</script>

<style lang="scss">
.board {
  position: relative;

  .left {
    position: absolute;
    top: 0;
    left: 0;
    width: 300px;
    height: 100%;
  }

  .right {
    width: 100%;
    height: 800px;
    padding-left: 300px;
    box-sizing: border-box;

    table {
      width: 100%;
      border-collapse: collapse;
      table-layout: fixed;

      td {
        height: 100px;
      }
    }
  }
}
</style>
CourseSchedule.vue组件是我们的主视图组件,它包含了课程表的整体布局。在模板中,我们使用了v-for指令渲染左侧的课程卡片和右侧的时间表单元格。
左侧的div.left中,我们通过v-for遍历data.courses,渲染每门课程对应的CoursePanel组件。@handle-drag-end事件监听课程卡片的拖拽结束,当拖拽结束时,我们将调用handleDragEnd函数处理拖拽事件,将课程卡片的信息传递给主组件。
右侧的div.right是时间表的展示区域。我们使用了table标签来创建表格,并通过v-for指令渲染每个时间段和星期的单元格。在单元格内,我们使用v-if条件渲染,检查该位置是否已经有课程,如果有,则显示相应的课程卡片。
在script setup中,我们引入了CoursePanel和vCoursePanel组件,同时定义了时间表的数据data和已安排课程的信息cellData。我们还定义了处理拖拽事件的函数handleDragOver、handleDragEnter和handleDragEnd,用于实现课程的拖拽和安排。
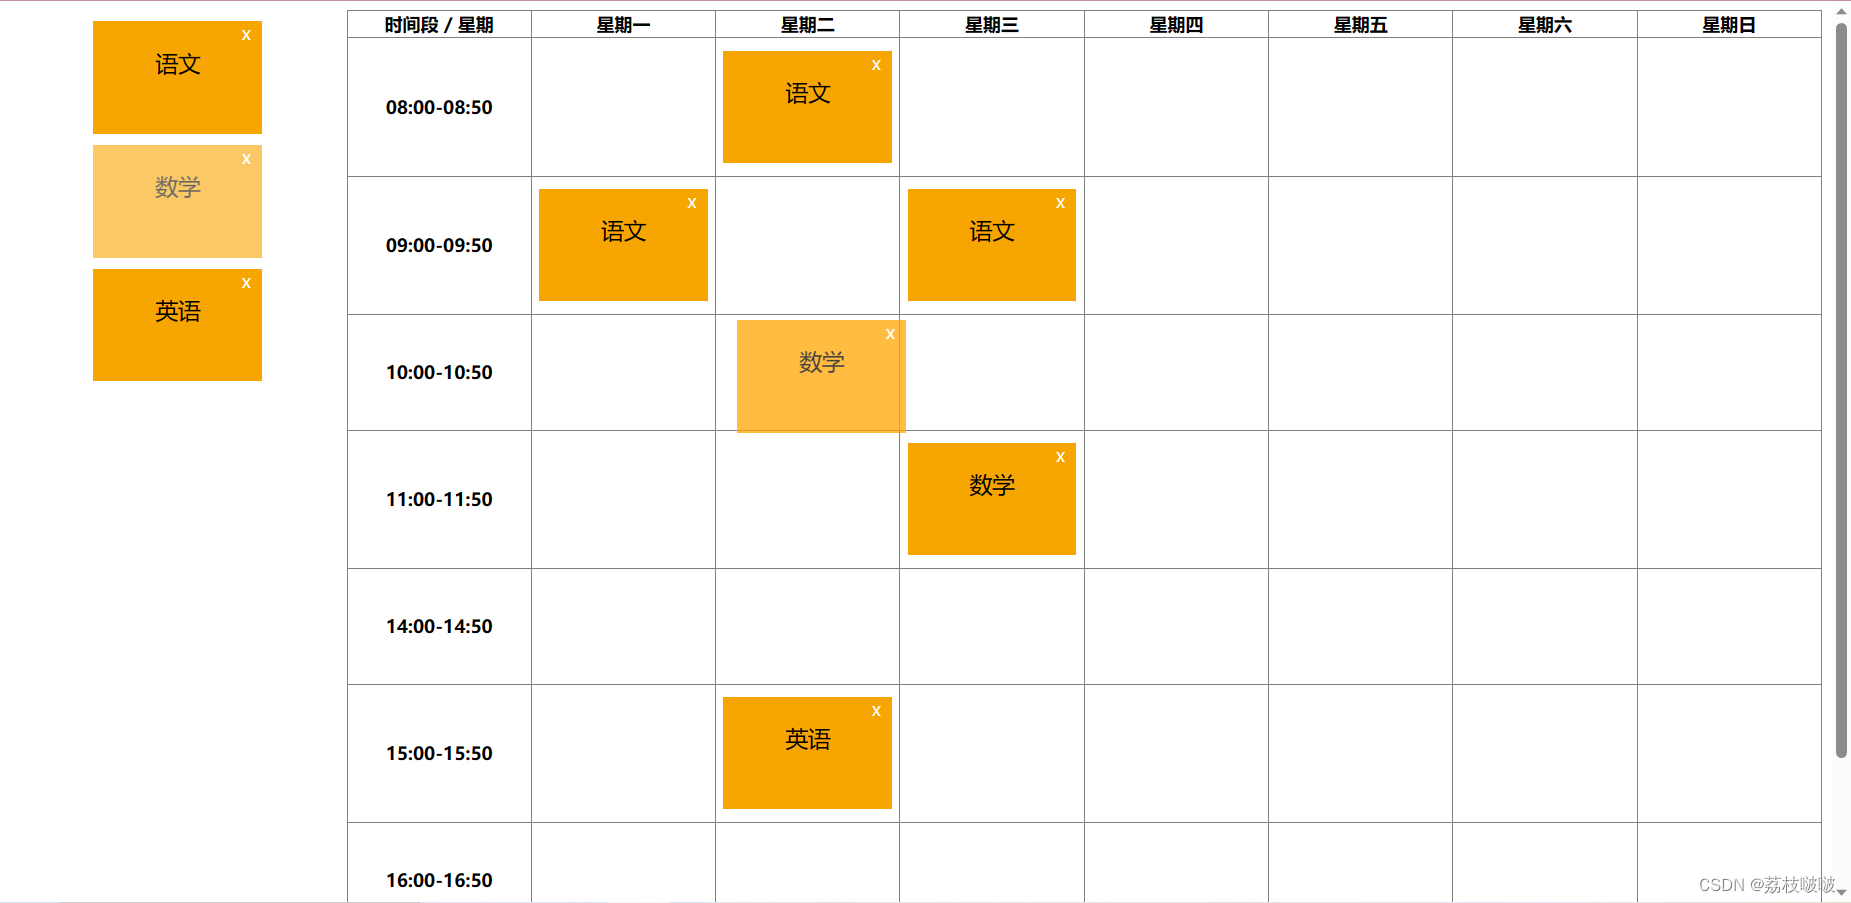
效果图:

学习自B站up主:前端小野森森
总结
在这篇技术博客中,我们介绍了一个用Vue实现的『卡片拖拽式课程表』。我们逐步讲解了CoursePanel组件和vCoursePanel组件的实现,以及主视图组件CourseSchedule的布局和逻辑。通过拖拽课程卡片到时间表上,我们可以方便地安排不同课程在不同时间段的上课时间。这个简单而实用的课程表可以用于学校、培训机构等教育场景,提高课程管理的效率。