作业0:环境搭建,简单变换
给定一个点 P=(2,1), 将该点绕原点先逆时针旋转45度,再平移 (1,2),计算出
变换后点的坐标(要求用齐次坐标进行计算)。
#include<cmath>
#include<eigen3/Eigen/Core>
#include<eigen3/Eigen/Dense>
#include<iostream>

int main() {


    Eigen::Vector3f Point3D(2.0f, 1.0f, 1.0f);

    float theta = 45.0f*M_PI/180.0f;

    Eigen::Matrix3f RotateMatrix;
    RotateMatrix<<cos(theta), -sin(theta), 0, sin(theta), cos(theta), 0, 0, 0, 1;

    Eigen::Matrix3f MoveMatrix;
    MoveMatrix<<1, 0, 1, 0, 1, 2, 0, 0, 0;

    std::cout<<MoveMatrix*RotateMatrix*Point3D;

    return 0;
}
作业1:旋转与投影
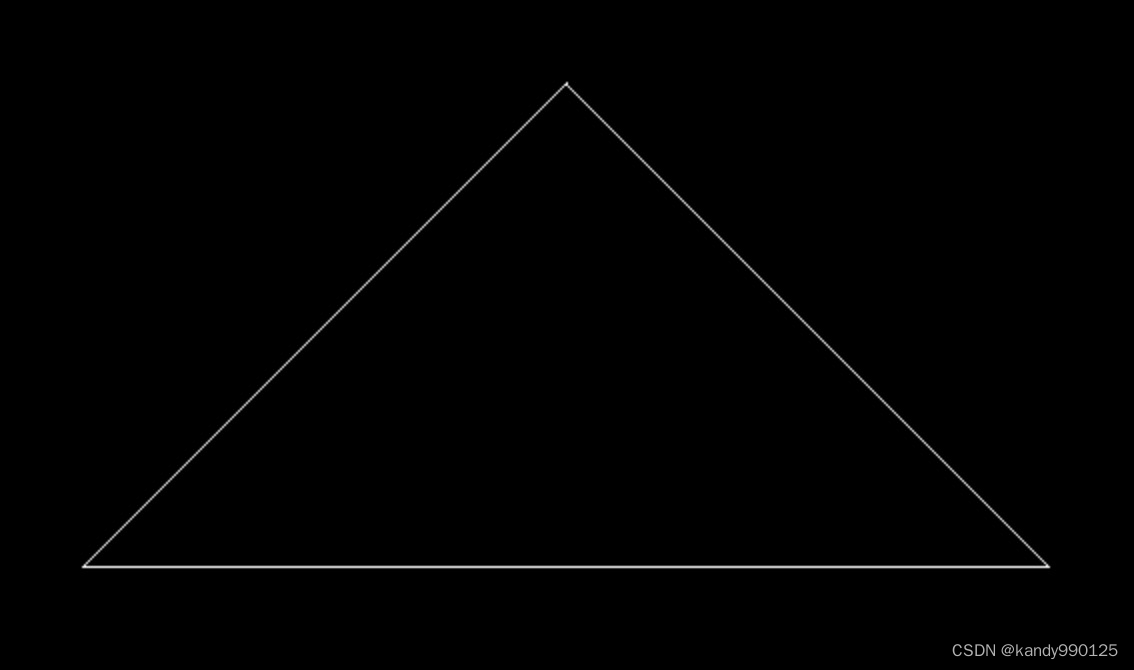
给定三维下的三个点 v0(2.0,0.0,−2.0),v1(0.0,2.0,−2.0),v2(−2.0,0.0,−2.0),你需要将这三个点的坐标变换为屏幕坐标并在屏幕上绘制出对应的线框三角形。
Eigen::Matrix4f get_model_matrix(float rotation_angle)
{


    Eigen::Matrix4f model = Eigen::Matrix4f::Identity();

    rotation_angle = rotation_angle / 180.0 * MY_PI;

    Eigen::Matrix4f translate;
    translate << cos(rotation_angle), -1 * sin(rotation_angle), 0, 0,
                 sin(rotation_angle), cos(rotation_angle),      0, 0,
                 0,                   0,                        1, 0,
                 0,                   0,                        0, 1;
    model = translate * model;

    return model;
}
Eigen::Matrix4f get_projection_matrix(float eye_fov, float aspect_ratio,
                                      float zNear, float zFar)
{


    // eye_fov: 视野的大小
    // aspect_ratio: 长宽比

    Eigen::Matrix4f projection = Eigen::Matrix4f::Identity();

    Eigen::Matrix4f zoomMatrix; // 缩放矩阵
    zoomMatrix << zNear, 0,     0,            0,
            	  0,     zNear, 0,            0,
            	  0,     0,     zNear + zFar, (-1) * zNear * zFar,
            	  0,     0,     1,            0;

    float half_eye_angle = eye_fov / 2.0 / 180.0* MY_PI ;
    float t = zNear * tan(half_eye_angle); // y轴的最大值
    float r = t * aspect_ratio;                // x轴的最大值

    float l = (-1)*r; // x轴的最小值
    float b = (-1)*t; // y轴的最小值

    Eigen::Matrix4f moveMatrix; // 平移矩阵

    moveMatrix << 1, 0, 0, -(l + r) / 2,
            0, 1, 0, -(b + t) / 2,
            0, 0, 1, -(zNear + zFar) / 2,
            0, 0, 0, 1;

    Eigen::Matrix4f zoomMatirx2; // 缩放到[-1,1]范围内
    zoomMatirx2 << 2/(r - l),   0,    		 0,                  0,
            	   0,           2/(t - b),   0,                  0,
                   0,           0,           2/(zFar - zNear) ,  0,
                   0,           0,           0,                  1;

    projection = zoomMatirx2 * moveMatrix * zoomMatrix * projection;

    return projection;
}
上下颠倒的问题
出现三角形上下颠倒的问题,是由坐标轴的不同引起的,课程中的原点在左下角,而opencv的库原点在左上角。课程中的设置是向-Z轴看,但是main函数中设置的zNear和zFar分别是0.1和50, 均是正数。
这就导致如果依旧按照之前的方式计算的话,y轴和z轴两个轴会是反的。所以在修改代码的时候有两点变化:
- 透视变换变成正交变换的矩阵中,值为正值,这里是在校正Z轴的问题。
- 计算top的时候为负值,bottom为正值,校正y轴的问题。
修改这些部分:
float t = -zNear * tan(half_eye_angle); // y轴的最大值
...
zoomMatirx2 << 2/(r - l),   0,    		 0,                  0,
               0,           2/(t - b),   0,                  0,
               0,           0,           2/(zNear - zFar) ,  0,
               0,           0,           0,                  1;
正确显示:

作业2:Triangles and Z-buffering
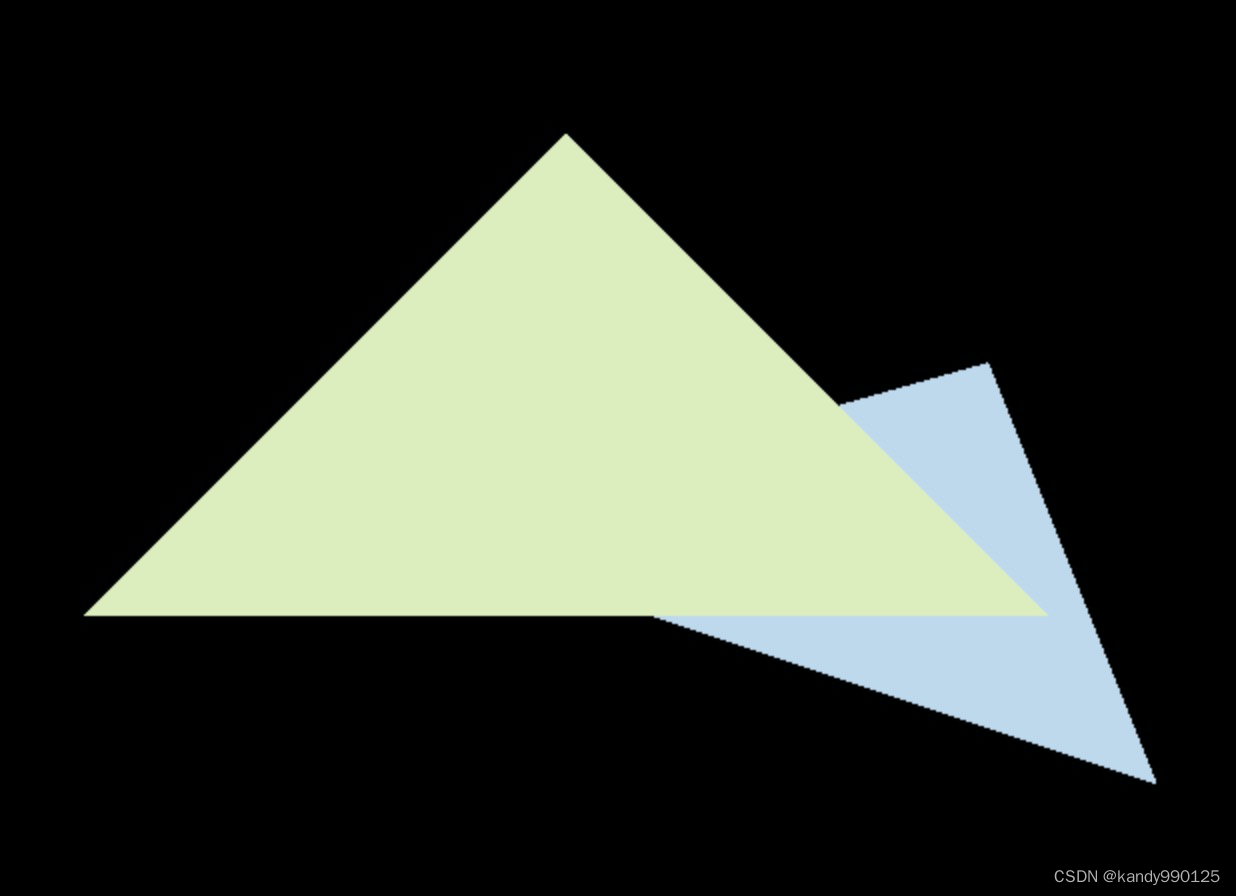
要求:栅格化三角形,
static bool insideTriangle(float x, float y, const Vector3f *_v) {


    Eigen::Vector2f P(x, y);
    Eigen::Vector2f A = _v[0].head(2);
    Eigen::Vector2f B = _v[1].head(2);
    Eigen::Vector2f C = _v[2].head(2);

    Eigen::Vector2f AP = P - A;
    Eigen::Vector2f BP = P - B;
    Eigen::Vector2f CP = P - C;

    Eigen::Vector2f AB = B - A;
    Eigen::Vector2f BC = C - B;
    Eigen::Vector2f CA = A - C;

    float res1 = AP[0] * AB[1] - AP[1] * AB[0];
    float res2 = BP[0] * BC[1] - BP[1] * BC[0];
    float res3 = CP[0] * CA[1] - CP[1] * CA[0];

    return (res1 > 0 && res2 > 0 && res3 > 0) || (res1 < 0 && res2 < 0 && res3 < 0);
}


void rst::rasterizer::rasterize_triangle(const Triangle &t) {


    auto v = t.toVector4();

    // 创建三角形的 2 维 bounding box
    float min_x = std::min(v[0][0], std::min(v[1][0], v[2][0]));
    float max_x = std::max(v[0][0], std::max(v[1][0], v[2][0]));
    float min_y = std::min(v[0][1], std::min(v[1][1], v[2][1]));
    float max_y = std::max(v[0][1], std::max(v[1][1], v[2][1]));

    // 遍历此 bounding box 内的所有像素(使用其整数索引)。然后,使用像素中心的屏幕空间坐标来检查中心点是否在三角形内。
    for (int i = static_cast<int>(floor(min_x)); i <= max_x + 1; i++) {


        for (int j = static_cast<int>(floor(min_y)); j <= max_y + 1; j++) {


            if (insideTriangle(i + 0.5, j + 0.5, t.v)) {


                auto[alpha, beta, gamma] = computeBarycentric2D(i + 0.5, j + 0.5, t.v);
                float w_reciprocal = 1.0 / (alpha / v[0].w() + beta / v[1].w() + gamma / v[2].w());
                // 计算深度插值
                float z_interpolated = alpha * v[0].z() / v[0].w() + beta * v[1].z() / v[1].w() + gamma * v[2].z() / v[2].w();
                z_interpolated *= w_reciprocal;

				// 更新深度缓冲数组
                if (depth_buf[get_index(i, j)] > z_interpolated) {


                    depth_buf[get_index(i, j)] = z_interpolated;
                    Eigen::Vector3f color = t.getColor();
                    Eigen::Vector3f point;
                    point << i, j, z_interpolated;
                    set_pixel(point, color); // 设置当前像素的颜色
                }
            }
        }
    }
}
显示结果:(如果有上下颠倒、深度显示不正确的话见作业1中的上下颠倒问题分析)
