根据 H5 2D渲染引擎—Pixi.js 渲染器、舞台和精灵的创建,创建精灵(不做其他设置)并添加到渲染器后,精灵默认的位置是在渲染器的左上角(x=0,y=0),大小为原图片大小。

定位
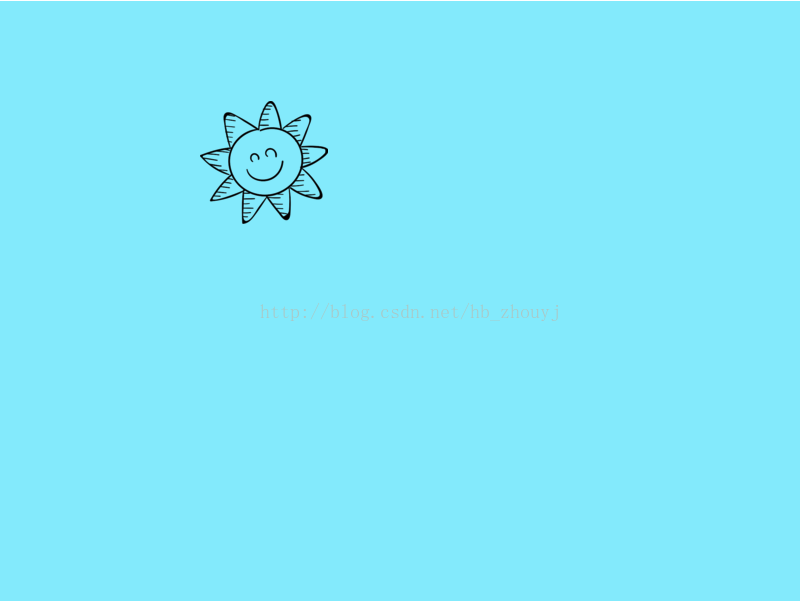
可以通过改变精灵的x、y的属性值来调整它的位置。
sun.x = 200;
sun.y = 100;
或者
sun.position.set(200, 100);效果:
大小
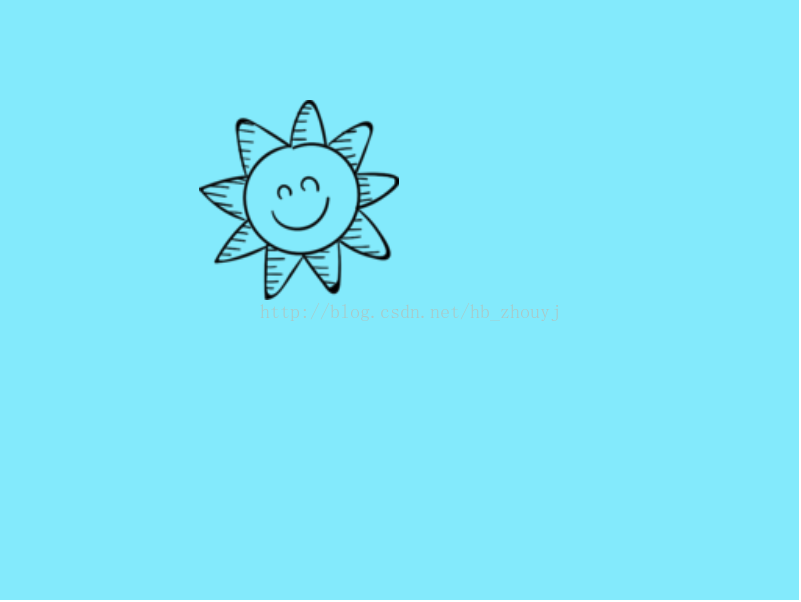
可以通过设置精灵的width、height或者通过精灵的scale属性设置它的大小。
sun.width = 200;
sun.height = 200;
效果:
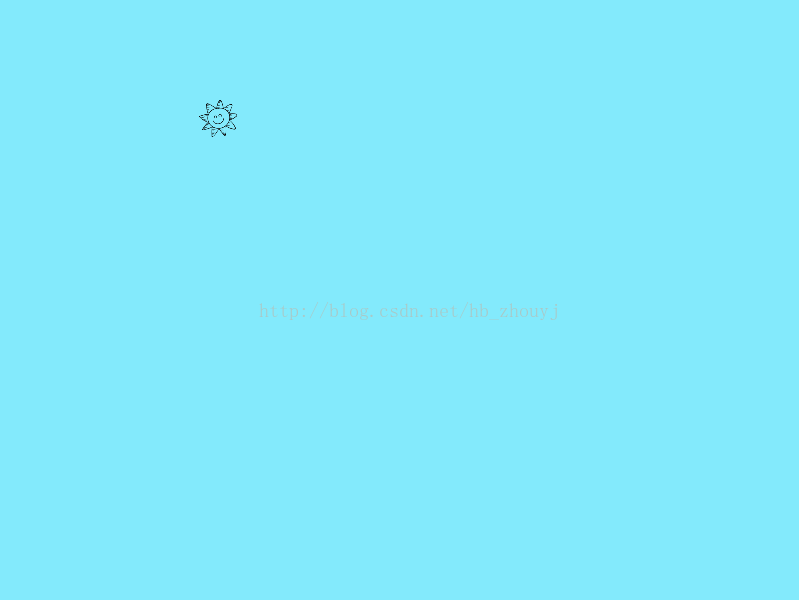
sun.scale.x= 0.3;
sun.scale.y = 0.3;
//简写
//sun.scale.set(0.3, 0.3);
效果:
旋转
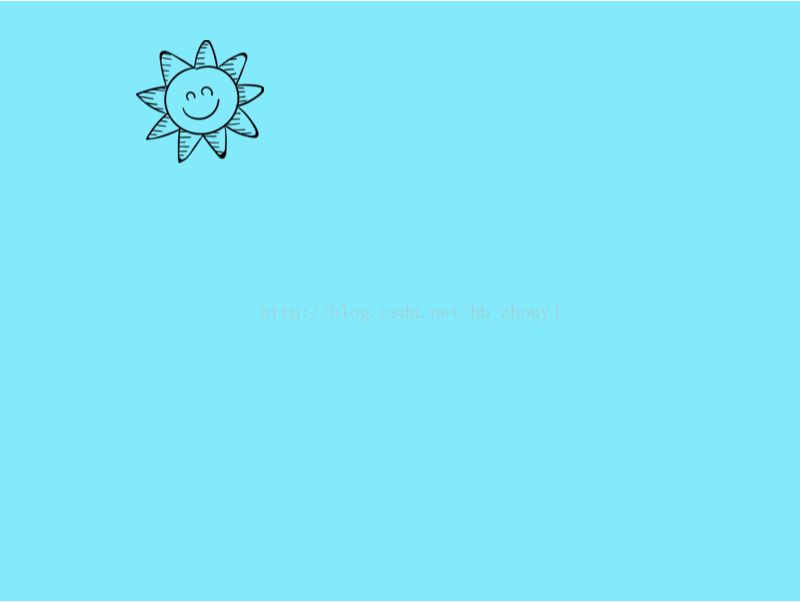
sun.rotation = 0.8;效果:

中心位置
可以理解为精灵的中心点,设置后,精灵的宽高值、位置以及旋转的起点均以其中心点为参照。
sun.position.set(200, 100);
sun.anchor.x = 0.5;
sun.anchor.y = 0.5;
//简写
//sun.anchor.set(0.5);
效果:
移动
依赖循环函数 requestAnimationFrame。在循环函数里的代码每秒会更新60次。(application渲染器也可以使用 app.ticker 函数)
requestAnimationFrame(animate);
    function animate() {
        if(sun.x < 550){
            sun.x += 1;
        }
        requestAnimationFrame(animate);
    }
或者
app.ticker.add(function(){
  if(sun.x < 550) {
    sun.x += 1;
  }
})
为了能更方便的运用到项目中,可以使用精灵的 速度属性。
var app = new PIXI.Application(800, 600, {backgroundColor: 0x92edfb, transparent: false});
    document.body.appendChild(app.view);

    var sun = PIXI.Sprite.fromImage('img/sun.ico');
    sun.y = 40;
    sun.vx = 0;
    sun.vy = 0;
    app.stage.addChild(sun);

    app.ticker.add(function () {
        if(sun.x < 700 && sun.y < 600) {
            play()
        }
    });

    function play() {
        sun.vx = 1;
        sun.vy = 0.5;
        sun.x += sun.vx;
        sun.y += sun.vy
    }