Android 基于CameraX开发Camera预览(Java)
开发环境:
基于Camera X:
1.0.0-alpha01JDK:
JDK8Android Studio:
4.2.2
最终效果:
1. 准备工作
1. 1 添加依赖
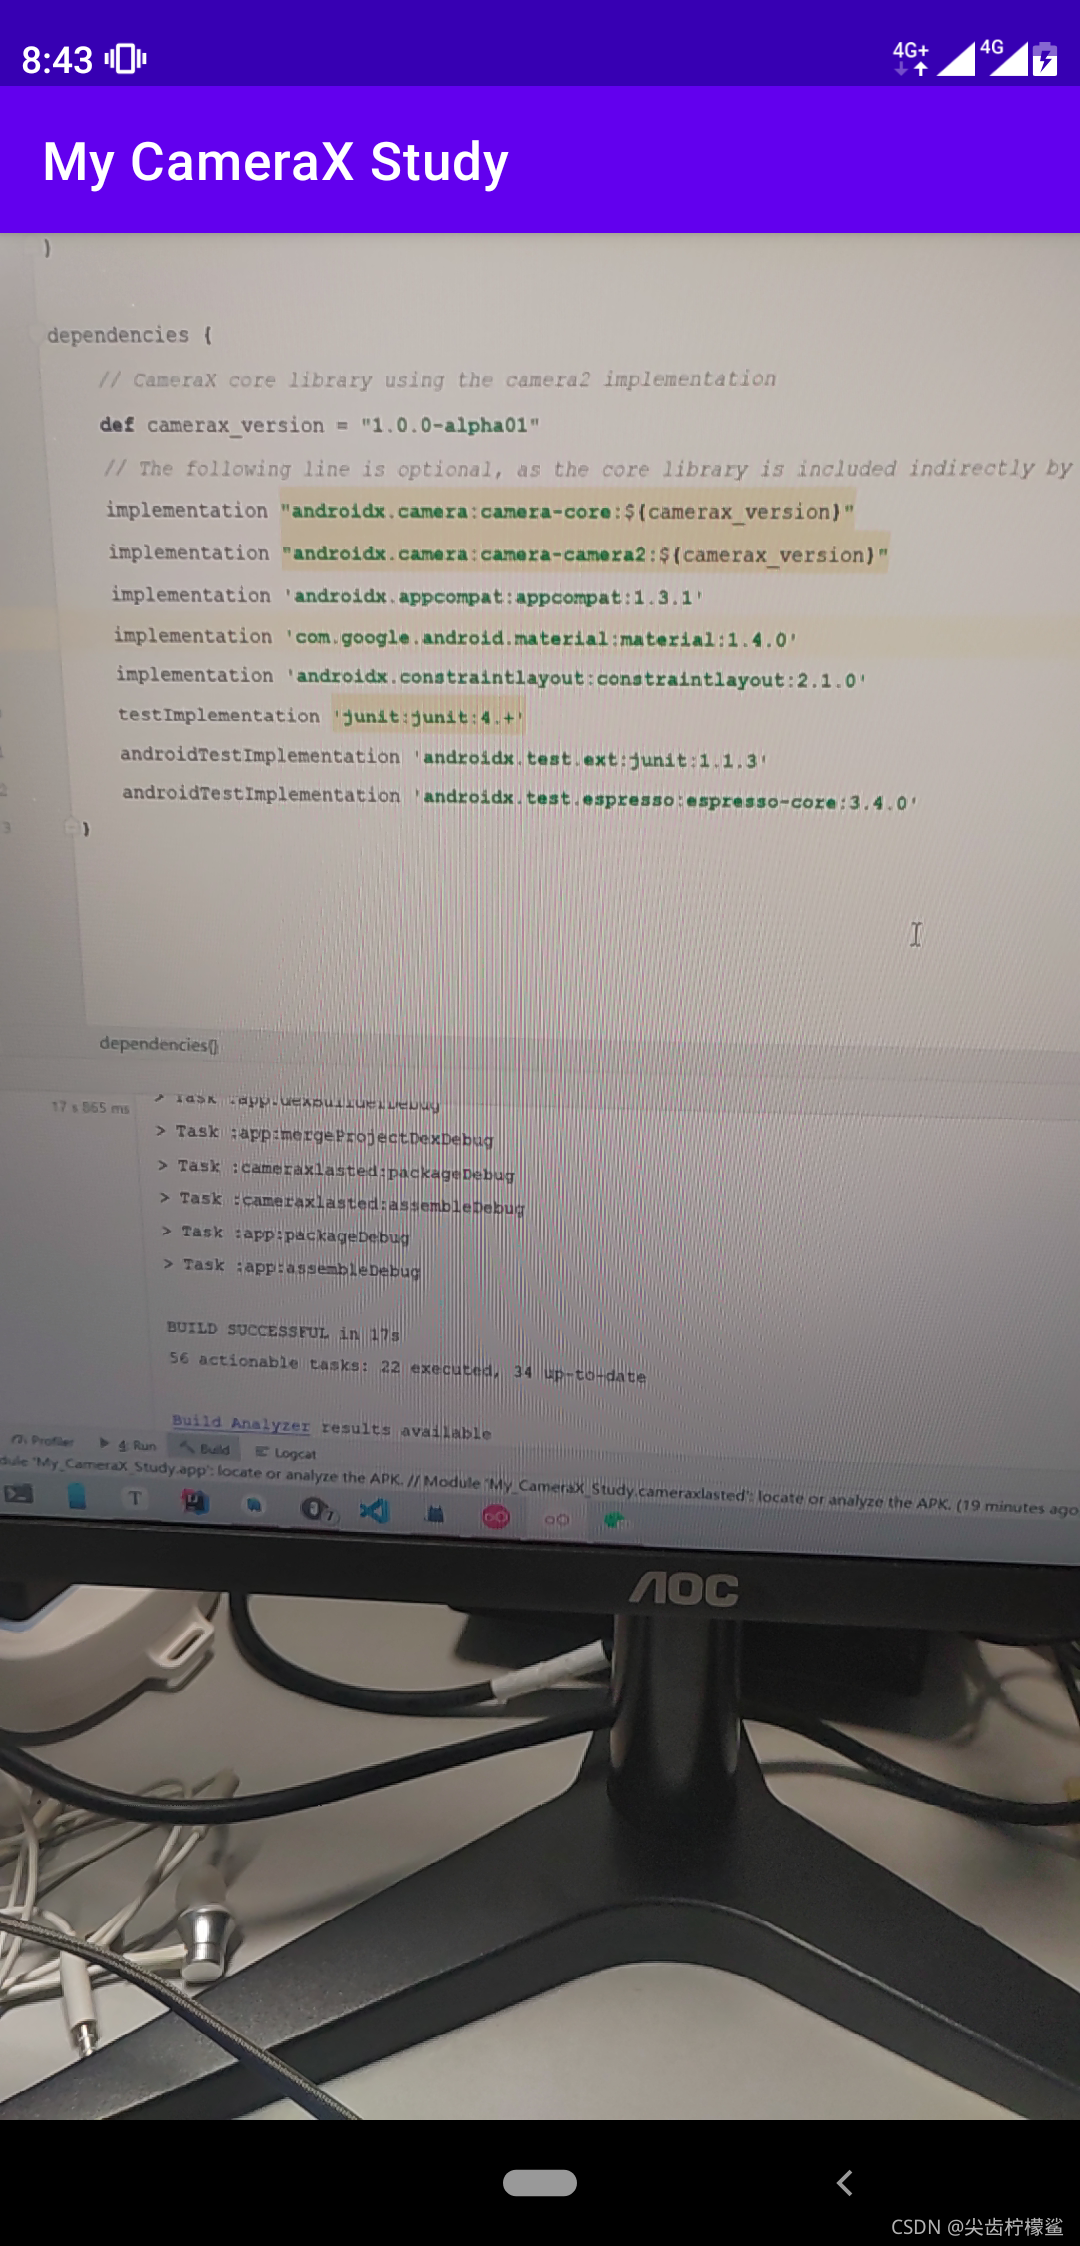
在build.gradle(app)中添加依赖, 注意本篇部分代码只适合1.0.0-alpha01
def camerax_version = "1.0.0-alpha01"
implementation "androidx.camera:camera-core:${camerax_version}"
implementation "androidx.camera:camera-camera2:${camerax_version}"
1.2 相机权限申请
在AndroidManifest.xml中注册相机权限
<uses-permission android:name="android.permission.CAMERA"/>
相机的权限在Android 6.0以上还需要使用动态申请方式获取授权
使用androidx兼容包(即Activity 继承自 androidx.XXX.AppCompatActivity)可以参考以下代码实现动态申请:
public class MainActivity extends AppCompatActivity {


	private int REQUEST_CODE_PERMISSIONS = 10; //arbitrary number, can be changed accordingly
    private final String[] REQUIRED_PERMISSIONS = new String[]{

    "android.permission.CAMERA"};


    @Override
    public void onRequestPermissionsResult(int requestCode, @NonNull String[] permissions, @NonNull int[] grantResults) {


        super.onRequestPermissionsResult(requestCode, permissions, grantResults);
        if (requestCode == REQUEST_CODE_PERMISSIONS) {


            if (allPermissionsGranted()) {


                // 获取了所有所申请的权限
            } else {


                // 有权限没有通过申请
                Toast.makeText(this, "Permissions not granted by the user.", Toast.LENGTH_SHORT).show();
                finish();
            }
        }
    }

    /**
     * 检查是否所有所请求的权限都获得许可, 固定写法
     * @return
     */
    private boolean allPermissionsGranted(){


        for(String permission : REQUIRED_PERMISSIONS){


            if(ContextCompat.checkSelfPermission(this, permission) != PackageManager.PERMISSION_GRANTED){


                return false;
            }
        }
        return true;
    }
}
1. 3 配置使用JDK8
官方文档中提到使用Camerax需要使用JDK8, 因此,在build.gradle(app)中配置
...

android {
	...
	buildTypes {
		...
	}
	compileOptions {
        sourceCompatibility JavaVersion.VERSION_1_8
        targetCompatibility JavaVersion.VERSION_1_8
    }
}
2. 开始开发
-
布局中添加
TextureView,参考如下:<?xml version="1.0" encoding="utf-8"?> <androidx.constraintlayout.widget.ConstraintLayout xmlns:android="http://schemas.android.com/apk/res/android" xmlns:app="http://schemas.android.com/apk/res-auto" xmlns:tools="http://schemas.android.com/tools" android:layout_width="match_parent" android:layout_height="match_parent" tools:context=".MainActivity"> <TextureView android:layout_width="match_parent" android:layout_height="match_parent" android:id="@+id/ttv_camera_preview" app:layout_constraintTop_toTopOf="parent" app:layout_constraintLeft_toLeftOf="parent" app:layout_constraintRight_toRightOf="parent" app:layout_constraintBottom_toBottomOf="parent"/> </androidx.constraintlayout.widget.ConstraintLayout> -
设置Activity的成员变量:
TextureView ttv; -
在
oncreate()中,设置预览View的OnLayoutChangeListener(监听该View的尺寸变化)ttv = findViewById(R.id.ttv_camera_preview); ttv.addOnLayoutChangeListener(new View.OnLayoutChangeListener() { @Override public void onLayoutChange(View v, int left, int top, int right, int bottom, int oldLeft, int oldTop, int oldRight, int oldBottom) { // 尺寸变化时确保预览画面的方向始终正确 updateTransform(); } });/** * 更新相机预览, 用以保证预览方向正确, 固定写法 */ private void updateTransform() { Matrix matrix = new Matrix(); // Compute the center of the view finder float centerX = ttv.getWidth() / 2f; float centerY = ttv.getHeight() / 2f; float[] rotations = { 0,90,180,270}; // Correct preview output to account for display rotation float rotationDegrees = rotations[ttv.getDisplay().getRotation()]; matrix.postRotate(-rotationDegrees, centerX, centerY); // Finally, apply transformations to our TextureView ttv.setTransform(matrix); } -
在
oncreate()中,设置在主线程启动相机预览,也是固定写法/*View的宽、高确定后,将在主线程执行run()方法,此处用来启动相机*/ ttv.post(new Runnable() { @Override public void run() { // 在这里启动相机 startCamera(); } });private void startCamera() { } -
编写
startCamera,实现预览和帧画面分析的参考写法如下,部分代码基本上是固定写法了:private void startCamera() { // 清楚所有绑定 CameraX.unbindAll(); /** * 预览 */ // 计算屏幕参数:宽、高 、屏幕高宽比、尺寸 int aspRatioW = ttv.getWidth(); // 预览View的宽 int aspRatioH = ttv.getHeight(); // 预览View的高 Rational asp = new Rational (aspRatioW, aspRatioH); // 屏幕高、宽比 Size screen = new Size(aspRatioW, aspRatioH); // 屏幕尺寸 // 通过PreviewConfig注入预览设置 PreviewConfig pConfig = new PreviewConfig.Builder() .setTargetAspectRatio(asp) .setTargetResolution(screen) .build(); // 根据预览配置生成预览对象,并设置预览回调(每一帧画面都调用一次该回调函数) Preview preview = new Preview(pConfig); preview.setOnPreviewOutputUpdateListener(new Preview.OnPreviewOutputUpdateListener() { @Override public void onUpdated(Preview.PreviewOutput output) { // 需要移除父组件后重新添加View组件,固定写法 ViewGroup parent = (ViewGroup) ttv.getParent(); parent.removeView(ttv); parent.addView(ttv, 0); ttv.setSurfaceTexture(output.getSurfaceTexture()); updateTransform(); } }); /** * 分析 */ // 创建Handler用以在子线程处理数据 HandlerThread handlerThread = new HandlerThread("Image_Analyze"); handlerThread.start(); // 创建ImageAnalysisConfig 配置 ImageAnalysisConfig imageAnalysisConfig = new ImageAnalysisConfig.Builder() .setCallbackHandler(new Handler(handlerThread.getLooper())) .setImageReaderMode(ImageAnalysis.ImageReaderMode.ACQUIRE_LATEST_IMAGE) .setTargetAspectRatio(asp) .build(); // 根据分析配置生成分析对象,并设置分析对象(需要自定义分析类,并实现ImageAnalysis.Analyzer接口) ImageAnalysis imageAnalysis = new ImageAnalysis(imageAnalysisConfig); imageAnalysis.setAnalyzer(new MyAnalyzer()); // 将当前Activity和preview 绑定生命周期 CameraX.bindToLifecycle(this, preview, imageAnalysis); } /** * 自定义Analyzer类, 实现ImageAnalysis.Analyzer接口 * anylyze()是每一帧画面的回调函数 */ private class MyAnalyzer implements ImageAnalysis.Analyzer { @Override public void analyze(ImageProxy image, int rotationDegrees) { // 在这里对每一帧画面进行处理 final Image img = image.getImage(); if (img != null) { Log.d("MainActivity", "Image Time Stamp is: " + img.getTimestamp()); } } }
参考: 开始使用Android CameraX
Demo 源码:Github地址