目的:将LaRa交通信号灯数据集解析成VOC格式。
分为四类:‘Traffic_Light_go’, ‘Traffic_Light_stop’, ‘Traffic_Light_ambiguous’, ‘Traffic_Light_warning’
数据集下载链接:http://www.lara.prd.fr/benchmarks/trafficlightsrecognition
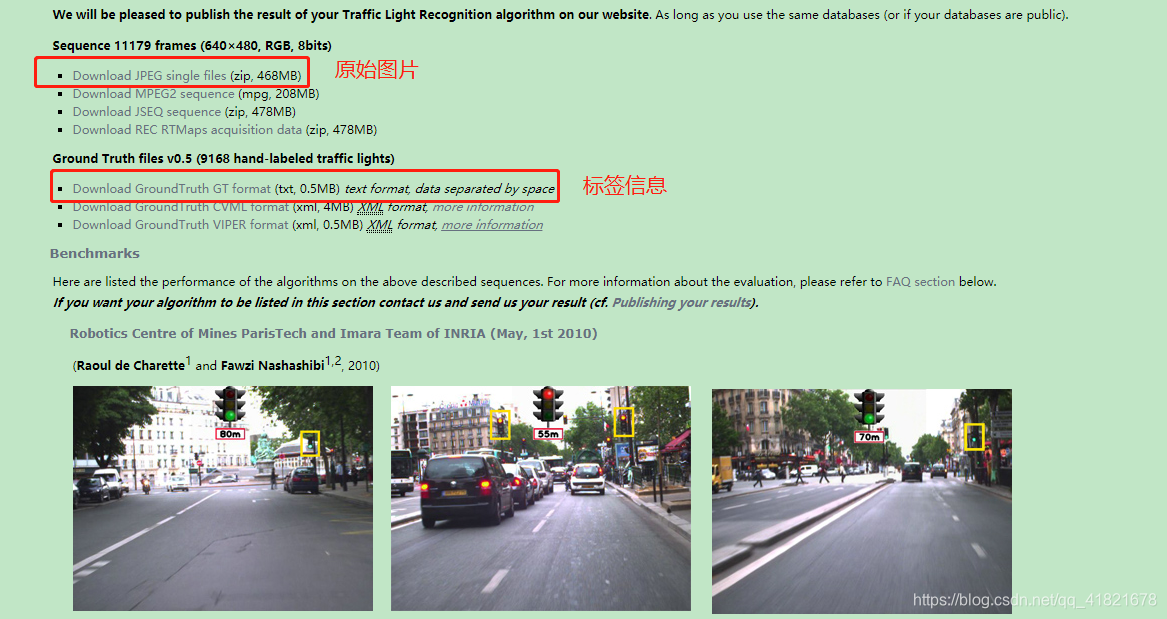
打开官网,如下图,下载数据集,一共9168张图片。
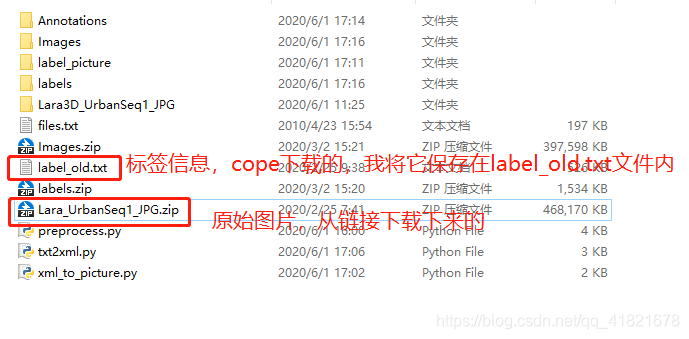
将下面标签信息保存在label_old.txt文件夹中。

-
从官网下载复制的只有两个文件,一个是原始图片压缩包,一个是复制出来的标签信息。
-
首先,将label_old.tx文件内的标签信息提取出来,将每一张图片与之标签信息一一对应。每一张图片对应一个txt文件。【注意文件路径改成】
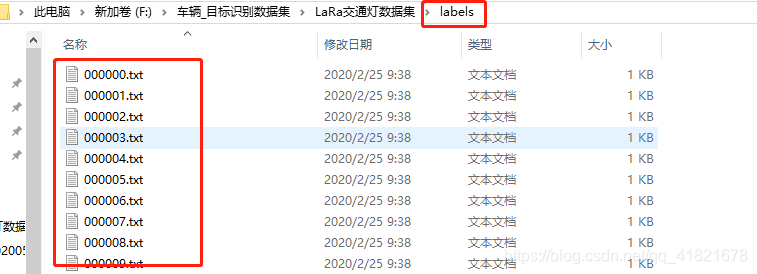
preprocess.py生成的txt文件存放在labels文件夹中,一一对应的原始图片存放在Images文件夹中。
# -*- coding: utf-8 -*-
import os
import shutil
from os import getcwd

#标签信息
classes = ['Traffic_Light_go', 'Traffic_Light_stop', 'Traffic_Light_ambiguous', 'Traffic_Light_warning']

width = 640
hight = 480
size = [width,hight]

def process(file_path, out_path, image_in_path, image_out_path):
    #generate labels
    with open(file_path) as f:
        i = 0
        pic_indexs = []
        if os.path.exists(out_path):
            shutil.rmtree(out_path)
        os.mkdir(out_path)
        for line in f.readlines():
            strs = str.split(line)
            pic_index = strs[2]
            pic_indexs.append(pic_index)
            x1 = float(strs[3])
            y1 = float(strs[4])
            x2 = float(strs[5])
            y2 = float(strs[6])
            box = [x1, x2, y1, y2]
            x,y,w,h = convert(size, box)
            label = strs[-3][1:]+'_'+strs[-2][:-1]+'_'+strs[-1][1:-1]
            class_ = classes.index(label)
            with open(out_path+'/%s.txt'%(str(i).zfill(6)), 'w') as out:
                out.write('%s %s %s %s %s\n'%(class_, x, y, w, h))
            i = i+1

    #reorder pictures
    i = 0
    if os.path.exists(image_out_path):
        shutil.rmtree(image_out_path)
    os.mkdir(image_out_path)
    for index in pic_indexs:
        pic_name = 'frame_'+index.zfill(6)+'.jpg'  #fill left null with zeros
        new_pic = str(i).zfill(6)+'.jpg'
        new_pic_path = image_out_path + '/' + new_pic
        old_pic_path = image_in_path + '/' + pic_name
        print(old_pic_path+' -> '+new_pic_path)
        shutil.copyfile(old_pic_path, new_pic_path)
        i = i+1


def convert(size, box):
    dw = 1./(size[0])
    dh = 1./(size[1])
    x = (box[0] + box[1])/2.0 - 1
    y = (box[2] + box[3])/2.0 - 1
    w = box[1] - box[0]
    h = box[3] - box[2]
    x = x*dw
    w = w*dw
    y = y*dh
    h = h*dh
    return (x,y,w,h)

wd = getcwd()
file_path = wd + '/label_old.txt'                   #复制的标签信息,放在label_old.txt文件中
out_path = wd +'/labels'                            #提取出标签坐标信息的txt存放文件夹
image_in_path = wd + '/Lara3D_UrbanSeq1_JPG'        #下载下来的原始图片存储位置
image_out_path = wd + '/Images'                     #存放提取的信号灯原始图片
process(file_path, out_path, image_in_path, image_out_path)
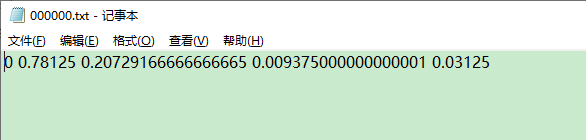
打开txt文件,内容如下:
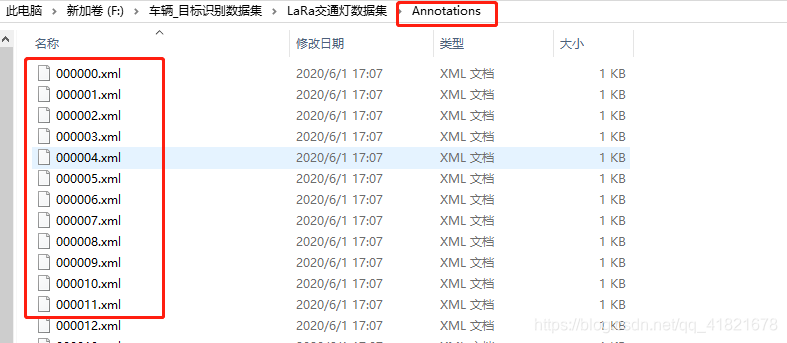
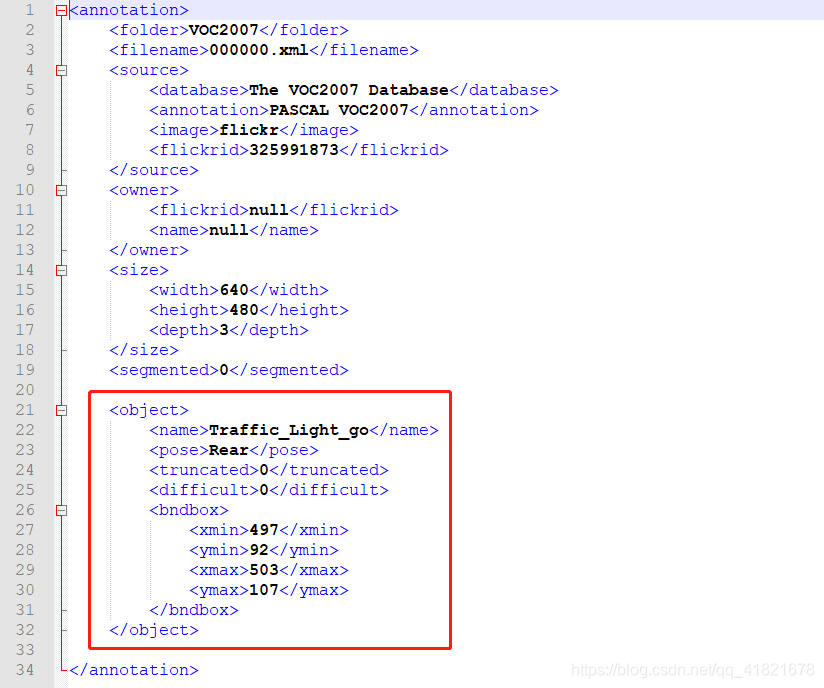
3. 然后,将txt文件转化成xml文件。【注意修改成自己的路径和类别】txt2xml.py生成的xml文件保存在Annotations文件夹中。
import cv2
import os
xml_head = '''<annotation>
    <folder>VOC2007</folder>
    <filename>{}</filename>
    <source>
        <database>The VOC2007 Database</database>
        <annotation>PASCAL VOC2007</annotation>
        <image>flickr</image>
        <flickrid>325991873</flickrid>
    </source>
    <owner>
        <flickrid>null</flickrid>
        <name>null</name>
    </owner>
    <size>
        <width>{}</width>
        <height>{}</height>
        <depth>{}</depth>
    </size>
    <segmented>0</segmented>
    '''
xml_obj = '''
    <object>
        <name>{}</name>
        <pose>Rear</pose>
        <truncated>0</truncated>
        <difficult>0</difficult>
        <bndbox>
            <xmin>{}</xmin>
            <ymin>{}</ymin>
            <xmax>{}</xmax>
            <ymax>{}</ymax>
        </bndbox>
    </object>
    '''
xml_end = '''
</annotation>'''

labels = ['Traffic_Light_go', 'Traffic_Light_stop', 'Traffic_Light_ambiguous', 'Traffic_Light_warning']  #label for datasets

cnt = 0
txt_path=os.path.join("F:/ceshi/labels/")       #存放txt的文件目录
image_path=os.path.join("F:/ceshi/Images/")     #存放图片的文件目录
path=os.path.join("F:/ceshi/Annotations/")      #存放生成xml的文件目录

for(root,dirname,files) in os.walk(image_path):#遍历图片文件夹
    for ft in files:
        ftxt=ft.replace('jpg','txt')#ft是图片名字+扩展名,将jpg和txt替换
        fxml=ft.replace('jpg','xml')
        xml_path=path+fxml
        obj = ''

        img = cv2.imread(root+ft)
        try:
            img_h,img_w = img.shape[0],img.shape[1]
            head = xml_head.format(str(fxml),str(img_w),str(img_h),3)
        except:
            print(root+ft)

        with open(txt_path+ftxt,'r') as f:          #读取对应txt文件内容
            for line in f.readlines():
                yolo_datas = line.strip().split(' ')
                label = int(float(yolo_datas[0].strip()))
                center_x = round(float(str(yolo_datas[1]).strip()) * img_w)
                center_y = round(float(str(yolo_datas[2]).strip()) * img_h)
                bbox_width = round(float(str(yolo_datas[3]).strip()) * img_w)
                bbox_height = round(float(str(yolo_datas[4]).strip()) * img_h)

                xmin = str(int(center_x - bbox_width / 2 ))
                ymin = str(int(center_y - bbox_height / 2))
                xmax = str(int(center_x + bbox_width / 2))
                ymax = str(int(center_y + bbox_height / 2))

                obj += xml_obj.format(labels[label],xmin,ymin,xmax,ymax)
        with open(xml_path,'w') as f_xml:
            f_xml.write(head+obj+xml_end)
        cnt += 1
        print(cnt)
到目前为止,已经将数据集解析成了VOC格式。有原始图片,存放在Images文件夹中,xml文件存放在Annotations文件夹中。
-
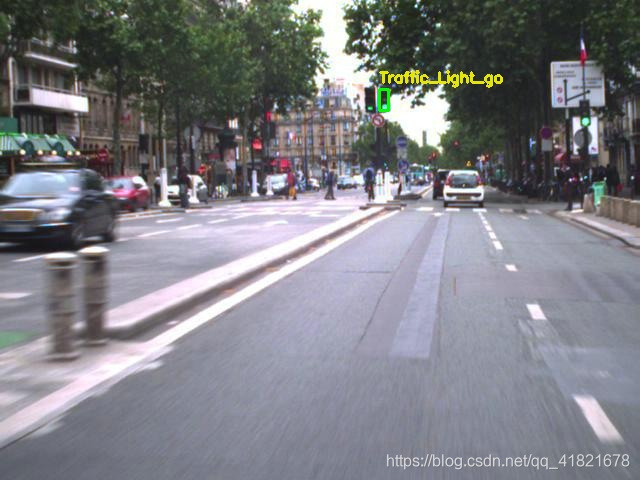
但是,想看一看这个数据集到底是怎样标注的?那么,接下来,需要将标签坐标信息还原到原始图片中,并用框框画出来。
含有框框坐标信息的图片保存在label_picture文件夹中。【注意修改文件路径】
xml_to_picture.py
# -*- coding: utf-8 -*-

import xml.etree.ElementTree as ET
import os, cv2

# 将路径换成自己的即可
annota_dir = "F:/ceshi/Annotations/"      #xml文件保存的路径
origin_dir = "F:/ceshi/Images/"          #jpg图片保存的路径
target_dir1= "F:/ceshi/label_picture/"          #生成带有标签信息的文件夹路径,即想将转化后的图片保存在哪

def divide_img(oriname):
    img_file = os.path.join(origin_dir, oriname + '.jpg')
    im = cv2.imread(img_file)

    # 读取每个原图像的xml文件
    xml_file = os.path.join(annota_dir, oriname + '.xml')
    tree = ET.parse(xml_file)
    root = tree.getroot()

    for object in root.findall('object'):
        object_name = object.find('name').text
        Xmin = int(object.find('bndbox').find('xmin').text)
        Ymin = int(object.find('bndbox').find('ymin').text)
        Xmax = int(object.find('bndbox').find('xmax').text)
        Ymax = int(object.find('bndbox').find('ymax').text)
        color = (4, 250, 7)
        cv2.rectangle(im, (Xmin, Ymin), (Xmax, Ymax), color, 2)
        font = cv2.FONT_HERSHEY_SIMPLEX
        cv2.putText(im, object_name, (Xmin, Ymin - 7), font, 0.5, (6, 230, 230), 2)

    img_name = oriname + '.jpg'
    to_name = os.path.join(target_dir1, img_name)
    cv2.imwrite(to_name, im)

img_list = os.listdir(origin_dir)
for name in img_list:
    divide_img(name.rstrip('.jpg'))
print("转化完成!")
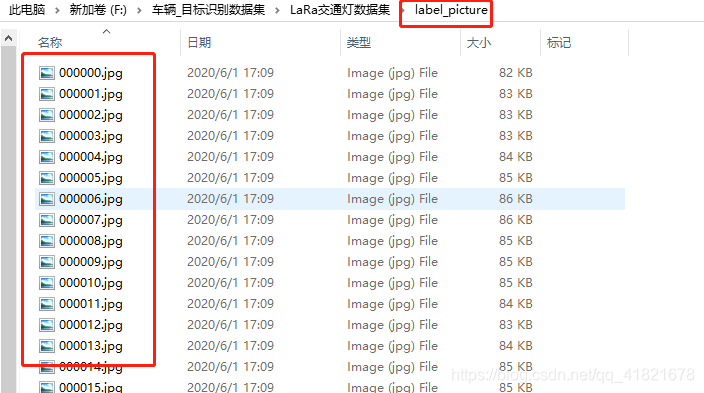
哦,原来就是这个鬼样子~~