提示:以下是本篇文章正文内容,下面案例可供参考
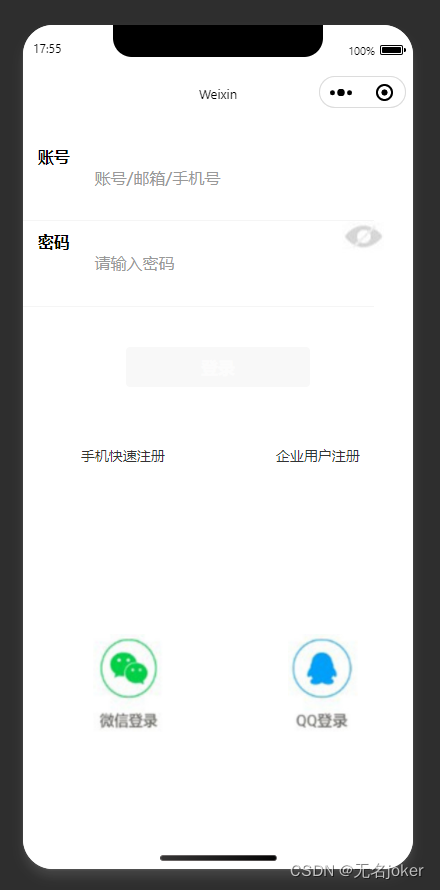
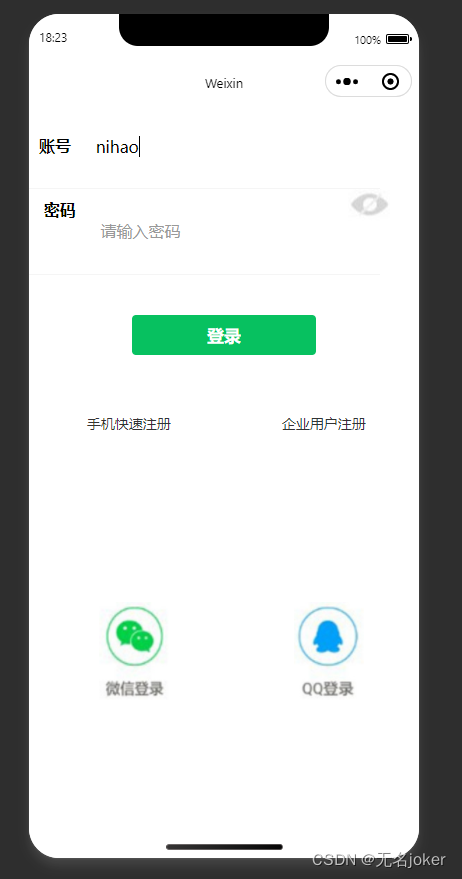
一、登陆
在登录表单里,输入账号、密码进行登录,在账号、密码输入框里都有友好的提示信息;登录按钮
默认是灰色不可用状态,只有输入内容后,才会变为可用状态;在登录按钮的下面提供手机快速注
册、企业用户注册、找回密码链接;界面最下面是微信、QQ第三方登录方式,如图所示。
示例代码
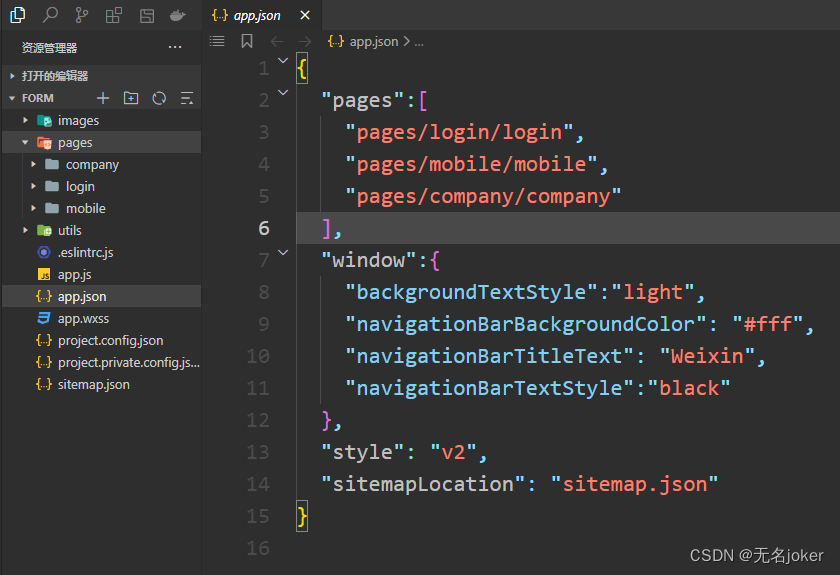
(1) 创建一个form项目,填写AppID,后端服务选择“不使用云服务”,如图所示,并在pages同
目录下创建一个images目录,用于保存项目中需要用到的图片。
(2) 在app.json文件里添加"pages/login/login",“pages/mobile/mobile”,
“pages/company/company” 3个文件目录,并删除默认的文件目录以及相应的文件夹,如图
所示。
(3) 在“pages/login/login.wxml”文件里,进行账号密码输入框布局设计,代码如下所示。
<!--pages/login/login.wxml-->
<view class="content">
  <view class="account">
      <view class="title">账号</view>
      <view class="num">
          <input type="text" bindinput="nameInput" placeholder="账号/邮箱/手机号" placeholder-style="color:#999;" />
        </view>
  </view>
  <view class="hr"></view>
  <view class="account">
      <view class="title">密码</view>
      <view class="num">
          <input type="password" bindblur="passwordBlur" placeholder="请输入密
码" placeholder-style="color:#999;" />
        </view>
      <view class="see">

      <image src="/images/see.jpg" style="width: 42px; height:32px;" />

    </view>
  </view>
  <view class="hr"></view>
</view>
(4) 在“pages/login/login.wxss”文件中添加相应的样式,代码如下所示:
/* pages/login/login.wxss */
.content {


  margin-top: 20px;
}

.account {


  display: flex;
  flex-direction: row;
}

.title {


  margin: 10px;
  font-weight: bold;
}

.num {


  margin: 10px;
}

.hr {


  height: 1px;
  width: 90%;
  background-color: #ccc;
  opacity: 0.2;
}

.see {


  position: absolute;
  right: 20px;
}
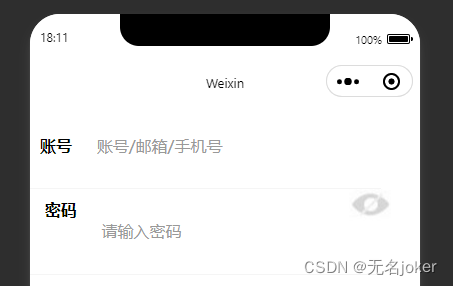
运行效果如下图所示:
(5) 在“pages/login/login.wxml”文件里,进行登录按钮、手机快速注册、企业用户注册、找回
密码以及第三方登录布局的设计,代码如下:
<!--pages/login/login.wxml-->
<view class="content">
  <view class="account">
    <view class="title">账号</view>
      <view class="num">
      <input type="text" bindinput="nameInput" placeholder="账号/邮箱/手机号" placeholder-style="color:#999;" />

    </view>
  </view>
  <view class="hr"></view>
  <view class="account">
      <view class="title">密码</view>
      <view class="num">
          <input type="password" bindblur="passwordBlur" placeholder="请输入密码" placeholder-style="color:#999;" />
        </view>
      <view class="see">

      <image src="/images/see.jpg" style="width: 42px; height:32px;" />

    </view>
  </view>
  <view class="hr"></view>
  <button class="btn" disabled="{

     {disabled}}" type="{

     {btnType}}" bindtap="login">登录</button>
  <view class="operate">
      <view>
          <navigator url="../mobile/mobile">手机快速注册</navigator>
        </view>
      <view>
          <navigator url="../company/company">企业用户注册</navigator>
        </view>
  </view>
  <view class="login">
      <view>
          <image src="/images/wxlogin.jpg" style="width:70px;height:98px;">
      </image>
        </view>
      <view>
          <image src="/images/qqlogin.jpg" style="width:70px;height:98px;">
      </image>
        </view>
  </view>
</view>
(6) 在“pages/login/login.wxss”文件里添加对应的样式,代码如下:
/* pages/login/login.wxss */
.content {


  margin-top: 20px;
}

.account {


  display: flex;
  flex-direction: row;
}

.title {


  margin: 10px;
  font-weight: bold;
}

.num {


  margin: 10px;
}

.hr {


  height: 1px;
  width: 90%;
  background-color: #ccc;
  opacity: 0.2;
}

.see {


  position: absolute;
  right: 20px;
}

.btn {


  margin-top: 40px;
  color: #999;
}

.operate {


  display: flex;
  flex-direction: row;
}

.operate view {


  margin: 0 auto;
  margin-top: 40px;
  font-size: 14px;
  color: #333333;
}

.login {


  display: flex;
  flex-direction: row;
  margin-top: 150px;
}

.login view {


  margin: 0 auto;
}
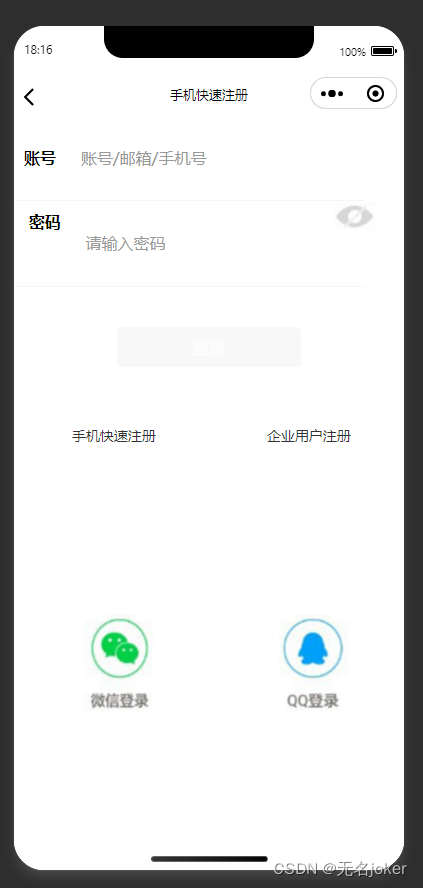
运行效果如下:
(7) 在“pages/login/login.js”文件中添加nameInput、passwordBlur事件函数,当账号里输入
内容后,登录按钮变为可用状态,代码如下所示:
/**
   * 页面的初始数据
   */
  data: {


    disabled: true,
    btnType: "default",
    name: "",
    password: ""
  },


  //输入账户触发的事件
  nameInput(e) {


    var account = e.detail.value; //获取账号的值
    if (account != "") {


      this.setData({

     disabled: false, btnType: "primary", name: account });
    }
  },

  //输入密码触发的事件
  passwordBlur(e) {


    var pwd = e.detail.value;
    if (pwd != "") {


      this.setData({

     password: pwd });
    }
  },
运行结果如下:
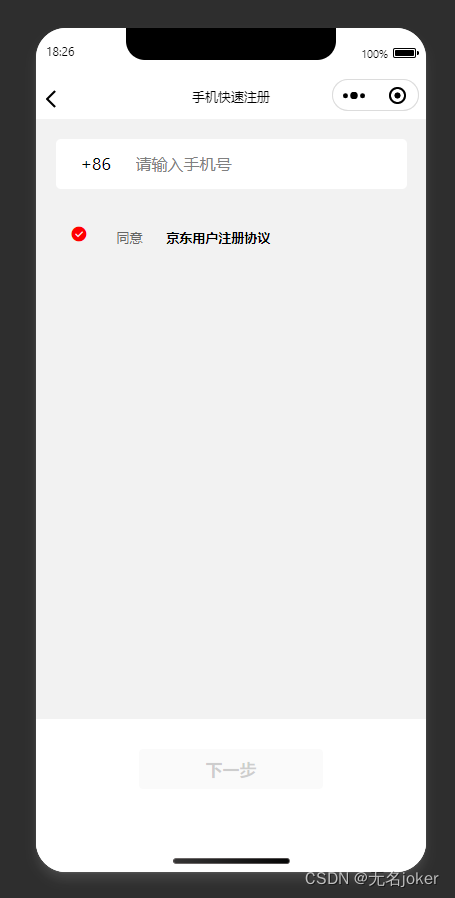
二、手机号注册设计
在手机号注册里,需要设计输入框用来输入手机号,设计同意注册协议以及下一步按钮,如图所
示。
示例代码
(1) 在“pages/mobile/mobile.wxml”文件里,进行手机号输入框布局设计,代码如下所示。
<view class="content">
  <view class="hr"></view>
  <view class="numbg">
      <view>+86</view>
      <view><input placeholder="请输入手机号" maxlength="11" bindblur="mobileblur" /></view>
  </view>
</view>
(2) 在“pages/mobile/mobile.wxss”文件里添加相应的样式,代码如下所示。
.content {


  width: 100%;
  height: 600px;
  background-color: #f2f2f2;
}

.hr {


  padding-top: 20px;
}

.numbg {


  display: flex;
  flex-direction: row;
  width: 90%;
  height: 50px;
  border: 1pxsolid#cccccc;
  border-radius: 5px;
  margin: 0 auto;
  background-color: #ffffff;
}

.numbg view {


  margin-left: 20px;
  margin-top: 14px;
}
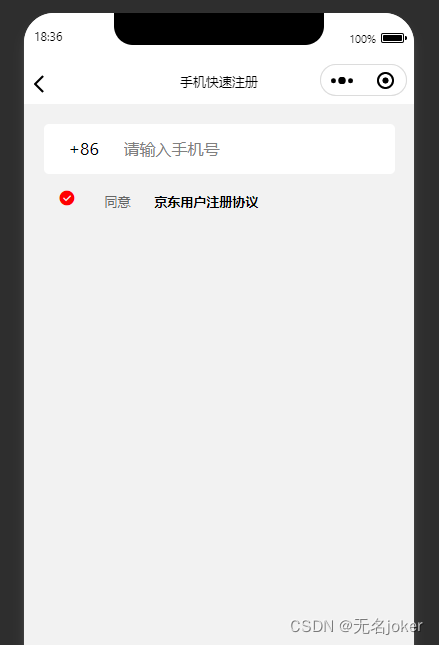
运行结果如下所示:

(3) 在“pages/mobile/mobile.wxml”文件里,设计注册协议和下一步按钮操作,代码如下所
示。
<!--pages/mobile/mobile.wxml-->
<view class="content">
  <view class="hr"></view>
  <view class="numbg">
      <view>+86</view>
      <view><input placeholder="请输入手机号" maxlength="11" bindblur="mobileblur" /></view>
  </view>
  <view class="xieyi">
        <icon type="success" color="red" size="18"></icon>
        <text class="agree">同意</text>
        <text class="opinion">京东用户注册协议</text>
      </view>
</view>
<view>
  <button class="btn" disabled="{

     {disabled}}" type="{

     {btnType}}" bindtap="login">下一步</button>
</view>
(4) 在“pages/mobile/mobile.wxss”文件里添加相应的样式,代码如下所示。
/* pages/mobile/mobile.wxss */
.content {


  width: 100%;
  height: 600px;
  background-color: #f2f2f2;
}

.hr {


  padding-top: 20px;
}

.numbg {


  display: flex;
  flex-direction: row;
  width: 90%;
  height: 50px;
  border: 1pxsolid#cccccc;
  border-radius: 5px;
  margin: 0 auto;
  background-color: #ffffff;
}

.numbg view {


  margin-left: 20px;
  margin-top: 14px;
}

.xieyi {


  margin-top: 15px;
  margin-left: 15px;
}

.agree {


  font-size: 13px;
  margin-left: 5px;
  color: #666666;
}

.opinion {


  font-size: 13px;
  color: #000000;
  font-weight: bold;
}

.btn {


  width: 90%;
  margin-top: 30px;
}
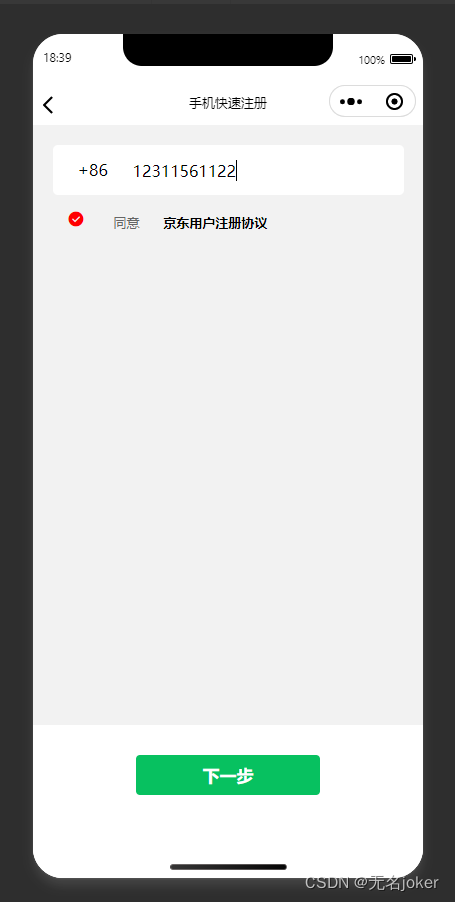
运行效果如下:
(5) 在“pages/mobile/mobile.js”文件里,添加mobileblur事件,如果输入手机号,下一步按
钮变为可用状态,代码如下所示。
/**
   * 页面的初始数据
   */
  data: {


    disabled: true,
    btnType: "default",
    mobile: ""
  },


  //当输入手机号结束以后,失去焦点时触发的事件。
  mobileblur(e) {


    var phone = e.detail.value;
    if (phone != "") {

     //当完成输入时,“下一步”可用
      this.setData({

     disabled: false, btnType: "primary", mobile: phone });
    } else {


      this.setData({

     disabled: true, btnType: "default", mobile: "" });
    }
  },
运行结果如下:
(6) 在mobile.json文件里,添加“navigationBarTitleText”这个属性,设置导航标题为手机快速
注册,代码如下所示:
{


"navigationBarTitleText":"手机快速注册"
}

未完
企业用户注册设计未上传,待续。有问题大家可以尽管提出,谢谢大家。