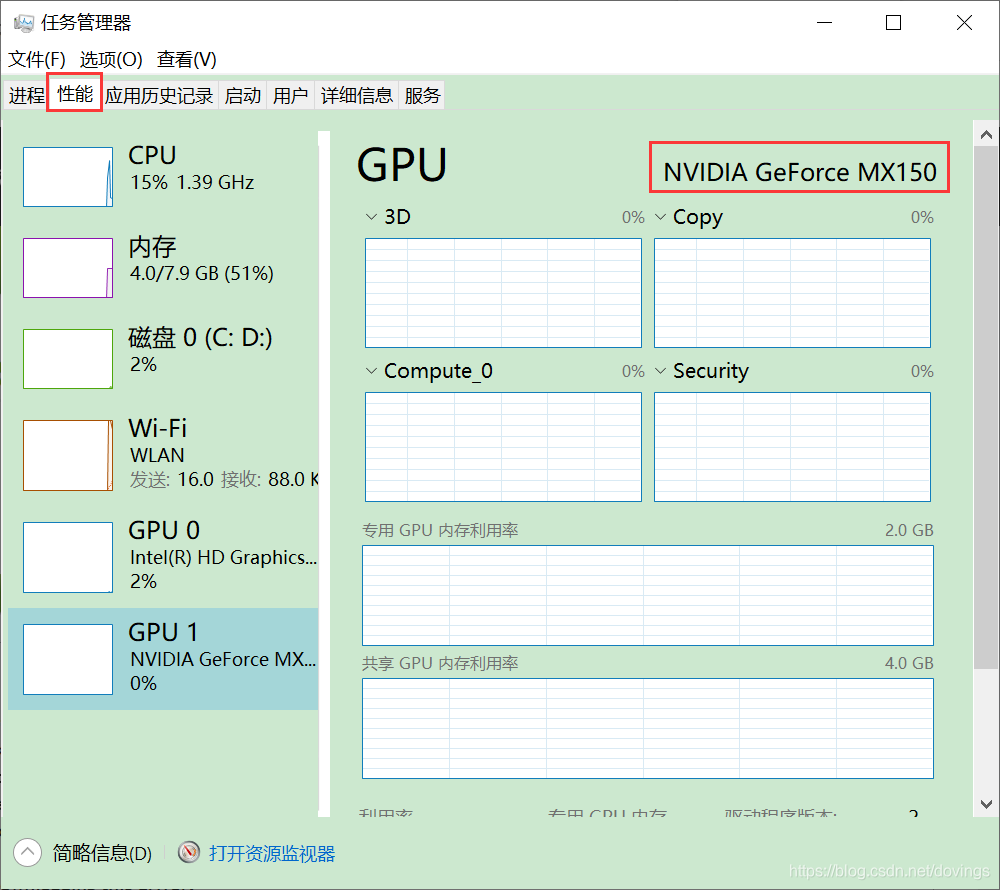
1.更新显卡驱动
首先在任务管理器中查看自己的GPU型号,
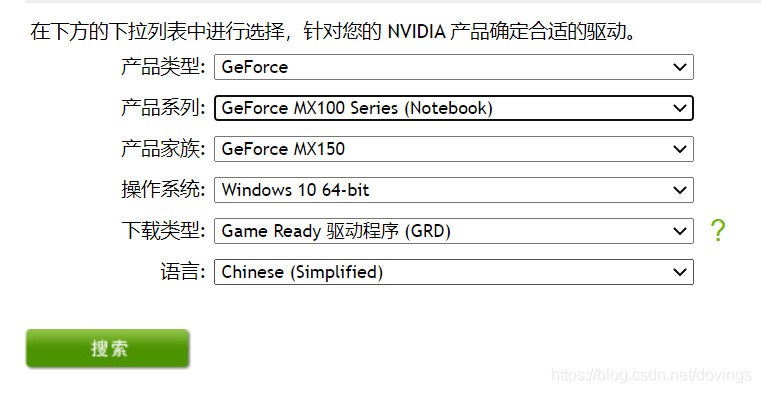
然后去官网
https://www.nvidia.cn/Download/index.aspx?lang=cn
找对应版本驱动,点击搜索,点击下载。
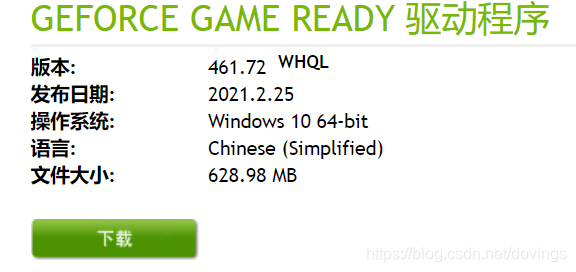
安装显卡驱动,然后重启电脑。

win+R 调出cmd,输入nvidia-smi
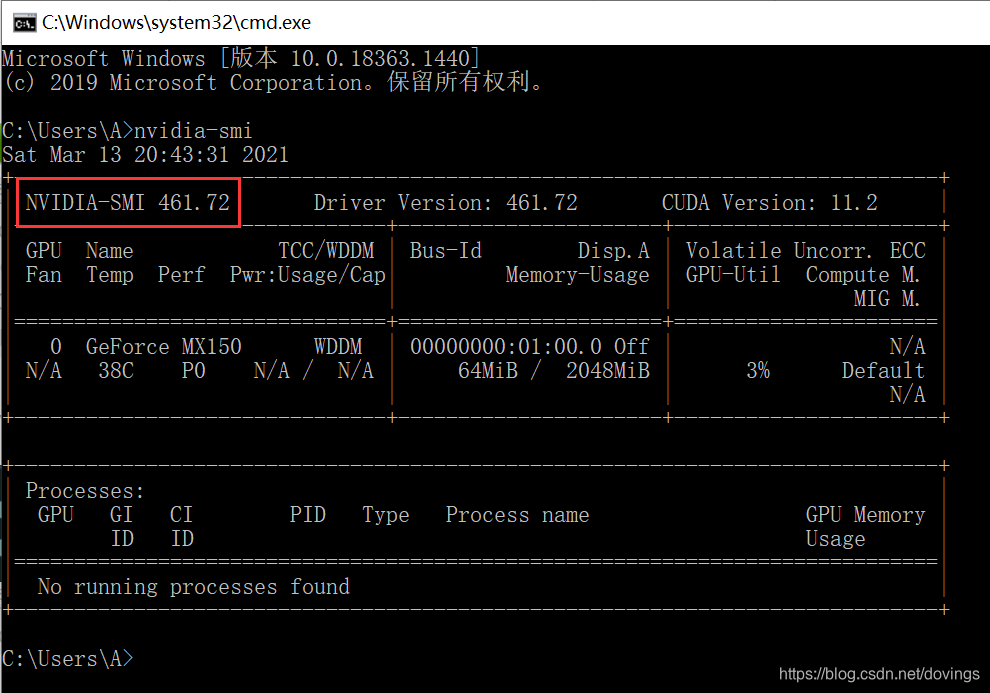
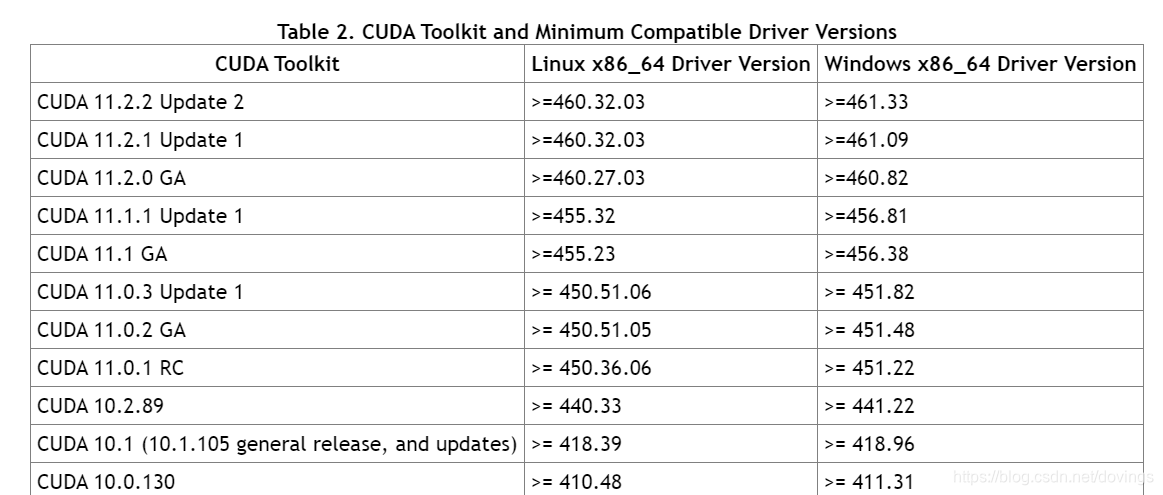
去CUDA官网
https://docs.nvidia.com/cuda/cuda-toolkit-release-notes/index.html
查看对应的cuda版本,我的461.72版本可以安装最新的11.2版cuda了,但是为了稳妥起见,我决定跟着教学视频安装9.2版的。
安装cuda和cudnn,请参考
https://blog.csdn.net/m0_37605642/article/details/98854753
2.安装anaconda
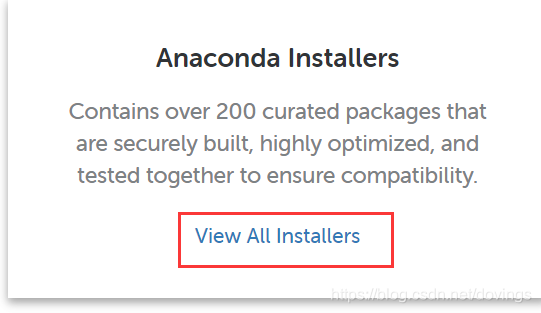
进入anaconda历史版本
https://repo.anaconda.com/
点击view all installers,
往下翻找到↓并下载,

安装过程:记住安装路径、点击订阅可以加速安装、不安装vs
3.新建虚拟环境,在其中安装python3.6
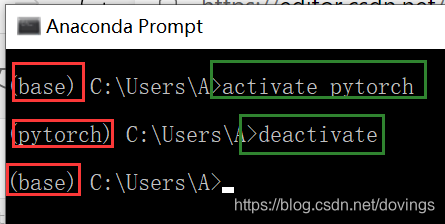
在开始菜单中打开anaconda prompt,
新建名为pytorch的环境,
conda create -n pytorch python=3.6
激活环境,
conda activate pytorch
(每次用的时候激活一下,退出环境用deactivate)
4.安装pytorch
首先更换清华镜像源,上午下载较快,晚上下载hin慢。
conda config --add channels https://mirrors.tuna.tsinghua.edu.cn/anaconda/cloud/msys2/
conda config --add channels https://mirrors.tuna.tsinghua.edu.cn/anaconda/cloud/conda-forge/
conda config --add channels https://mirrors.tuna.tsinghua.edu.cn/anaconda/pkgs/free/
conda config --add channels https://mirrors.tuna.tsinghua.edu.cn/anaconda/cloud/pytorch/
conda config --set show_channel_urls yes
如果不小心搞错了可以:
换回原来的源,
conda config --remove-key channels
查看当前源,
conda config --show-sources
安装pytorch(对应cuda9.2),出现[y/N]时,输入y。
掉线的话,重新输入下面安装指令就好。

conda install pytorch torchvision cudatoolkit=9.2
安装成功后,输入python可以看到对应的版本信息,
输入import torch不报错,则安装成功,
输入torch.cuda.is_available()返回true,则可以使用GPU加速。

5.安装pycharm
参考b站视频:
https://www.bilibili.com/video/BV1hE411t7RN?p=2
6.安装jupyter
同样参考以上视频,但是 我用的安装指令是
conda install Jupyter notebook