前提
-
一定要配置好git,具体教程见 windows下搭建hexo博客部署到github
-
推荐在Microsoft Store安装Windows Terminal,方便后续操作
安装
-
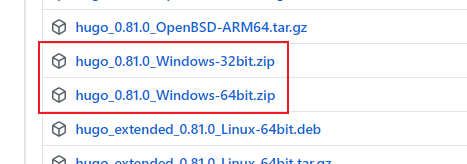
下载:去GitHub主页下载 https://github.com/gohugoio/hugo/releases
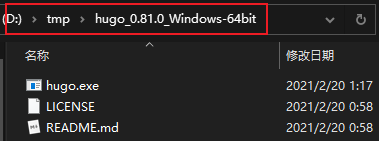
下载完解压得到
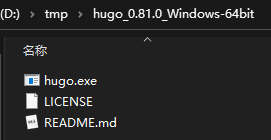
-
配置环境变量:将hugo.exe所在目录添加到系统环境变量Path下
复制上方hugo.exe所在目录
扫描二维码关注公众号,回复: 15141897 查看本文章
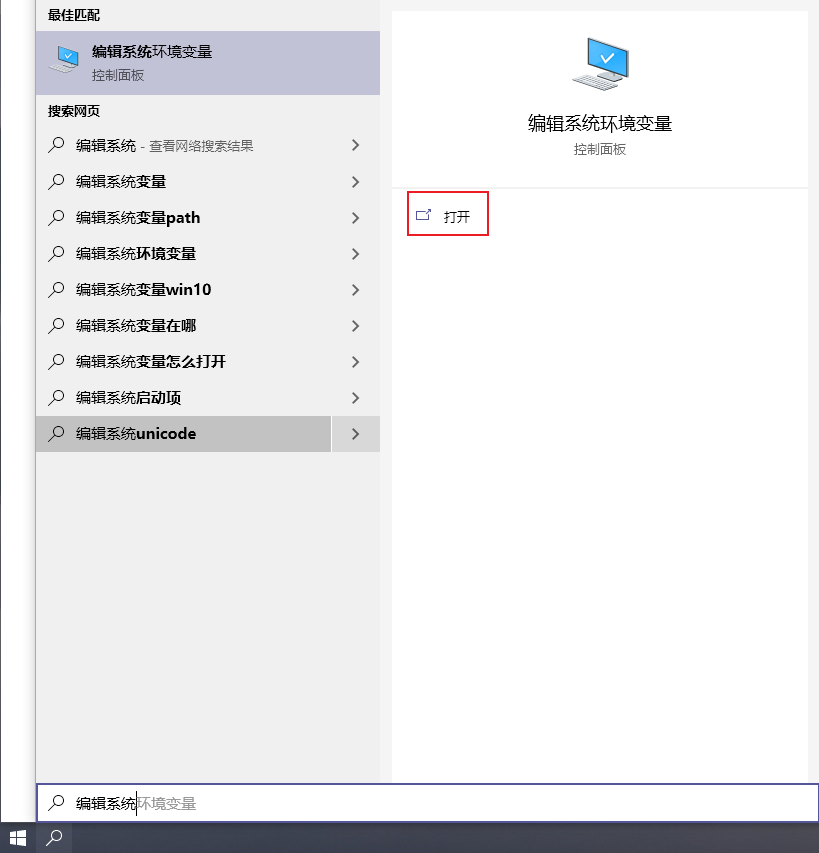
打开编辑系统环境变量
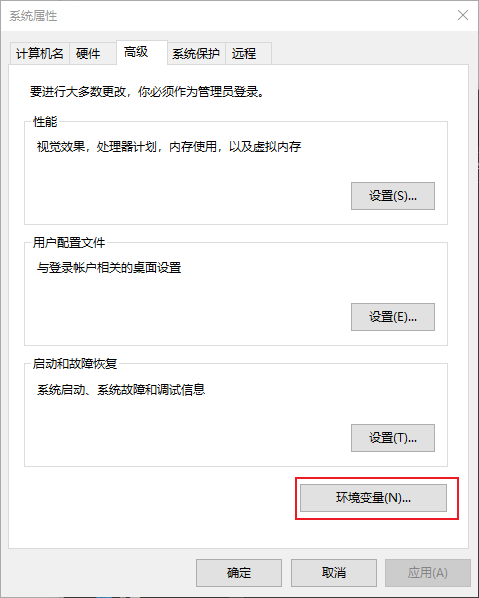
选择环境变量
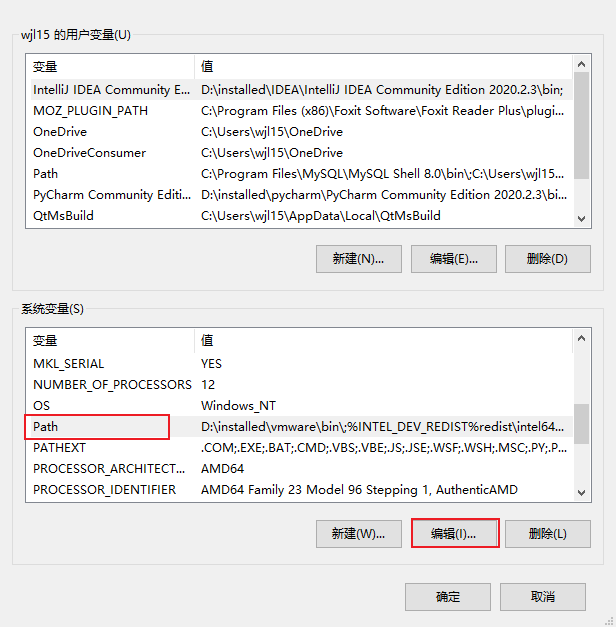
点击下方系统变量Path,选择编辑
点击右方新建,将复制的路径粘贴进去
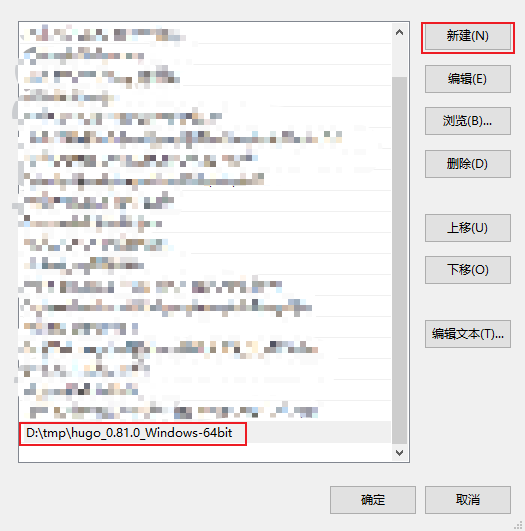
然后一路点击确定退出
-
验证:打开终端,输入
hugo version

出现版本号则安装成功
启动
-
创建博客文件夹:在一个叫tmp的文件夹下创建博客

打开终端,切换到该目录下

输入命令创建博客
hugo new site myblog
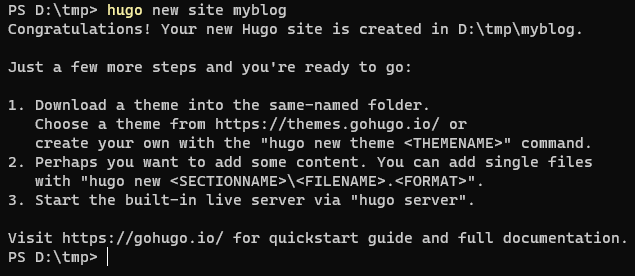
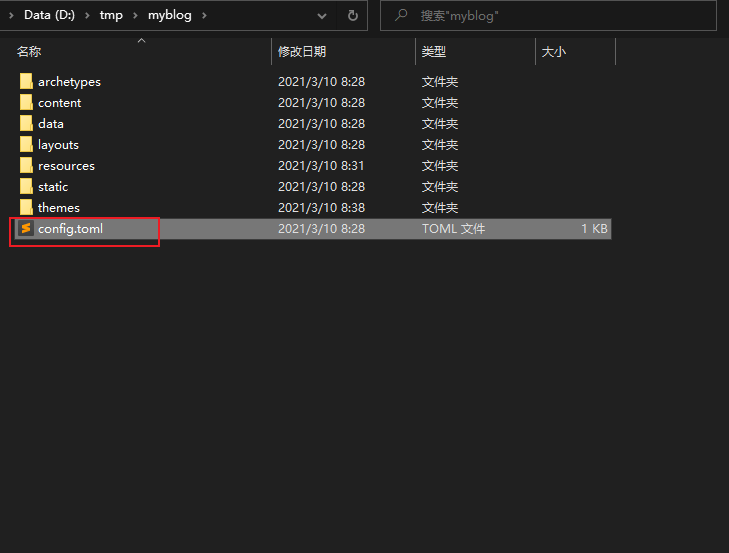
博客已经建好,这时在该路径下生成了一个名为myblog的目录
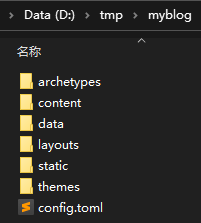
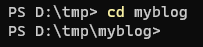
切换到myblog目录,进行后续操作
-
下载主题 https://themes.gohugo.io/ ,按照主题要求安装,修改 config.toml
以m10c主题为例
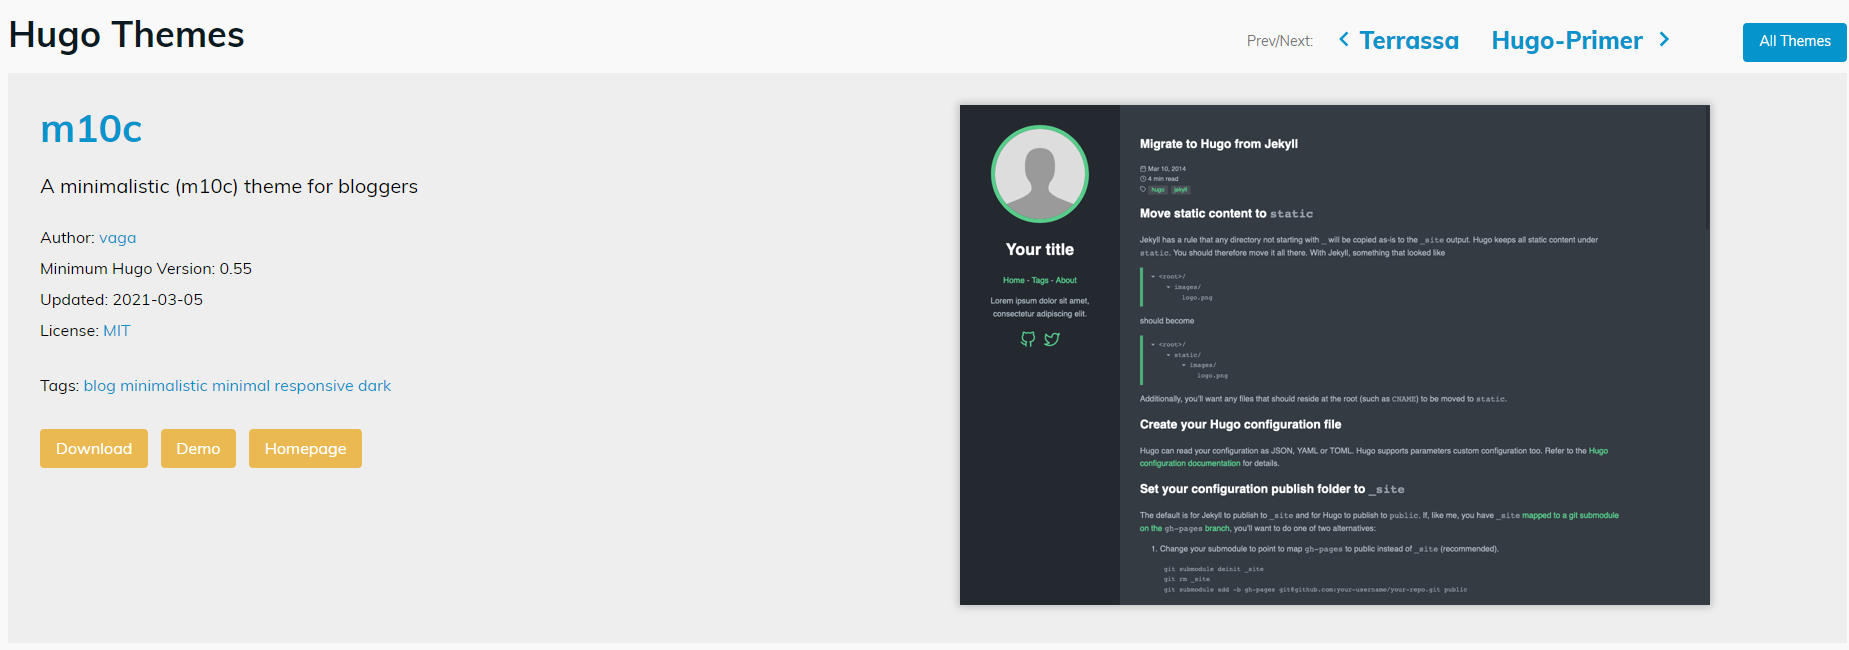
网页下方有提示
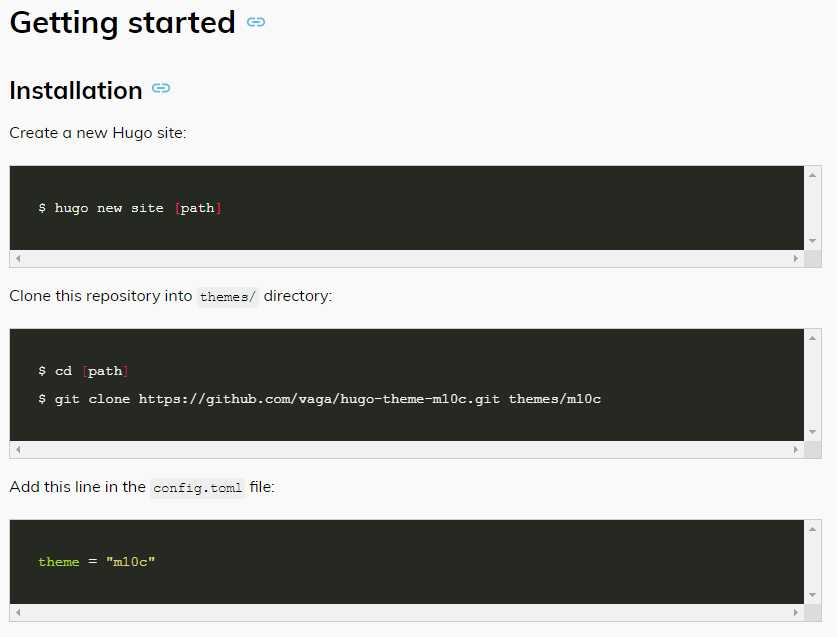
即在myblog目录下克隆仓库
git clone [email protected]:vaga/hugo-theme-m10c.git themes/m10c
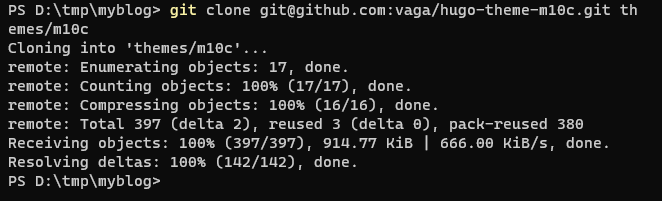
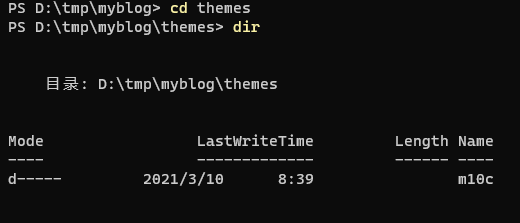
这时在myblog/themes目录下生成了m10c主题目录
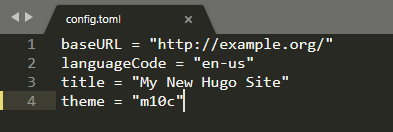
接下来打开myblog目录下的config.toml文件
添加一行
- 启动博客
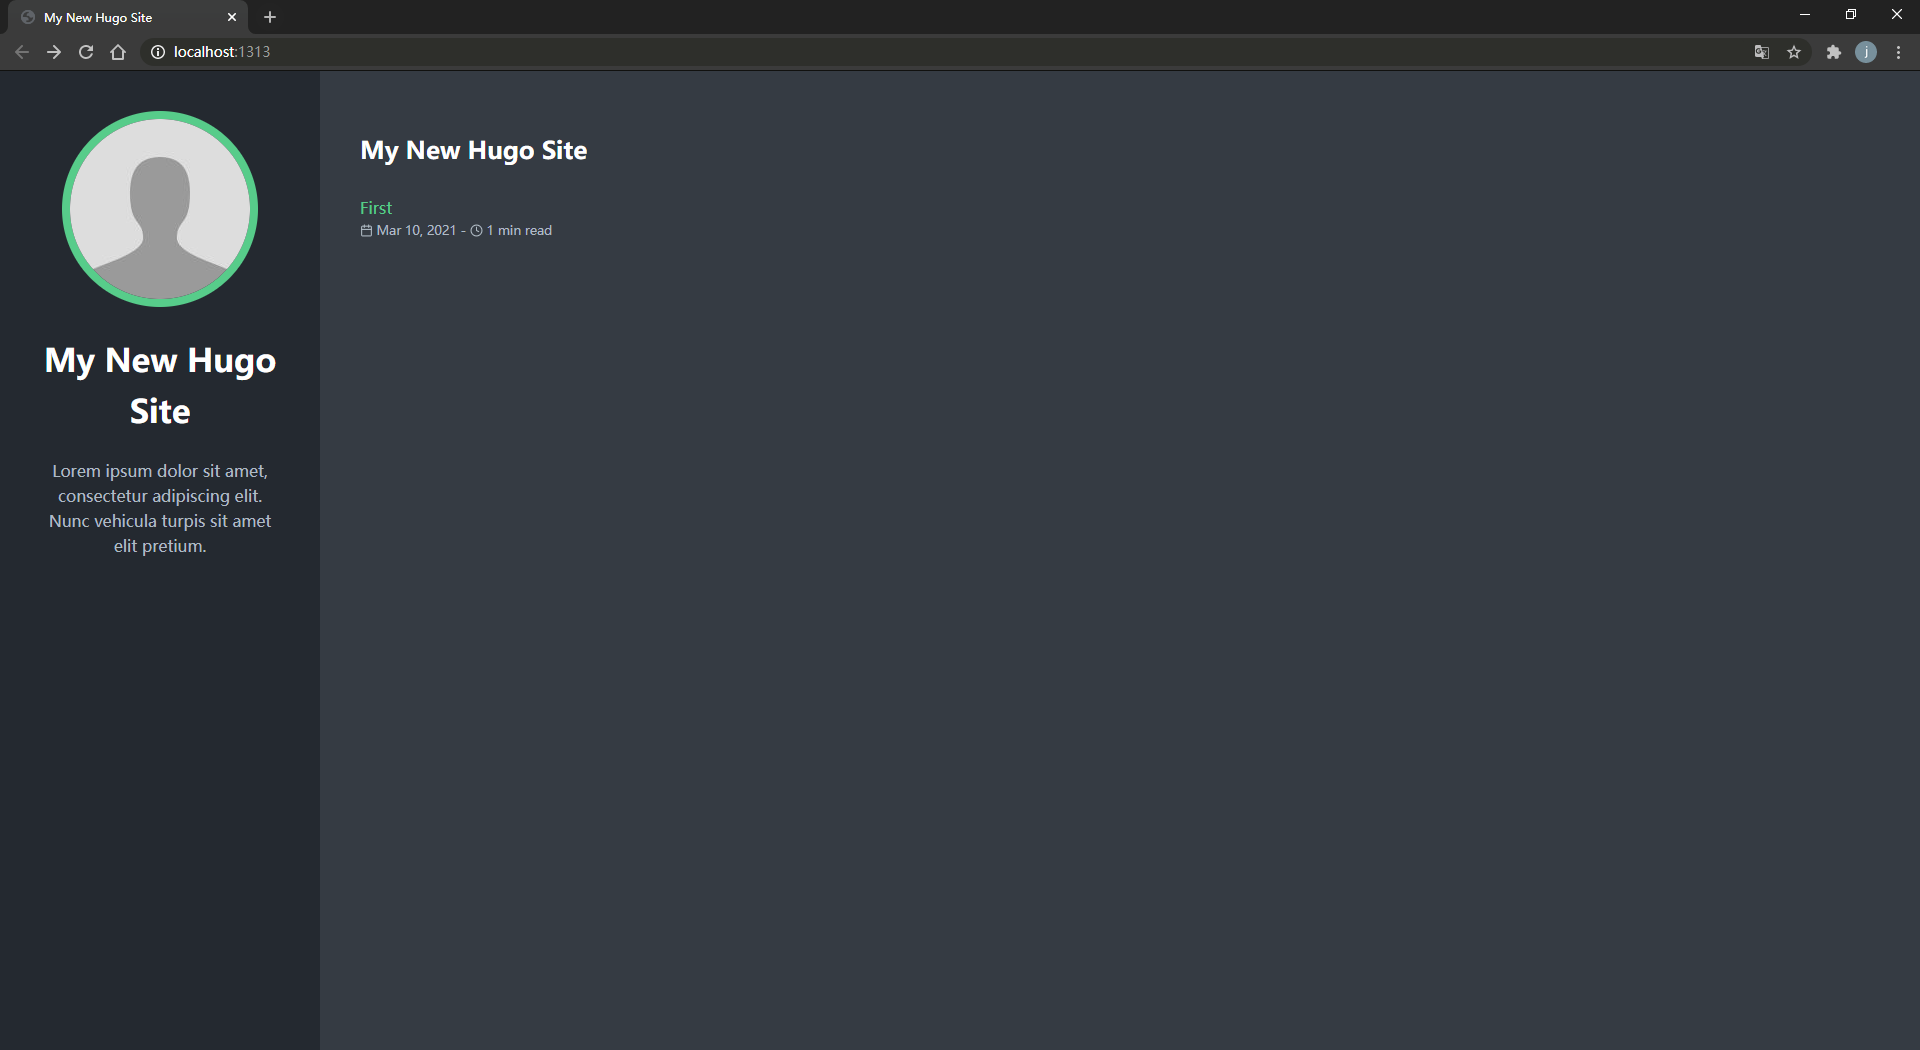
hugo server --theme=m10c -D
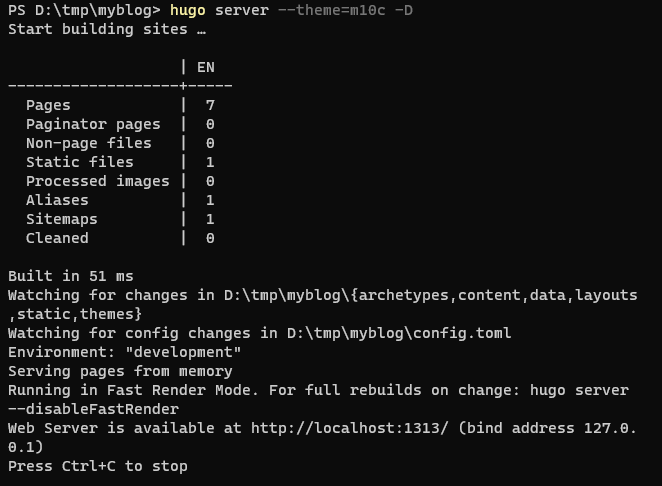
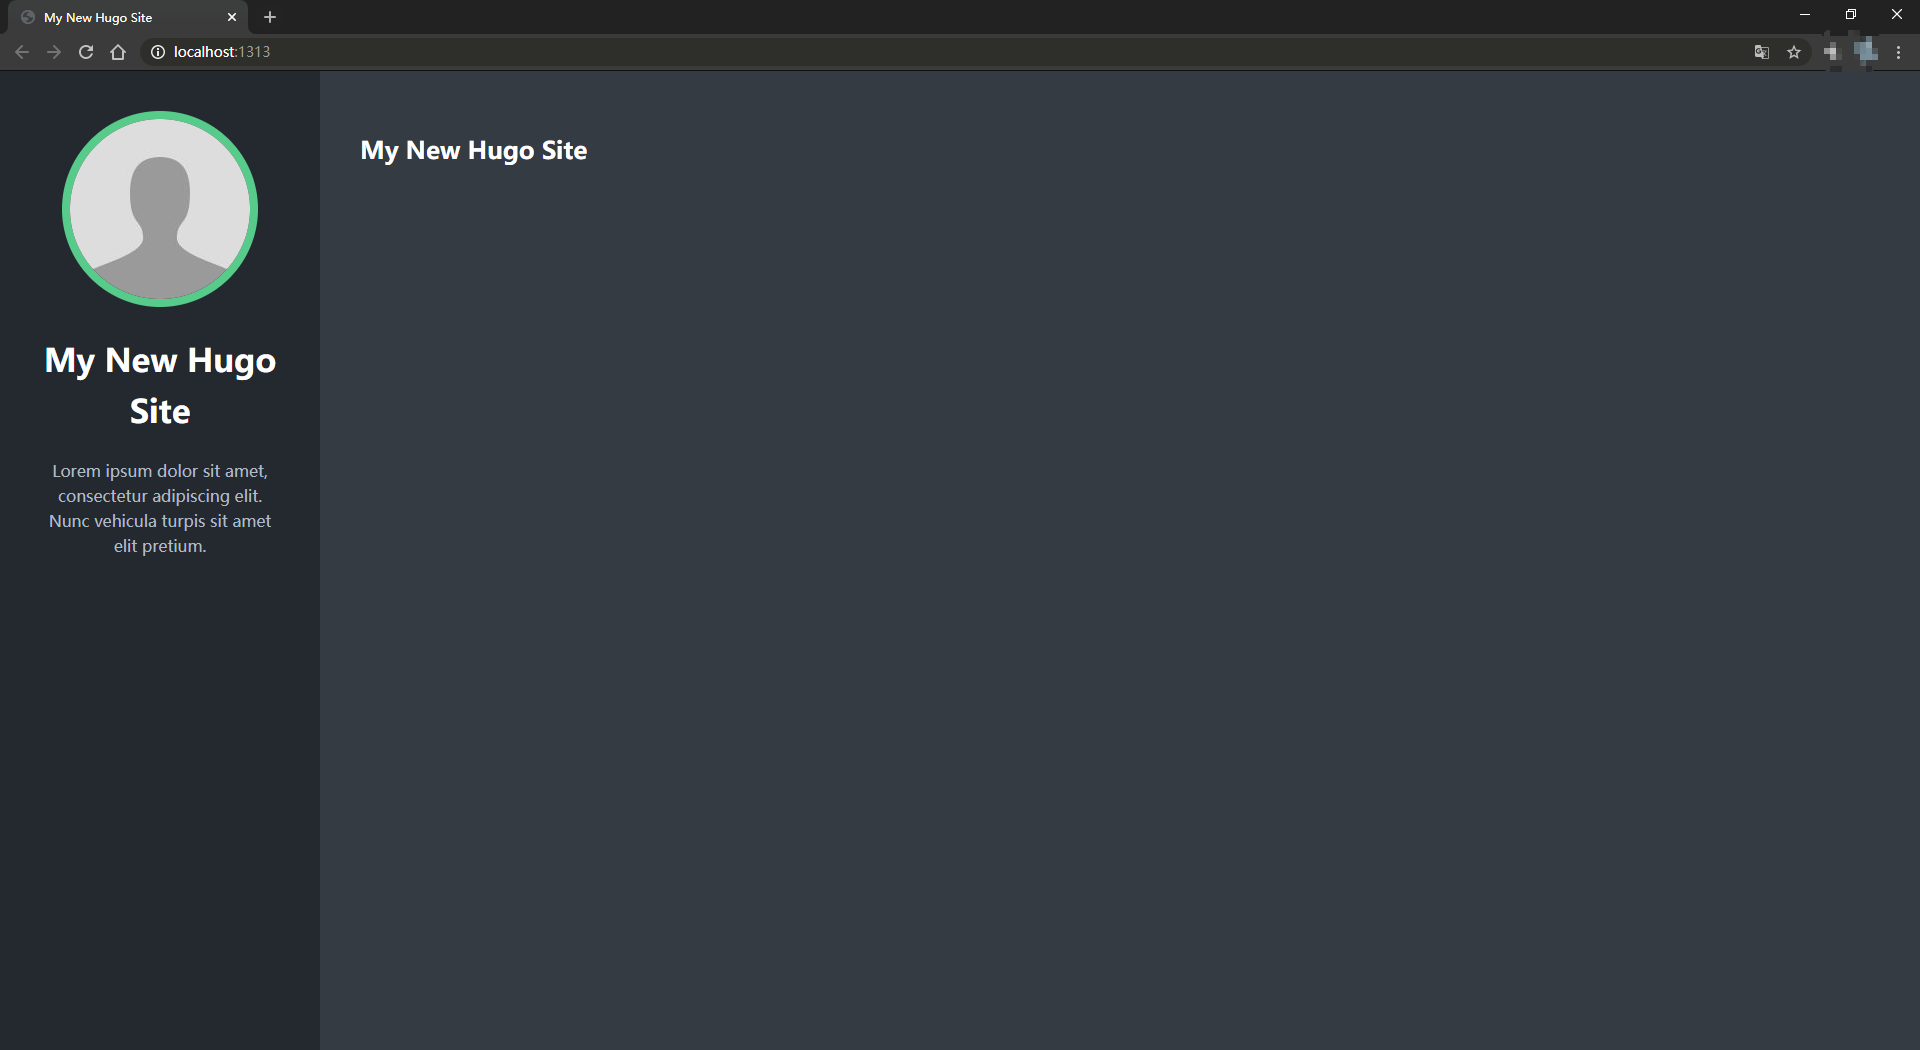
现在在本机的1313端口启动了博客,在浏览器搜索框输入 localhost:1313即可看到生成的博客
按 Ctrl + C 终止博客
- 创建文章:输入命令
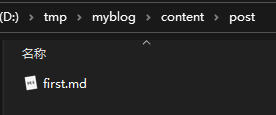
hugo new post/first.md

这时在 myblog/content/post 目录下有刚创建的文章
打开文件进行编辑
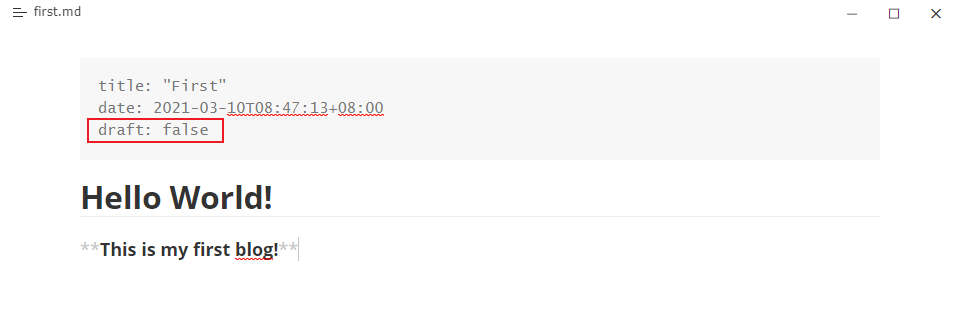
注意上面的 draft 表示文章是否为草稿,默认为 true,草稿不会出现在网站上
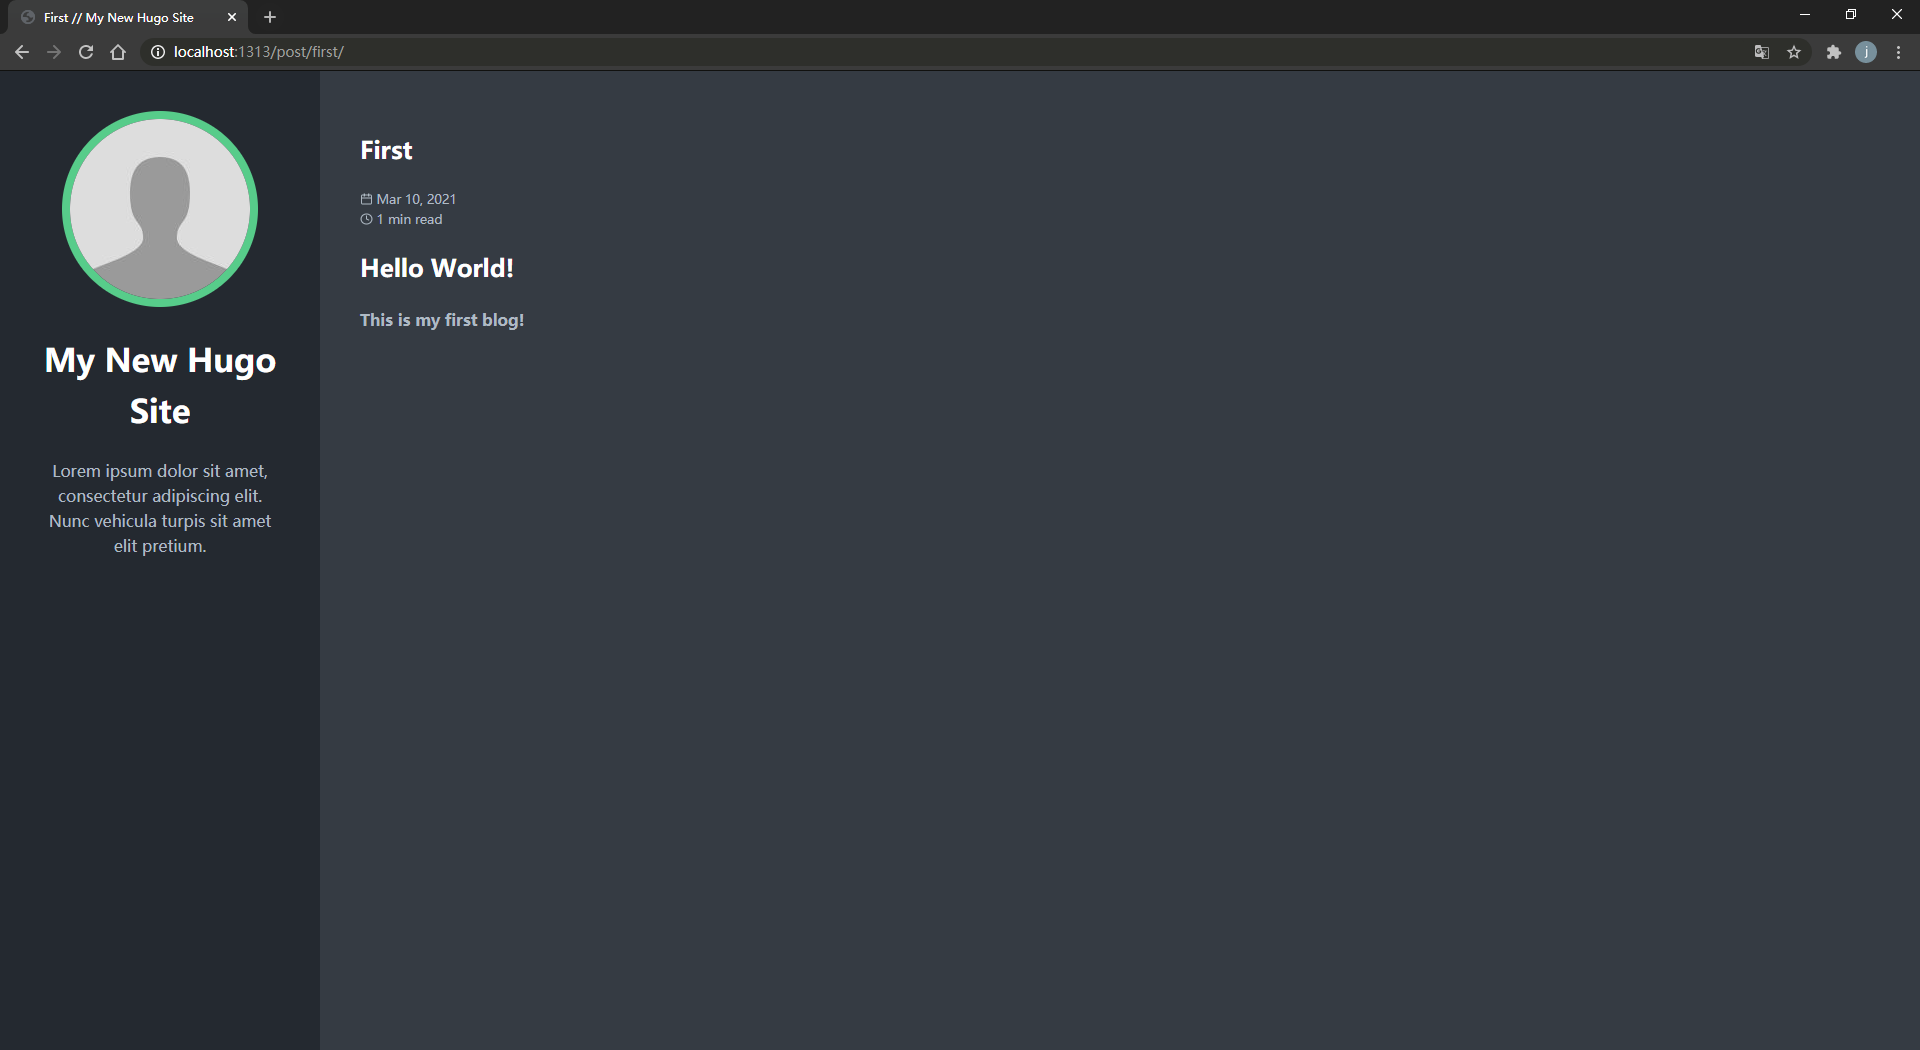
再次输入命令
hugo server --theme=m10c -D
即可看到更改
部署
-
在Github上新建仓库
username.github.io一定是
username.github.io,username为你的 Github 用户名 -
用 hugo 生成网页,托管到 GitHub 仓库
hugo --theme=m10c --baseUrl="https://wjl-lab.github.io/" -D
- 将
myblog/public目录 push 到刚创建仓库的 master 分支
cd public
git init
git add .
git commit -m "message"
git remote add origin https://github.com/wjl-lab/wjl-lab.github.io.git
git push -u origin master
- 访问网站 wjl-lab.github.io
增加文章
hugo new post/xxx.md
hugo --theme=m10c --baseUrl="https://wjl-lab(username).github.io/" -D
cd public
git add .
git commit -m "message"
git push
-
创建文章
-
用 hugo 生成页面
-
push 到 GitHub上 的远端仓库
修改配置
自己摸索。。。
解决图片问题
- 图片放在 static 目录下

- 图片放在博客文件名相同的文件夹中

- 利用 PicGo + Gitee 创建图床
具体教程见 picgo-gitee图床搭建