搭建环境
- Windows10
- Git(不必要)
流程步骤
-
Hugo下载
下载网址:
https://github.com/gohugoio/hugo/releases/tag/v0.48
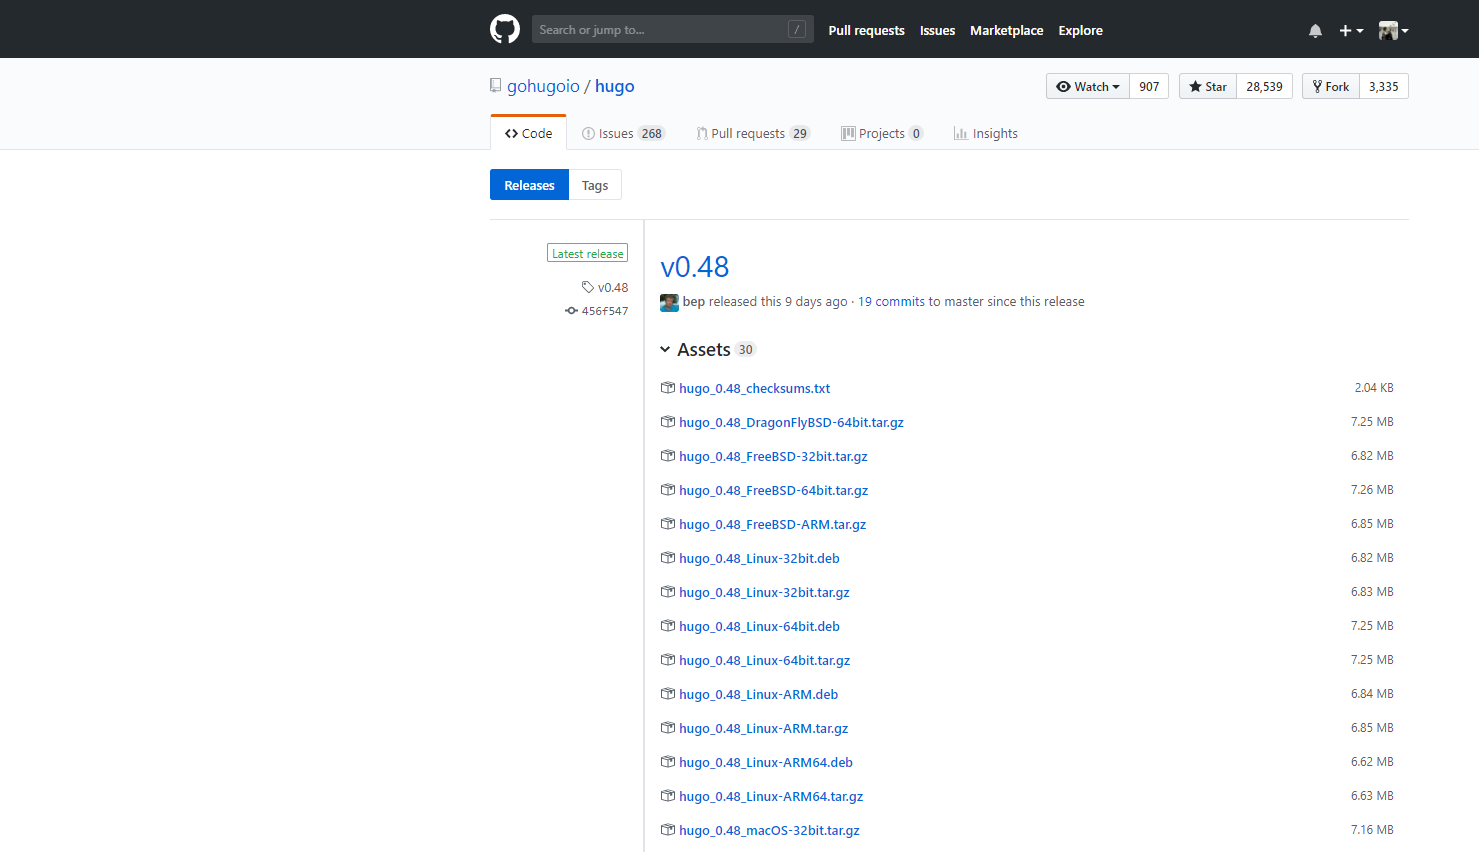
下载
hugo_0.48_Windows-64bit.zip解压缩后是一个二进制应用程序
hugo.exe -
Hugo环境变量配置
创建以下目录:(将
hugo.exe移到\bin目录下)F:\Hugo\bin\hugo.exe编辑系统环境变量,添加hugo.exe的环境变量:(用英语分号隔开)
F:\Hugo\bin检验是否配好环境变量,
cmd下输入hugo version: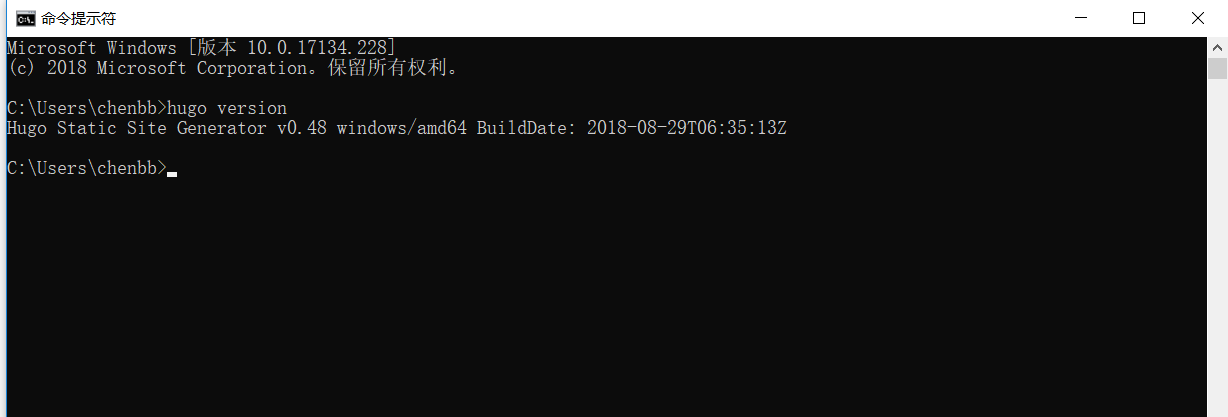
-
在
F:\Hugo目录下运行cmd,执行hugo new site blog。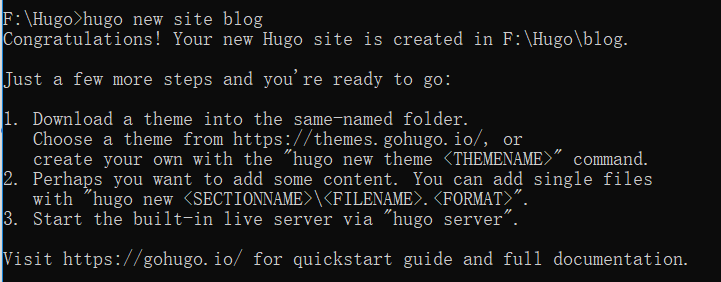
成功后,
hugo会帮我们创建一个文件夹F:\Hugo\blog,里面有如下文件结构: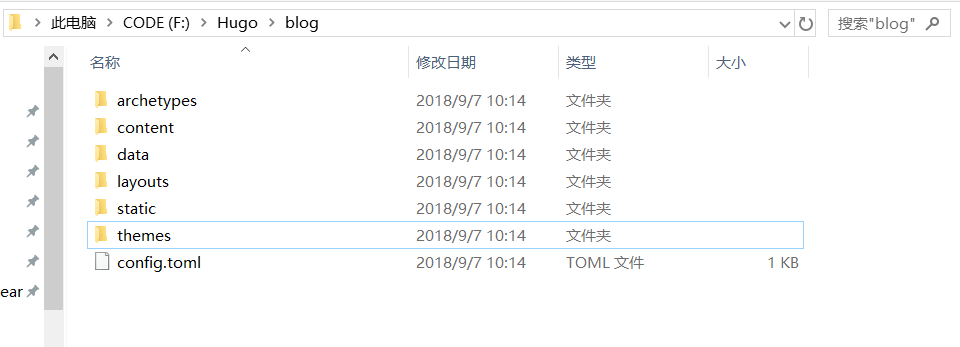
-
选择喜好的主题模板
主题选择下载网址:Hugo Themes
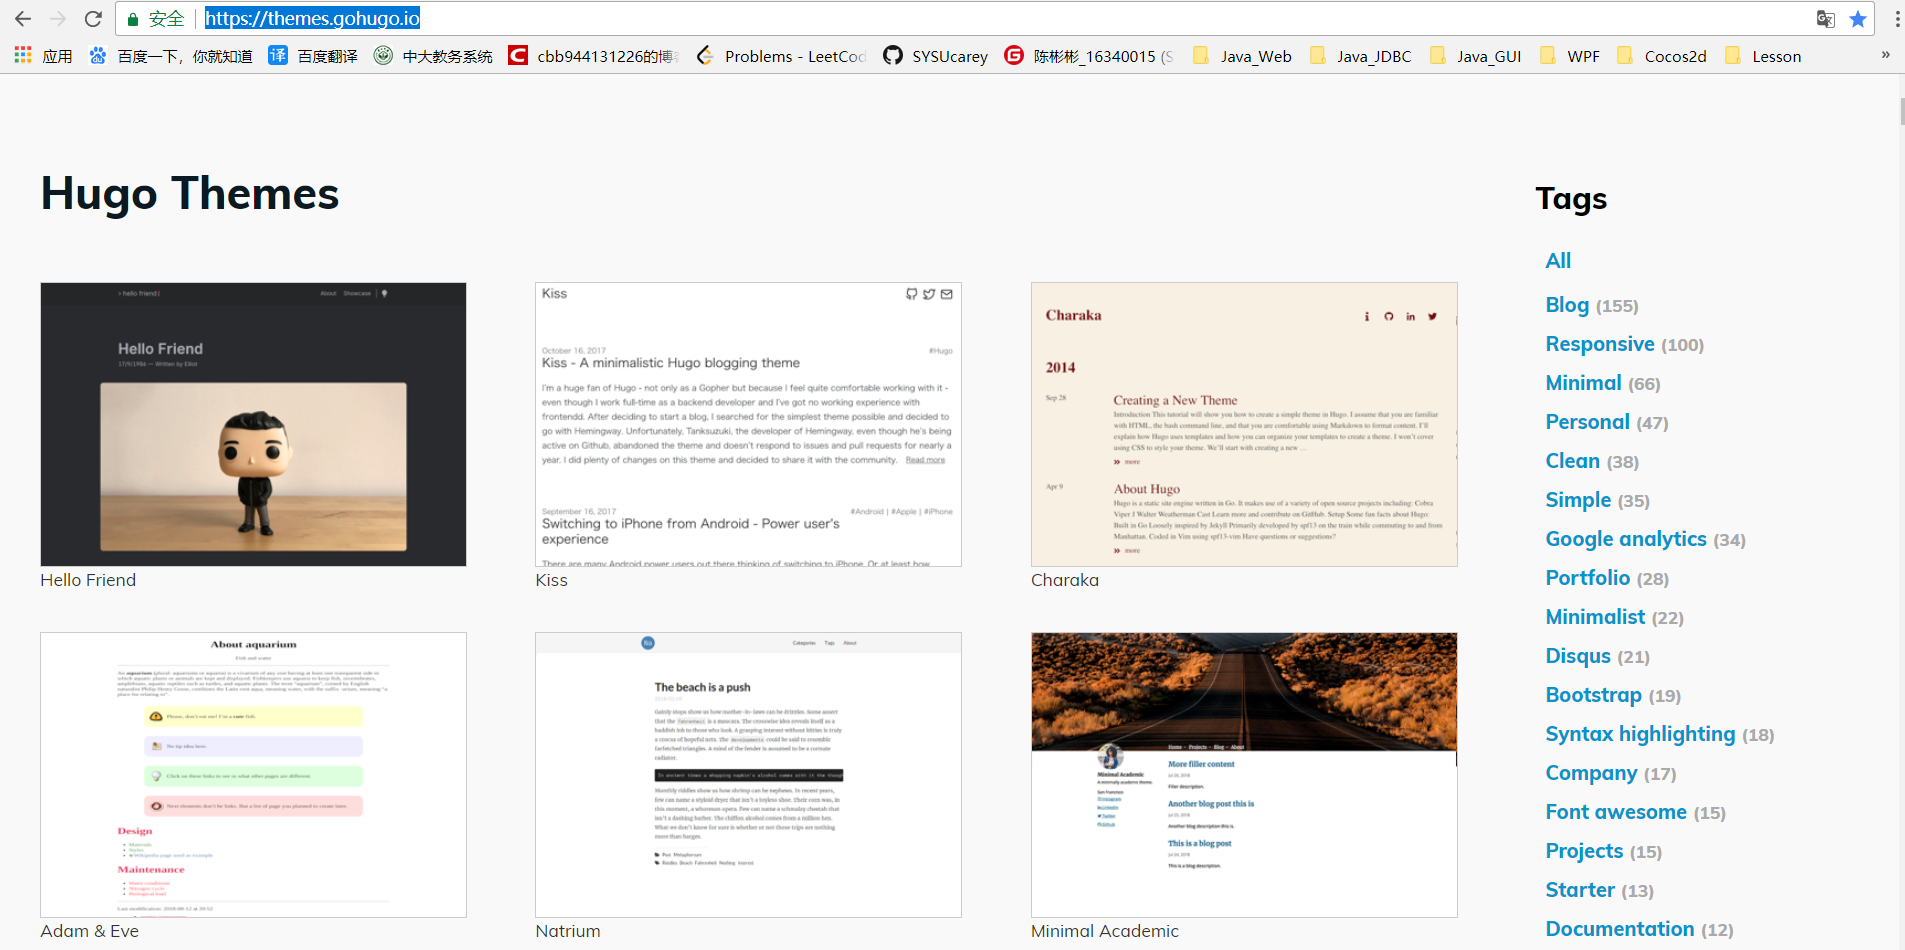
例如选择
hugo-natrium-theme这个模板。下载地址:https://github.com/mobybit/hugo-natrium-theme
Download下载到目录F:\Hugo\blog\themes(下载地址在Github上,可用Git直接拉,也可以手动下载包)。
Git命令:git clone https://github.com/mobybit/hugo-natrium-theme.git根据下载目录下的
README.rd指示配置主题配置完成后
在
F:\Hugo\blog目录下cmd终端执行命令hugo server --theme=hugo-natrium-theme: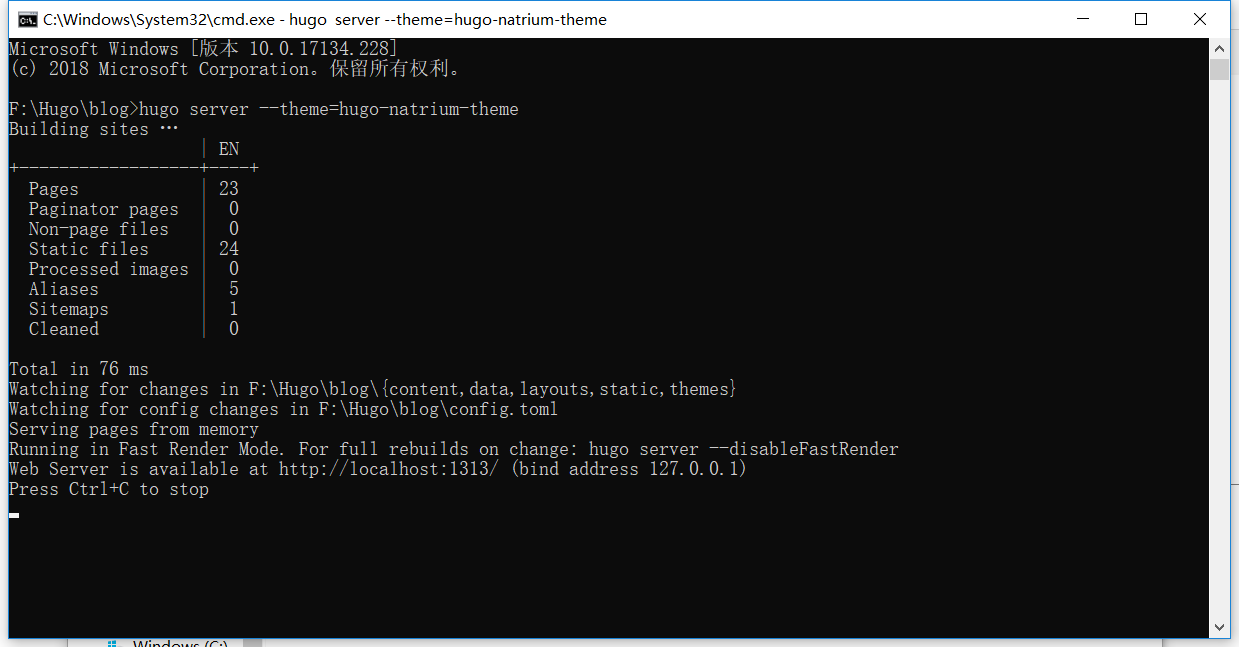
浏览器打开
http://localhost:1313,可以查看到模板运行效果: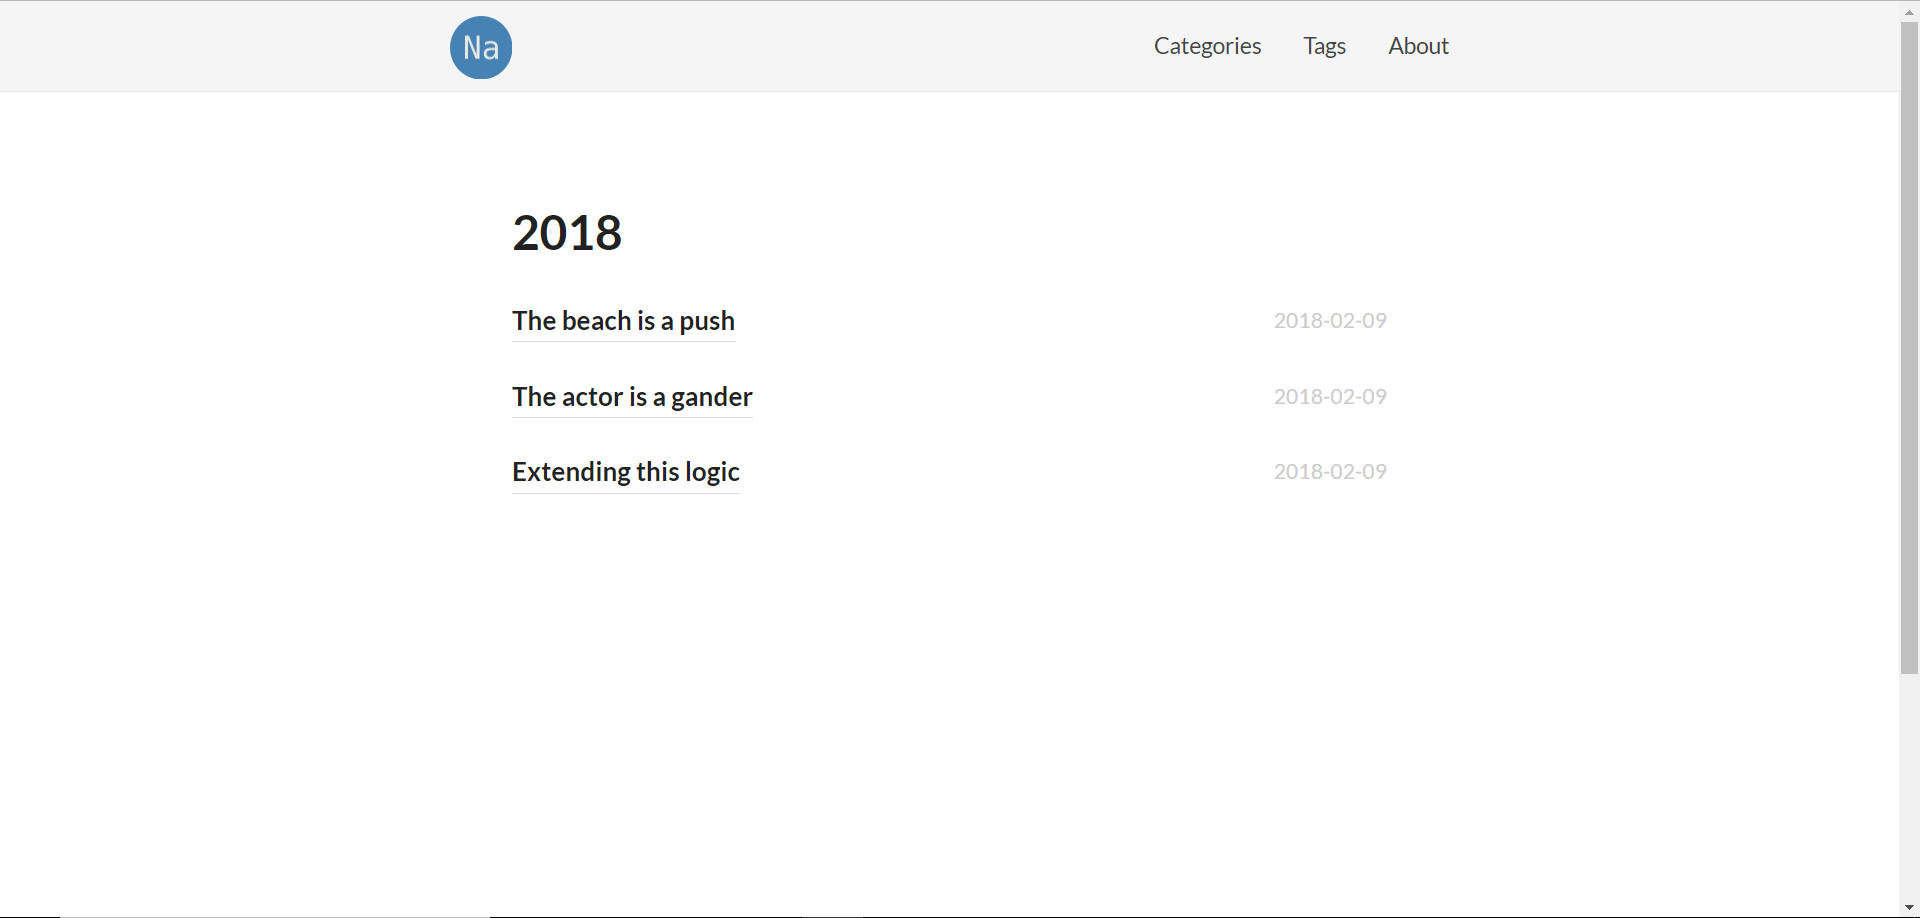
-
个性化自己的博客
仔细阅读
README.rd,修改模板网页,配置自己的私有博客。例如本例子的:
-
修改个人图标:
F:\Hugo\blog\themes\hugo-natrium-theme\static\images\logo.png -
新建博客:
hugo new post\blog.md -
修改About:
F:\Hugo\blog\content\page\about.md等等
完成后,在
F:\Hugo\blog目录下cmd终端再次执行命令hugo server --theme=hugo-natrium-theme浏览器打开
http://localhost:1313,可以查看运行效果: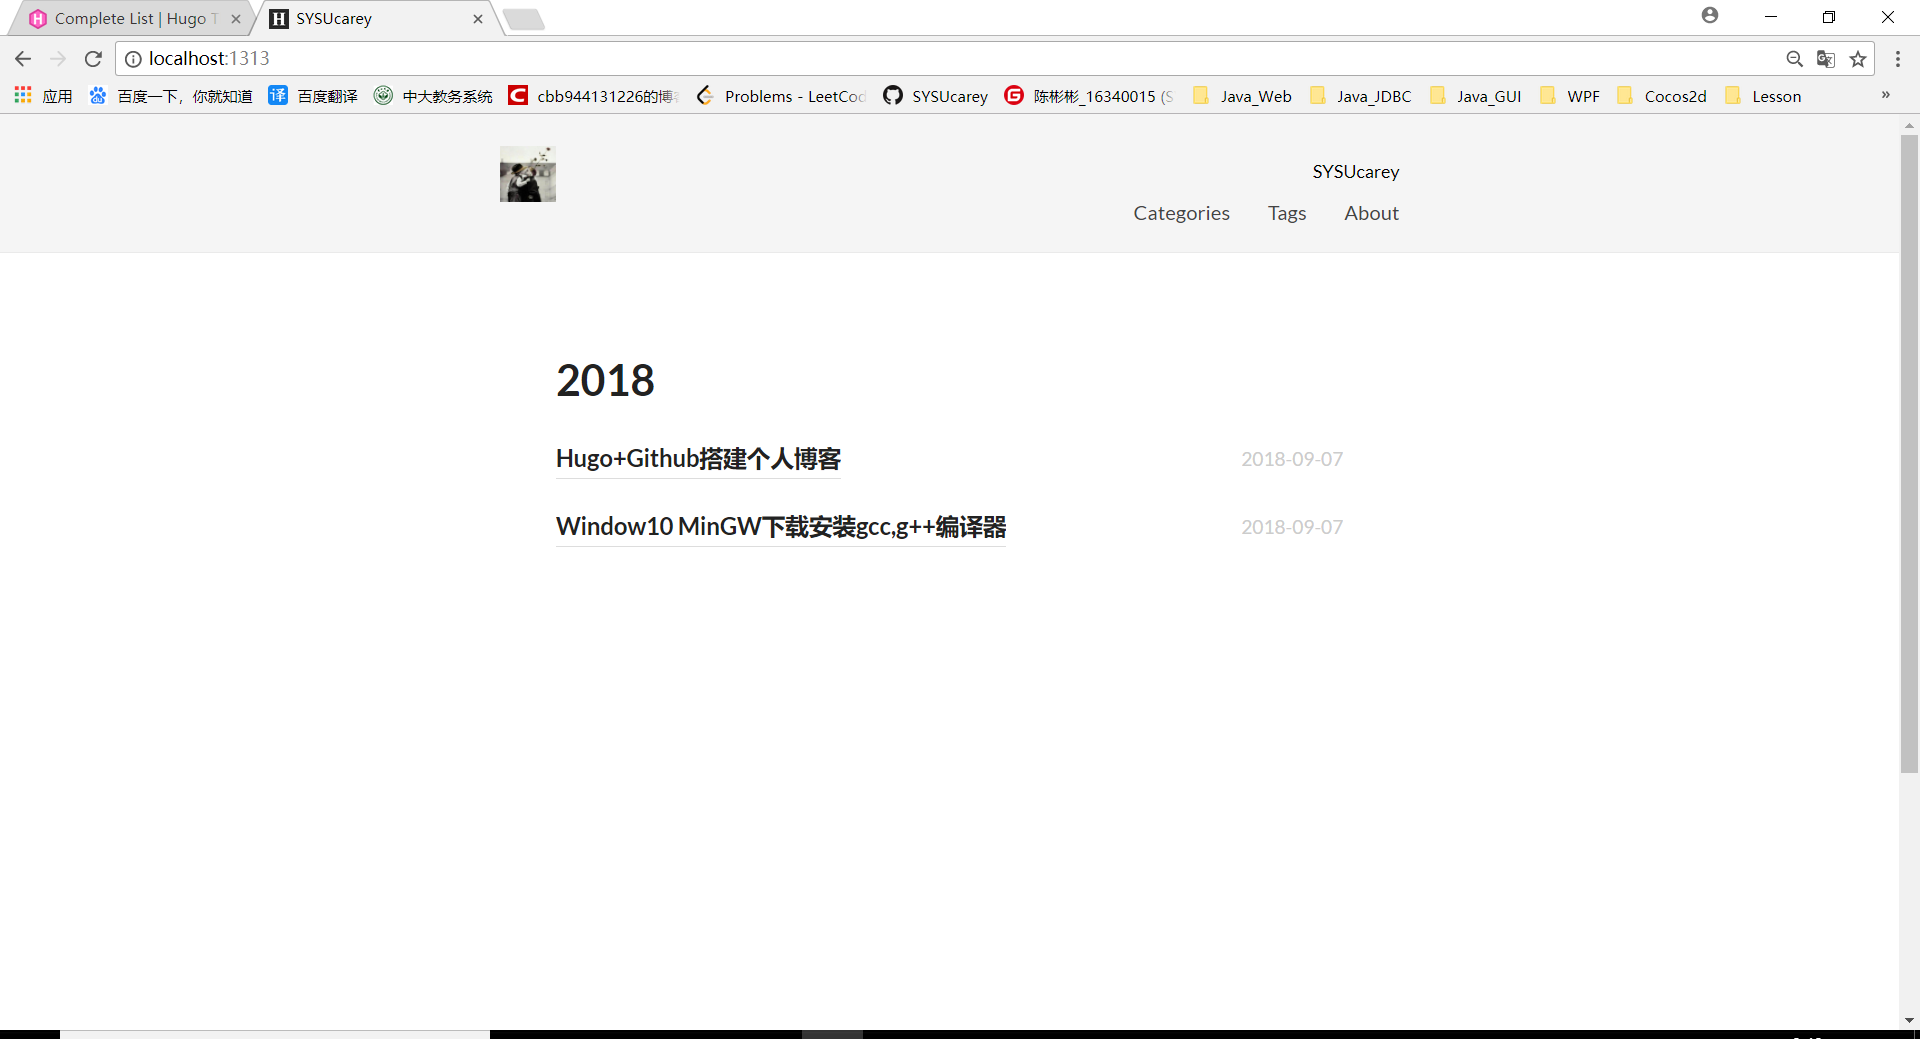
-
-
生成静态网页并推到GithubPages:
首先创建自己的GithubPages,新建仓库repository,命名为
Username.github.io,以自己为例:
然后,用Hugo生成静态网页,站点目录下,
cmd输入命令:hugo --theme=hugo-natrium-theme --baseUrl="https://Username.github.io/"(这里注意,
baseUrl要在仓库setting里面查看,有可能跟仓库名不一样。如我自己的就从我以为的https://SYSUcarey.github.io/变成了https://sysucarey.github.io/)这个
hugo命令执行完后,会生成一个public文件夹,将public文件夹内的所有文件推上仓库里就可以了。具体Git操作是:
-
git init -
git add . -
git commit -m 'first commit' -
git remote add origin https://github.com/Username/Username.github.io.git -
git pull --rebase origin master -
git push -u origin master
-
成功推上去合并版本后,查看https://Username.github.io/:
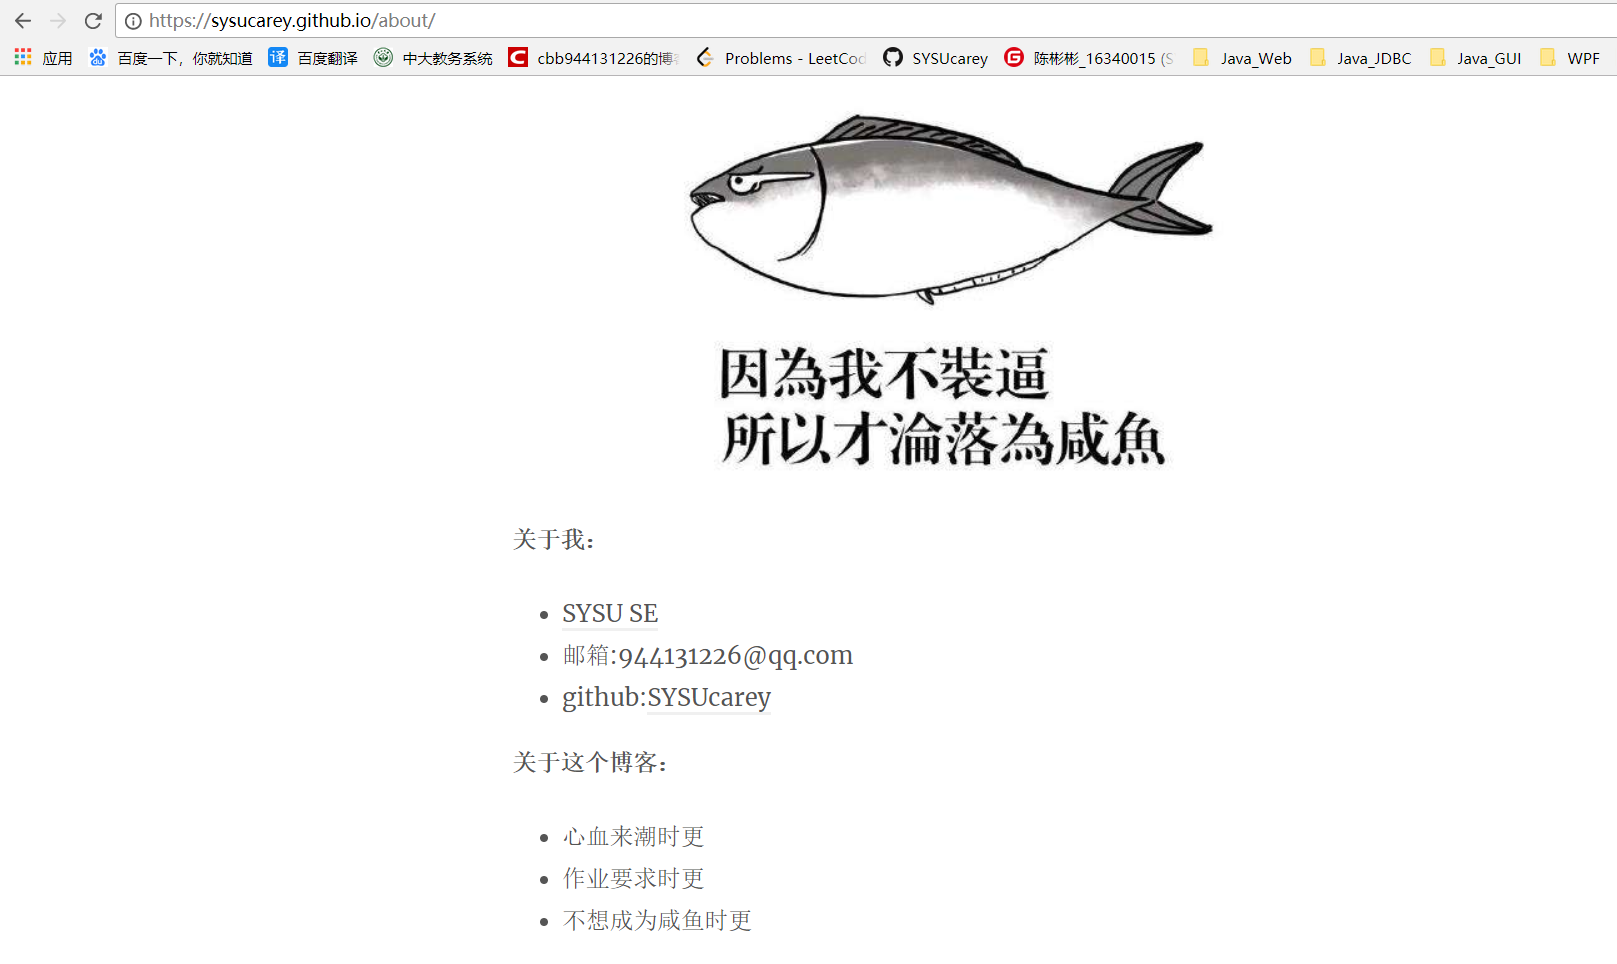
Hugo+Github的个人博客搭建成功。