在使用卷积处理图像时,不免会因为卷积的大小而导致图像的边缘像素无法得到处理。
此时就需要确定边缘处理的设置参数。
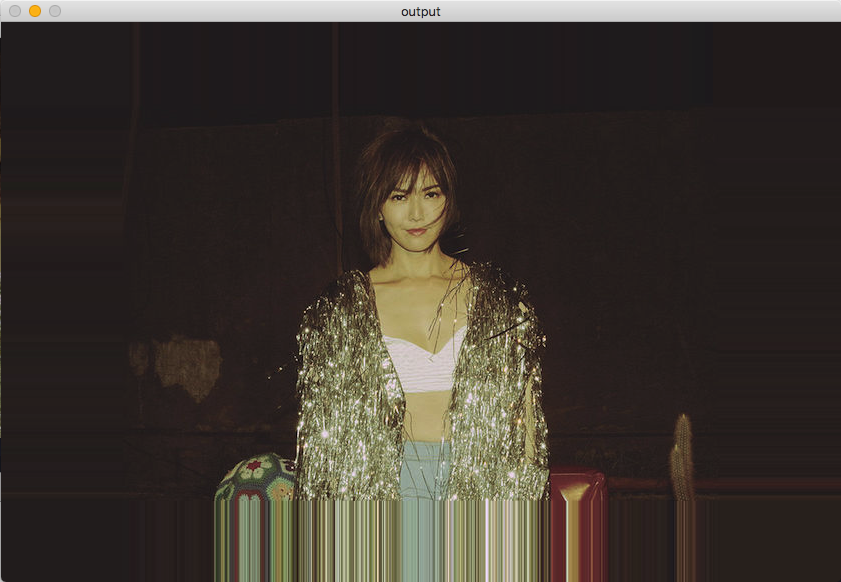
BORDER_DEFAULT: 通过边缘像素反向镜像
BORDER_REPLICATE: 边缘像素的延长
BORDER_WRAP: 取对边像素点,类似于复制很多张图像平铺在一起
BORDER_CONSTANT: 设置颜色
#include <iostream>
#include <stdio.h>
#include <opencv2/core/core.hpp>
#include <opencv2/highgui/highgui.hpp>
#include <opencv2/opencv.hpp>
#include <tesseract/baseapi.h>
#include <tesseract/strngs.h>

using namespace std;
using namespace cv;


Mat src, src1, src2, gray_src, dst;
const string path_current = "/Users/apple/Desktop/verifyChars/";
Mat result;


int main() {
    src = imread("/Users/apple/Desktop/test.jpg", IMREAD_COLOR);
    imshow("src", src);
    int top = 0.2 * src.rows;
    int bottom = 0.2 * src.rows;
    int left = 0.2 * src.cols;
    int right = 0.2 * src.cols;
    RNG rng(12345);
    int borderType = BORDER_DEFAULT;


    int c = 0;
    while (1) {
        c = waitKey(500);
        if ((char)c == 27) {
            break;
        }
        if ((char)c == 'r') {
            borderType = BORDER_REPLICATE;
        }
        if ((char)c == 'w') {
            borderType = BORDER_WRAP;
        }
        if ((char)c == 'c') {
            borderType = BORDER_CONSTANT;
        }
        if ((char)c == 'd') {
            borderType = BORDER_DEFAULT;
        }
        Scalar color = Scalar(rng.uniform(0, 255), rng.uniform(0, 255), rng.uniform(0, 255));
        copyMakeBorder(src, dst, top, bottom, left, right, borderType, color);
        imshow("output", dst);
    }

    return 0;
}
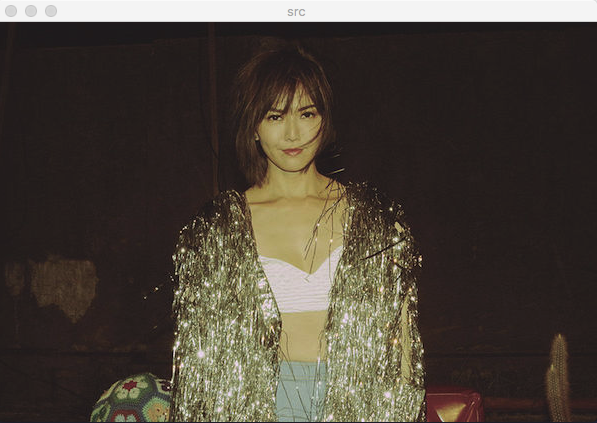
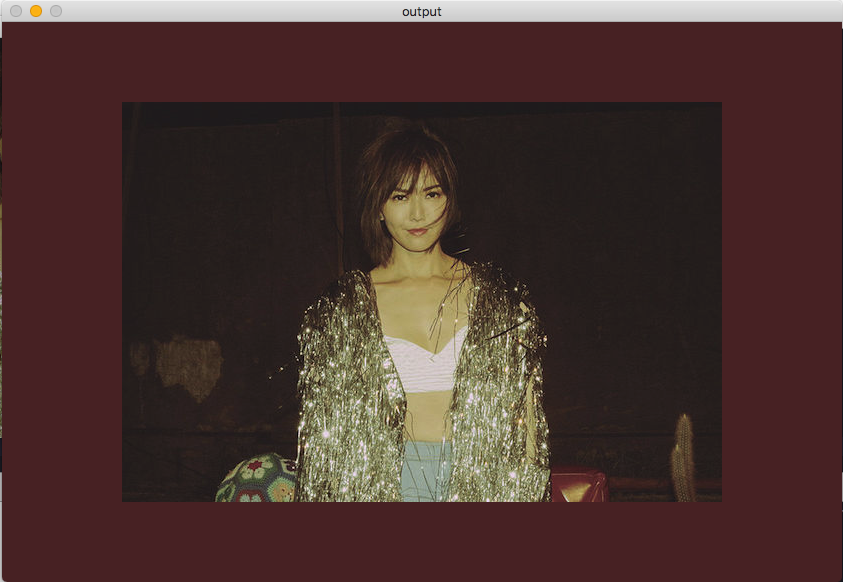
原图:
DEFAULT:
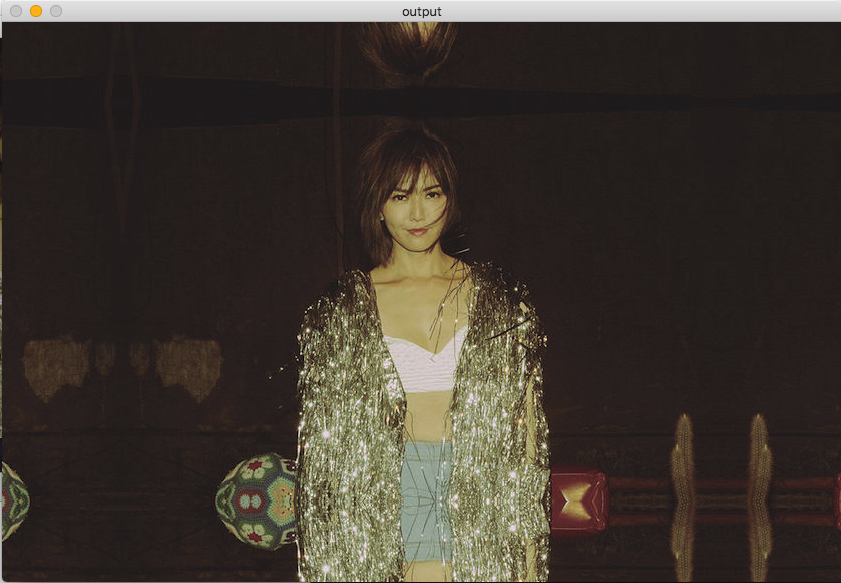
WRAP:
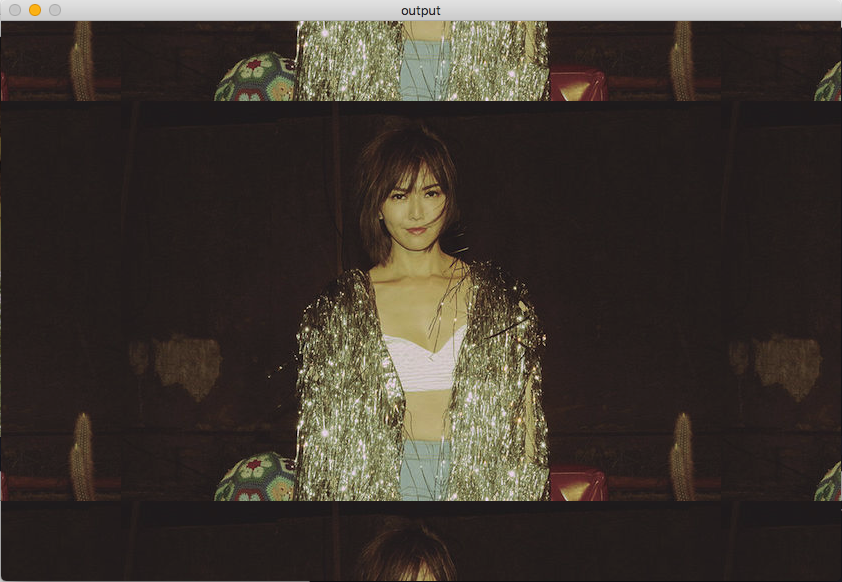
CONSTANT:
REPLIACTE: