前一阵子将重新买了个Jetson Nano的外壳。为了方便开源演示前一篇博客提到的tensorRT,先简单封装一个CSI相机的demo(原来用的usb相机)。
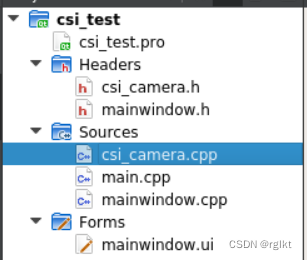
首先是项目的基本配置,其实没有什么,主要是用到了以前的opencv的配置。
#-------------------------------------------------
#
# Project created by QtCreator 2022-09-16T21:50:39
#
#-------------------------------------------------
CONFIG += C++11  # 添加对C++11的支持

QT       += core gui

greaterThan(QT_MAJOR_VERSION, 4): QT += widgets

TARGET = csi_test
TEMPLATE = app

# The following define makes your compiler emit warnings if you use
# any feature of Qt which has been marked as deprecated (the exact warnings
# depend on your compiler). Please consult the documentation of the
# deprecated API in order to know how to port your code away from it.
DEFINES += QT_DEPRECATED_WARNINGS

# You can also make your code fail to compile if you use deprecated APIs.
# In order to do so, uncomment the following line.
# You can also select to disable deprecated APIs only up to a certain version of Qt.
#DEFINES += QT_DISABLE_DEPRECATED_BEFORE=0x060000    # disables all the APIs deprecated before Qt 6.0.0

#opencv
INCLUDEPATH += \
        /usr/include/opencv4/opencv2 \
        /usr/include/opencv4

LIBS += /usr/lib/aarch64-linux-gnu/libopencv*


SOURCES += \
        main.cpp \
        mainwindow.cpp \
    csi_camera.cpp

HEADERS += \
        mainwindow.h \
    csi_camera.h

FORMS += \
        mainwindow.ui
然后是封装过的csi相机类,opencv无法直接操作csi相机,因此是通过进程间通信,向相机类传输流的方式进行的图像获取(个人解读)
#ifndef CSI_CAMERA_H
#define CSI_CAMERA_H

#include <iostream>
#include <string>
#include <opencv4/opencv2/opencv.hpp>
#include <opencv4/opencv2/core.hpp>
#include <opencv4/opencv2/highgui.hpp>
#include <opencv4/opencv2/imgproc.hpp>
#include <opencv4/opencv2/objdetect.hpp>
#include <opencv4/opencv2/imgproc/types_c.h>
#include <opencv4/opencv2/videoio.hpp>

class csi_camera
{


public:
    csi_camera();
    ~csi_camera();
    int get_img(cv::Mat& img);
    int LinkCamera();
private:
    std::string gstreamer_pipeline(int capture_width = 1280, int capture_height=720, int display_width=1280, int display_height=720,
                              int framerate=60, int flip_method=2);
                              // flip_mode = 2 旋转相机180度
    cv::VideoCapture *cap=nullptr;
};

#endif // CSI_CAMERA_H
#include "csi_camera.h"

std::string csi_camera::gstreamer_pipeline (int capture_width, int capture_height, int display_width, int display_height, int framerate, int flip_method)
{


    return "nvarguscamerasrc ! video/x-raw(memory:NVMM), width=(int)" + std::to_string(capture_width) + ", height=(int)" +
            std::to_string(capture_height) + ", format=(string)NV12, framerate=(fraction)" + std::to_string(framerate) +
            "/1 ! nvvidconv flip-method=" + std::to_string(flip_method) + " ! video/x-raw, width=(int)" + std::to_string(display_width) + ", height=(int)" +
            std::to_string(display_height) + ", format=(string)BGRx ! videoconvert ! video/x-raw, format=(string)BGR ! appsink";
}

int csi_camera::get_img(cv::Mat &img)
{


    if(!cap) return -1;
    if (!cap->read(img))
    {


        std::cout<<"捕获失败"<<std::endl;
        return -1;
    }
    return 0;
}

csi_camera::csi_camera()
{


}


csi_camera::~csi_camera()
{


    cap->release();
    cap = nullptr;
}

int csi_camera::LinkCamera()
{


    std::string pipeline = gstreamer_pipeline();
    std::cout << "使用gstreamer管道: \n\t" << pipeline << "\n";
    //管道与视频流绑定
    cap = new cv::VideoCapture(pipeline, cv::CAP_GSTREAMER);
    if(!cap->isOpened())
    {


        std::cout<<"打开摄像头失败."<<std::endl;
        return -1;
    }
    return 0;
}
然后就是简单的QT调用,当点击按钮时,开启定时器,定时获取图片并且设置到label上。
main.cpp
#include "mainwindow.h"
#include <QApplication>

int main(int argc, char *argv[])
{


    QApplication a(argc, argv);
    MainWindow w;
    w.show();

    return a.exec();
}
mainwindow.h
#ifndef MAINWINDOW_H
#define MAINWINDOW_H

#include <QMainWindow>
#include "csi_camera.h"
#include <QTimer>
namespace Ui {


class MainWindow;
}

class MainWindow : public QMainWindow
{


    Q_OBJECT

public:
    explicit MainWindow(QWidget *parent = 0);
    ~MainWindow();

private:
    QTimer camera_timer;
    Ui::MainWindow *ui;
    csi_camera camera;
    bool camera_open_flag=false;

private slots:
    void get_img();
    void on_push_button_clicked();
};

#endif // MAINWINDOW_H
#include "mainwindow.h"
#include "ui_mainwindow.h"
#include <QImage>
#include <QPixmap>
MainWindow::MainWindow(QWidget *parent) :
    QMainWindow(parent),
    ui(new Ui::MainWindow)
{


    ui->setupUi(this);
    camera_timer.setInterval(50);
    camera.LinkCamera();
    connect(ui->pushButton,&QPushButton::clicked,this,&MainWindow::on_push_button_clicked);
    connect(&camera_timer,&QTimer::timeout,this,&MainWindow::get_img);
}

MainWindow::~MainWindow()
{


    delete ui;
}

void MainWindow::get_img()
{


    if(camera_open_flag){


        cv::Mat img;
        if(!camera.get_img(img))
            ui->label->setPixmap(QPixmap::fromImage(QImage( img.data, img.cols, img.rows, img.step, QImage::Format_RGB888)));
    }
}

void MainWindow::on_push_button_clicked()
{


    if(camera_open_flag){


        ui->pushButton->setText("open camera");
        camera_timer.stop();
    }else{


        ui->pushButton->setText("close camera");
        camera_timer.start();
    }
    camera_open_flag = !camera_open_flag;
}
mainwindow.ui
<?xml version="1.0" encoding="UTF-8"?>
<ui version="4.0">
 <class>MainWindow</class>
 <widget class="QMainWindow" name="MainWindow">
  <property name="geometry">
   <rect>
    <x>0</x>
    <y>0</y>
    <width>746</width>
    <height>400</height>
   </rect>
  </property>
  <property name="windowTitle">
   <string>MainWindow</string>
  </property>
  <widget class="QWidget" name="centralWidget">
   <layout class="QGridLayout" name="gridLayout">
    <item row="0" column="0">
     <widget class="QLabel" name="label">
      <property name="text">
       <string/>
      </property>
     </widget>
    </item>
    <item row="1" column="0">
     <widget class="QPushButton" name="pushButton">
      <property name="text">
       <string>open camera</string>
      </property>
     </widget>
    </item>
   </layout>
  </widget>
  <widget class="QStatusBar" name="statusBar"/>
 </widget>
 <layoutdefault spacing="6" margin="11"/>
 <resources/>
 <connections/>
</ui>
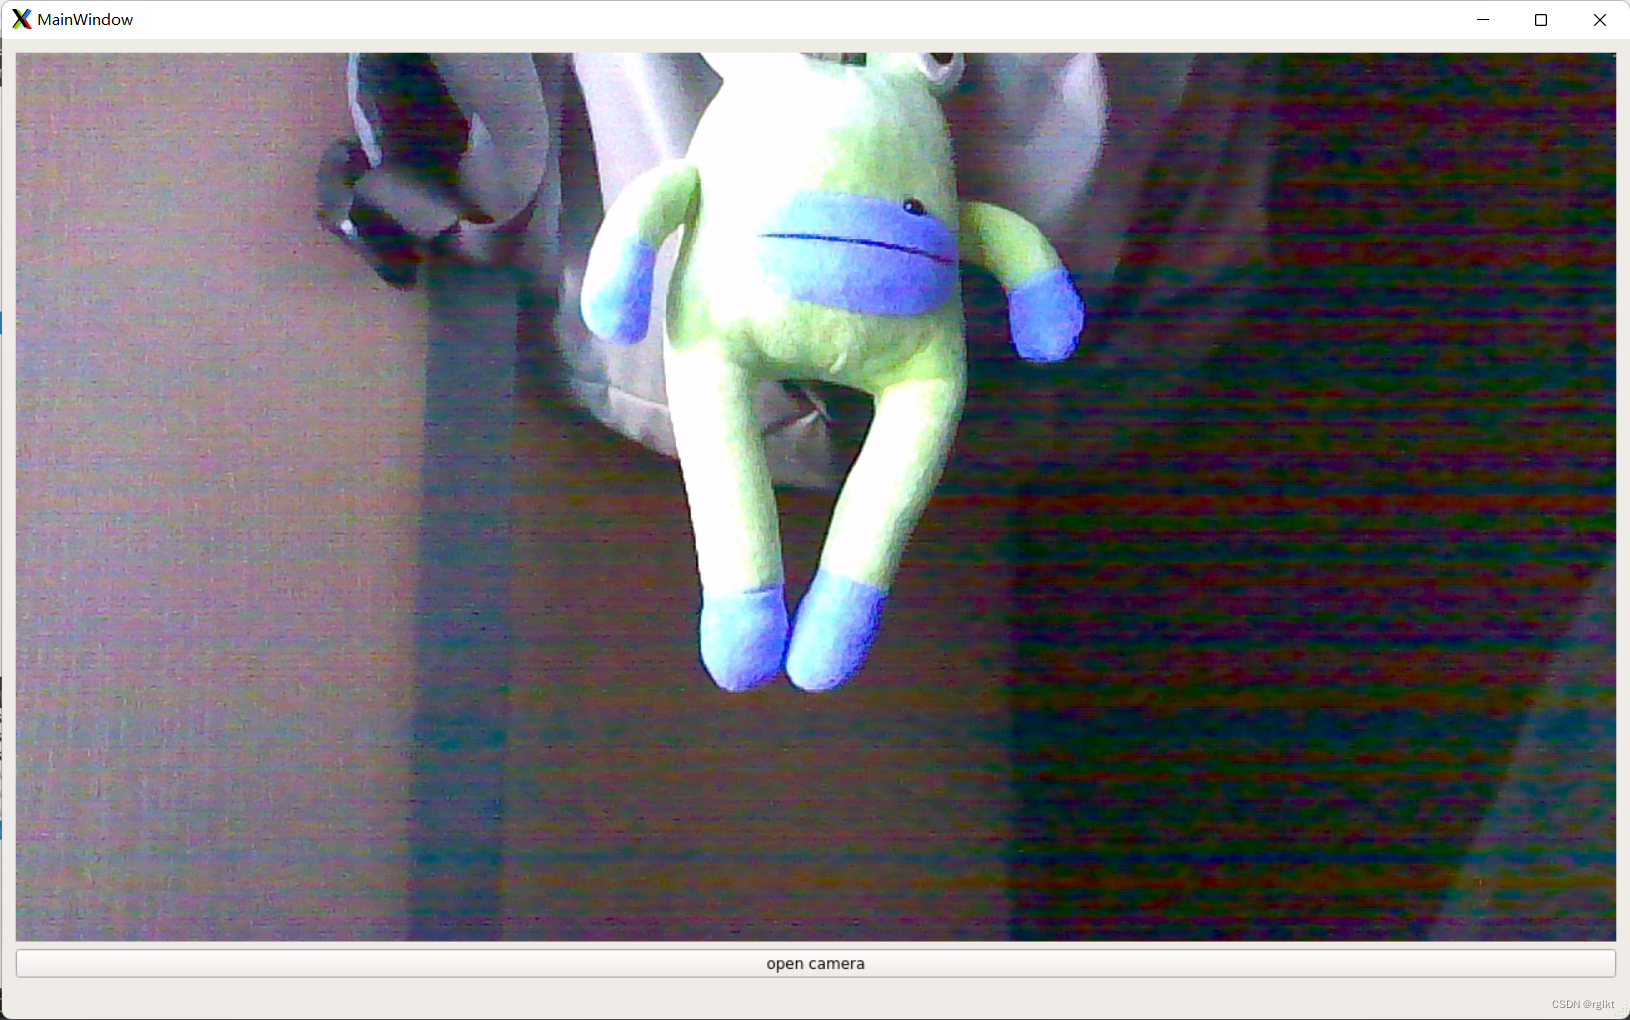
运行效果图,灯光和相机失真原因,图片有点阴间。