前言
之前写过一系列的Xavier的文章:
- NVIDIA Jetson AGX Xavier 硬件相关
- NVIDIA Xavier 环境搭建
- NVIDIA Xavier 命令 操作 链接 备忘
- NVIDIA Xavier GPIO 输入输出 中断 PWM
- NVIDIA Xavier UART
- NVIDIA Xavier CAN
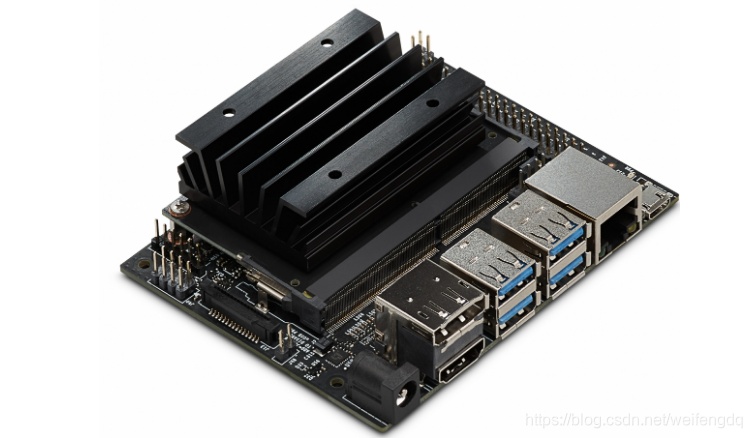
Xavier虽然性能强大, 毕竟有点贵, 玩家不多, 本篇介绍下只卖700多块钱的Jetson Nano Developer Kit, 双十二趁便宜了几十块钱撸了一块, 这个用的人比较多:
https://developer.nvidia.com/embedded/learn/get-started-jetson-nano-devkit, 这个是Jetson Nano官方的Get-Start, 烧写镜像之类的在这里介绍.
https://developer.nvidia.com/embedded/downloads#?search=Jetson%20Nano, 这个是Jetson Nano官方的下载中心, SD卡镜像, 载板原理图, L4T之类的应有尽有, 下面选其中的一些来介绍下.
SD卡镜像烧写
Jetson Nano有4核[email protected]的CPU, 有128-core Maxwell的GPU, 有4GB 64-bit LPDDR4 25.6GB/s的内存, 唯独没有类似硬盘的存储, 虽然官方提了有16GB emmc, 并没有找到, 还得自己插TF卡, 并且需要预先把系统烧录进TF卡, 这点和树莓派很像, 牺牲了性能, 降低了成本.
下载中心找到最新的Jetson Nano Developer Kit SD Card Image, 截止本文发出最新为nv-jetson-nano-sd-card-image-r32.2.3.zip, 5个G大小.
找一张16G以上的microSD卡(我手头刚好有张前不久淘到的128G的闪迪的TF卡), 放进USB读卡器插到电脑上, 格式化.
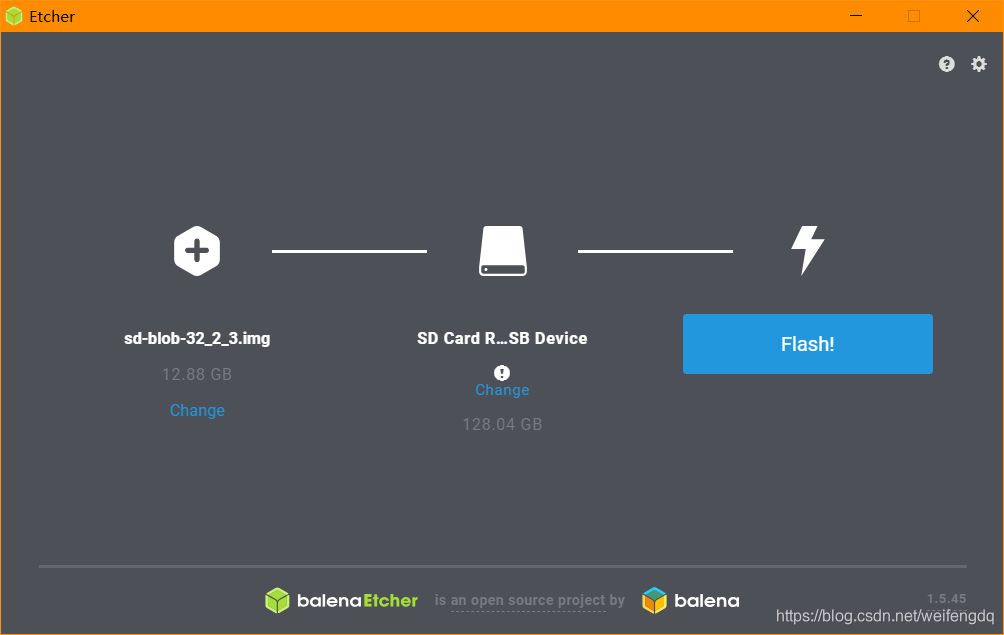
Windows电脑为例, 下载etcher软件: https://www.balena.io/etcher/, 安装后打开软件, 先选择上面下载的镜像, 接着是选择microSD卡, 点击Flash按钮就开始烧写了:
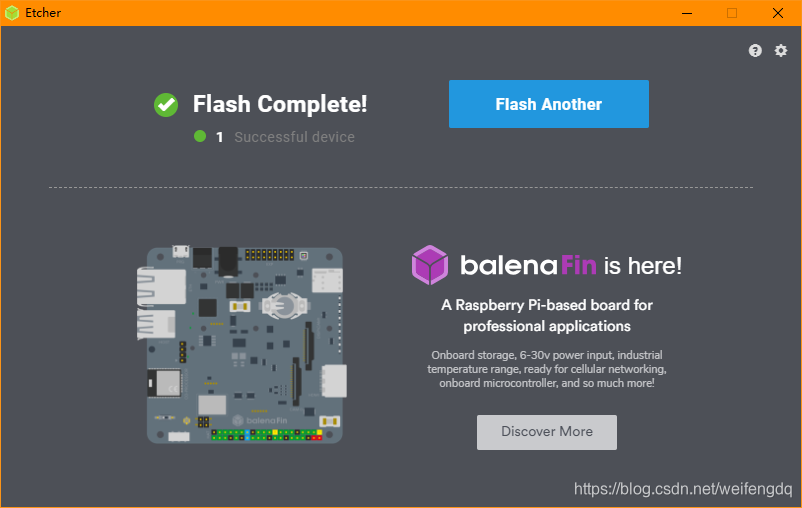
烧写完成后, 会弹出很多盘, 不用管, x掉Etcher软件, 弹出SD卡即可:
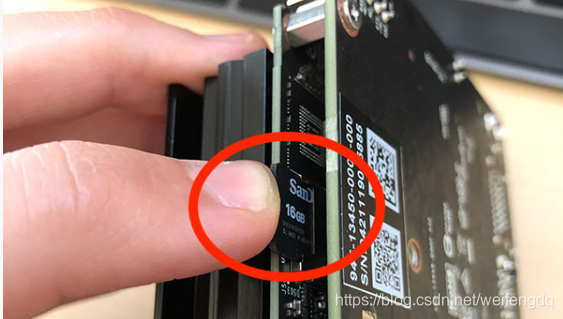
把TF卡插到Jetson Nano上去(图自网络):
用的5V/3A电源(4A/6A更好), 上电, 一开始我用的Micro-USB供电, 半天开不了机, 后来改用DC圆口供电:
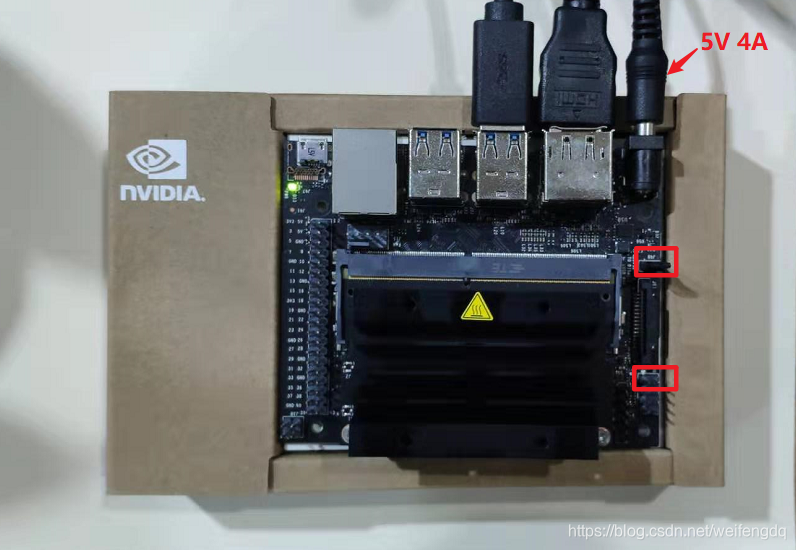
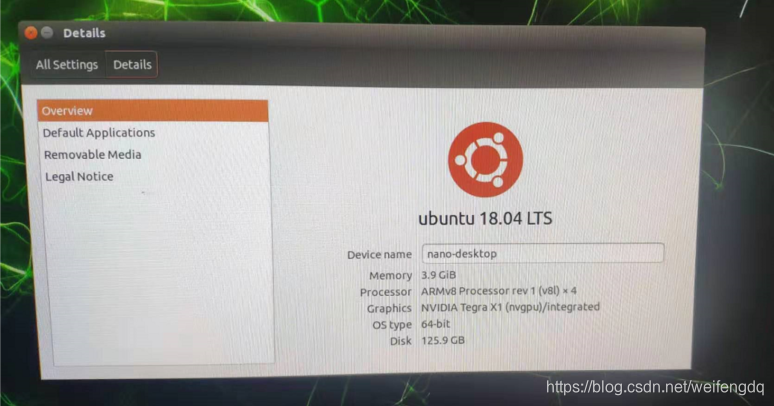
J48用跳线帽短路(禁用Micro-USB, 切换至DC圆口), 发现没有自动开机, 又用跳线帽短接了J40 1,2引脚3s左右, 显示器才出现NVIDIA图标, 然后是一系列设置: 接受licenses -> 语言选English -> 键盘布局默认English -> 无线连接(我插了USB WiFi) -> 时区点到shanghai -> 用户名密码设置, 之后, 就进入系统了, 右上角点击查看About This Computer, 里面的Disk显示的是TF卡的容量:
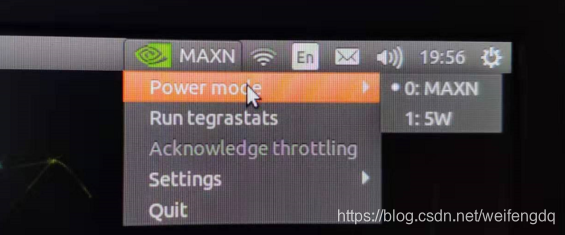
还可以设置功耗:
可以用ifconfig查看下IP地址, 然后就可以ssh远程登录了.
ROS安装
参考这一篇Getting Started with ROS on Jetson Nano: https://www.stereolabs.com/blog/ros-and-nvidia-jetson-nano/
安装步骤汇总如下:
# Set up the Jetson Nano to accept software from packages.ros.org
sudo sh -c 'echo "deb http://packages.ros.org/ros/ubuntu $(lsb_release -sc) main" > /etc/apt/sources.list.d/ros-latest.list'

# Add a new apt key
sudo apt-key adv --keyserver 'hkp://keyserver.ubuntu.com:80' --recv-key C1CF6E31E6BADE8868B172B4F42ED6FBAB17C654

sudo apt update

# Install the ROS Desktop package, including support for rqt, rviz and other useful robotics packages
# Note: “ROS Desktop Full” is a more complete package,
# however it is not recommended for an embedded platform;
# 2D/3D simulators will be installed with it and they take too much space on ROM,
# and are too computationally hungry to be used on the Nano.
sudo apt install ros-melodic-desktop

# Initialize rosdep. rosdep enables you to easily install system dependencies for
# source code you want to compile and is required to run some core components in ROS
sudo rosdep init
rosdep update

# It is recommended to load the ROS environment variables automatically when
# you execute a new shell session. Update your .bashrc script
echo "source /opt/ros/melodic/setup.bash" >> ~/.bashrc
source ~/.bashrc

# Install the following dependencies
sudo apt-get install cmake python-catkin-pkg python-empy python-nose python-setuptools libgtest-dev python-rosinstall python-rosinstall-generator python-wstool build-essential git
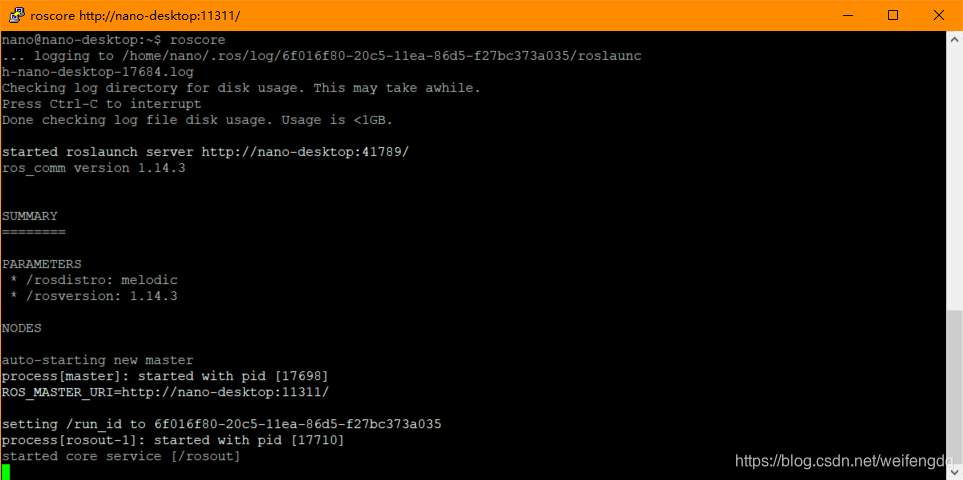
运行roscore试试:
再开一个窗口试试catkin:
mkdir -p ~/catkin_ws/src
cd ~/catkin_ws/
catkin_make
有兴趣也可以去爬爬小乌龟.
微信公众号
欢迎扫描关注我的微信公众号, 及时获取最新文章: