前言
关于TF的目标检测迁移学习,我一开始是想通过Tensorflow提供的API,用JS来实现的。但是官方不但没有案例,网上也没有踩坑的博客,加之我又着急要弄水印检测。

于是就在网上看了很多人用python实现的自定义训练,我也试过很多。运行的时候各种问题,不是缺少模块,就是版本兼容问题说什么convert 't' to a tensor and failed,还有运行Tensorboard打不开等等各种问题。所以我把运行过程遇到的大小错误,以及错误原因,如何解决报错都记录了下来,下面内容有跳过前面的环境搭建。如果要完整的从环境搭建,模型测试和接下来的迁移学习,需要结合前面的两篇文章一起看。

数据集制作
目标检测的数据集就是对以往图片通过工具进行无休止的标注了,标注工具有很多,这里我使用的是LableImg。地址:GitHub - heartexlabs/labelImg: LabelImg is now part of the Label Studio community. The popular image annotation tool created by Tzutalin is no longer actively being developed, but you can check out Label Studio, the open source data labeling tool for images, text, hypertext, audio, video and time-series data.,该工具已经有发行版,标注会与图片生成相对应的xml文件。为了后面的训练,可以将数据集分成train(训练集)和test(测试集),然后在项目的 "models\research\object_detection" 新建 images(名字自定,只是后面配置要用到)文件夹并放入其中。

数据处理
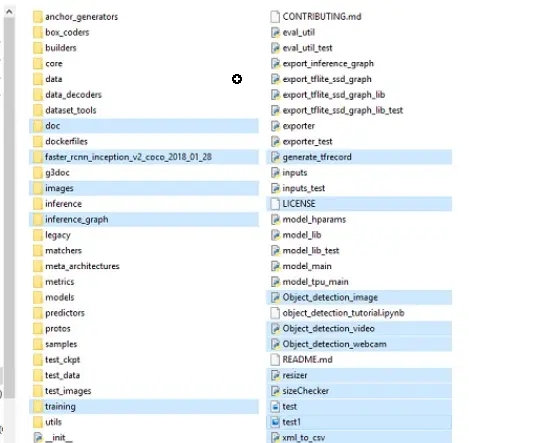
这里要通过脚本将xml和图片路径转成xml,然后再将xml转为训练需要的record格式,在转换前需要在项目的"models\research\object_detection"下新建 "training" (存放训练配置,标注映射,训练日志)和 "inference_graph" (最后训练的模型),这里可以直接将国外博主demo(TensorFlow-Object-Detection-API-Tutorial-Train-Multiple-Objects-Windows-10),会覆盖并携带这几个文件夹,如下。
1. 将xml文件转换为csv文件

1.1. 新建xml_to_csv.py放入上图目录下。
1.2. 代码编写
import os
import glob
import pandas as pd
import xml.etree.ElementTree as ET


def xml_to_csv(path):
    xml_list = []
    for xml_file in glob.glob(path + '/*.xml'):
        tree = ET.parse(xml_file)
        root = tree.getroot()
        for member in root.findall('object'):
            value = (root.find('filename').text,
                     int(root.find('size')[0].text),
                     int(root.find('size')[1].text),
                     member[0].text,
                     int(member[4][0].text),
                     int(member[4][1].text),
                     int(member[4][2].text),
                     int(member[4][3].text)
                     )
            xml_list.append(value)
    column_name = ['filename', 'width', 'height', 'class', 'xmin', 'ymin', 'xmax', 'ymax']
    xml_df = pd.DataFrame(xml_list, columns=column_name)
    return xml_df


def main():
    for folder in ['train','test']:
        image_path = os.path.join(os.getcwd(), ('images/' + folder))
        xml_df = xml_to_csv(image_path)
        xml_df.to_csv(('images/' + folder + '_labels.csv'), index=None)
        print('Successfully converted xml to csv.')


main()
1.3. 运行(成功后会在image下生成两个csv文件)
python xml_to_csv.py2. 将csv文件转换为tfrecord文件
2.1. 新建generate_tfrecord.py放入上图目录(models\research\object_detection)下。
2.2. 代码编写,这里要注意class_text_to_int函数的值需要修改标注的项已经定义的映射值。
"""
Usage:
  # From tensorflow/models/
  # Create train data:
  python generate_tfrecord.py --csv_input=images/train_labels.csv --image_dir=images/train --output_path=train.record

  # Create test data:
  python generate_tfrecord.py --csv_input=images/test_labels.csv  --image_dir=images/test --output_path=test.record
"""
from __future__ import division
from __future__ import print_function
from __future__ import absolute_import

import os
import io
import pandas as pd

from tensorflow.python.framework.versions import VERSION
if VERSION >= "2.0.0a0":
    import tensorflow.compat.v1 as tf
else:
    import tensorflow as tf

from PIL import Image
from object_detection.utils import dataset_util
from collections import namedtuple, OrderedDict

flags = tf.app.flags
flags.DEFINE_string('csv_input', '', 'Path to the CSV input')
flags.DEFINE_string('image_dir', '', 'Path to the image directory')
flags.DEFINE_string('output_path', '', 'Path to output TFRecord')
FLAGS = flags.FLAGS


# TO-DO replace this with label map
def class_text_to_int(row_label):
    if row_label == 'nine':
        return 1
    elif row_label == 'ten':
        return 2
    elif row_label == 'jack':
        return 3
    elif row_label == 'queen':
        return 4
    elif row_label == 'king':
        return 5
    elif row_label == 'ace':
        return 6
    else:
        None


def split(df, group):
    data = namedtuple('data', ['filename', 'object'])
    gb = df.groupby(group)
    return [data(filename, gb.get_group(x)) for filename, x in zip(gb.groups.keys(), gb.groups)]


def create_tf_example(group, path):
    with tf.gfile.GFile(os.path.join(path, '{}'.format(group.filename)), 'rb') as fid:
        encoded_jpg = fid.read()
    encoded_jpg_io = io.BytesIO(encoded_jpg)
    image = Image.open(encoded_jpg_io)
    width, height = image.size

    filename = group.filename.encode('utf8')
    image_format = b'jpg'
    xmins = []
    xmaxs = []
    ymins = []
    ymaxs = []
    classes_text = []
    classes = []

    for index, row in group.object.iterrows():
        xmins.append(row['xmin'] / width)
        xmaxs.append(row['xmax'] / width)
        ymins.append(row['ymin'] / height)
        ymaxs.append(row['ymax'] / height)
        classes_text.append(row['class'].encode('utf8'))
        classes.append(class_text_to_int(row['class']))

    tf_example = tf.train.Example(features=tf.train.Features(feature={
        'image/height': dataset_util.int64_feature(height),
        'image/width': dataset_util.int64_feature(width),
        'image/filename': dataset_util.bytes_feature(filename),
        'image/source_id': dataset_util.bytes_feature(filename),
        'image/encoded': dataset_util.bytes_feature(encoded_jpg),
        'image/format': dataset_util.bytes_feature(image_format),
        'image/object/bbox/xmin': dataset_util.float_list_feature(xmins),
        'image/object/bbox/xmax': dataset_util.float_list_feature(xmaxs),
        'image/object/bbox/ymin': dataset_util.float_list_feature(ymins),
        'image/object/bbox/ymax': dataset_util.float_list_feature(ymaxs),
        'image/object/class/text': dataset_util.bytes_list_feature(classes_text),
        'image/object/class/label': dataset_util.int64_list_feature(classes),
    }))
    return tf_example


def main(_):
    writer = tf.python_io.TFRecordWriter(FLAGS.output_path)
    path = os.path.join(os.getcwd(), FLAGS.image_dir)
    examples = pd.read_csv(FLAGS.csv_input)
    grouped = split(examples, 'filename')
    for group in grouped:
        tf_example = create_tf_example(group, path)
        writer.write(tf_example.SerializeToString())

    writer.close()
    output_path = os.path.join(os.getcwd(), FLAGS.output_path)
    print('Successfully created the TFRecords: {}'.format(output_path))


if __name__ == '__main__':
    tf.app.run()
2.3. 运行,成功后会在 “models\research\object_detection” 目录下生成两个record文件。
python generate_tfrecord.py --csv_input=images\train_labels.csv --image_dir=images\train --output_path=train.record
python generate_tfrecord.py --csv_input=images\test_labels.csv --image_dir=images\test --output_path=test.record
文件配置
在以下文件配置前,要确保目标检测预训练模型(faster_rcnn_inception_v2_coco_2018_01_28)已经下载,如何下载和如何选取可以看前面文章,然后放入 "models\research\object_detection" 下。
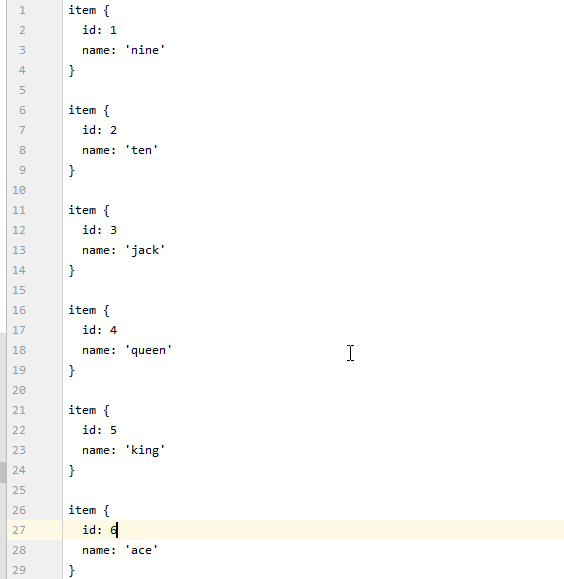
1. labelmap.pbtxt
创建一个pbtxt后缀文件,放入 “models\research\object_detection\training”, 没有 “training”文件夹则创建,labelmap存入与generate_tfrecord.py的标签映射类似。
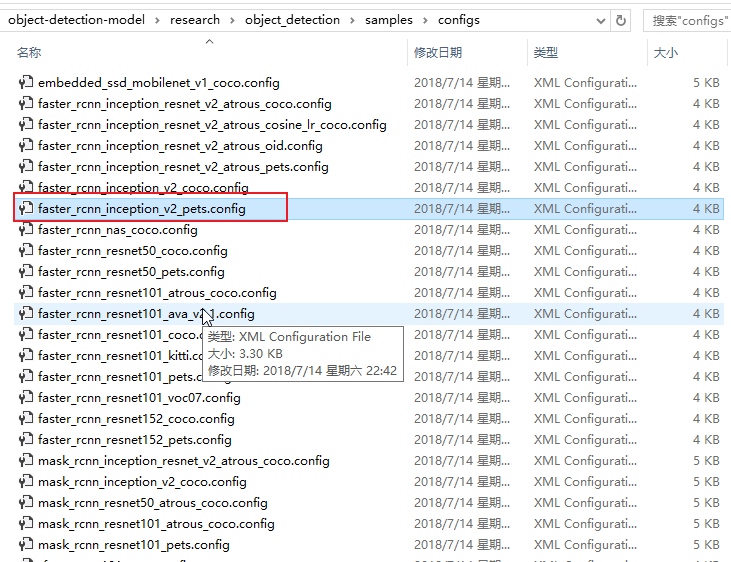
2. faster_rcnn_inception_v2_pets.config
找到 “research\object_detection\samples\configs” 下的 “faster_rcnn_inception_v2_pets.config” 复制到 “research\object_detection\training”下,也就是和上面文件一样, 最后还要修改以下配置。
第9行:num_classes是类别个数,修改成自己的类别个数,对于basketball, shirt, 和shoe的例子,num_classes=3,

第110行:fine_tune_checkpoint修改为:

fine_tune_checkpoint : "E:/4work/8python/1study/object_detection/object-detection-model/research/object_detection/faster_rcnn_inception_v2_coco_2018_01_28/model.ckpt"

第126和128行:在train_input_reader部分, input_path和label_map_path改为:

input_path : "E:/4work/8python/1study/object_detection/object-detection-model/research/object_detection/train.record"

label_map_path: "E:/4work/8python/1study/object_detection/object-detection-model/research/object_detection/training/labelmap.pbtxt"

第132行:num_examples个数修改成\images\test文件夹中的图片数量

第140和142行:在eval_input_reader部分,把input_path和label_map_path路径修改成:

input_path : "E:/4work/8python/1study/object_detection/object-detection-model/research/object_detection/test.record"

label_map_path: "E:/4work/8python/1study/object_detection/object-detection-model/research/object_detection/training/labelmap.pbtxt"

(注意:修改路径中的”/”不要打成”//”或者”\”。以及”不要错打成’。此外,具体的行数可能会和本文对不上,但在附近不难找,或者参考视频。)
环境配置
因为前面已经把基本的依赖包和工具都已经安装了,从模型下载的库里的 “三个环境变量” (特别注意一下,要结合上一篇一起操作)也配置了。官方的模型检测也能运行了。但是,迁移学习还有点不太一样,需要的依赖更多一点,所以再操作一些配置。
1. slim安装
在当前虚拟环境下切换目录到上一级,也就是 "models\research",再进入slim, 运行 “python setup.py install”, 当出现 “error: could not create 'build': 当文件已存在时,无法创建该文件” 报错时,需要将slim下的BUILD文件删除再运行 "python setup.py install"。

2. object-detection安装
其实这个在前面演示官方例子的检测时就已经安装了,这里就再提一下,因为很重要,并且再后面训练的时候抛出的异常也和这里有关,这个就后面再说吧。
开始训练
1. 创建train.py
1.1. "train.py"文件在/object_detection/legacy当中,把它放入到/object_detection中, 在路径\object_detection下输入指令:
(object_dection) E:\4work\8python\1study\object_detection\object-detection-model\research\object_detection>python train.py --logtostderr --train_dir=training/ --pipeline_config_path=training/faster_rcnn_inception_v2_pets.config2. 打开tensorboard
一个Tensorflow可视化工具,在前面安装Tensorflow-GPU时候也默认安装了,如果没有则 "pip install tensorboard", 版本最好与tensorflow一致。通过指定训练log查看训练过程面板, 执行完后成功的话会出现端口号为6006的访问地址,然后放到浏览器中就可以查看。这里我用谷歌访问不了,放到火狐就可以了,原因是啥,目前也不知道,如果各位也遇到打不开的情况可以多试几个浏览器。
(object_dection) E:\4work\8python\1study\object_detection\object-detection-model\research\object_detection>tensorboard --logdir=training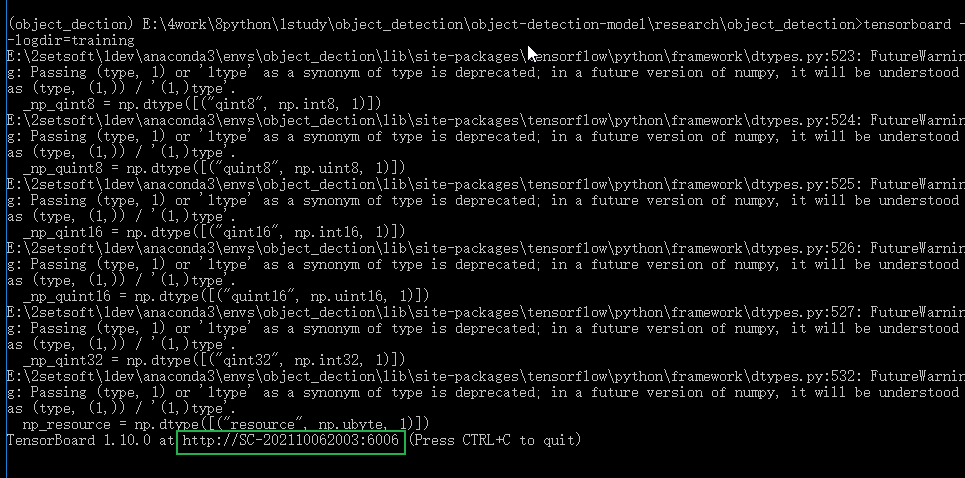

3. 报错汇总
这里的报错汇总是,开始执行训练时候,抛出的各种问题,有很多细节结合其他博客总结的,具体有哪些博客来源,我记不清就不放出来,如果你看到了,可以留言告诉我,我再详细告之来处。
3.1. 报错: No module named 'nets'

原因:models\research\slim没有配置,也就是我前面提到的环境配置
方法:在当前环境下切换目录到 "models\research\slim" 下,运行 “python setup.py install”, 当出现 “error: could not create 'build': 当文件已存在时,无法创建该文件” 报错时,需要将slim下的BUILD文件删除再运行 "python setup.py install"。
3.2. 报错:NewRandomAccessFile failed to Create/Open: E:/4work/8python/1study/object_detection/object-detection-model/research/object_detection/labelmap.pbtxt : ϵͳ\udcd5Ҳ\udcbb\udcb5\udcbdָ\udcb6\udca8\udcb5\udcc4\udcceļ\udcfe\udca1\udca3 ; No such file or directory。
原因: faster_rcnn_inception_v2_pets.config里train_input_reader下label_map_path路径写错了,导致没有找到文件。
方法: 修改该路径即可。
3.3. 报错:Tried to convert 't' to a tensor and failed. Error: Argument must be a dense tensor: range(0, 4) - got shape [4], but wanted []。
原因: 经过查找后,终于在github的issues发现一个大佬说是Python3的兼容文件,他们很多是python3.6环境下升级tensorflow版本,比如从1.4到1.6报的错误。
方法: 把`research/object_detection/utils/learning_schedules.py`文件的 第167-169多添加一个list(),这只是第一步,还有第二步而且很重,因为改完后马上执行训练,依然会报整个错误。
# # 修改167 - 170
rate_index = tf.reduce_max(tf.where(tf.greater_equal(global_step, boundaries),
                                    range(num_boundaries),
                                    [0] * num_boundaries))
# # 成
rate_index = tf.reduce_max(tf.where(tf.greater_equal(global_step, boundaries),
                                    list(range(num_boundaries)),
                                    [0] * num_boundaries))
因为在训练中使用的object-detection还是之前编译的,现在修改了代码需要重新编译。目录切换到上一级(research)下,重新编译安装后再进行训练即可。
python setup.py build
python setup.py install
模型导出
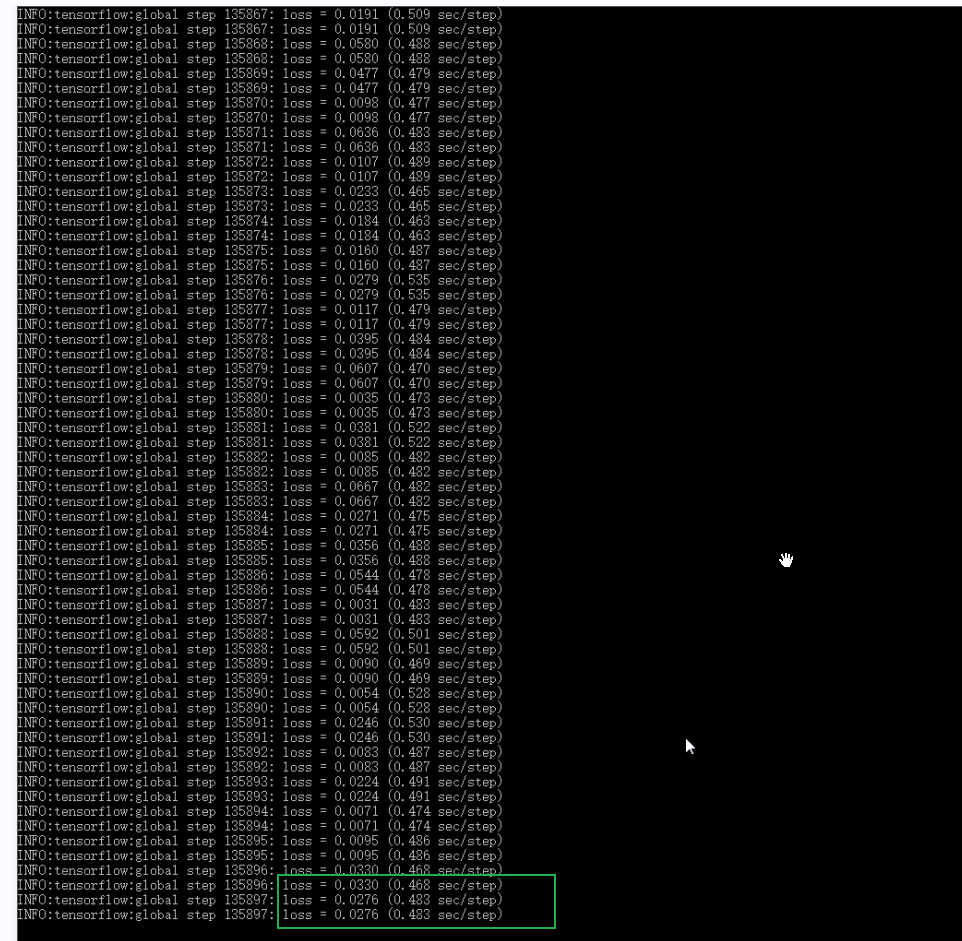
经过一个晚上的训练,训练次数达13万多,损失值降到了基本小于0.04, 按ctrl+c终止训练。

1. 导出Inference Graph
下面“model.ckpt-XXXX”中的“XXXX”修改为最高的数字(训练次数最高的那一个文件) 这个指令会在\object_detection\inference_graph文件夹中生成一个frozen_inference_graph.pb文件,也就是自己训练后的模型。
python export_inference_graph.py --input_type image_tensor --pipeline_config_path training/faster_rcnn_inception_v2_pets.config --trained_checkpoint_prefix training/model.ckpt-XXXX --output_directory inference_graph
模型测试
本来是想将训练的模型改为js版的,但是原文作者写了图片检测,视频流检测和网络摄像头实时检测的程序,所以这里就通过以下的两个脚本演示。虽然但是,脚本里有用了cv2,上次安装本来就出了问题,所以这次还是多次翻车,以下就是出现的各种安装状况。
1. 报错:No module named 'cv2'。
本来是通过pip install opencv-python下载的,但是电脑有个*星杀毒流*软件,又抛出Could not install packages due to an OSError: [WinError 225] 无法成功完成操作,因为文件包含*毒或潜在的垃圾软件,当我卸载RAV Lndpoint Protectio后,结果还是报错:Could not build wheels for opencv-python which use PEP 517 and cannot be installed directly,我也尝试过网上说的升级pip,用conda安装全都没用。最后打开anaconda面板,搜索 "opencv" 挨个安装后,发现又出现了新的问题。


2. 报错:'ImportError: DLL load failed: 找不到指定的模块'。
报错原因可能是版本不对,但是在anaconda中没找到升级cv版本的地方,无奈之下就手动下载opencv-python包进行安装,找到与自己系统(win后携带参数)和当前虚拟环境python版本(cp即python版本)对应的安装包即可。

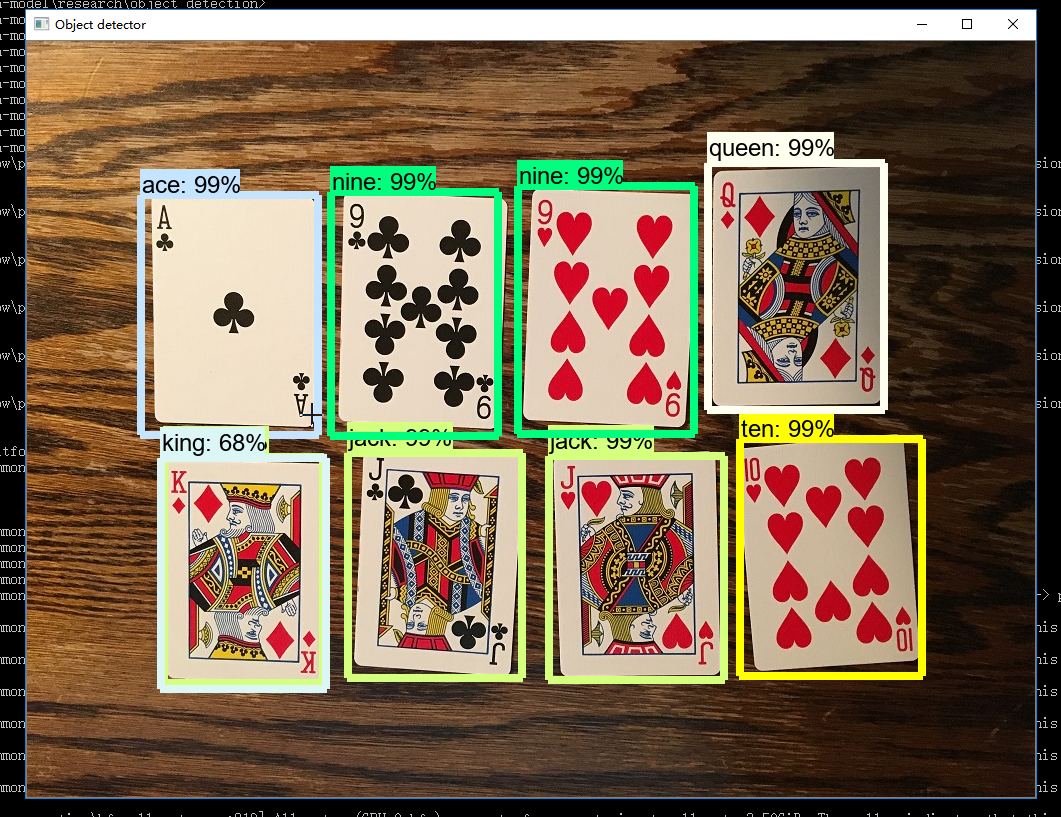
3. 测试图片目标检测
python Object_detection_image.py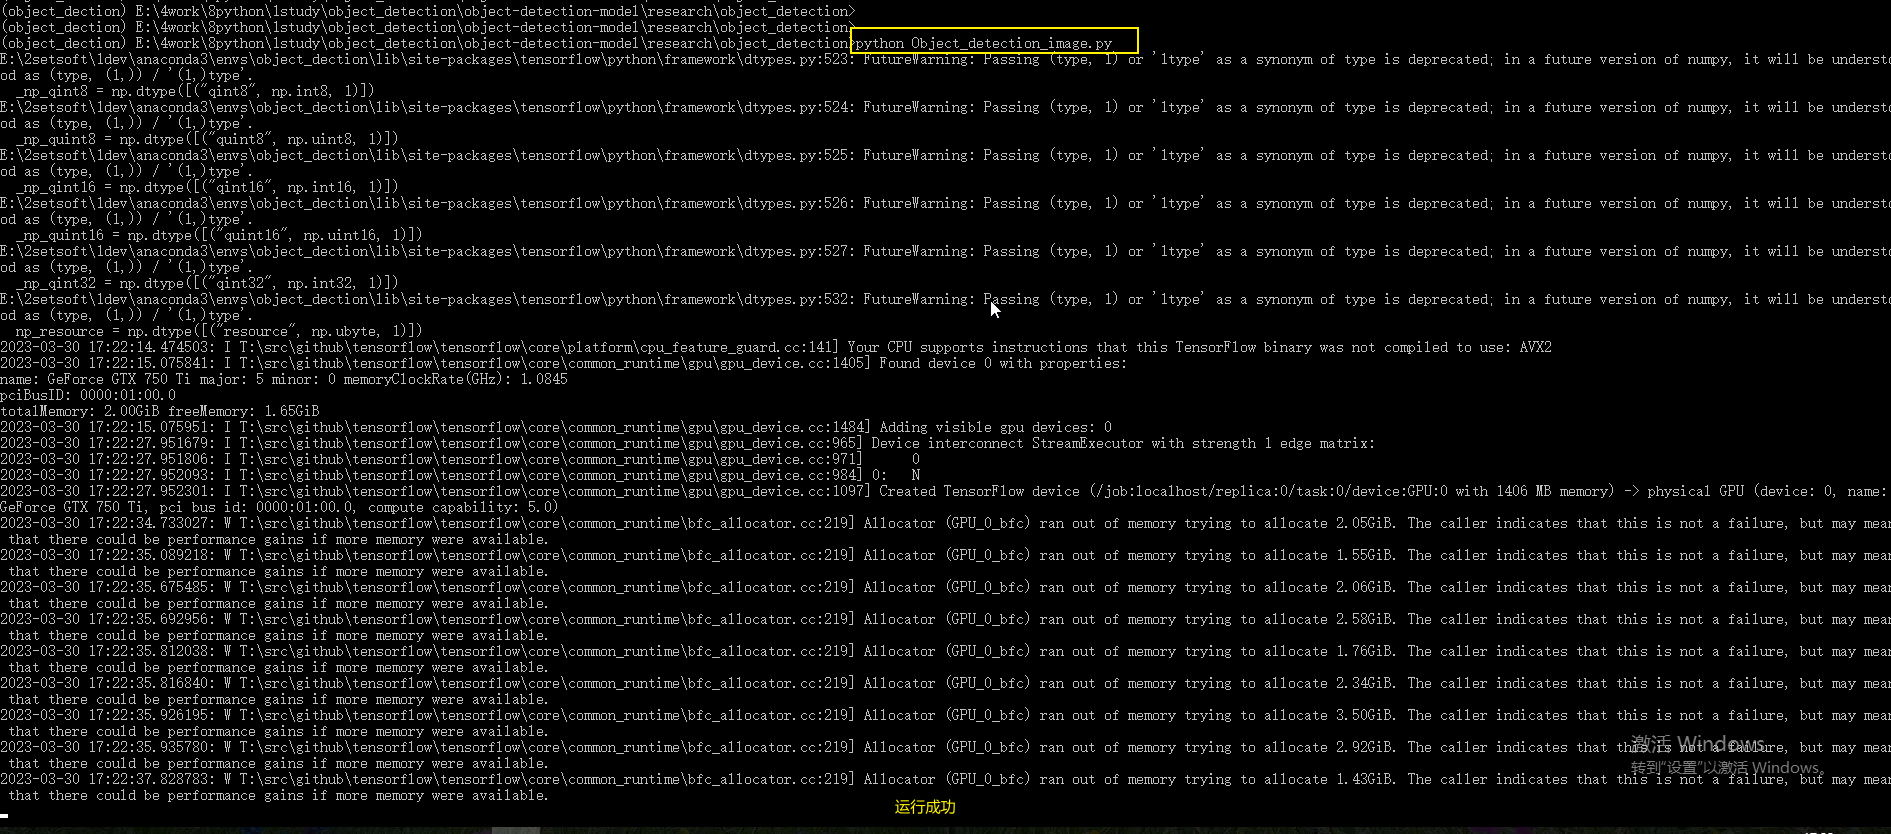
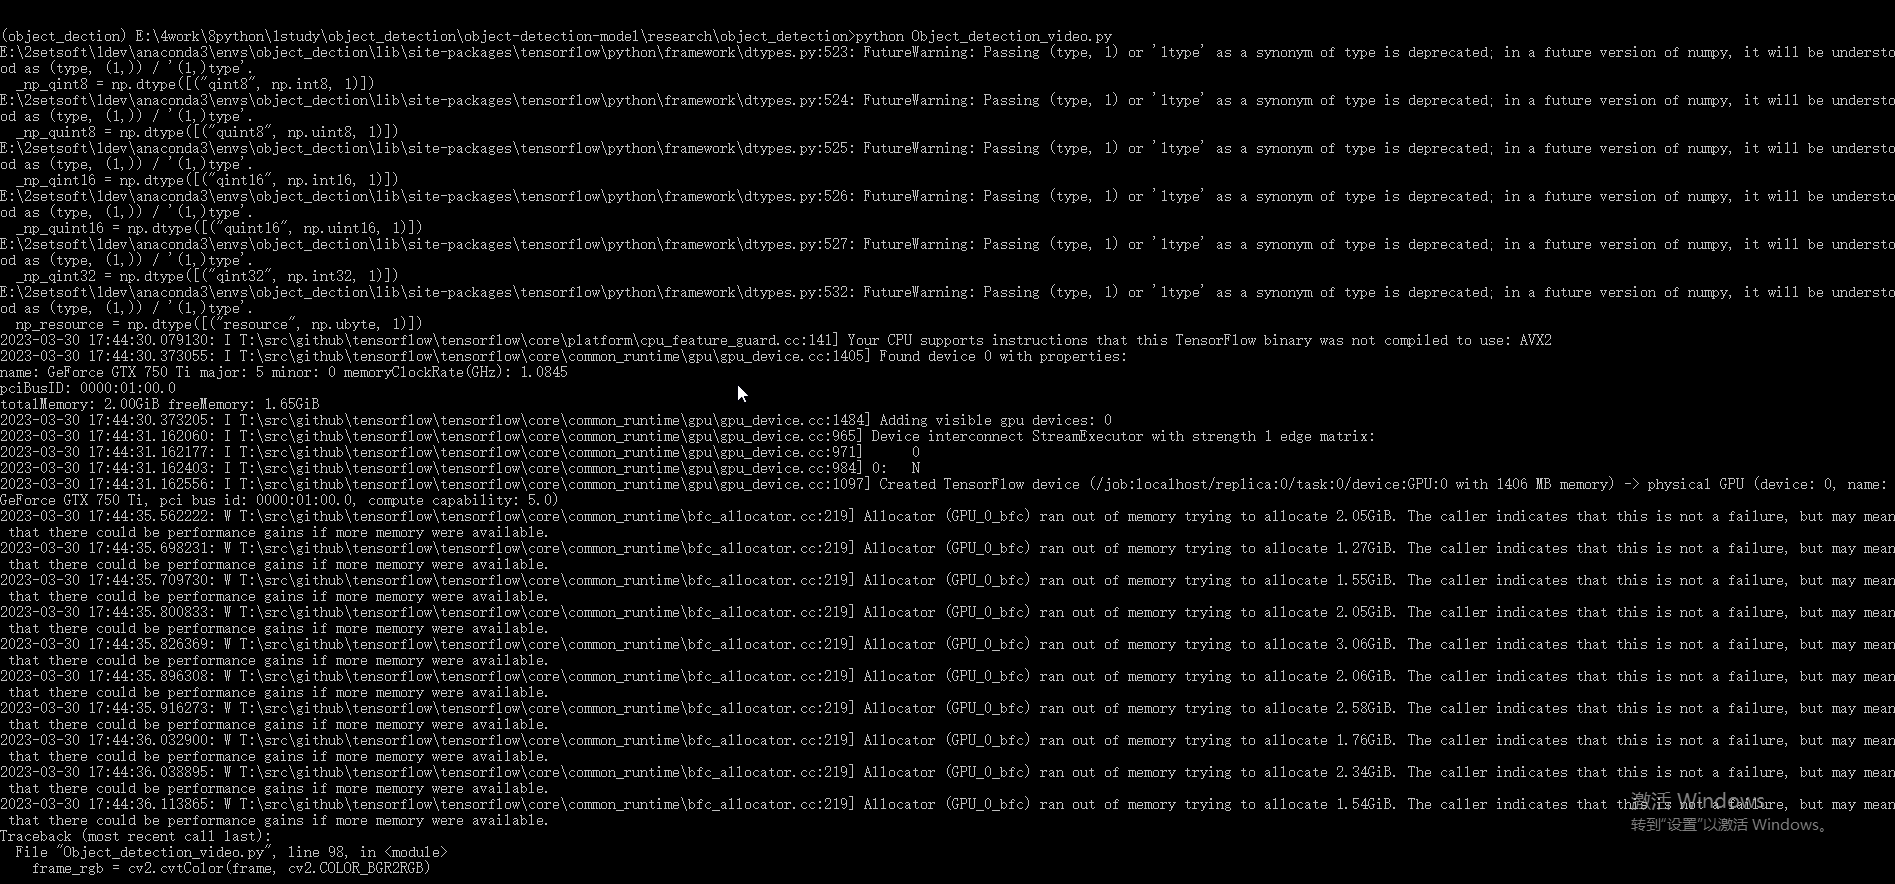
4. 测试视频目标检测
python Object_detection_video.py