1、用cmd复现python项目进行车道线检测
UFLD相关网址UFAST车道线检测 Ultra-Fast-Lane-Detection 从环境搭建到复现完成(一)_m0_46364958的博客-CSDN博客_ultra-fast-lanehttps://github.com/cfzd/Ultra-Fast-Lane-Detection-v2GitHub - cfzd/Ultra-Fast-Lane-Detection-v2: Ultra Fast Deep Lane Detection With Hybrid Anchor Driven Ordinal Classification (TPAMI 2022)Ultra-Fast-Lane-Detection:超快速的结构感知深路检测(ECCV2020)_ultra-fast-lane-数据集代码类资源-CSDN下载Ultra-Fast-Lane-Detection/INSTALL.md at master · cfzd/Ultra-Fast-Lane-Detection · GitHub车道线检测论文Ultra-Fast-Lane-Detection-master代码复现过程_小祥子ovo的博客-CSDN博客
主要看这个【Lane】 Ultra-Fast-Lane-Detection 复现_摇曳的树的博客-CSDN博客Ultra-Fast-Lane-Detection代码复现(车道线检测)_Flying Stone的博客-CSDN博客(2020ECCV)超快速的结构感知深度车道检测 论文+代码解读_Wincher_Fan的博客-CSDN博客
2.前期准备
Cuda 10.2 torch 1.7.0 torchvision 0.8.0 torchaudio 0.7.0

环境搭建过程中的报错显示是libiomp5md.dll有重复
删除重复文件

执行test.py成功


3、 将cmd命令集成到python中
cmd命令为执行 demo文件
python demo.py configs/tusimple.py --test_model tusimple_18.pzhuzhu使用方法:os.system("command")
参考网页python调用系统命令的6种方法_牛andmore牛的博客-CSDN博客_python 系统命令
新建一个.py文件 test.py
代码如下:
import os
os.system("activate lane-det")
os.system("f:")
os.system("cd Ultra-Fast-Lane-Detection-master")
os.system("python demo.py configs//tusimple.py --test_model tusimple_18.pth ")
#os.system("cd test && mkdir test1")
实际使用过程中,每次都会开启一个子进程,因此第2,3,4行无效,在控制台激活虚拟环境lane-det后,已经进入ufld文件夹,test.py只执行了第五行运行cmd命令。
结果与cmd命令完全相同
4.将cmd命令集成批处理文件(bat文件)
参考网站:在window使用bat批处理文件执行cmd命令 - 知乎
命令之间用&&隔开,把txt后缀修改成bat后缀,编码格式设置为ANSI

其中代码如下:
start cmd /k "activate lane-det&&f:&&cd Ultra-Fast-Lane-Detection-master&&python demo.py configs//tusimple.py --test_model tusimple_18.pth"5.unity中创建C#脚本调用sss.bat批处理文件
在Assets中右键creat创建C# script脚本,生成demo.cs

demo.cs中代码参考网站:【Unity3d】在Unity3d中调用外部程序及批处理文件,写自动化编译脚本需要注意的地方_Unity3d_积木网(gimoo.net)
static bool ExecuteProgram(string exeFilename, string workDir, string args)
{
	System.Diagnostics.ProcessStartInfo info = new System.Diagnostics.ProcessStartInfo();
	info.FileName = exeFilename;
	info.WorkingDirectory = workDir;
	info.UseShellExecute = true;
	info.Arguments = args;
	info.WindowStyle = System.Diagnostics.ProcessWindowStyle.Hidden;

	System.Diagnostics.Process task = null;
	bool rt = true;
	try
	{
		Debug.Log("ExecuteProgram:" + args);

		task = System.Diagnostics.Process.Start(info);
		if (task != null)
		{
			task.WaitForExit(100000);
		}
		else
		{
			return false;
		}
	}
	catch (Exception e)
	{
		Debug.LogError("ExecuteProgram:" + e.ToString());
		return false;
	}
	finally
	{
		if (task != null && task.HasExited)
		{
			rt = (task.ExitCode == 0);
		}
	}

	return rt;
}
报错并修改后得到代码:
using System.Collections;
using System.Collections.Generic;
using UnityEngine;
using System;
public class demo : MonoBehaviour
{
// Start is called before the first frame update
void Start()
{
string s = "sss.bat";
string s1 = "G:\\桌面";
ExecuteProgram(s, s1,"0");
}
static bool ExecuteProgram(string exeFilename, string workDir, string args)
{
Debug.Log("ddd");
System.Diagnostics.ProcessStartInfo info = new System.Diagnostics.ProcessStartInfo();
info.FileName = exeFilename;
info.WorkingDirectory = workDir;
info.UseShellExecute = true;
info.Arguments = args;
info.WindowStyle = System.Diagnostics.ProcessWindowStyle.Hidden;
System.Diagnostics.Process task = null;
bool rt = true;
Debug.Log("ddd");
try
{
Debug.Log("ExecuteProgram:" + args);
task = System.Diagnostics.Process.Start(info);
if (task != null)
{
task.WaitForExit(100000);
}
else
{
return false;
}
}
catch (Exception e)
{
Debug.LogError("ExecuteProgram:" + e.ToString());
return false;
}
finally
{
if (task != null && task.HasExited)
{
rt = (task.ExitCode == 0);
}
}
return rt;
}
// Update is called once per frame
void Update()
{
}
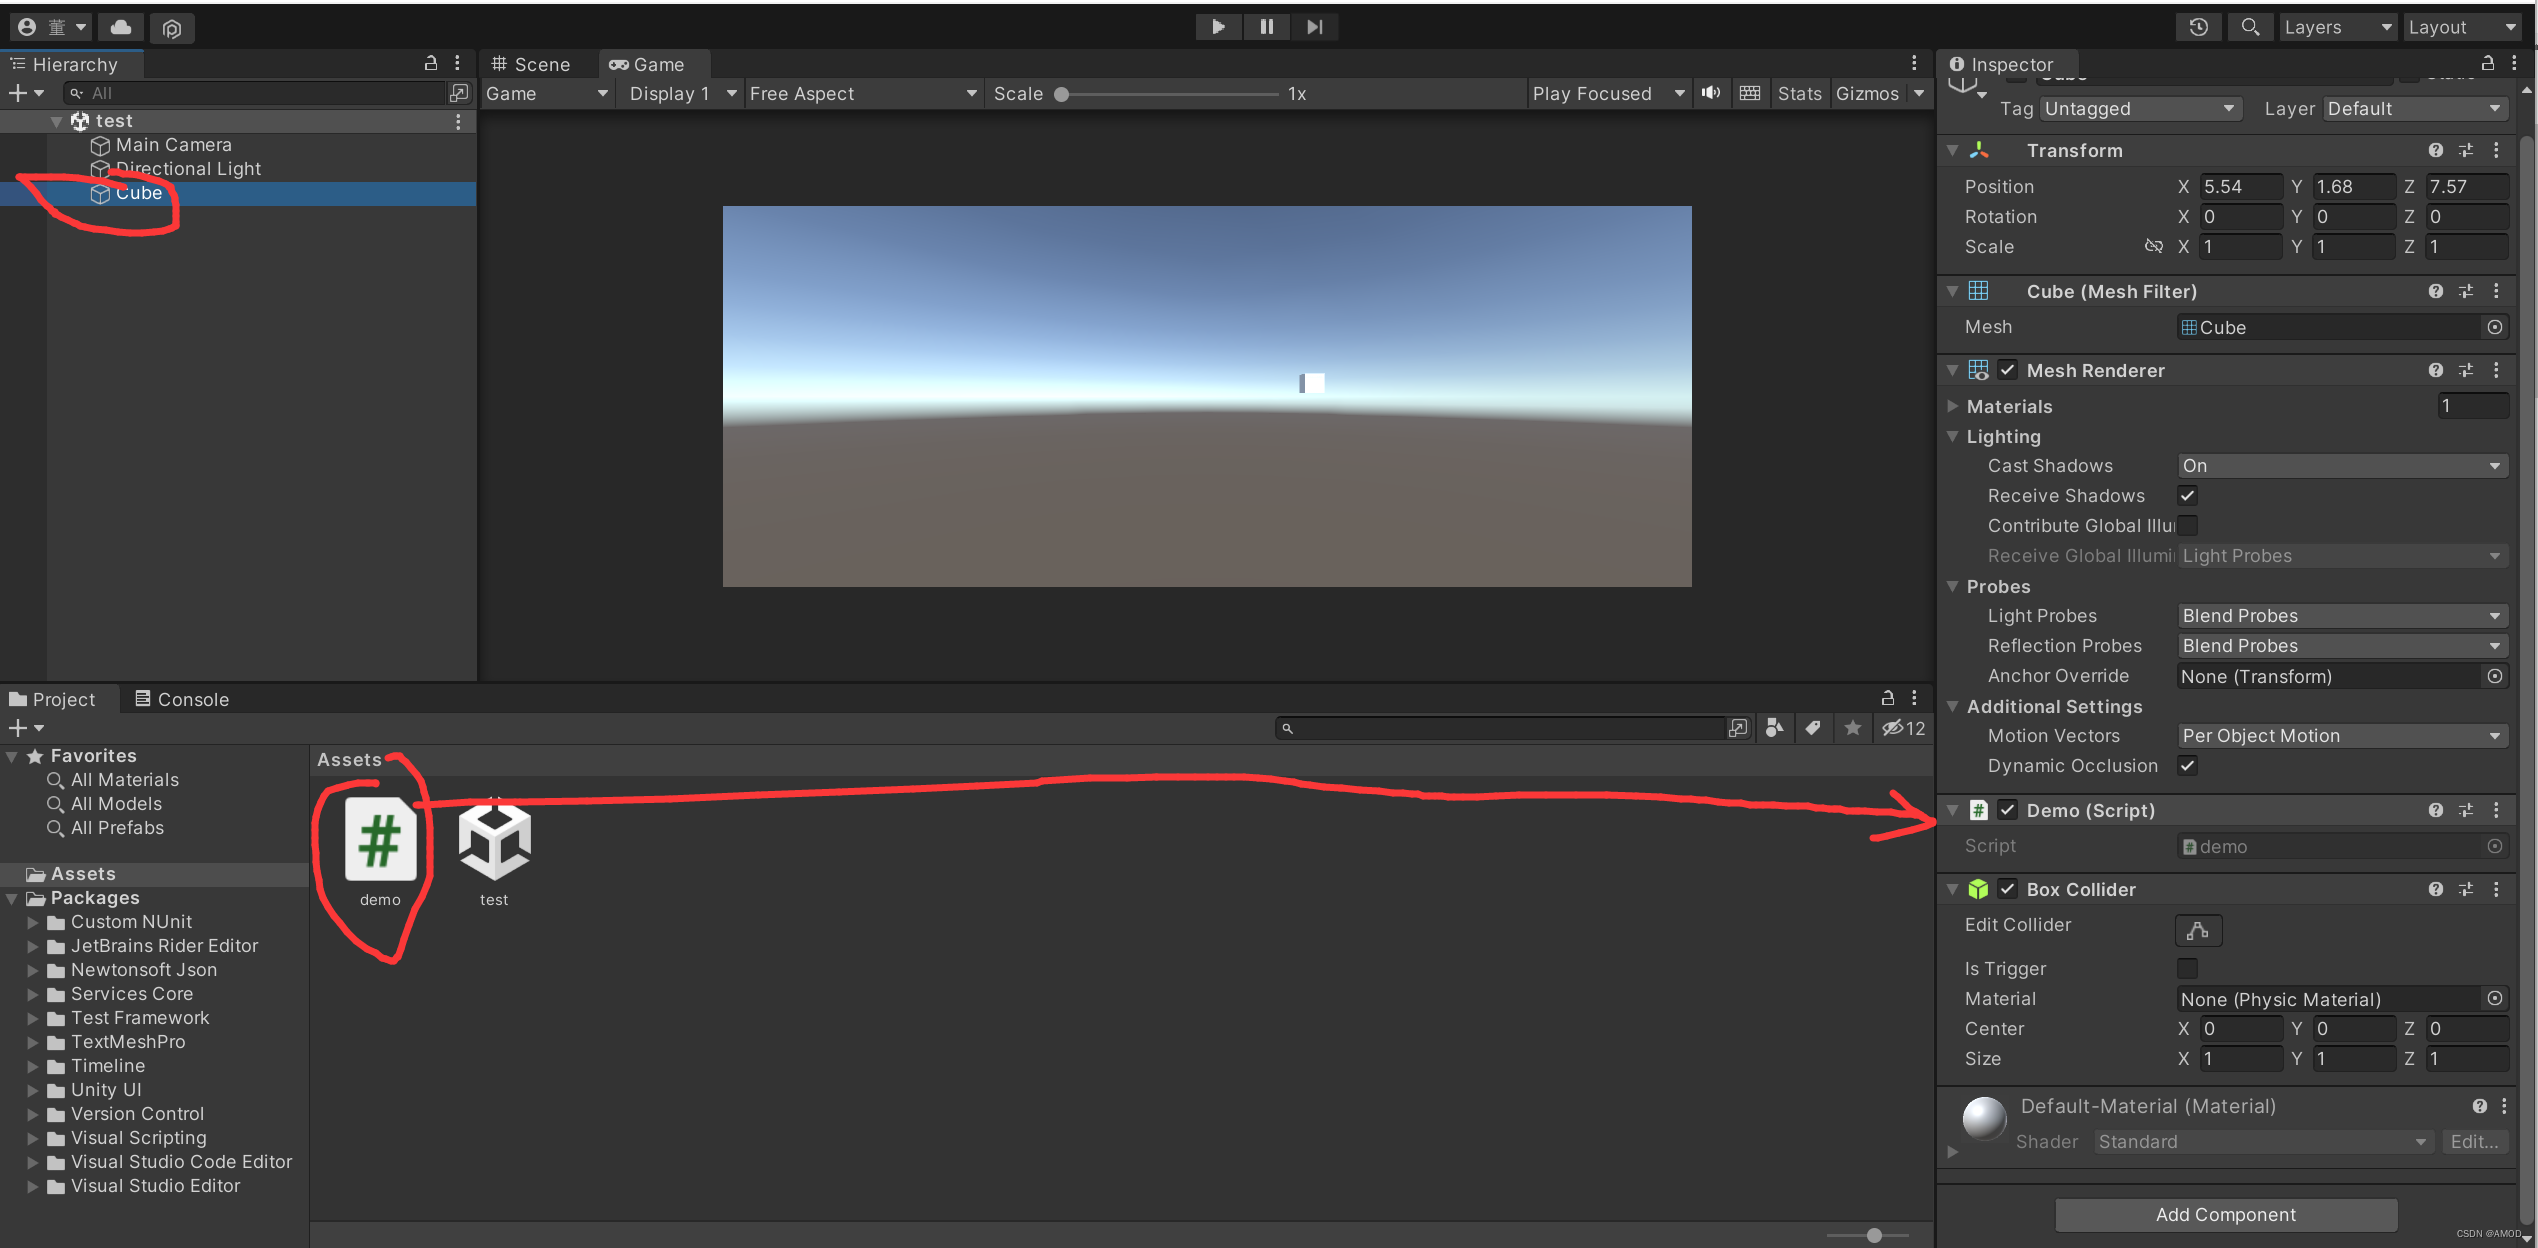
}将demo.cs文件挂到unity中
点击中上运行,调用python成功