1- 前言
这是微信小程序常用的几个API,特地总结一下:
学会使用 微信官方文档 · 小程序
2- 界面
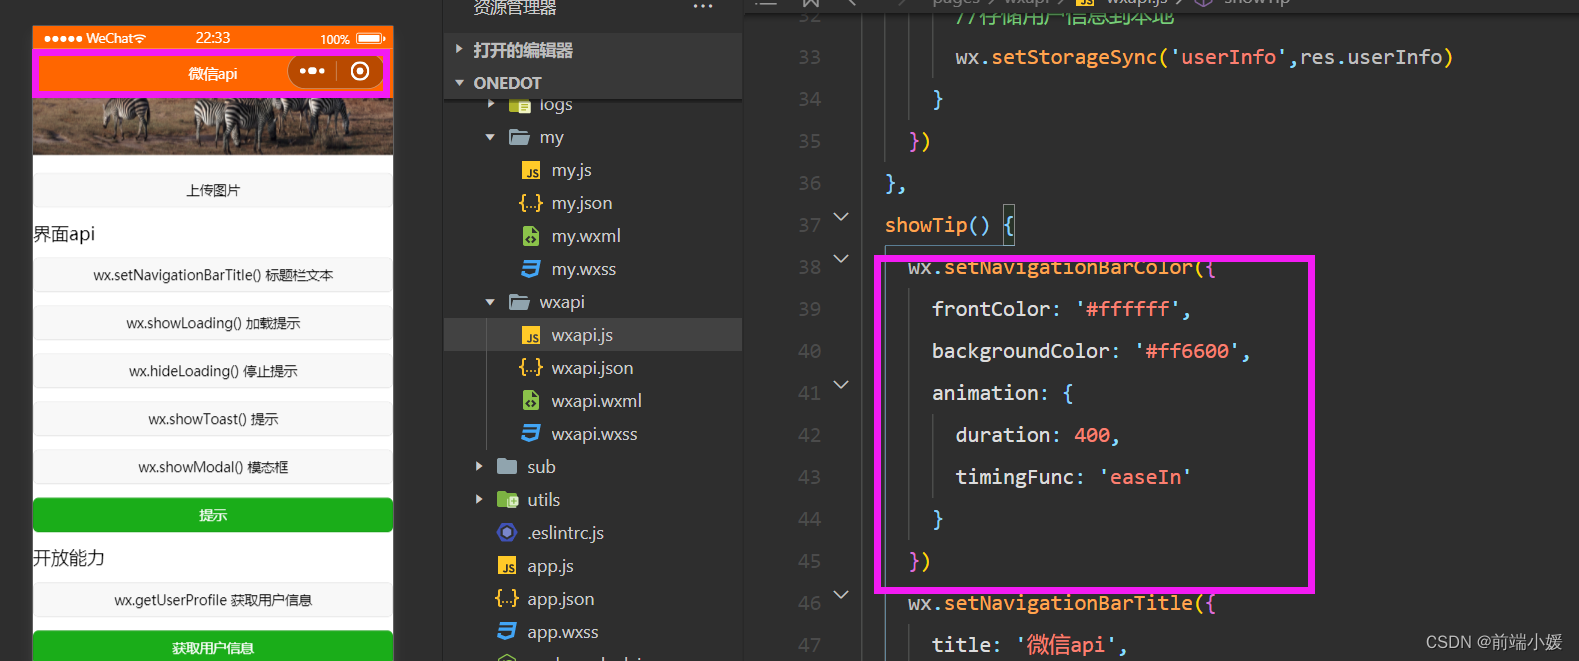
2.1 wx.setNavigationBarTitle() 标题栏文本

    wx.setNavigationBarTitle({


      title: '微信api',
    })

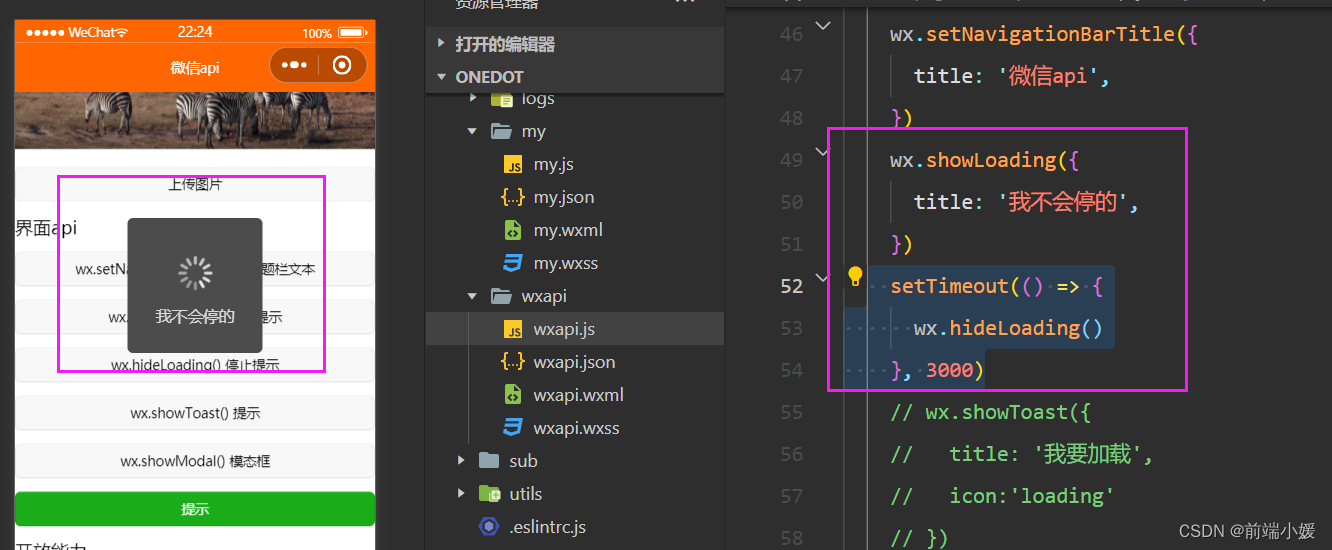
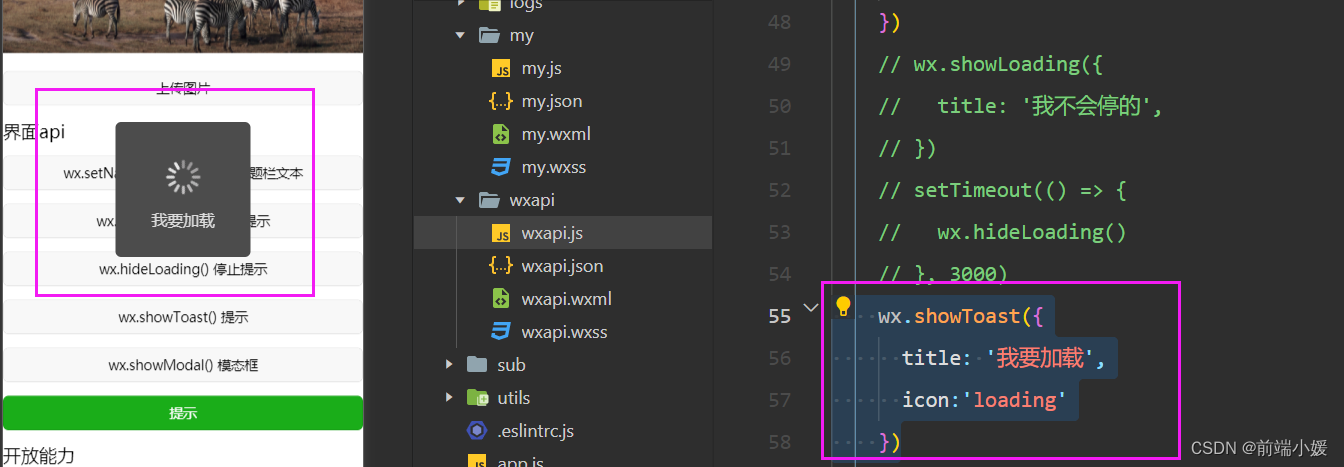
2.2 wx.showLoading() 加载提示 和 wx.hideLoading() 停止提示
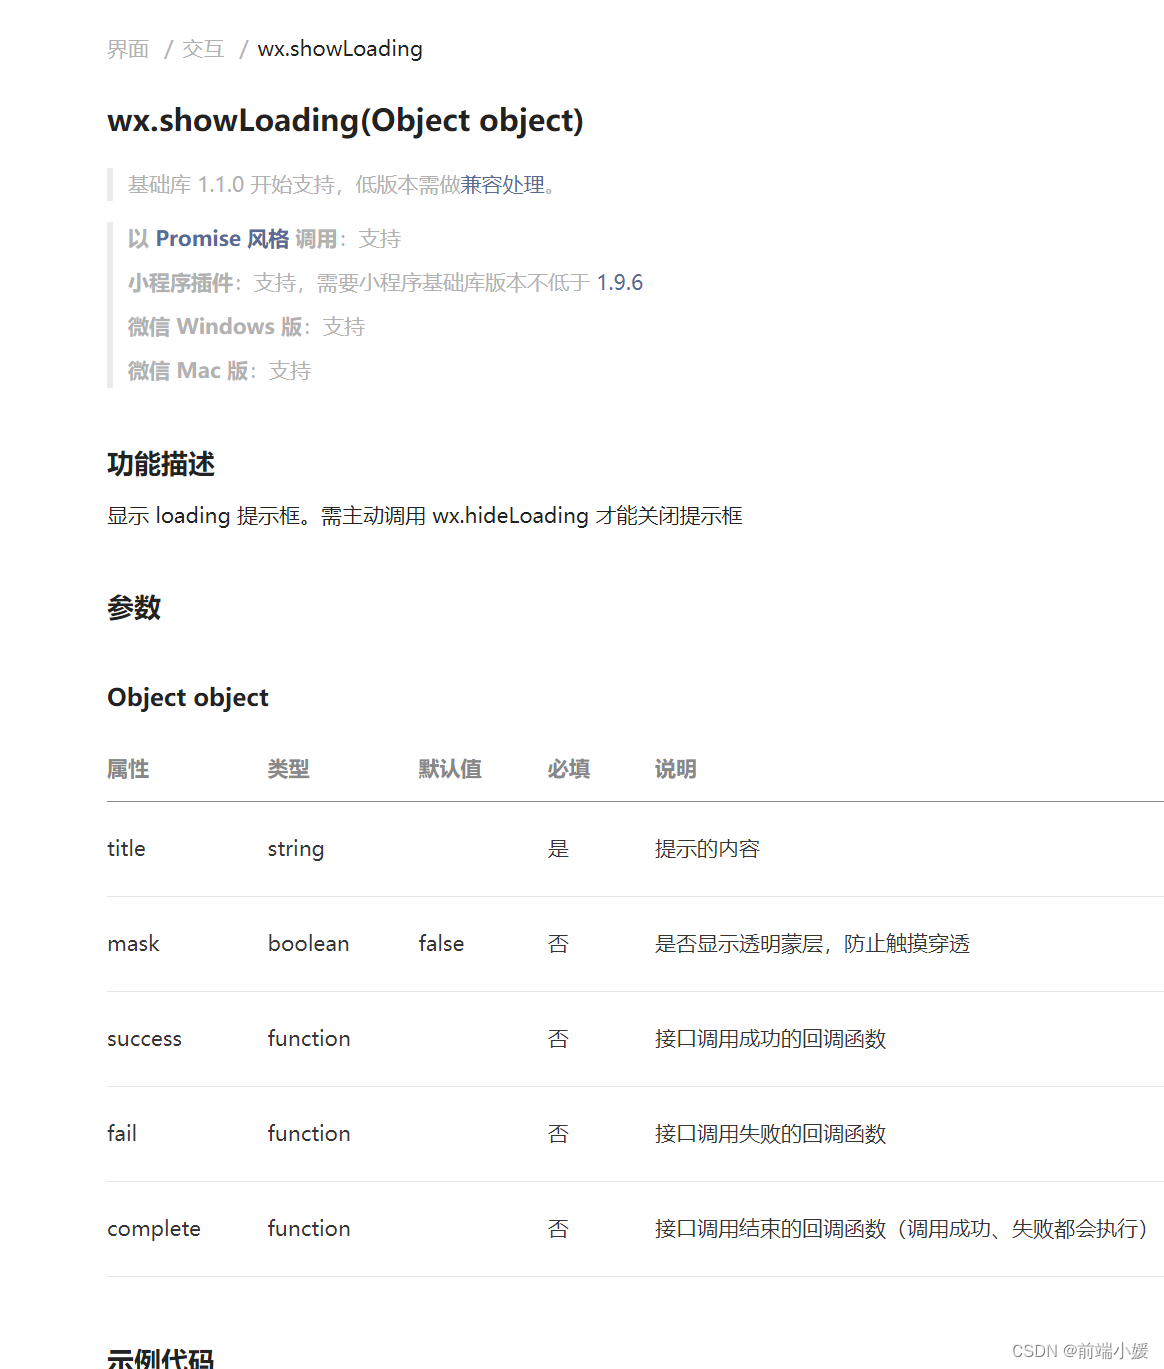
    wx.showLoading({


      title: '我不会停的',
    })
   // 显示loading 提示框,需主动调用 wx.hideLoading才能关闭提示框
 	  setTimeout(() => {


      wx.hideLoading()
    }, 3000)
2.3 wx.showToast() 提示
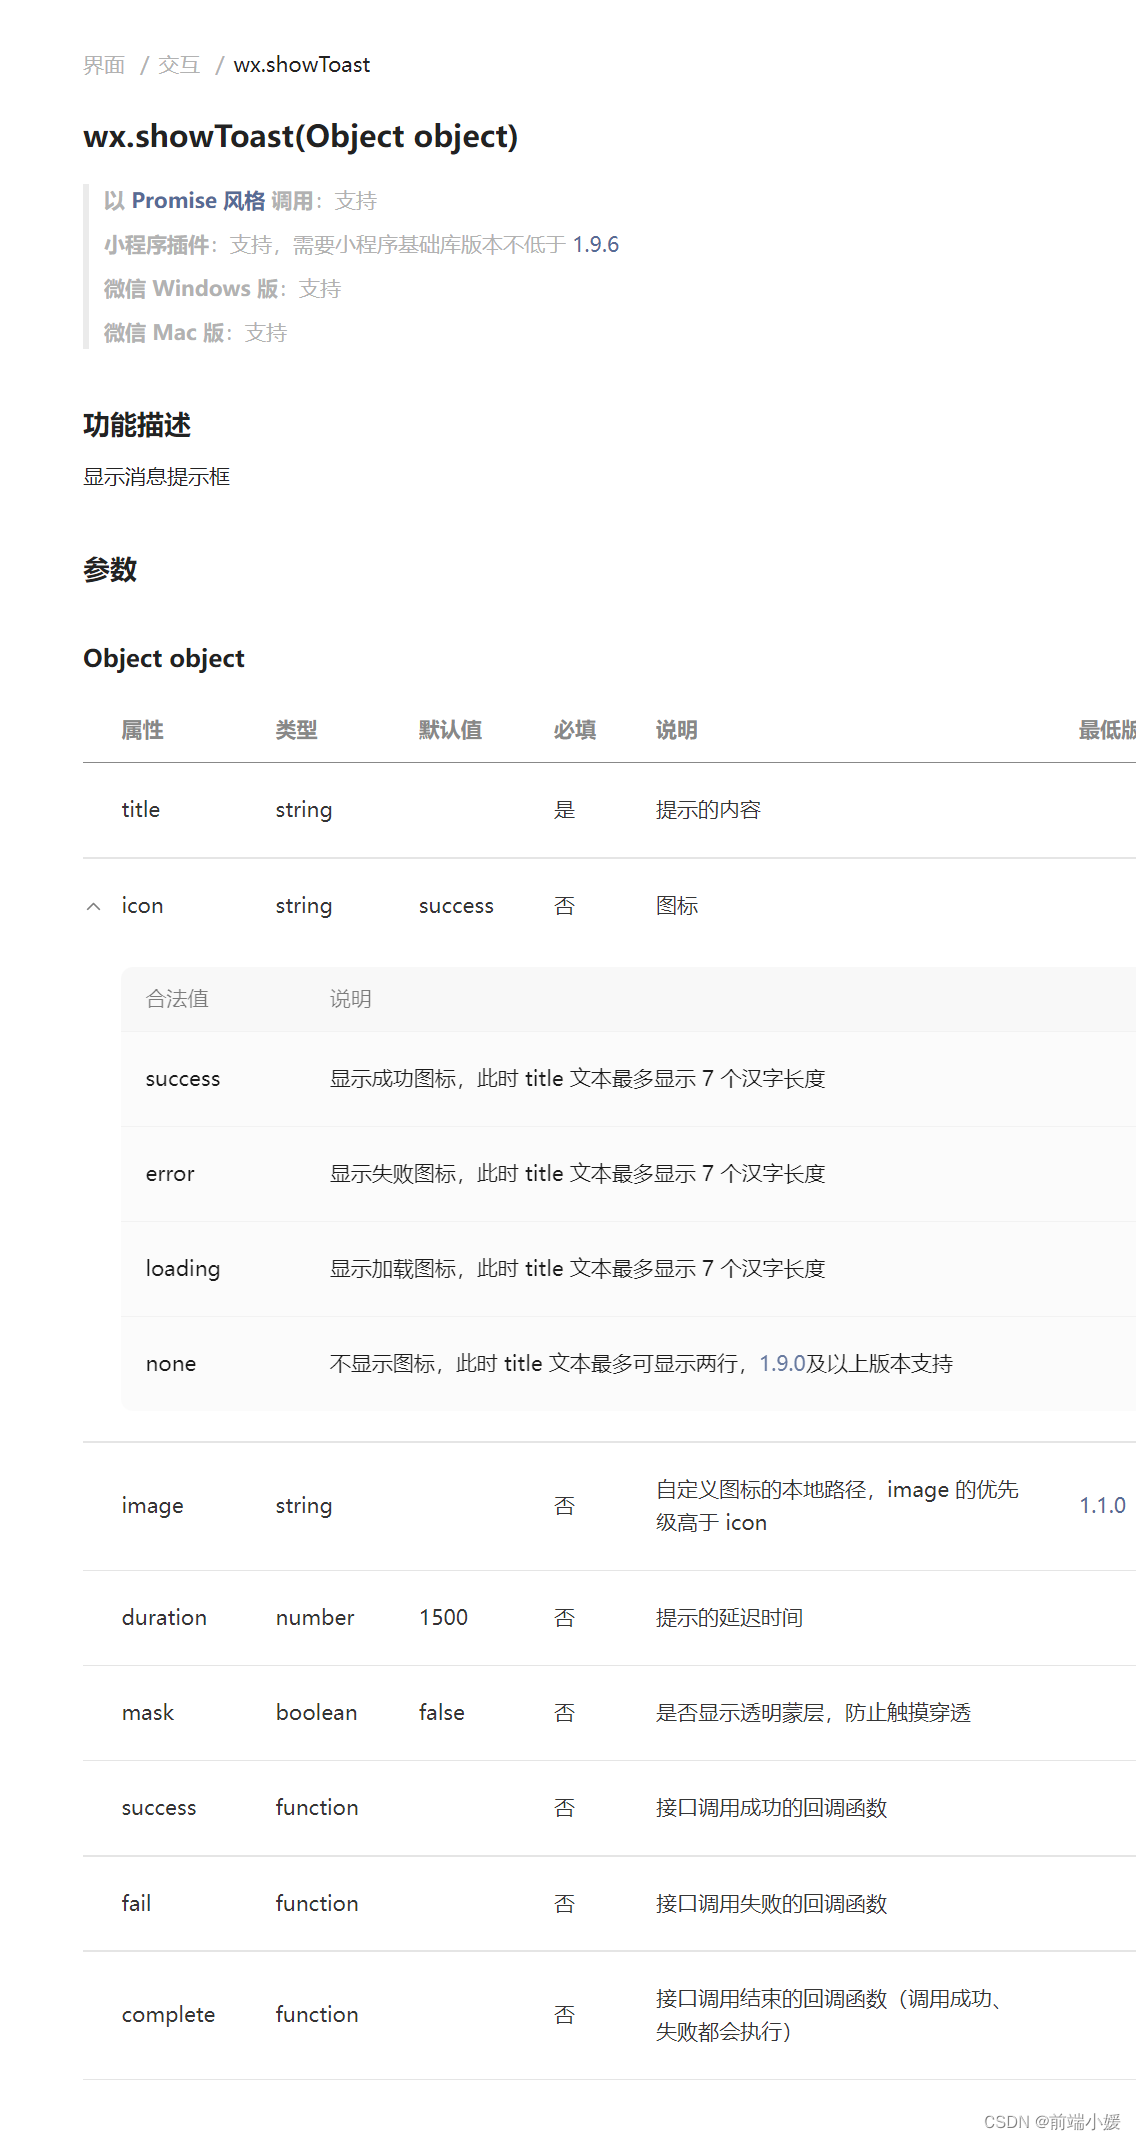
   wx.showToast({


    title: '我要加载',
     icon:'loading'
    })
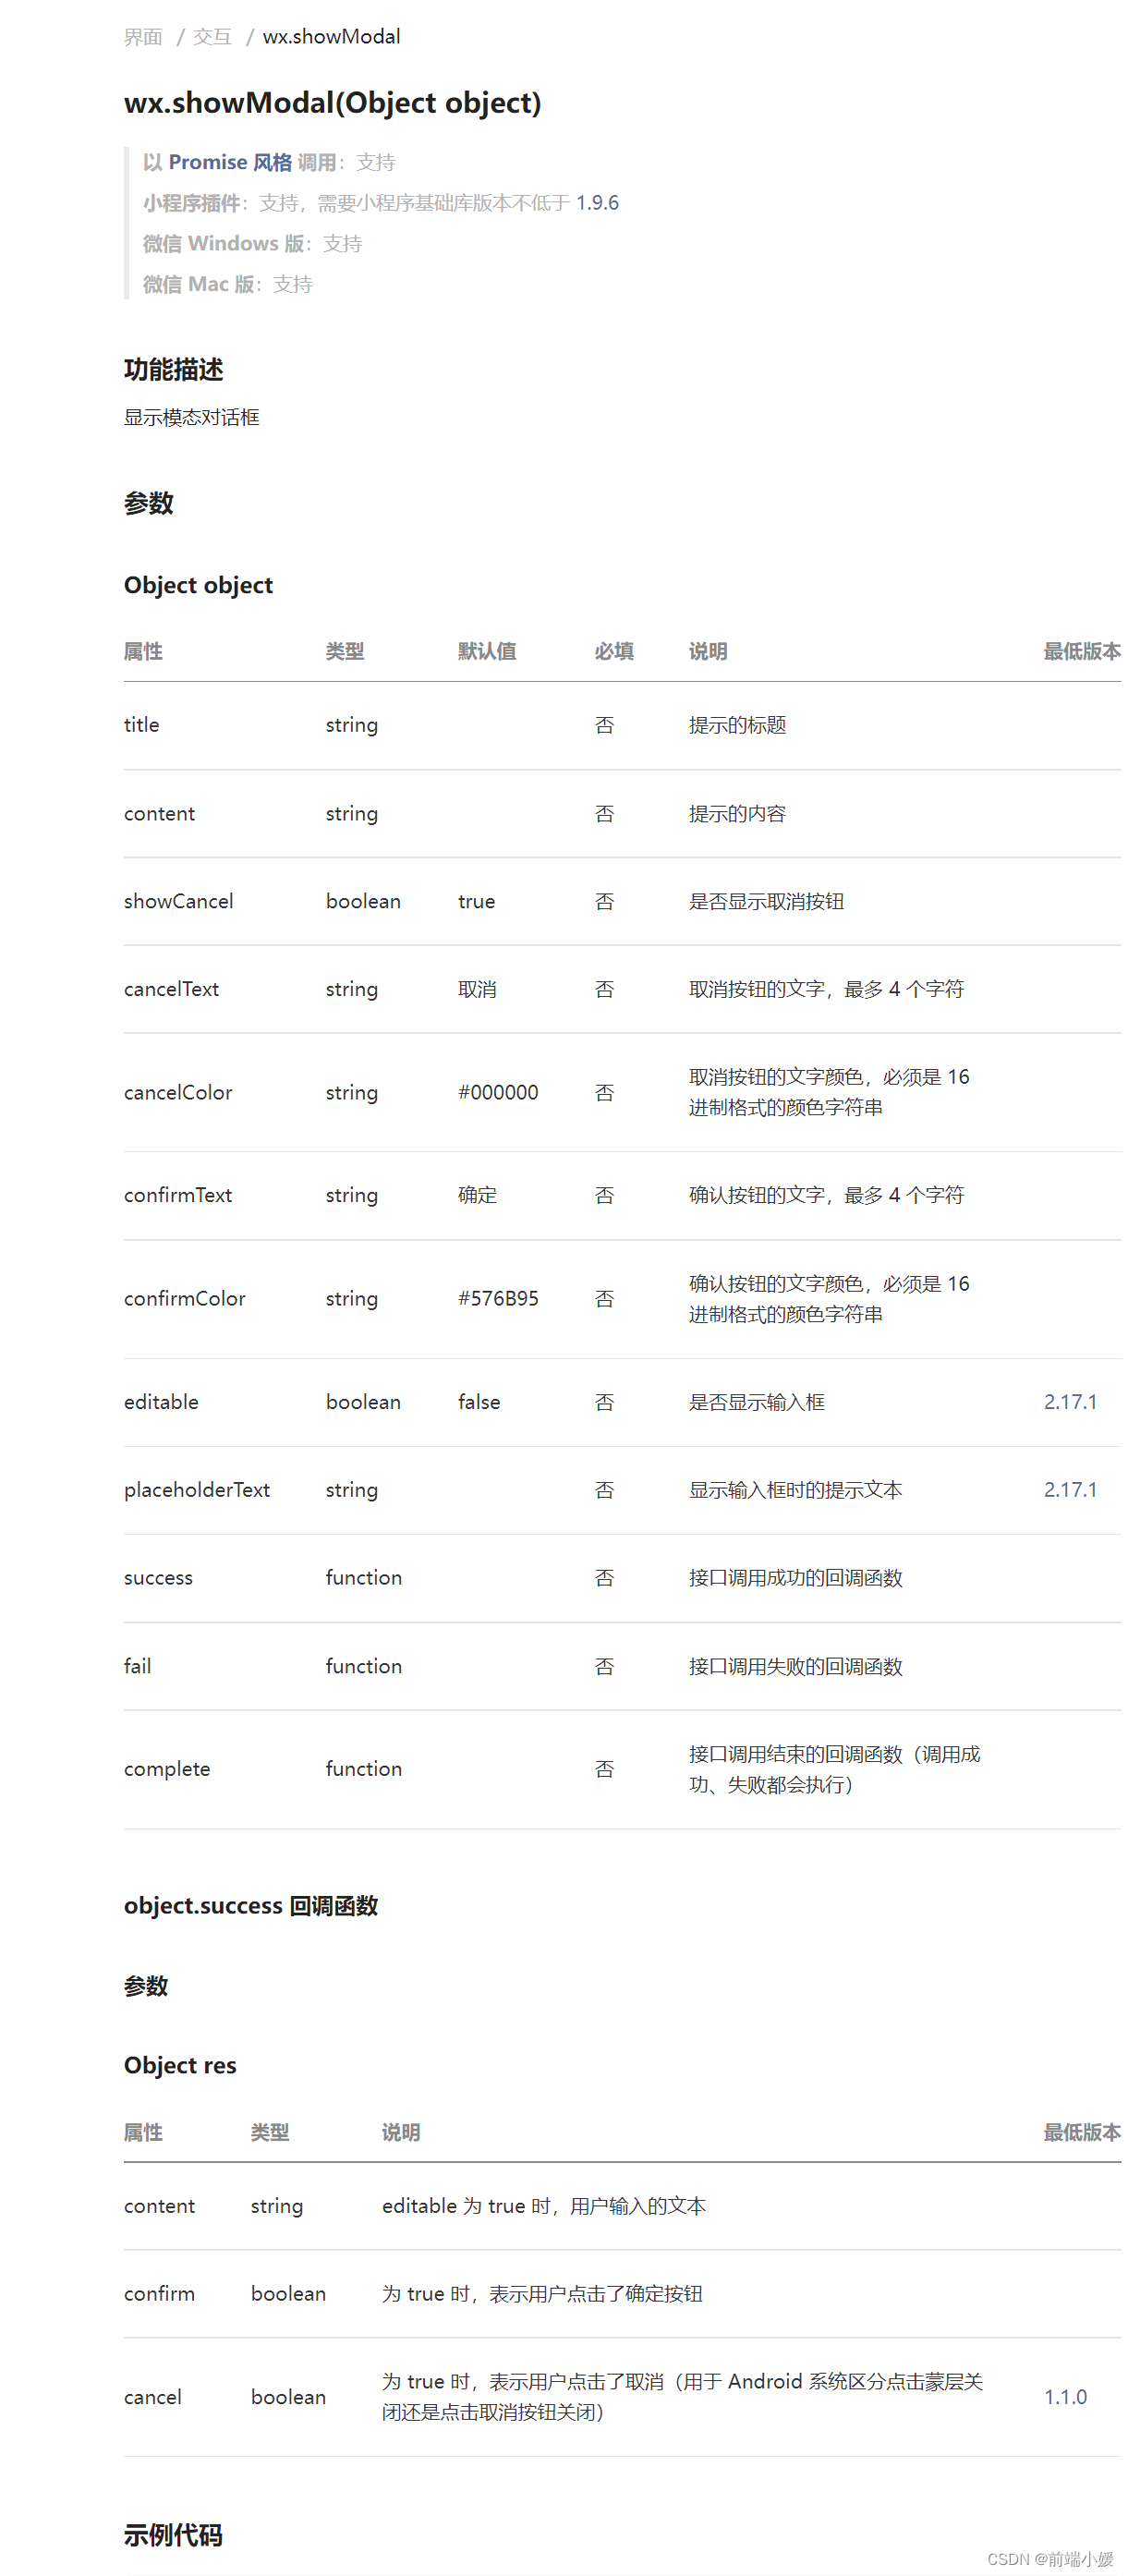
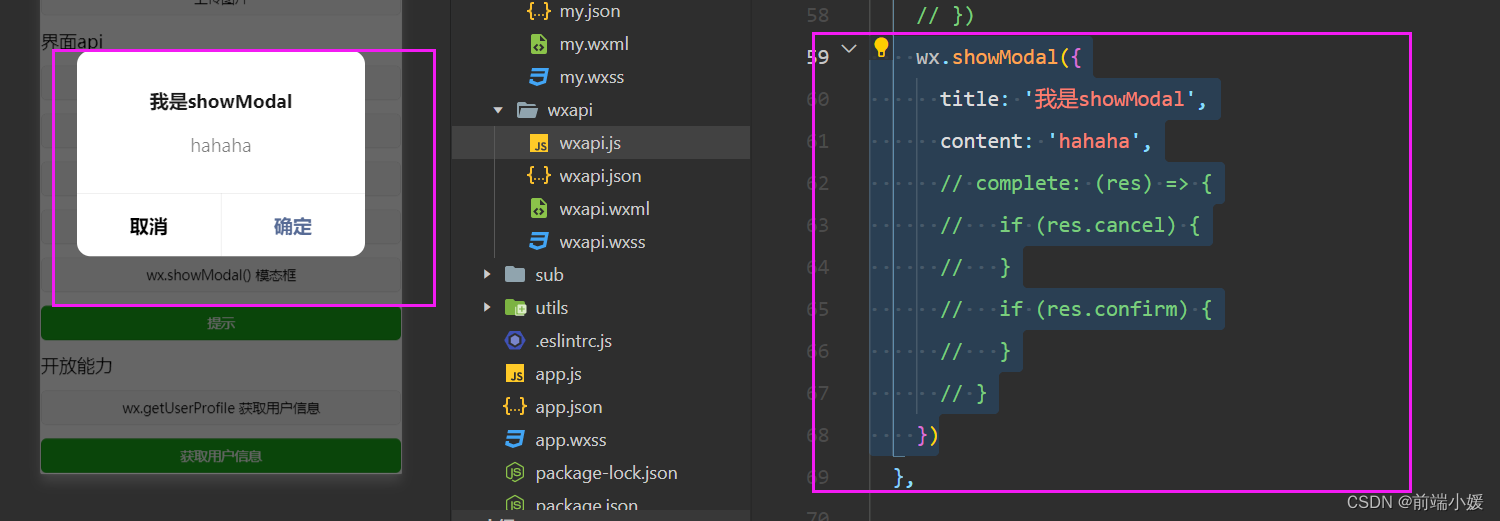
2.4 wx.showModal() 模态框对话框
 wx.showModal({


      title: '我是showModal',
      content: 'hahaha',
      // complete: (res) => {


      //   if (res.cancel) {


      //   }
      //   if (res.confirm) {


      //   }
      // }
    })
2.5 wx.setNavigationBarColor() 页面导航条颜色
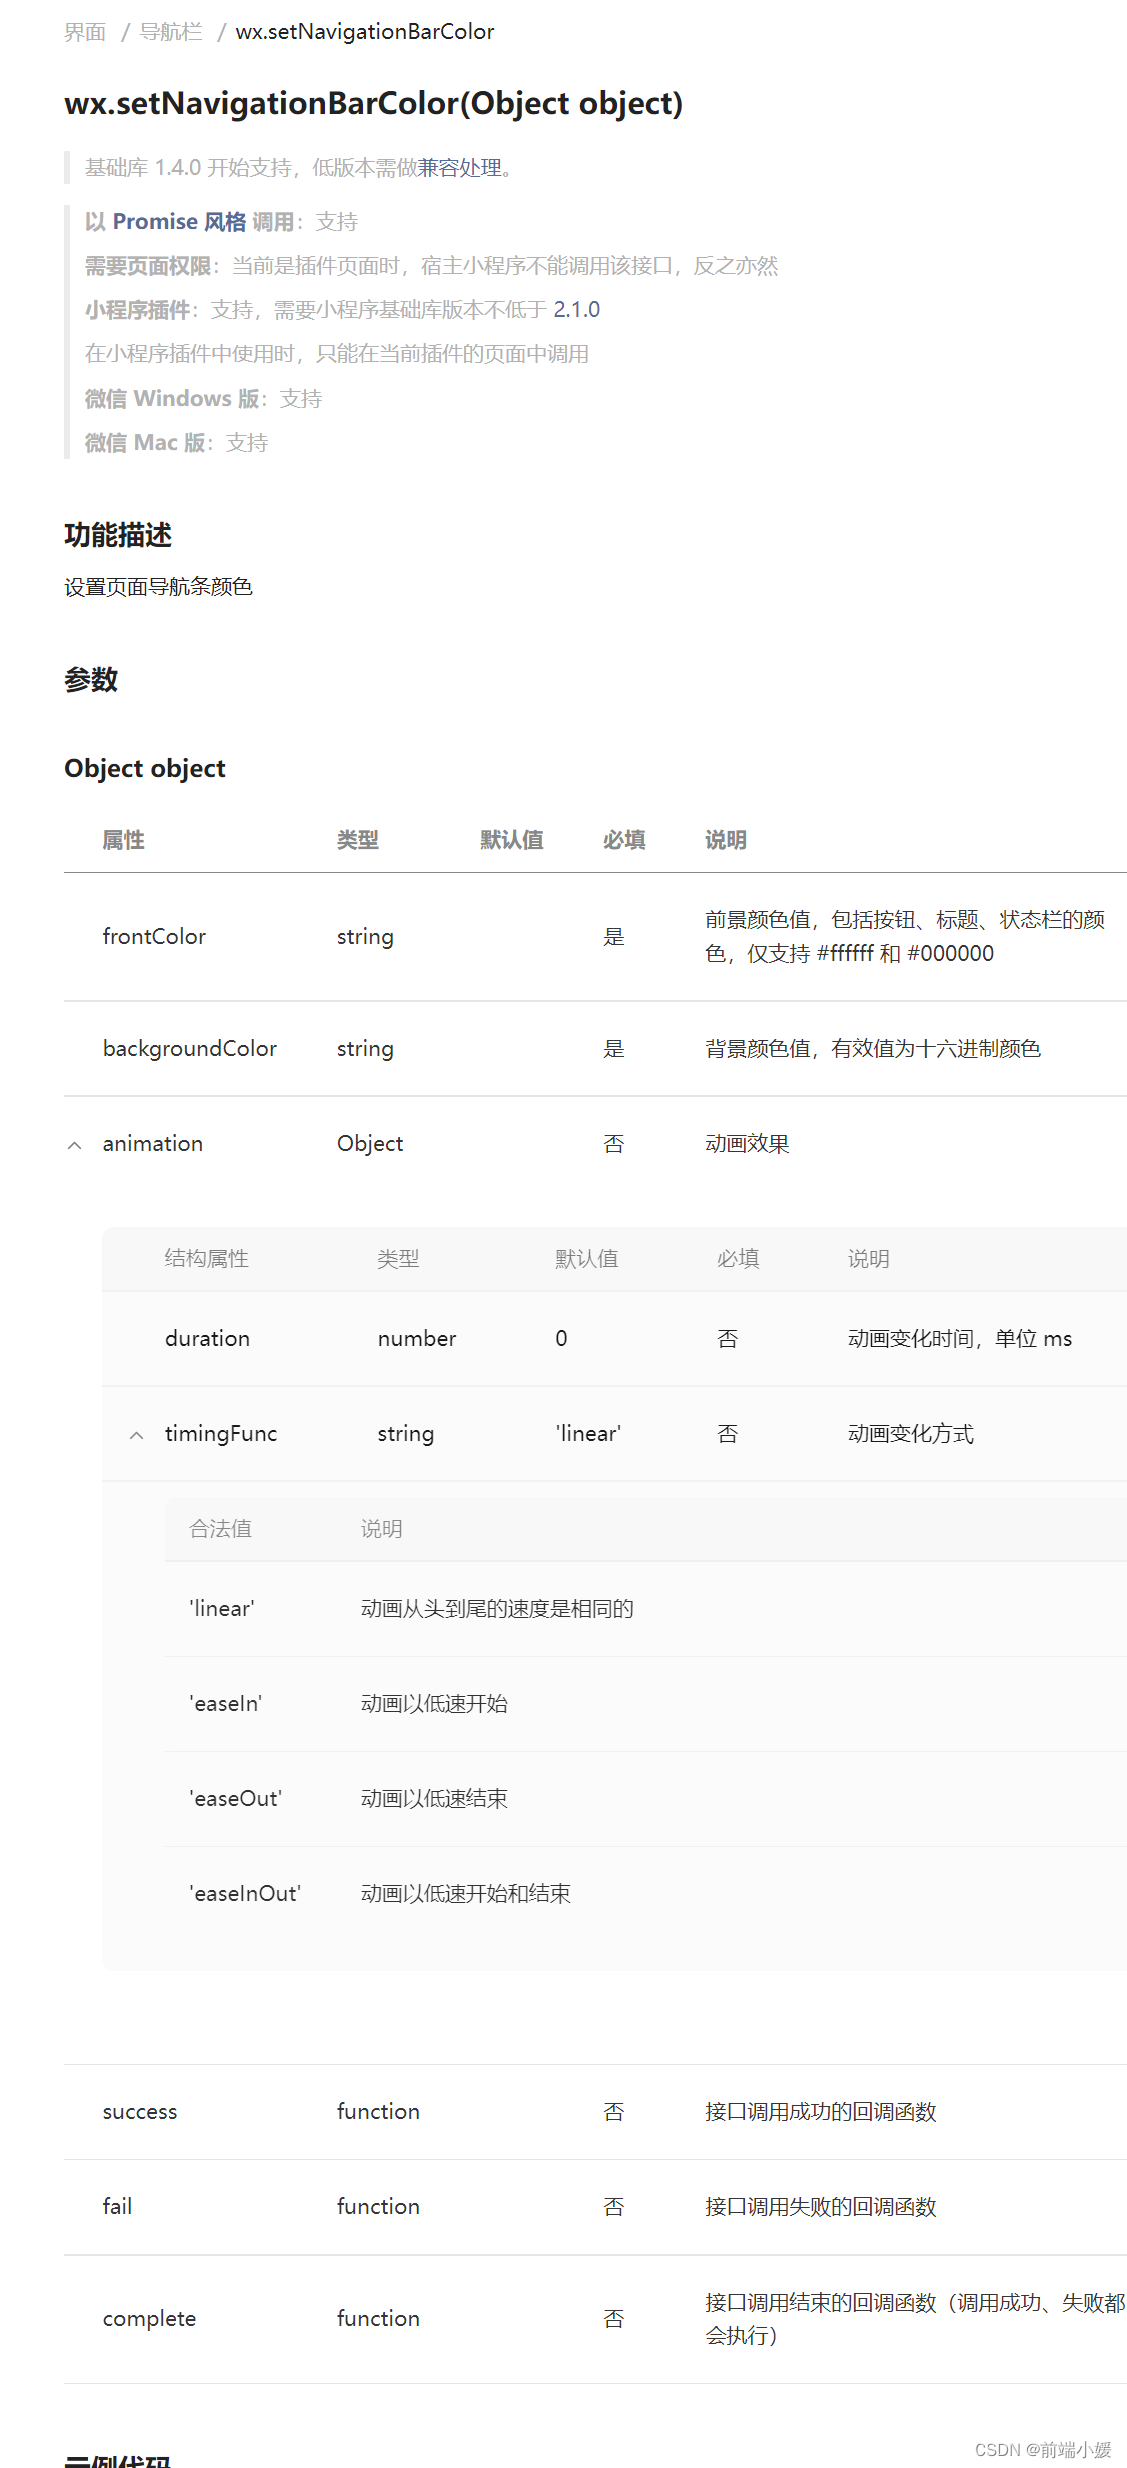
wx.setNavigationBarColor({


      frontColor: '#ffffff',
      backgroundColor: '#ff6600',
      animation: {


        duration: 400,
        timingFunc: 'easeIn'
      }
    })
2.6 总结
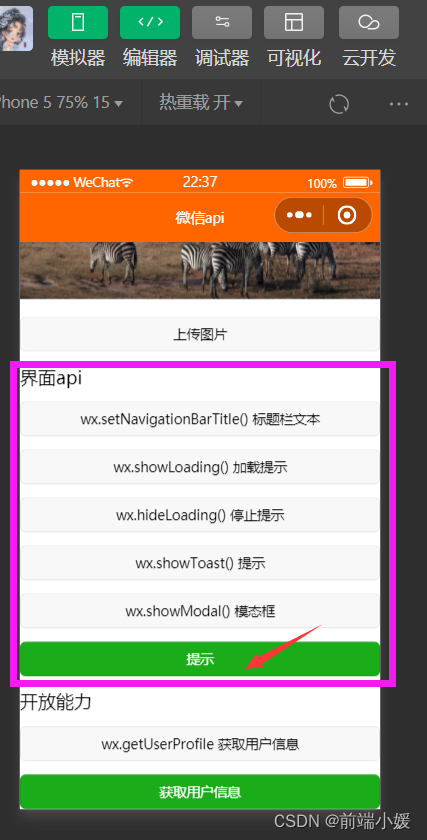
- wxapi.wxml
<view>
  界面api
  <button> wx.setNavigationBarTitle() 标题栏文本</button>
  <button> wx.showLoading() 加载提示</button>
  <button> wx.hideLoading() 停止提示</button>
  <button> wx.showToast() 提示</button>
  <button> wx.showModal() 模态框</button>
  <button type="primary" bindtap="showTip">提示</button>
</view>
- wxapi.js 代码
 showTip() {


    wx.setNavigationBarColor({


      frontColor: '#ffffff',
      backgroundColor: '#ff6600',
      animation: {


        duration: 400,
        timingFunc: 'easeIn'
      }
    })
    wx.setNavigationBarTitle({


      title: '微信api',
    })
    // wx.showLoading({


    //   title: '我不会停的',
    // })
    // setTimeout(() => {


    //   wx.hideLoading()
    // }, 3000)
    // wx.showToast({


    //   title: '我要加载',
    //   icon:'loading'
    // })
    wx.showModal({


      title: '我是showModal',
      content: 'hahaha',
      // complete: (res) => {


      //   if (res.cancel) {


      //   }
      //   if (res.confirm) {


      //   }
      // }
    })
  },
- 界面
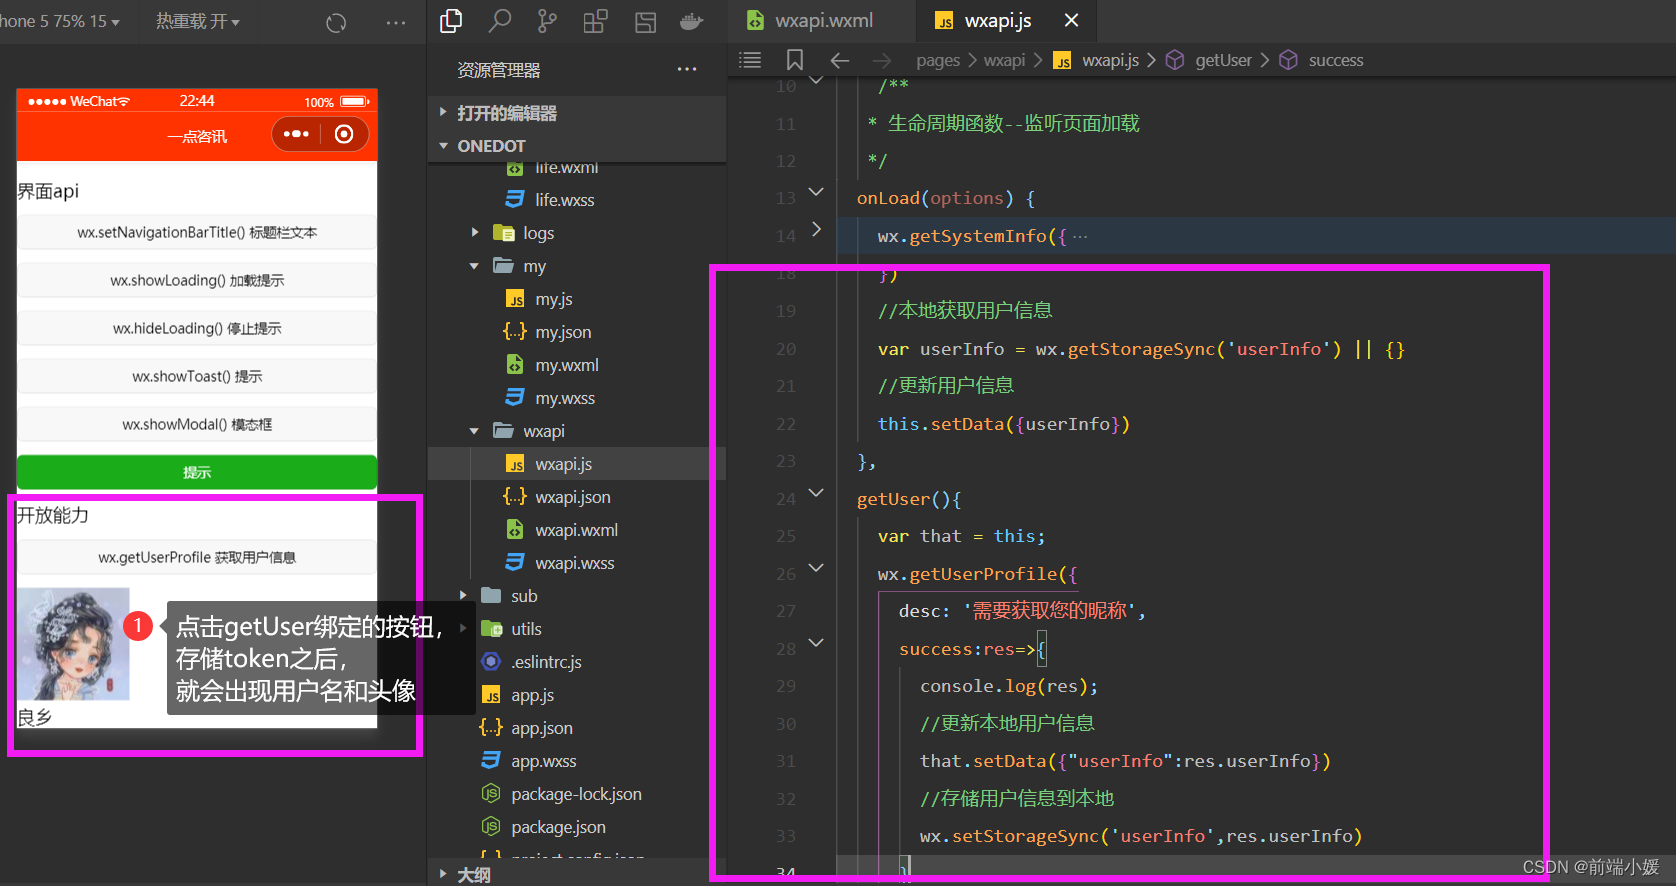
3- 用户头像
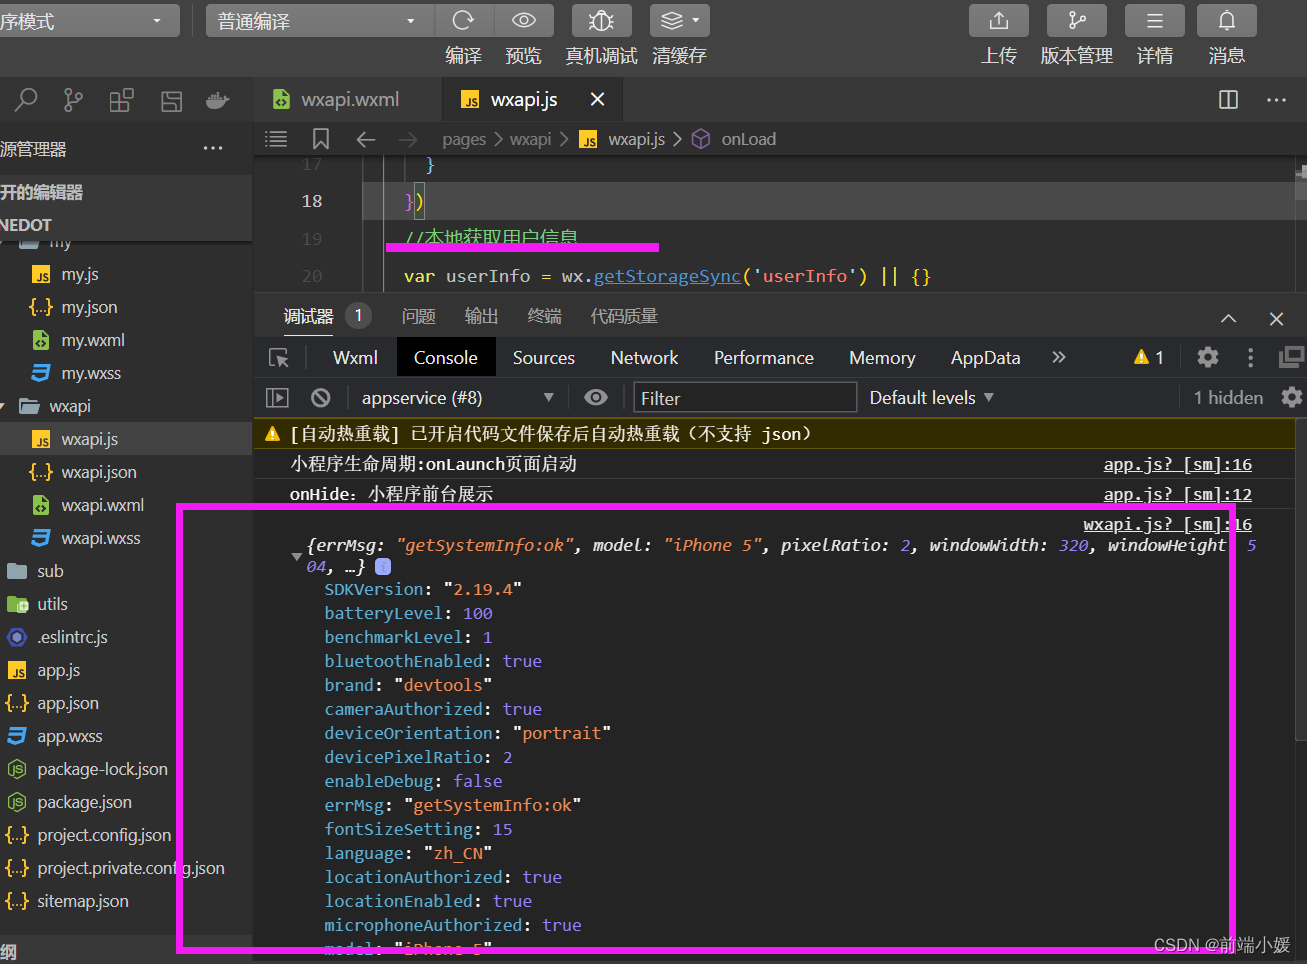
3.1 wx.getUserProfile() 获取用户信息
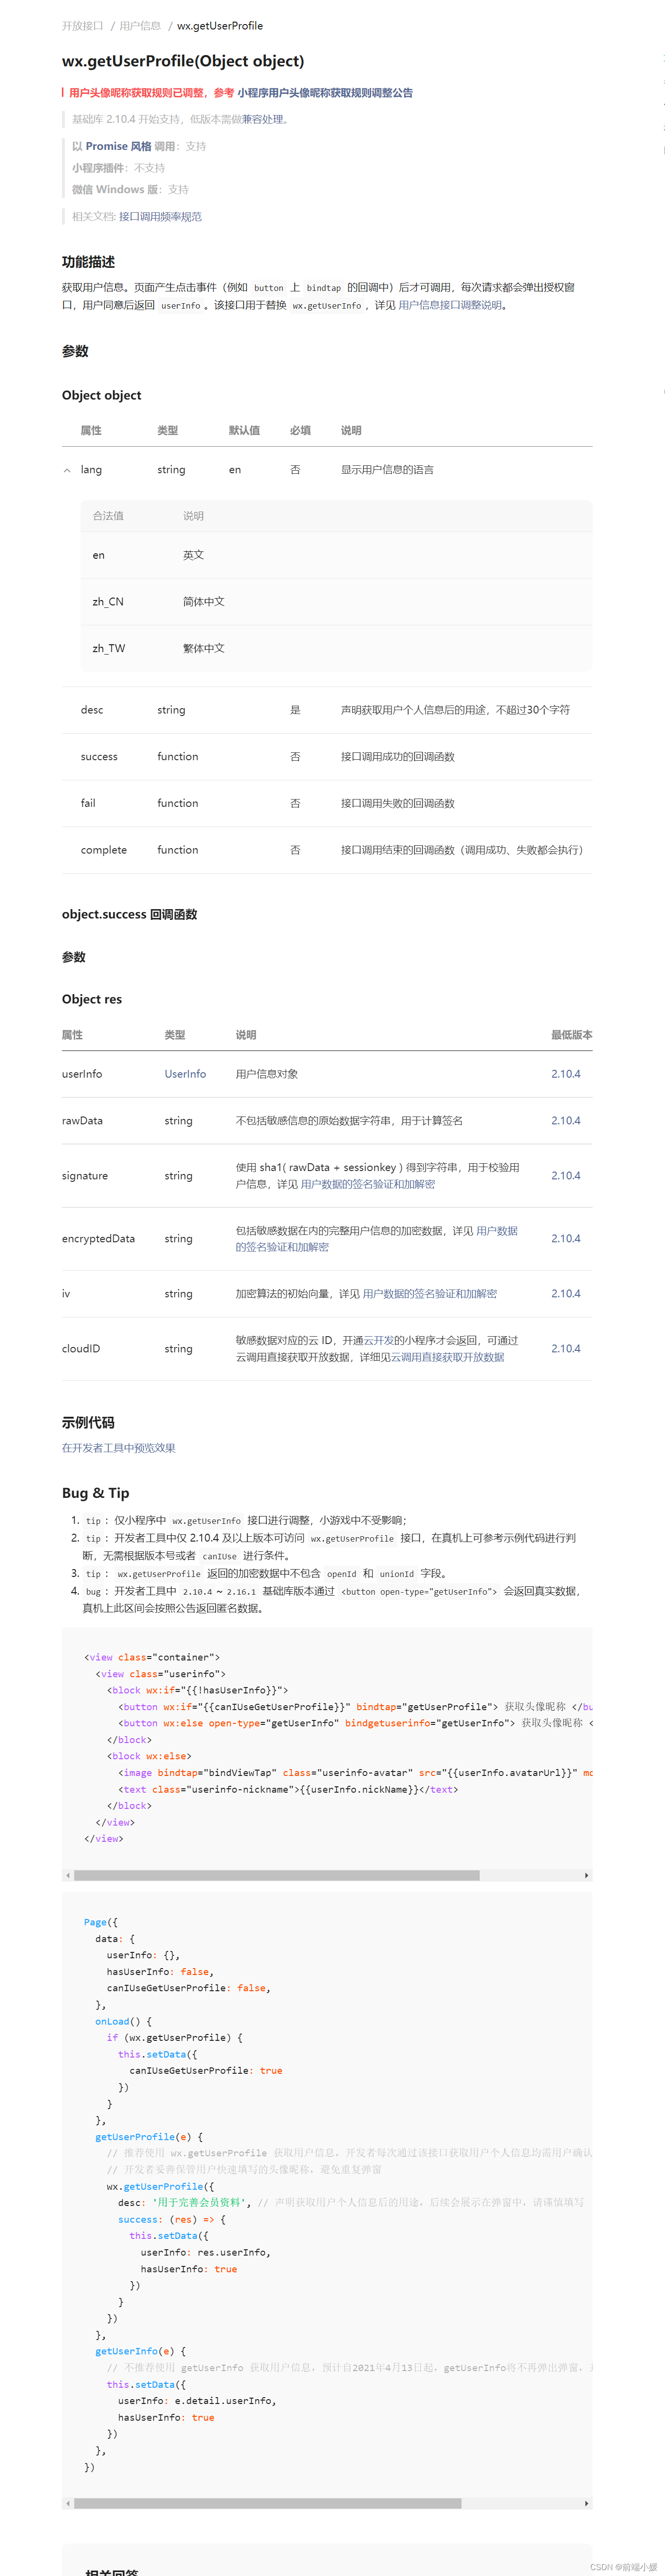
- wxapi.wxml
<view>开放能力</view>
<button>wx.getUserProfile 获取用户信息</button>
<view wx:if="{

     {userInfo.nickName}}">
  <image style="width: 100px;height: 100px;" src="{

     {userInfo.avatarUrl}}" mode="" />
  <view>{

   {userInfo.nickName}}</view>
</view>
<button  wx:else type="primary" bindtap="getUser">获取用户信息</button>
- wxapi.js
getUser(){


    var that = this;
    wx.getUserProfile({


      desc: '需要获取您的昵称',
      success:res=>{


        console.log(res);
        //更新本地用户信息
        that.setData({

    "userInfo":res.userInfo})
        //存储用户信息到本地
        wx.setStorageSync('userInfo',res.userInfo)
      }
    })
  },
- 代码截图
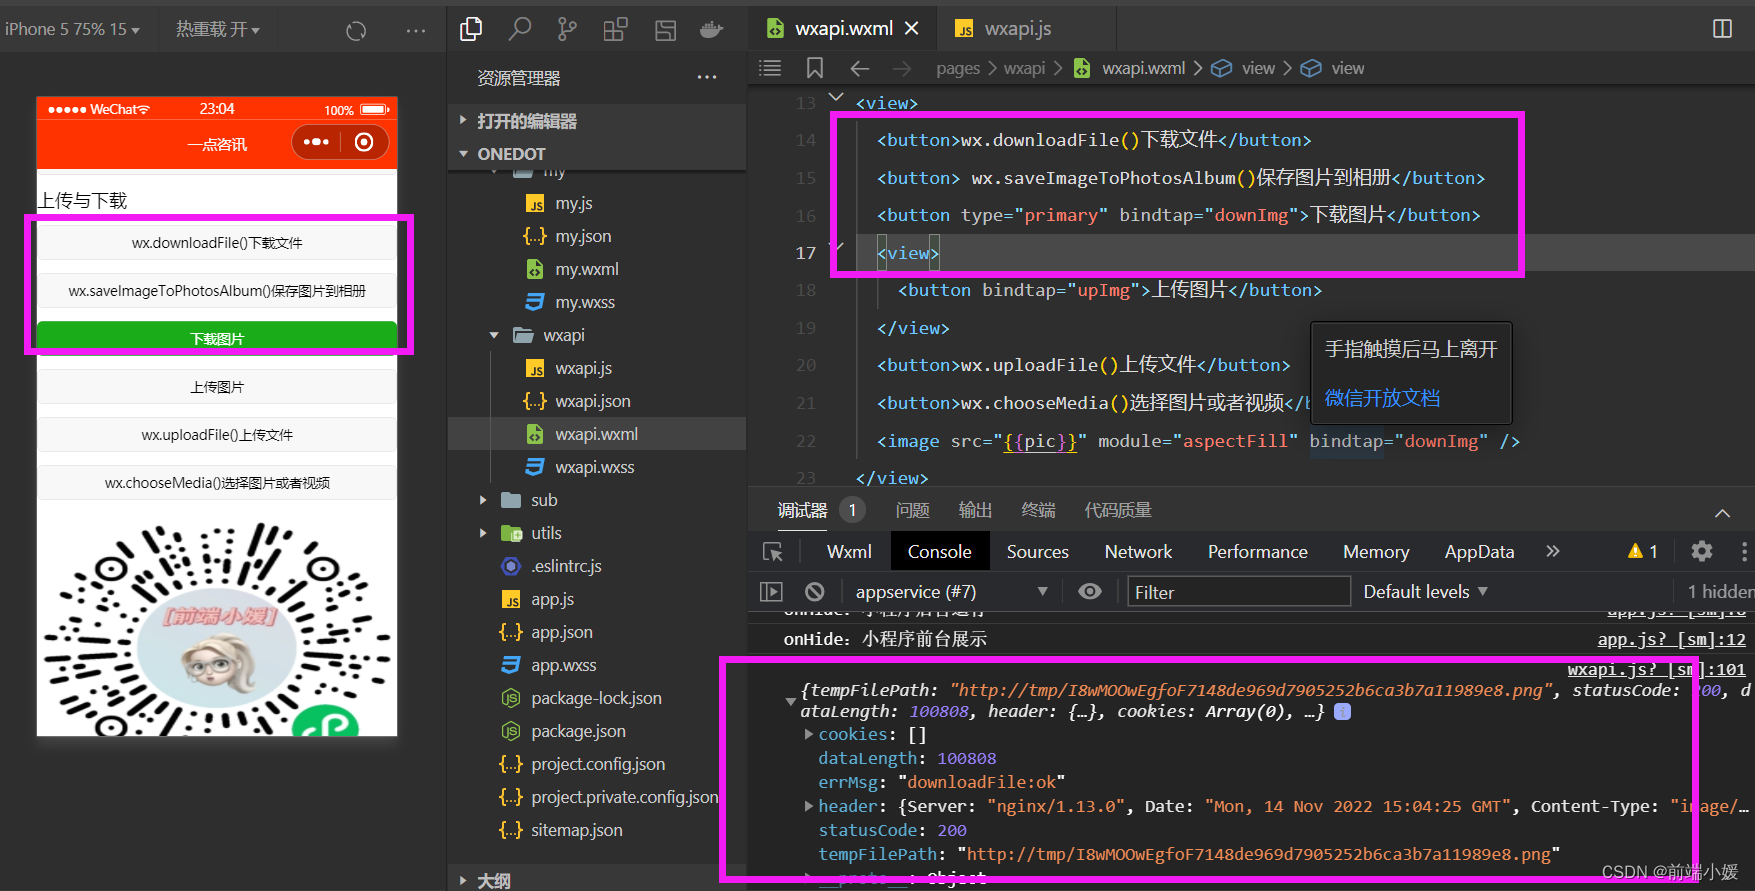
4- 上传与下载
4.1 wx.downloadFile()下载文件

4.2 wx.saveImageToPhotosAlbum()保存图片到相册
在这里插入代码片
4.3 wx.uploadFile()上传文件
4.4 wx.chooseMedia()选择图片或者视频

4.5 上传图片
- wxapi.wxml
  <button>wx.downloadFile()下载文件</button>
  <button> wx.saveImageToPhotosAlbum()保存图片到相册</button>
  <button type="primary" bindtap="downImg">下载图片</button>
  <view>
    <button bindtap="upImg">上传图片</button>
  </view>
- wxapi.js
  downImg() {


    wx.downloadFile({


      url: this.data.pic,
      success(res) {


        console.log(res);
        //把临时文件保存到相册(需要用户授权)
        wx.saveImageToPhotosAlbum({


          filePath: res.tempFilePath,
          success() {


            //提示保存成功
            wx.showToast({


              title: '下载图片成功',
              icon: 'none'
            })
          }
        })
      }
    })
  },
- 案例截图
4.6 下载图片
- wxapi.wxml
<view>
    <button bindtap="upImg">上传图片</button>
  </view>
  <button>wx.uploadFile()上传文件</button>
  <button>wx.chooseMedia()选择图片或者视频</button>
  <image src="{

     {pic}}" module="aspectFill" bindtap="downImg" />
- wxapi.js
  upImg(){


    var that =this;
    wx.chooseMedia({


      count:1,
      success(res){


        console.log(res)
           //获取 选择 的第 0 个图片临时地址
        var tempFile=res.tempFiles[0].tempFilePath;
          //执行上传操作
        wx.uploadFile({


          filePath: tempFile,
          name: 'file',
          url: 'http://dida100.com/ajax/file.php',
          success:res=>{


            console.log("@@@",res);
            console.log("为转换前",res.data)
              //转化为js对象
            var data=JSON.parse(res.data)
            console.log("转换后",data)
              //更新图片信息
            that.setData({

    pic:"http://dida100.com"+data.pic})
          }
        })
      }
    })
  },
- 代码截图
5- 系统信息
5.1 wx.getSystemInfo() 获取系统信息

  onLoad(options) {


    wx.getSystemInfo({


      success(res) {


        console.log(res)
      }
    })
 }
5.2 wx.getSysteminfoSync() 获取系统信息
statusBarHeight 状态栏高度
windowWidth 可用窗口的宽
windowHeight 可用窗口的高
safeArea 安全区域
model 手机型号
batteryLevel 电量
system 系统ios/android
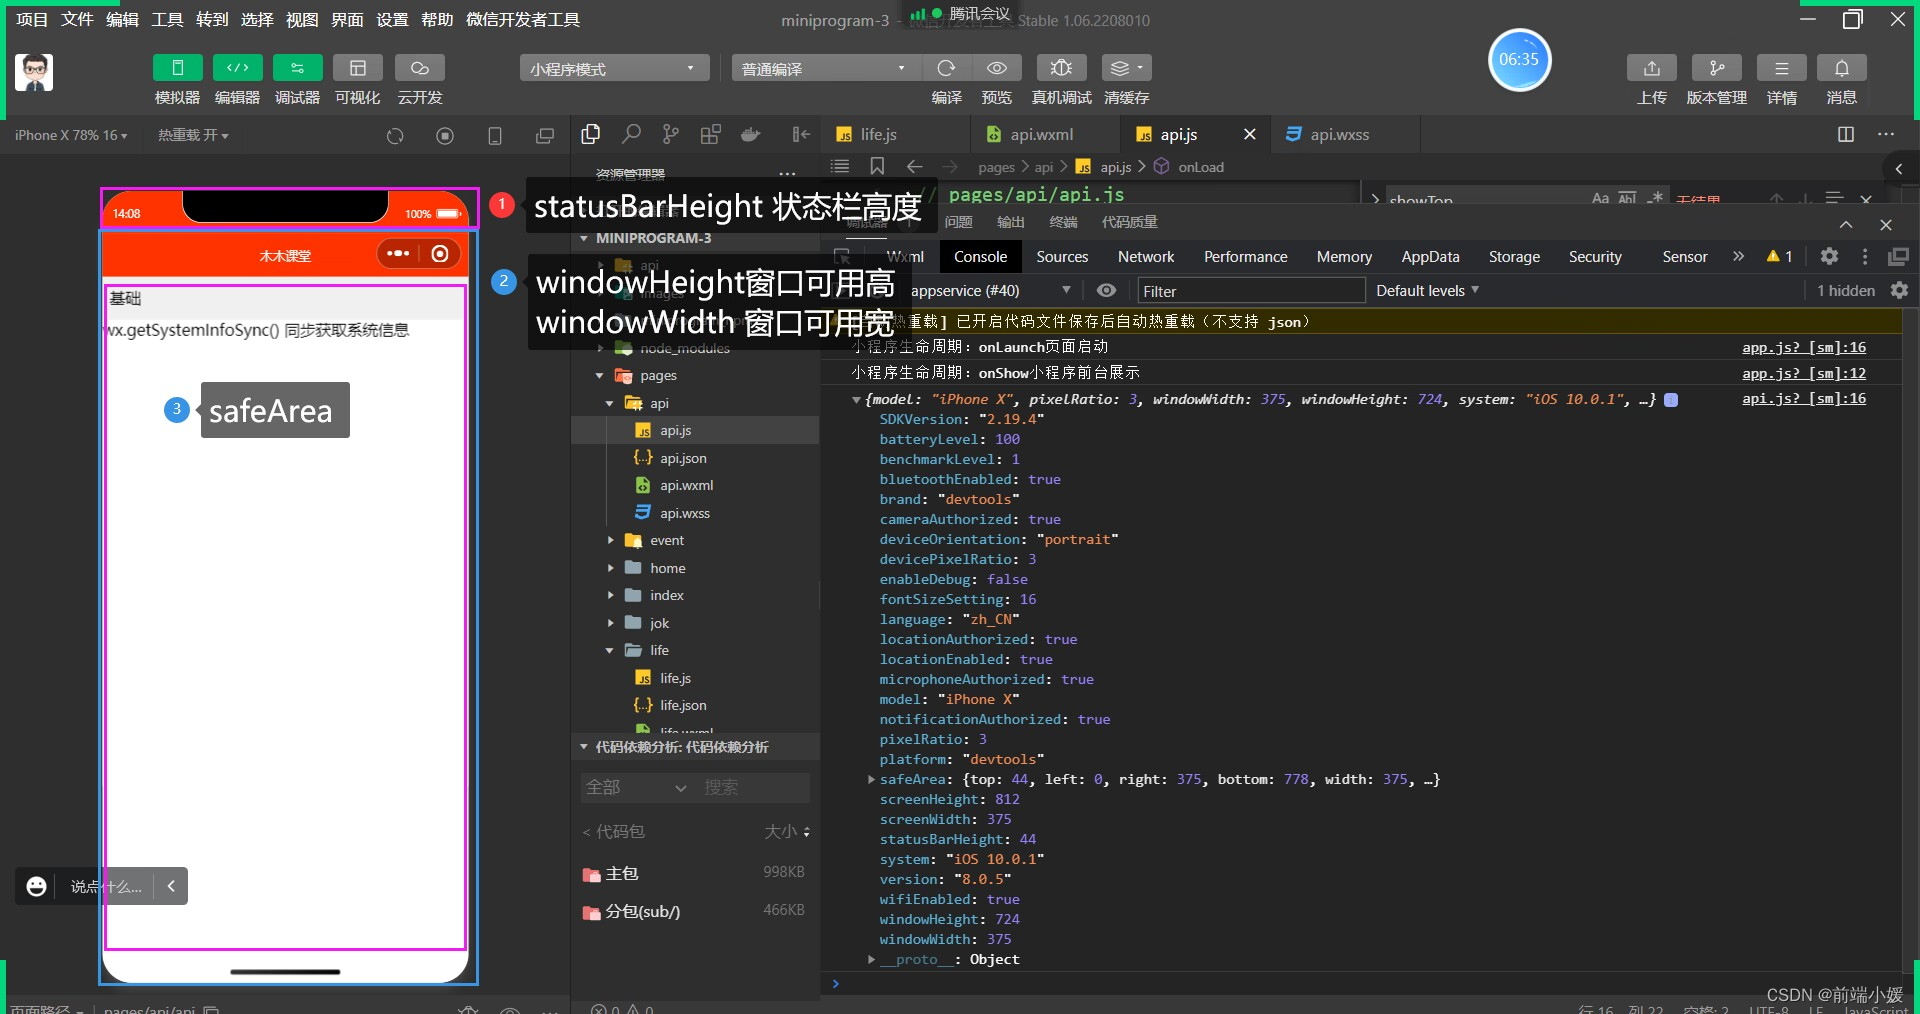

wx.getSystemInfoAsync({


  success (res) {


    console.log(res.model)
    console.log(res.pixelRatio)
    console.log(res.windowWidth)
    console.log(res.windowHeight)
    console.log(res.language)
    console.log(res.version)
    console.log(res.platform)
  }
})
6- 网络请求
6.1 wx.request() 发起 HTTPS 网络请求

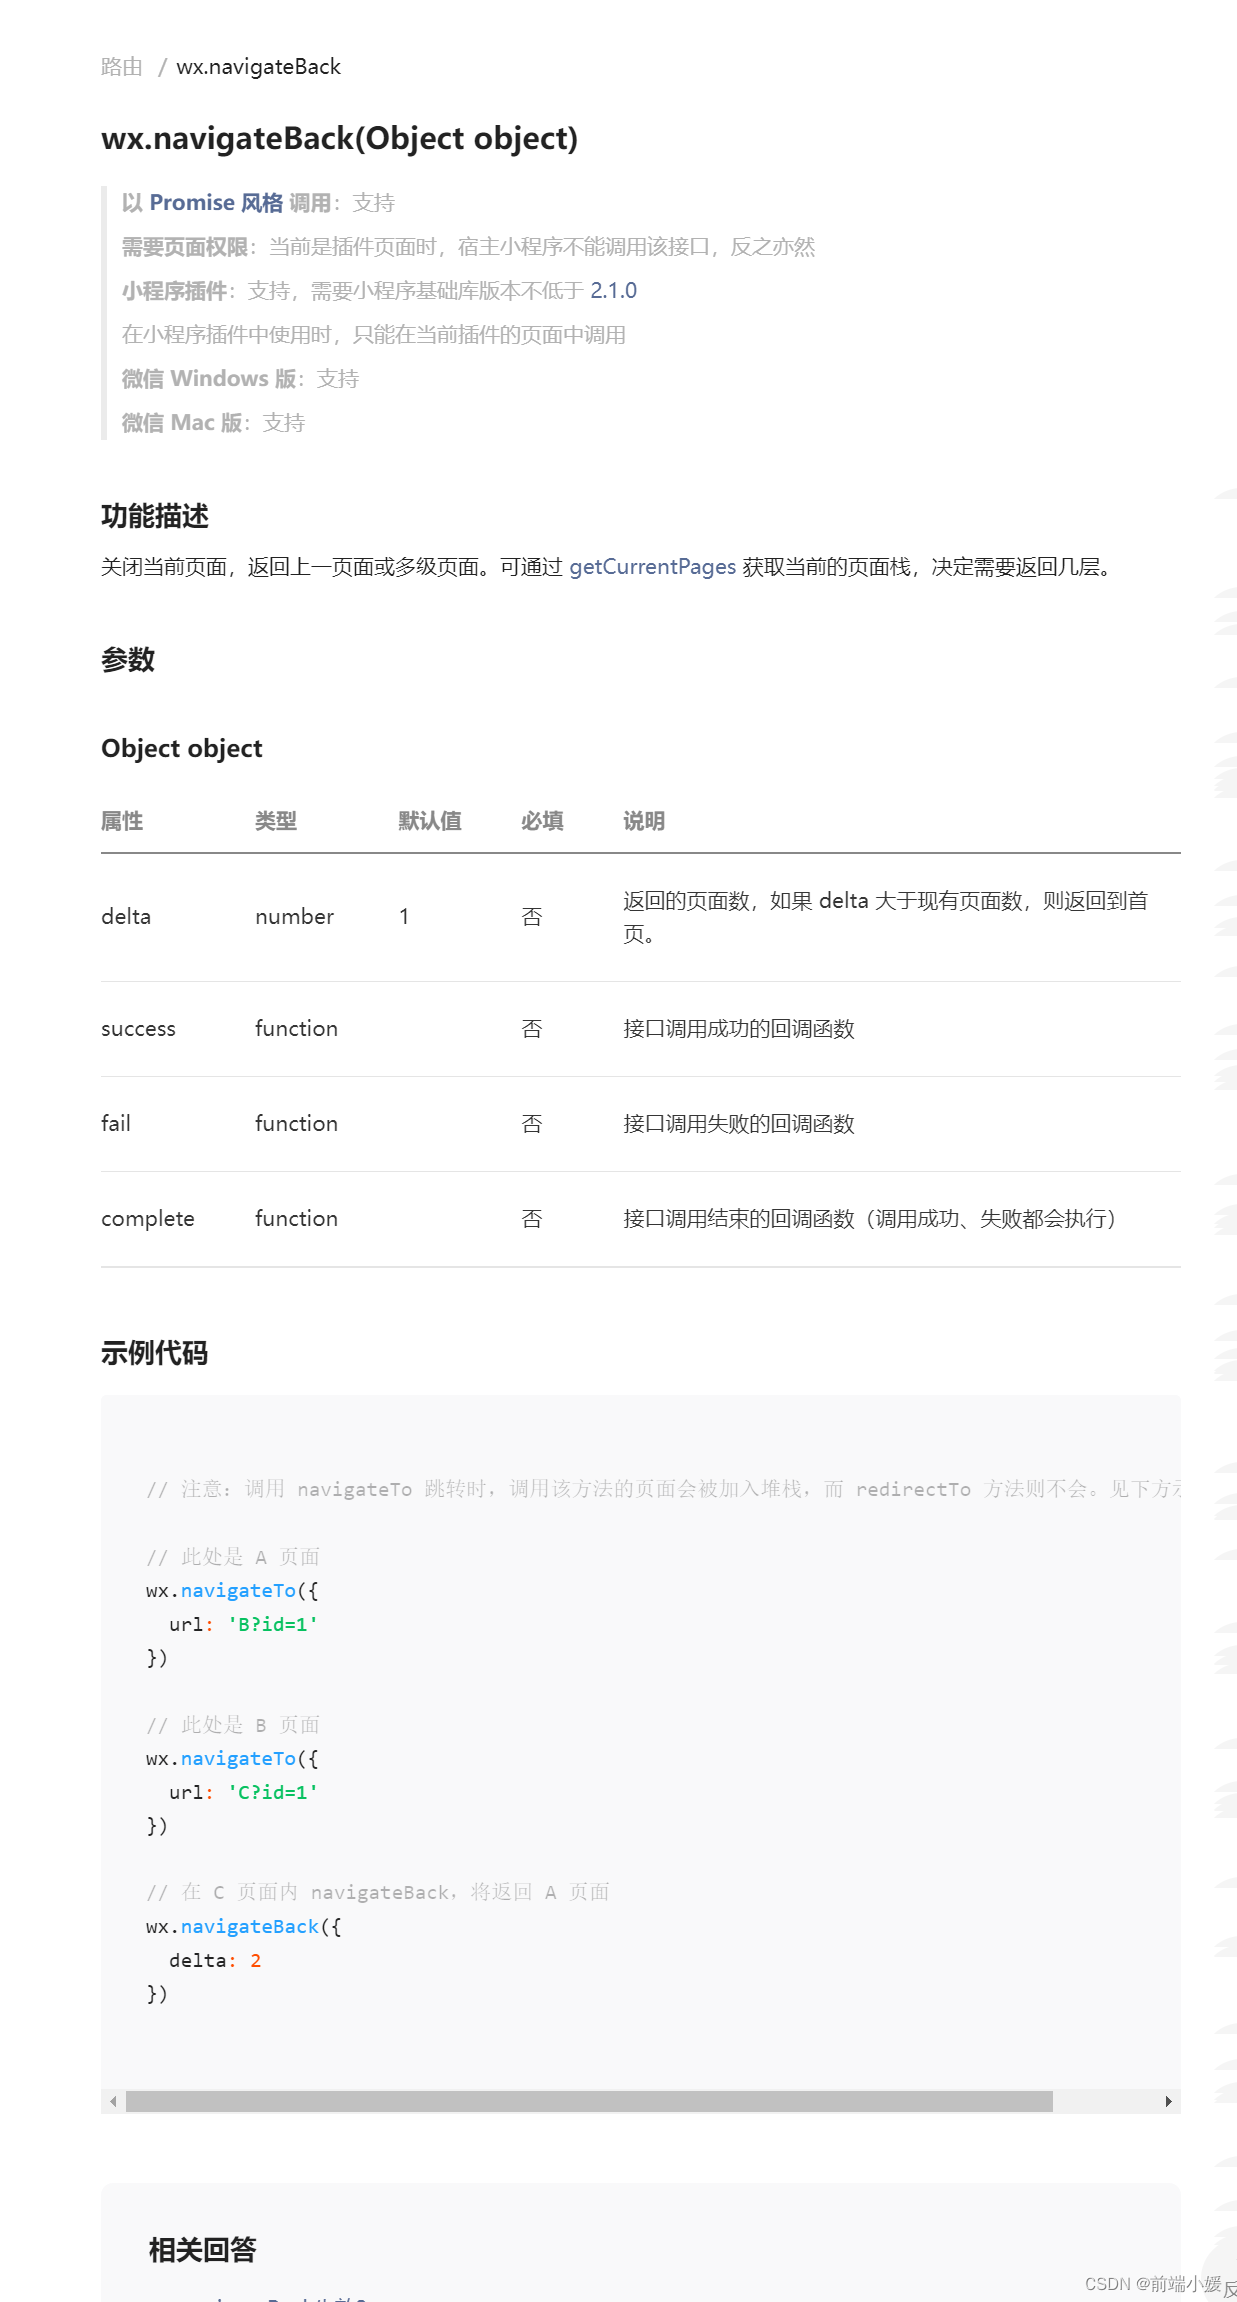
7- 路由
7.1 wx.navigateTo()跳转
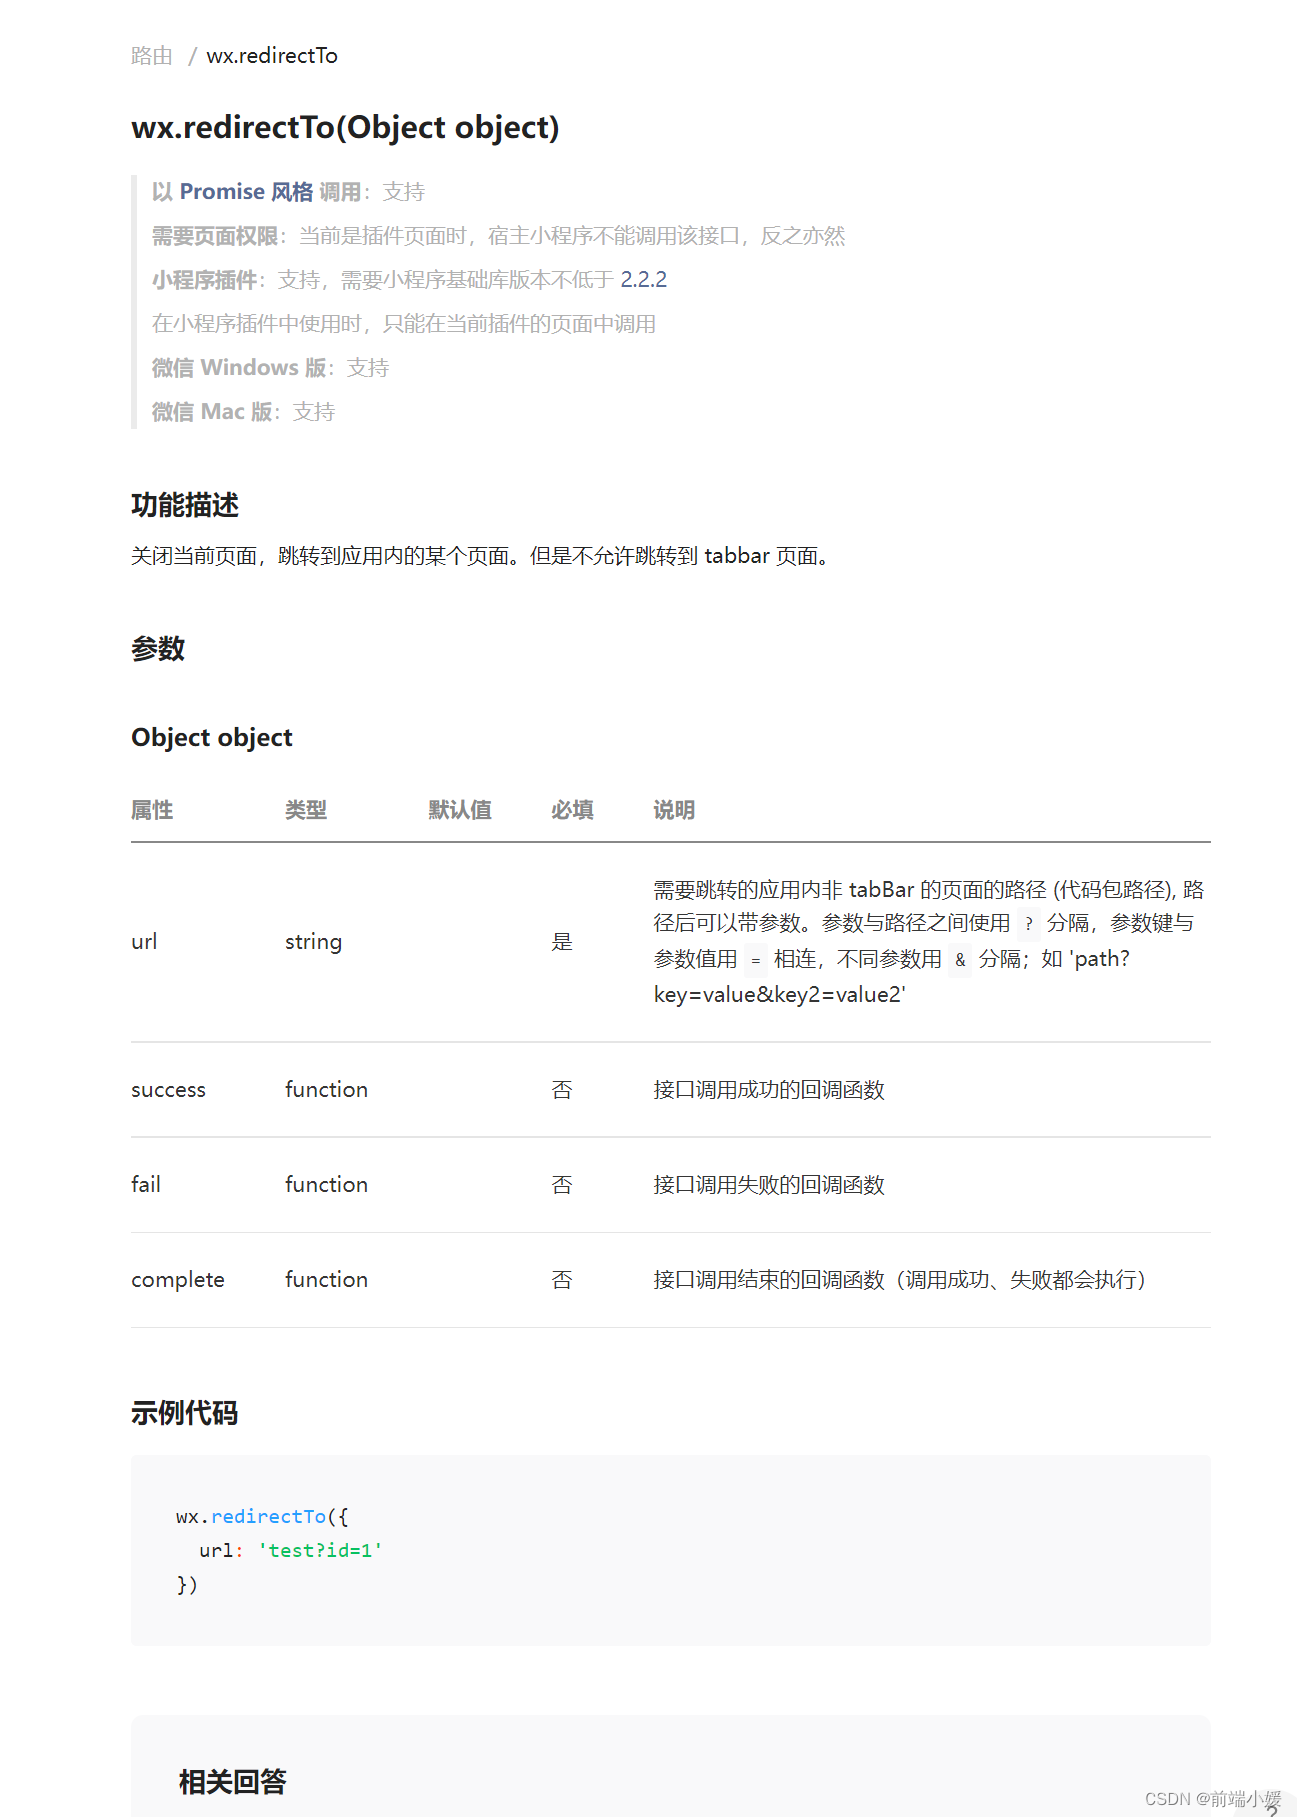
7.2 wx.redirectTo()重定向
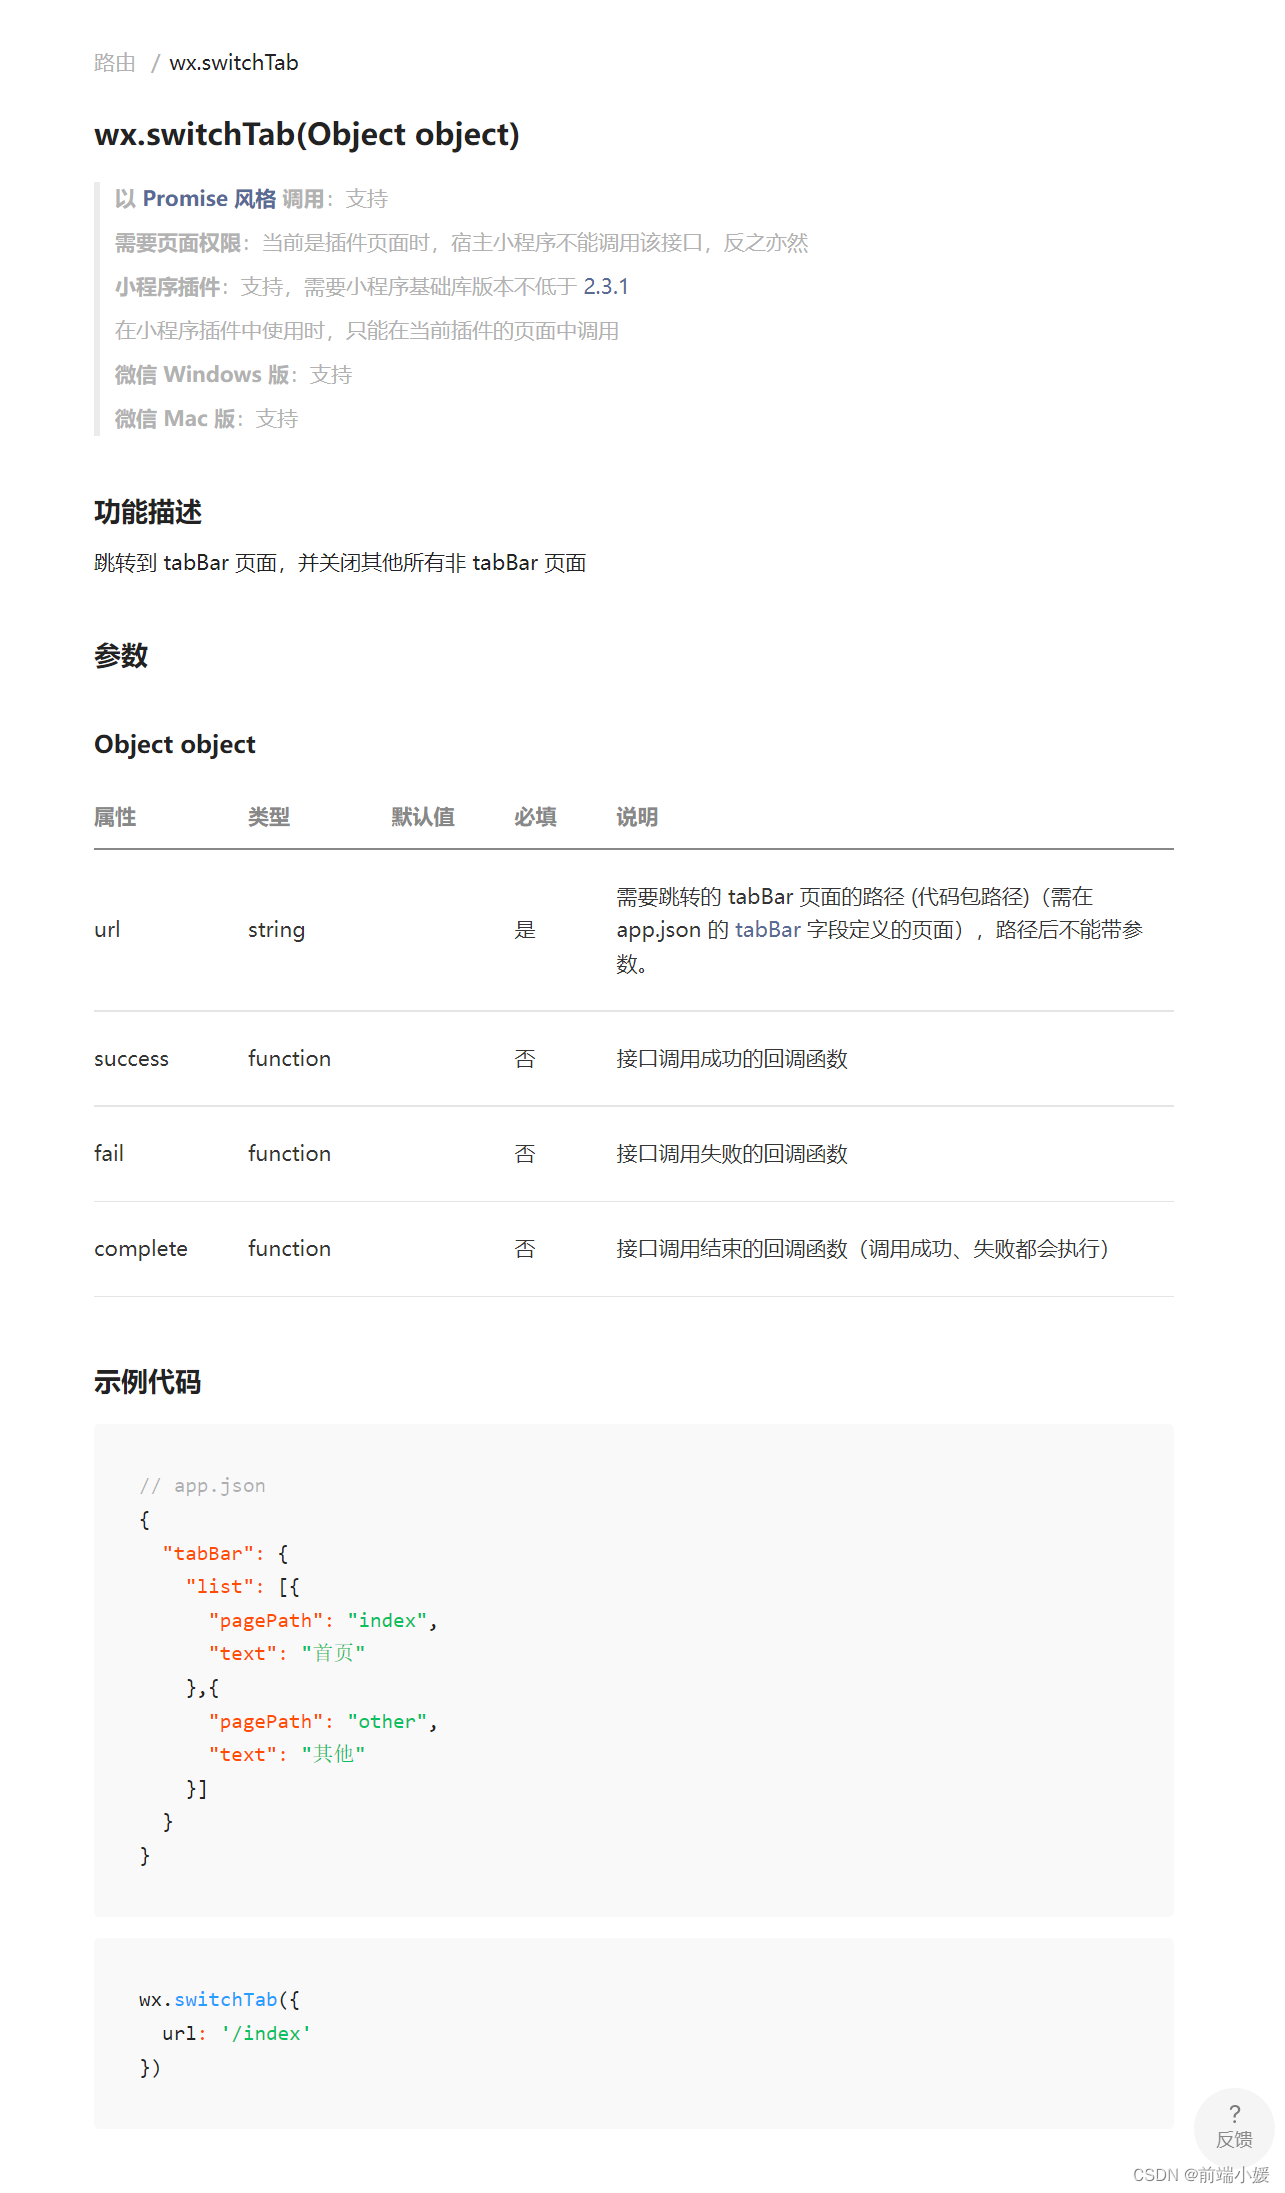
7.3 wx.switchTab() 切换底部栏
7.4 wx.navigateBack()返回