Compose自定义布局,从零开始手撸FlexLayout
初学Compose,因没有现成的库,所以手撸一个FlexLayout
知识点
FlexLayout 算法
- FlexLayout的宽默认为fillMaxWidth,高为所有的行高之和 + (行数-1) * 行间距
- 子组件水平顺序排列,如果累计宽度大于maxWidth则另起一行,行高为该行中子组件height最大的那个
- 默认子组件为wrap content模式,如有子组件设为fillMaxWidth,则独占一行。千万不要设置为fillMaxHeight
Compose 自定义布局
Compose自定义布局有多种方式,这里只使用最基本的方式。以下为基础模板
@Composable
fun SimpleCustomLayout(modifier: Modifier, content: @Composable () -> Unit) {
    val policy = MeasurePolicy { measurables, constraints ->
        val childConstraints = Constraints(0, constraints.maxWidth, 0, constraints.maxHeight)
        var height = 0
        val placeable = measurables.map {
            it.measure(childConstraints)
        }
        // TODO: computer height with child's placeable
        layout(constraints.maxWidth, height) {
            var childX = 0
            var childY = 0
            placeable.forEach {
                // TODO:  computer child rect x and y and use place method to layout it
                it.place(childX, childY)
            }
        }
    }
    // create compose with use measurePolicy to measure and layout content
    Layout(content = content, modifier = modifier, measurePolicy = policy)
}
复制代码
入参
- content content是必需的用于生成子组件
- modifer 必需,主要提供pendding
Layout
调用Layout方法生成自定义布局.关键参数measurePolicy
mearsurePolicy 是测量及布局策略,用于对content提供的子组件进行测量并摆放。
MeasurePolicy
MeasurePolicy是个接口,通常使用Measure((measurables: List<Measurable>,constraints: Constraints)->Unit)来生成
其中List代表content提供的子组件, constraints表示当前compose的MeasureSpce
注!!! constraints中提供的maxWidth和maxHeight是计算过modifier中pending之后的值,所以这里不需要考虑pending
-
测量
遍历measureables,并调用其
measure(constrains:Constrains)方法进行测量。获取对应的测量结果Placeable传入的Constrains就是子组件用于测量的MeasureSpce. 这里默认为当前布局可使用的最大尺寸
注意!!!,compose只允许进行一次测量,也是必须的步骤。
这是最基本也是最简单的测量方式。
如果复杂的布局,需要考虑子组件之间的相对位置关系。需要自定义遍历顺序和计算,并且考虑约束关系给于不同的Contrains
-
布局
调用
layout(width: Int,height: Int,alignmentLines: Map<AlignmentLine, Int> = emptyMap(),placementBlock: Placeable.PlacementScope.() -> Unit)方法对进行布局。width,height表示自身的测量结果,placementBlock是具体的布局流程。
测量后的Placeable表示为可布局对象。通过
place(x:Int,y:Int)方法对其进行摆放。x,y表示其距当前组件左上角的偏移量。
编码
FlexLayoutAlpha
一开始就写个最简单的,行排列方式从左到右,横竖间距相同,可变。 所以这里加个参数divider:Dp
@Composable
fun FlexLayoutAlpha(modifier: Modifier, divider: Dp, content: @Composable () -> Unit) {
}
复制代码
测量
因为layout时需要传入width和height,所以需要在measure时计算出自身的height
 val div = divider.toPx().toInt()
val maxWidth = constraints.maxWidth
var height = 0
var width = 0
var lineHeight = 0
val placeable = measurables.map {
    val placeable = it.measure(childConstraints)
    if (placeable.width + width > maxWidth) {
        height += lineHeight + div
        width = 0
        lineHeight = 0
    }
    lineHeight = maxOf(lineHeight, placeable.height)
    width += placeable.width + div
    placeable
}
height += lineHeight
复制代码
代码很简单,每换一行就加上行高和divider,同时计算每行的最大height
因为是alpha版,所以不考虑纵向的差别,默认顶部对齐 最终为sum(lineHeight)+(linecount-1)*divider
布局
layout(constraints.maxWidth, height) {
    var childX = 0
    var childY = 0
    placeable.forEach {
        if (childX + it.width > maxWidth) {
            childX = 0
            childY += lineHeight + div
            lineHeight = 0
        }
        it.place(childX, childY)
        childX += it.width + div
        lineHeight = maxOf(lineHeight, it.height)
    }
}
复制代码
这代码是不是看起来很眼熟? 都是对Placeable的遍历,除了多了个place方法,其它基本上一模一样
搞定收工,来个preview看下效果
@Preview
@Composable
fun FlexLayoutAlphaPreview() {
    FlexLaoutTheme {
        Card(modifier = Modifier.fillMaxWidth().background(Color.White)) {
            FlexLayoutAlpha(modifier = Modifier.padding(8.dp), divider = 4.dp) {
                repeat(30) {
                    val text = Random.nextInt(0, 10000).toString()
                    Text(text = text)
                }
            }
        }
    }
}
复制代码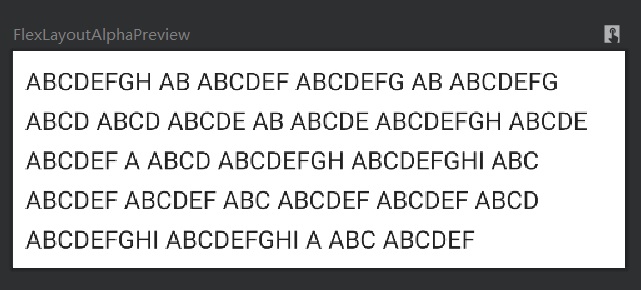
优化
一个基本的FlexLayout就算完成了。不过这也仅仅是最基本的。需要优化的地方还有很多
- 排列方式固定,只有左对齐。需要新增参数来控制对齐方式
- 纵向默认顶部对齐有点丑,需要改成居中对齐
- 代码太丑了,测量和布局两块大同小异,可以抽象。
FlexLayoutBeta
水平排列的优化
Compose中有一系列类Arrangement用来表示排列方式。这里正好拿来使用
@Composable
fun FlexLayoutBeta(
modifier: Modifier,
divider: Dp = 4.dp,
align: Arrangement.Horizontal = Arrangement.Start,
content: @Composable () -> Unit
) {
}
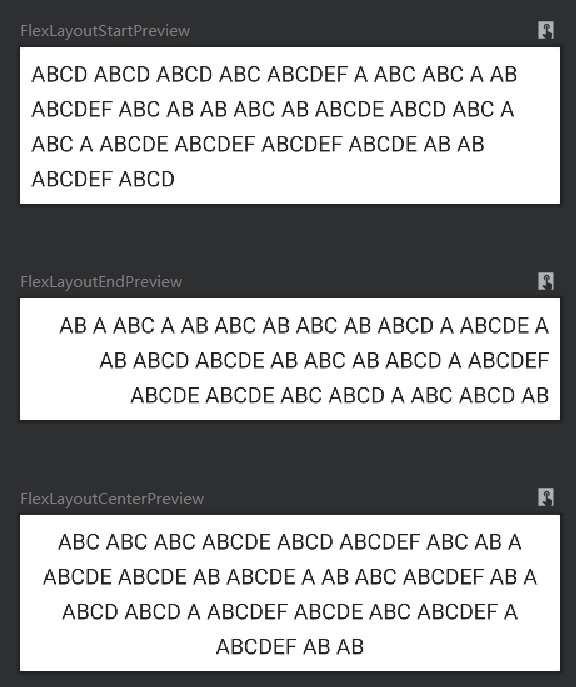
复制代码我们只需要水平排列,所以入参的类型就使用 Arrangement.Horizontal。主要有以下几种
- Arrangement.Start,Arrangement.End 从左,右 起顺序排列
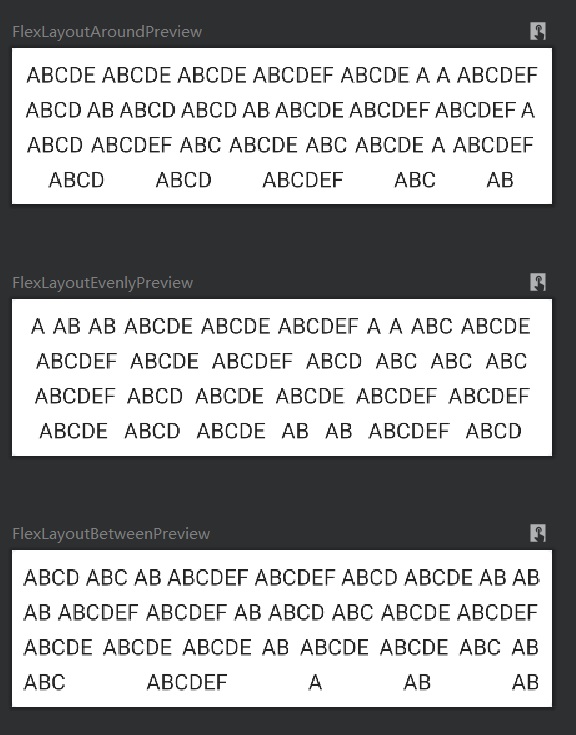
- Arrangement.Center 水平居中排列,item的间距为divider
- Arrangement.SpaceEvenly 水平居中排列, item的间距和边距相等。
- Arrangement.SpaceAround 水平居中排列, 边距是间距的一半。
- Arrangement.SpaceBetween 平均排列,无边距
纵向居中对齐和代码优化
纵向居中对齐需要在布局时就知道这一行的行高,然后计算item的height和行高的差距。
所以需要在测量时把每一行的行高都保存下来。
同时,为了水平排列的space计算,还需要保存每一行的item的总width
这里定义一个类用来保存这些数据
data class FlexLine(
    val lineWidth: Int,
    val lineHeight: Int,
    val list: List<Placeable> = LinkedList()
)
复制代码
这样在测量完毕后,我们就可以获得一个List用于布局。
在布局时就只需要着眼于每一行的摆放 这样不同的排列方式在纵向上是完全相同的,水平上的差边也只是起始位置和间距的不同
var lineHeight = 0
var lineWidth = 0
val lines = LinkedList<LineData>()
var temp = LinkedList<Placeable>()
var width = 0
var height = 0
measurables.forEach {
    val placeable = it.measure(childConstraints)
    val pWidth = placeable.width
    if (pWidth + width > maxWidth) {
        lines.add(LineData(lineWidth, lineHeight, temp))
        temp = LinkedList<Placeable>()
        height += lineHeight + div
        width = 0
        lineWidth = 0
        lineHeight = 0
    }
    temp.add(placeable)
    lineHeight = maxOf(lineHeight, placeable.height)
    width += pWidth + div
    lineWidth += pWidth
}
lines.add(LineData(lineWidth, lineHeight, temp))
height += lineHeight
复制代码
Layout
布局时就可以只考虑水平排列了,可以用when来选择不同的排列方法,这里只需要四个参数,childX的起始由排列方法自行计算
layout(constraints.maxWidth, height) {
    var childY = 0
    lines.forEach { lineData ->
        when (arrangement) {
            Arrangement.Start -> layoutByStart(lineData, childY, div, maxWidth)
            Arrangement.End -> layoutByEnd(lineData, childY, div, maxWidth)
            Arrangement.Center -> layoutByCenter(lineData, childY, div, maxWidth)
            Arrangement.SpaceAround -> layoutByArround(lineData, childY, div, maxWidth)
            Arrangement.SpaceBetween -> layoutByBetween(lineData, childY, div, maxWidth)
            Arrangement.SpaceEvenly -> layoutByEvenly(lineData, childY, div, maxWidth)
        }
        childY += lineData.linHeight + div
    }
}

fun Placeable.PlacementScope.layoutByEnd(lineData: FlexLine, childY: Int, div: Int, maxWidth: Int) {
    val start = (maxWidth - (lineData.lineWidth + (lineData.list.size - 1) * div))
    var childX = start
    lineData.list.forEach {
        it.place(childX, childY + (lineData.lineHeight - it.height) / 2)
        childX += it.width + div
    }
}

fun Placeable.PlacementScope.layoutByCenter(
    lineData: FlexLine,
    childY: Int,
    div: Int,
    maxWidth: Int
) {
    val start = (maxWidth - (lineData.lineWidth + (lineData.list.size - 1) * div)) / 2
    var childX = start
    lineData.list.forEach {
        it.place(childX, childY + (lineData.lineHeight - it.height) / 2)
        childX += it.width + div
    }
}
复制代码这里有个问题,抽出一个方法后place方法不能使用。因为他需要运行在PlacementScope里。
所以方法需要定义成PlacementScope的扩展方法
现在就优雅多了,但是还可以优化
FlexLayout 1.0
分析
Beta版已经可以用了,但还有以下几个问题
- 水平排列扩展了,但还是受限
- 纵向排列固定居中,不够优雅
- 五个方法还是有重复的代码
优化方案
一个比较好的解决办法是用策略模式定义接口,同时提供几个默认实现。
这样默认实现不能满足需求时,用户可以传入自定义的实现
interface IFlexArrangement {
    fun flexArrange(
        lineData: LineData,
        childY: Int,
        div: Int,
        maxWidth: Int,
        action: (placeable: Placeable, x: Int, y: Int) -> Unit
    )
}

@Composable
fun FlexLayout(
    modifier: Modifier,
    divider: Dp = 4.dp,
    arrangement: IFlexArrangement = FlexArrangementCenter(),
    content: @Composable () -> Unit
) {
    .......
    layout(constraints.maxWidth, height) {
        var childY = 0
        val action = { placeable: Placeable, x: Int, y: Int -> placeable.place(x, y) }
        lines.forEach { lineData ->
            arrangement.flexArrange(lineData, childY, div, maxWidth, action)
            childY += lineData.linHeight + div
        }
    }
    ........
}
复制代码
抽成接口后就不能当成扩展方法来定义了,所以这里需要增加一个action用来执行place.
action需要在Placeable.PlacementScope中生成。在遍历时调用接口并做为参数传入方法中
默认实现
分析Beta的方法,其实排列流程是固定的
- 计算好左边距和间距
- 起始点为左边距,遍历list,开始排列。
- 计算纵向的偏移量 这里变化的部分就三个,起始点、间距、纵向偏移量 所以定义一个抽象类,把变化的部分抽象出来,让子类实现
 override fun flexArrange(
    line: FlexLine,
    top: Int,
    div: Int,
    maxWidth: Int,
    action: (placeable: Placeable, x: Int, y: Int) -> Unit
) {
    val space = computerSpace(line, maxWidth, div)
    val start = computerStart(line, maxWidth, space)
    var x = start
    line.list.forEach {
        action(it, x, top + computerOffsetY(it.height, line.lineHeight))
        x += it.width + space
    }
}

protected open fun computerOffsetY(height: Int, linHeight: Int): Int = (linHeight - height) / 2

protected abstract fun computerStart(line: FlexLine, maxWidth: Int, space: Int): Int

protected abstract fun computerSpace(line: FlexLine, maxWidth: Int, div: Int): Int
复制代码
这里纵向偏移的计算默认为居中算法,让子类只需要实现两个方法就行
class FlexArrangementCenter : AbsFlexArrangement() {
    override fun computerStart(line: FlexLine, maxWidth: Int, space: Int): Int {
        return (maxWidth - line.lineWidth - (line.list.size - 1) * space) / 2
    }

    override fun computerSpace(line: FlexLine, maxWidth: Int, div: Int) = div
}

class FlexArrangementAround : AbsFlexArrangement() {
    override fun computerStart(line: FlexLine, maxWidth: Int, space: Int) = space / 2
    override fun computerSpace(line: FlexLine, maxWidth: Int, div: Int): Int {
        return (maxWidth - line.lineWidth) / line.list.size
    }
}
复制代码| basic | space |
|---|---|
 |
 |
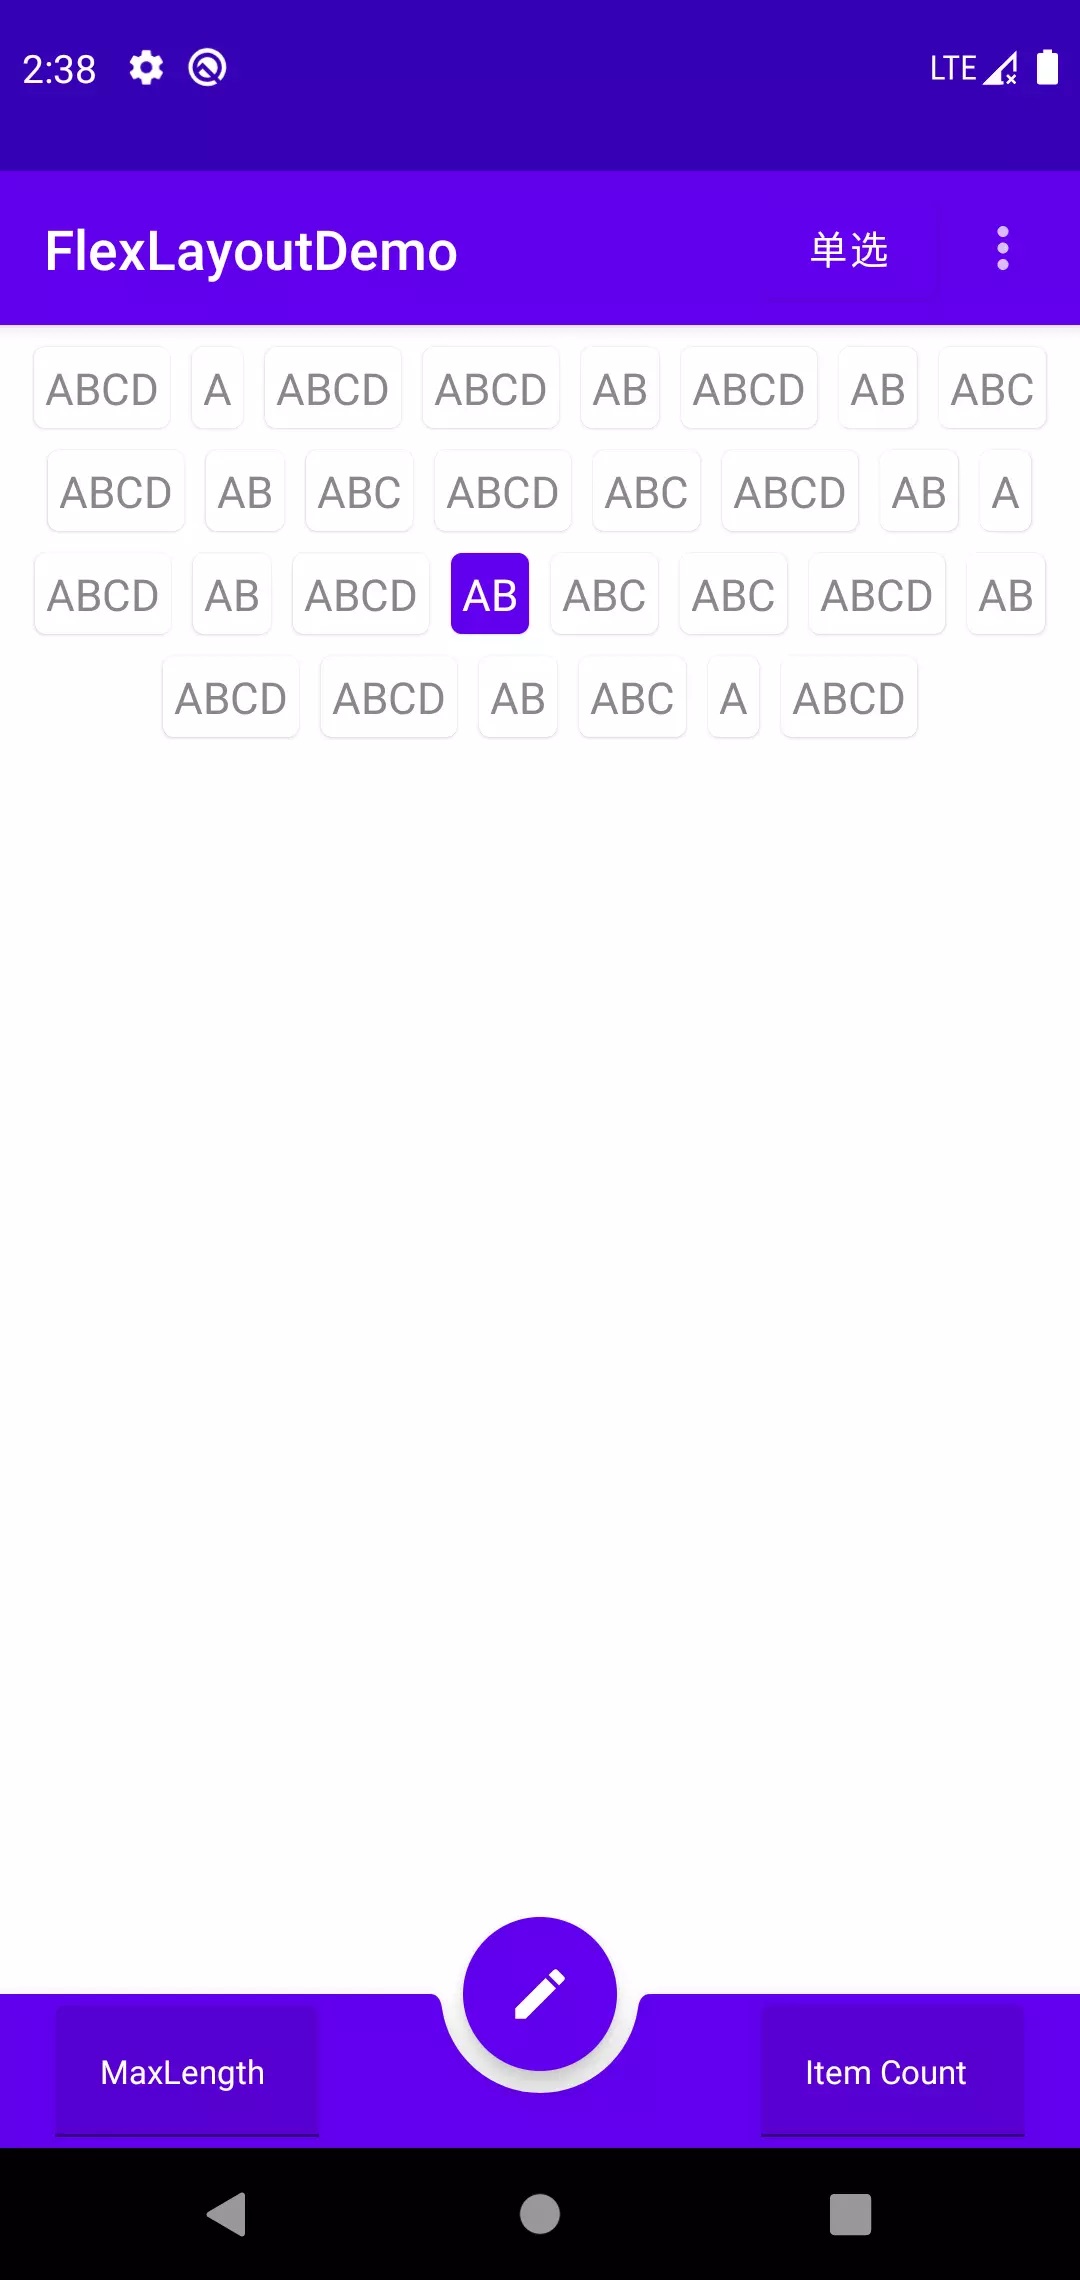
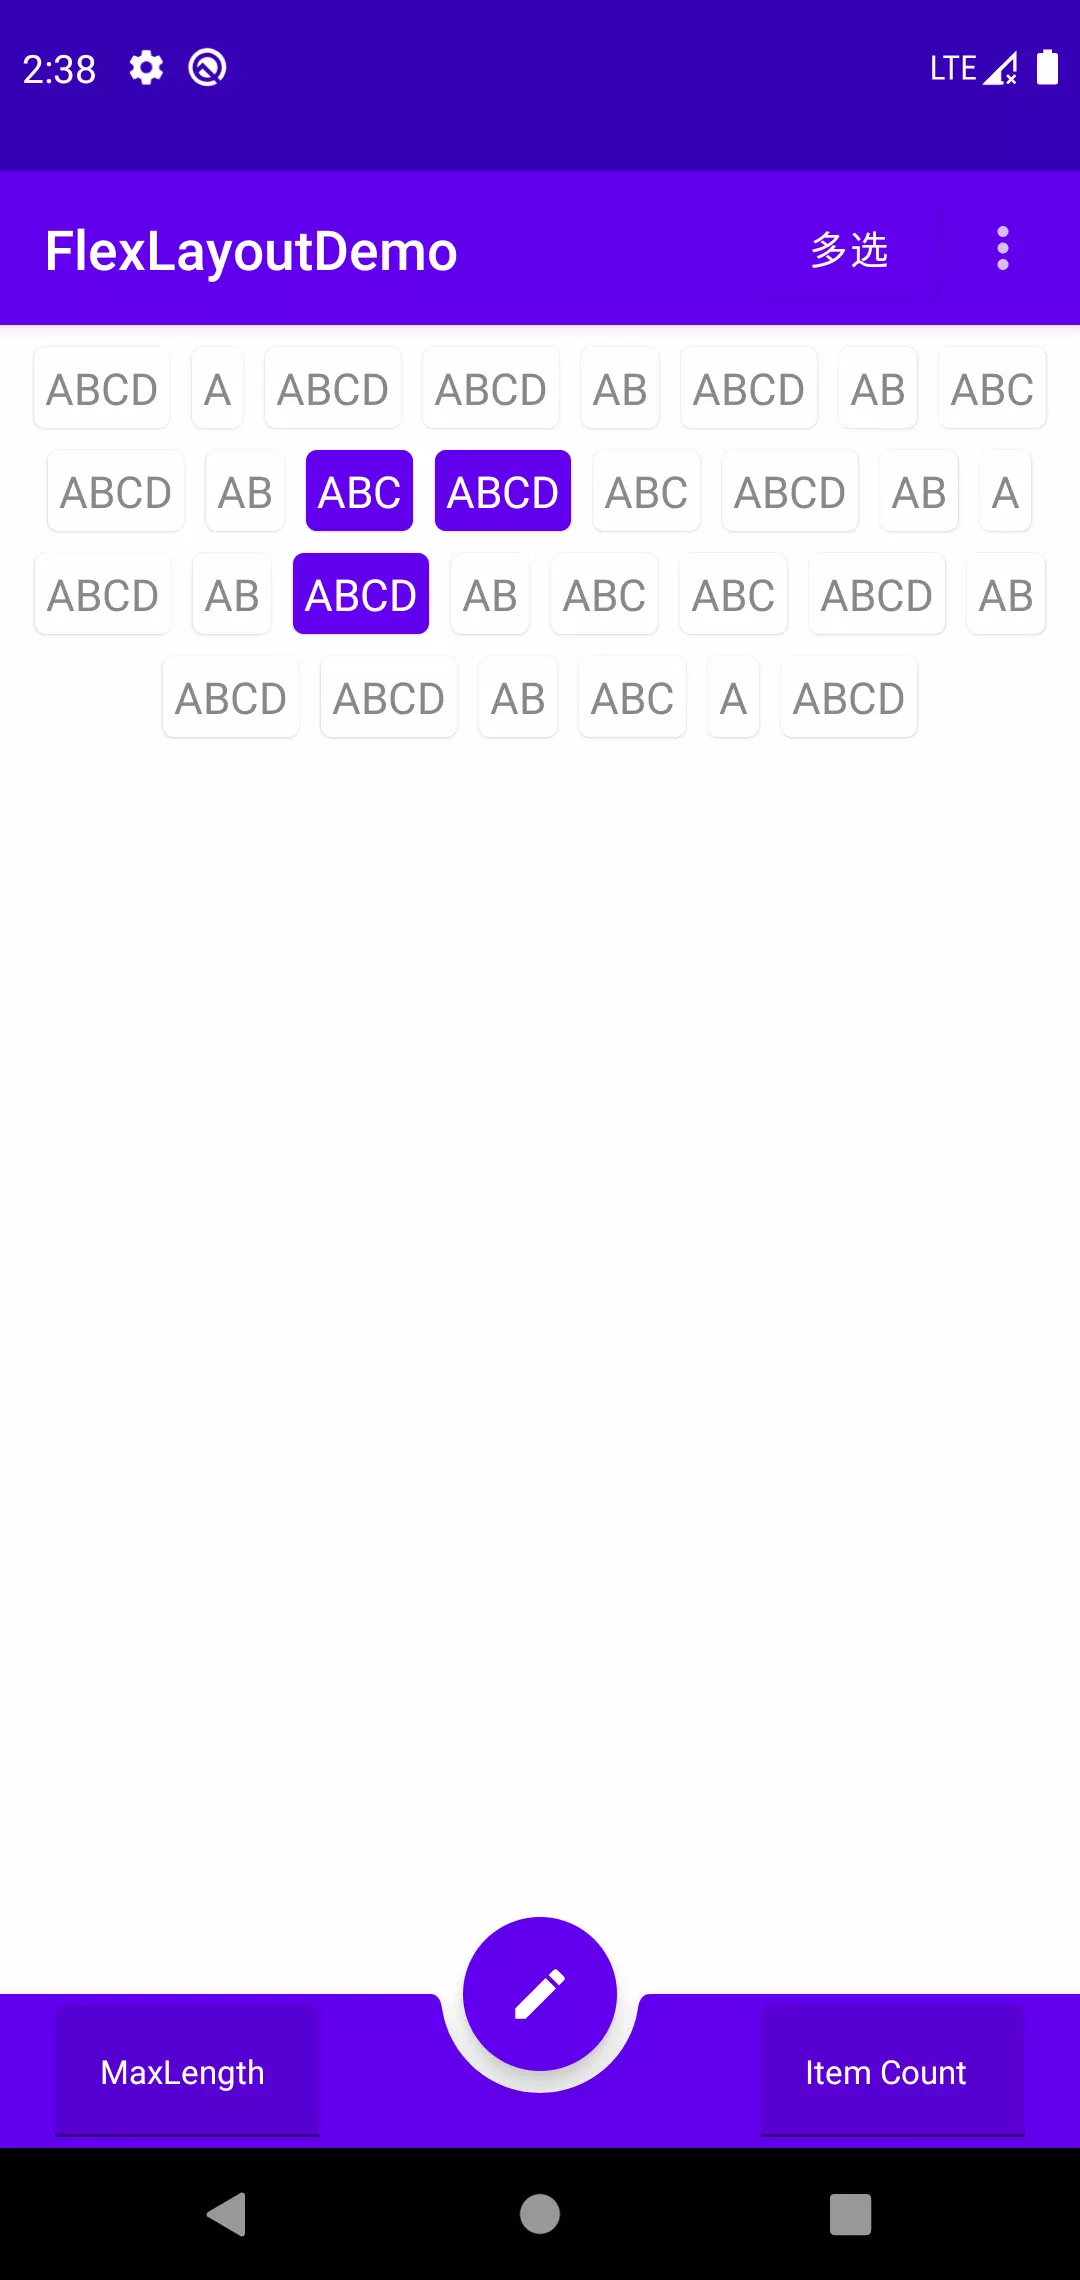
使用
有了可用的FlexLayout,那么实现单选,多选就是下一步需要考虑的问题了。 不过这已经超出了自定义布局的范围了,这里就不多说了,可以运行Demo参考。
| SingleSelect | MultiSelect |
|---|---|
 |
 |