前言:
项目实训立项通过后的几天均在学习 docker 的相关知识,上一篇文章也简单记述了学习过程中的比较重要的知识点。本篇文章记录一下在腾讯云服务器上安装 docker ,并进行基础操作实验。
一、docker安装
环境:
腾讯云服务器 - 2 核 4G - centos7 系统
1、centos7使用yum安装
#下载docker-ce的yum源
wget -O /etc/yum.repos.d/docker-ce.repo https://mirrors.tuna.tsinghua.edu.cn/docker-ce/linux/centos/docker-ce.repo
#把docker-ce源的地址修改为清华源的地址
sed -i 's#download.docker.com#mirrors.tuna.tsinghua.edu.cn/docker-ce#g' /etc/yum.repos.d/docker-ce.repo
#更新docker-ce.repo
yum makecache fast
#安装docker-ce
yum install -y docker-ce
下载安装指定版本
#查看docker-ce的版本
[root@VM-16-15-centos ~]# yum list docker-ce.x86_64 --showduplicates | sort -r
Loading mirror speeds from cached hostfile
Loaded plugins: fastestmirror
Installed Packages
docker-ce.x86_64            3:18.09.2-3.el7                    docker-ce-stable
docker-ce.x86_64            3:18.09.1-3.el7                    docker-ce-stable
docker-ce.x86_64            3:18.09.0-3.el7                    docker-ce-stable
docker-ce.x86_64            18.06.3.ce-3.el7                   docker-ce-stable
docker-ce.x86_64            18.06.2.ce-3.el7                   docker-ce-stable
docker-ce.x86_64            18.06.1.ce-3.el7                   docker-ce-stable
docker-ce.x86_64            18.06.0.ce-3.el7                   docker-ce-stable
docker-ce.x86_64            18.03.1.ce-1.el7.centos            docker-ce-stable
docker-ce.x86_64            18.03.0.ce-1.el7.centos            docker-ce-stable
docker-ce.x86_64            17.12.1.ce-1.el7.centos            docker-ce-stable
docker-ce.x86_64            17.12.0.ce-1.el7.centos            docker-ce-stable
docker-ce.x86_64            17.09.1.ce-1.el7.centos            docker-ce-stable
docker-ce.x86_64            17.09.0.ce-1.el7.centos            docker-ce-stable
docker-ce.x86_64            17.06.2.ce-1.el7.centos            docker-ce-stable
docker-ce.x86_64            17.06.1.ce-1.el7.centos            docker-ce-stable
docker-ce.x86_64            17.06.0.ce-1.el7.centos            docker-ce-stable
docker-ce.x86_64            17.03.3.ce-1.el7                   docker-ce-stable
docker-ce.x86_64            17.03.2.ce-1.el7.centos            docker-ce-stable
docker-ce.x86_64            17.03.1.ce-1.el7.centos            docker-ce-stable
docker-ce.x86_64            17.03.0.ce-1.el7.centos            docker-ce-stable
Available Packages

......
安装指定版本
yum -y install docker-ce-17.03.2.ce
启动 docker
systemctl start docker
查看系统内镜像(这里有很多镜像是因为此篇博客是在安装完成并进行测试后写的)
docker images

查看已创建的容器
docker ps -a


二、命令行创建 docker 容器测试
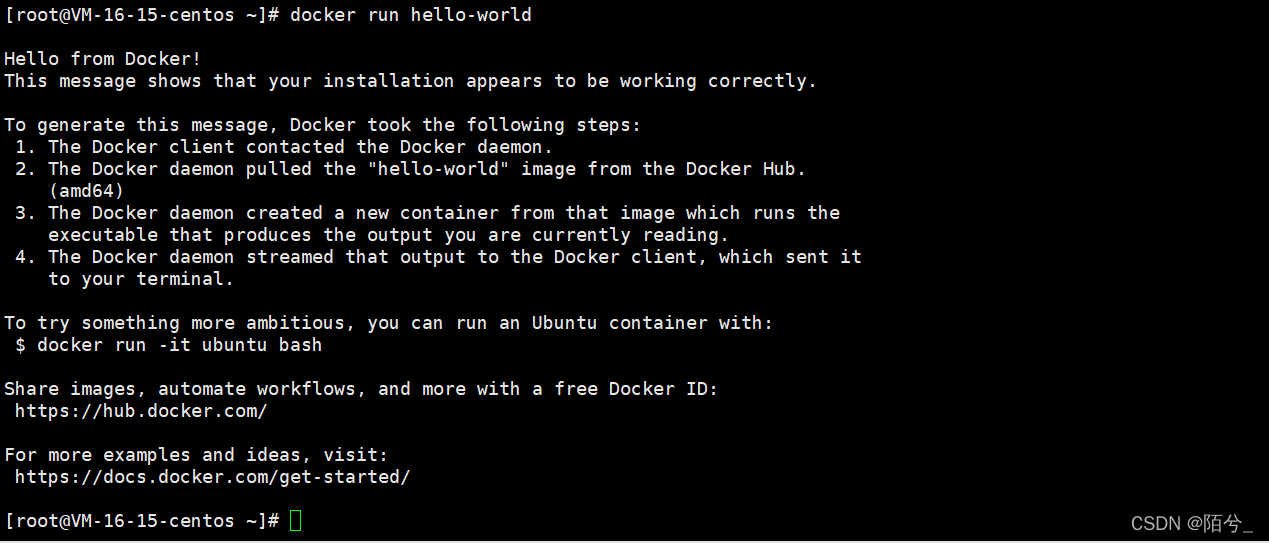
一般用于测试的镜像都是 hello-world 镜像,用它来创建容器,没有下载这个镜像的话,在创建容器时,会自动下载该镜像,我这里已经下载过了,所以直接运行。
docker run hello-world
查看创建的容器
docker ps -a

可以看到已经成功通过镜像 hello-world 创建容器
删除容器
docker rm 容器id   #删除指定的容器,不能删除正在运行的容器,如果要强制删除 rm -rf
docker rm -f $(docker ps -aq)  #删除指定的容器
docker ps -a -q|xargs docker rm  #删除所有的容器
启动和停止容器的操作
docker start 容器id	#启动容器
docker restart 容器id	#重启容器
docker stop 容器id	#停止当前正在运行的容器
docker kill 容器id	#强制停止当前容器

经过查阅相关博客以及学习相关视频课程,学习了解到了 docker 容器的基本使用,学会了使用 shell 命令行对容器进行创建、删除等基本操作。但是我们最终的目标是通过 java 程序来对 docker 容器进行创建、管理、删除等操作,所以我接下来的任务就是学习使用 java 程序远程连接服务器的 docker 容器,并对其进行基本操控管理。
相关文章:
https://d.wanfangdata.com.cn/periodical/wlaqjsyyy202103010
https://www.cnblogs.com/yaokaka/p/14177147.html
https://www.cnblogs.com/caoweixiong/p/12186736.html
https://blog.51cto.com/wangfeiyu/2299949
https://www.jianshu.com/p/88cb5c5a4e3a
https://blog.csdn.net/xiaozecheng/article/details/106145593
https://www.sohu.com/a/340973556_120104204
视频课程:
https://www.bilibili.com/video/BV1og4y1q7M4
https://www.bilibili.com/video/BV11L411g7U1
https://www.bilibili.com/video/BV1gr4y1U7CY