项目环境搭建
1. 更新gcc版本
(1)查看gcc版本信息
gcc -v
gcc version 7.3.1 20180303 (Red Hat 7.3.1-5) (GCC)
- 打印出来的信息最后一行显示你的gcc版本是大于或等于6的版本,那么OK,你不需要做任何更新,如果是4点几的版本 你就要更新啦
(2)更新gcc版本
第一步:使用root权限运行下列命令
yum -y install centos-release-scl
yum -y install devtoolset-7-gcc devtoolset-7-gcc-c++ devtoolset-7-binutils
第二步:使用普通权限运行下列命令
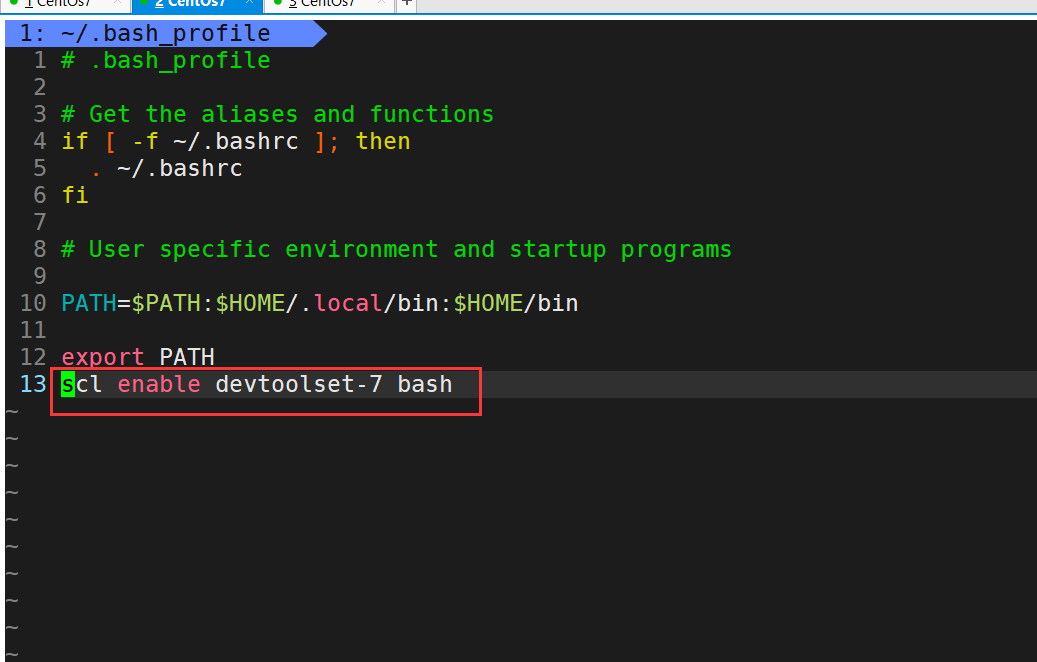
vim ~/.bash_profile
在打开的vim编辑框的最后一行加入下列代码:
scl enable devtoolset-7 bash
第三步:使修改的bash_profile生效,仍然是普通权限
source ~/.bash_profile
第四步:查看gcc版本信息
[gongruiyang@localhost project_OJ]$ gcc -v
Using built-in specs.
COLLECT_GCC=gcc
COLLECT_LTO_WRAPPER=/opt/rh/devtoolset-7/root/usr/libexec/gcc/x86_64-redhat-linux/7/lto-wrapper
Target: x86_64-redhat-linux
Configured with: ../configure --enable-bootstrap --enable-languages=c,c++,fortran,lto --prefix=/opt/rh/devtoolset-7/root/usr --mandir=/opt/rh/devtoolset-7/root/usr/share/man --infodir=/opt/rh/devtoolset-7/root/usr/share/info --with-bugurl=http://bugzilla.redhat.com/bugzilla --enable-shared --enable-threads=posix --enable-checking=release --enable-multilib --with-system-zlib --enable-__cxa_atexit --disable-libunwind-exceptions --enable-gnu-unique-object --enable-linker-build-id --with-gcc-major-version-only --enable-plugin --with-linker-hash-style=gnu --enable-initfini-array --with-default-libstdcxx-abi=gcc4-compatible --with-isl=/builddir/build/BUILD/gcc-7.3.1-20180303/obj-x86_64-redhat-linux/isl-install --enable-libmpx --enable-gnu-indirect-function --with-tune=generic --with-arch_32=i686 --build=x86_64-redhat-linux
Thread model: posix
gcc version 7.3.1 20180303 (Red Hat 7.3.1-5) (GCC)
- 若是7.3.1版本就没问题啦
2. 安装jsoncpp库
- 使用
root权限运行下面命令
yum install jsoncpp
yum install jsoncpp-devel
4. 安装Boost库
sudo yum install -y snappy-devel boost-devel zlib-devel.x86_64 python-pip
sudo pip install BeautifulSoup4
5. 安装谷歌的ctemplate库
git clone https://gitee.com/HGtz2222/ThirdPartLibForCpp.git
cd ./ThirdPartLibForCpp/el7.x86_64/
sh install.sh
- 该项目需要的是
ThirdPartLibForCpp/el7.x86_64/third_part/include/ctemplate中的template.h文件
6. 安装http协议库
git clone https://gitee.com/iqxg/cpp-httplib.git
- 该项目需要的文件是
cpp-httplib文件夹中的httplib.h文件
cpp-httplib\httplib.h
7. 创建项目目录
在自己的希望的位置创建一个项目文件夹,这个文件夹中包含三个子文件夹
[gongruiyang@localhost project_OJ]$ tree OJ
OJ
├── bin		# 该目录用于存放 可执行程序 + 配置文件
├── code	# 该目录用于存放 项目源码
└── test	# 该目录用于存放 测试代码
将 httplib.h和template.h两个文件放入code文件夹中