第 9 章 哈希表
1、Google 上机题
- 看一个实际需求, google 公司的一个上机题:
- 有一个公司,当有新的员工来报道时,要求将该员工的信息加入(id, 性别, 年龄, 住址…),当输入该员工的 id 时,要求查找到该员工的所有信息
- 要求:不使用数据库,尽量节省内存,速度越快越好 => 哈希表(散列)
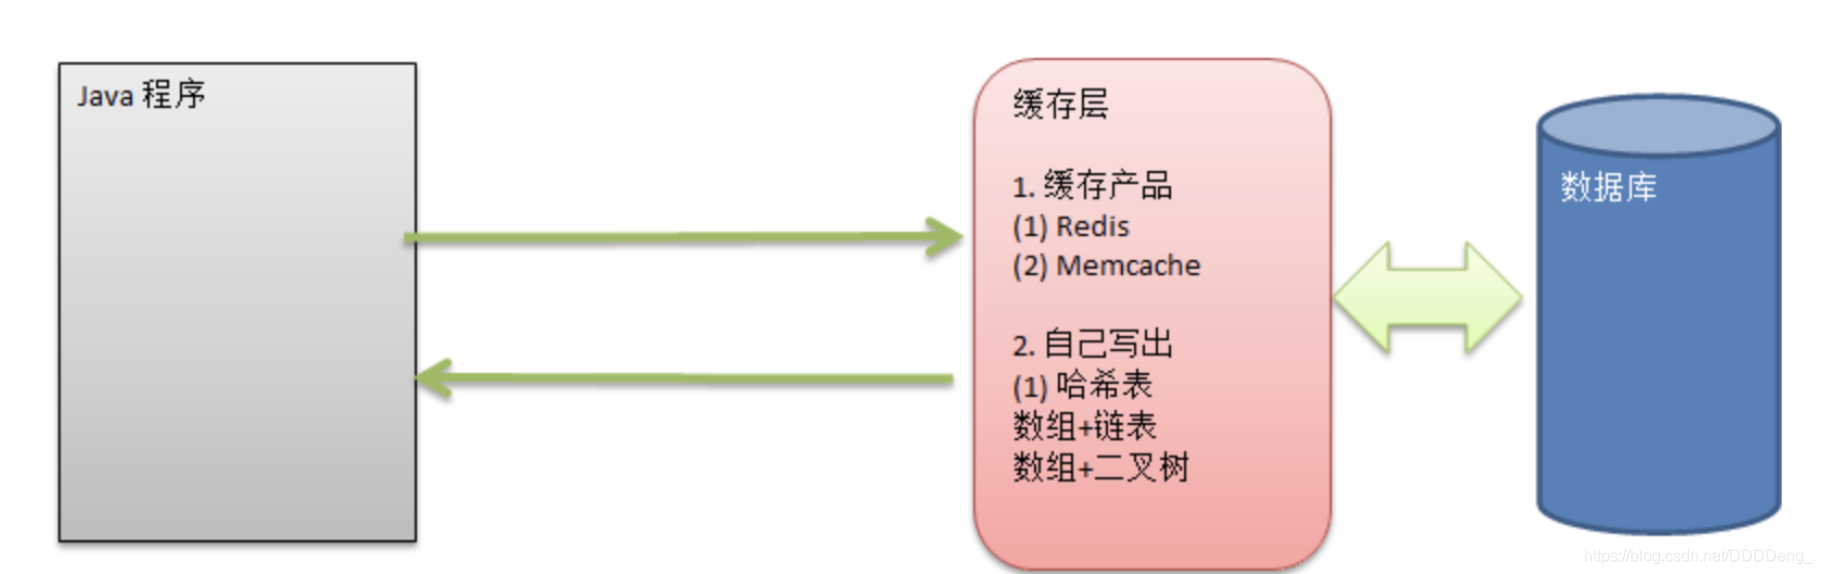
2、哈希表基本介绍
-
散列表(Hash table, 也叫哈希表) ,是根据关键码值(Key value)而直接进行访问的数据结构。
-
它通过把关键码值映射到表中一个位置来访问记录, 以加快查找的速度。 这个映射函数叫做散列函数, 存放记录的数组叫做散列表。
-
哈希表的核心:private EmpLinkedList[] empLinkedListArray;
-
哈希表编程思路:
- 先根据对象的信息将其散列,得到 hashCode
- 根据对象的 hashCode 值,找到对应的数组下标,其实就是找到存储对象的链表
- 在链表中进行相应的增删改查操作

3、代码实现
3.1、Emp 节点
// 表示一个雇员
class Emp {


    public int id;
    public String name;
    public Emp next; // next默认为null

    public Emp(int id, String name) {


        super();
        this.id = id;
        this.name = name;
    }

    @Override
    public String toString() {


        return "Emp{" +
                "id=" + id +
                ", name='" + name + '\'' +
                '}';
    }
}
3.2、Emp 链表
// 创建EmpLinkedList,表示链表
class EmpLinkedList {


    // 头指针,执行第一个Emp,因此我们这个链表的head是直接指向第一个Emp
    public Emp head; // 默认为null

    // 添加雇员到链表
    // 说明
    // 1. 假定,当添加雇员时,id是自增长,即id的分配总是从小到大
    //    因此我们将该雇员直接加入到本链表的最后即可
    public void add(Emp emp) {


        if (head == null) {


            head = emp;
            return;
        }
        // 如果不是第一个雇员,则使用一个辅助的指针,帮助定位到最后
        Emp curEmp = head;
        while (true) {


            if (curEmp.next == null) {

     // 说明到链表最后
                break;
            }
            curEmp = curEmp.next; // 后移
        }
        curEmp.next = emp;
    }


    // 遍历链表的雇员信息
    public void list(int no) {


        if (head == null) {

     // 说明链表为空
            System.out.println("第" + (no + 1) + "条链表为空");
            return;
        }
        System.out.println("第" + (no + 1) + "条链表信息为:");
        Emp curEmp = head;
        while (true) {


            System.out.println(curEmp);
            if (curEmp.next == null) {

     // 说明curEmp已经到最后
                break;
            }
            curEmp = curEmp.next;
        }
    }

    // 根据id查找雇员
    // 如果找到,就返回Emp,如果没有找到,就返回null
    public Emp findEmpById(int id) {


        // 首先判断链表是否为空
        if (head == null) {


            System.out.println("链表为空");
            return null;
        }
        // 辅助指针
        Emp curEmp = head;
        while (true) {


            if (curEmp.id == id) {

     // 找到
                break;
            }
            // 退出
            if (curEmp.next == null) {

     // 说明遍历当前链表没有找到该雇员
                curEmp = null;
                break;
            }
            curEmp = curEmp.next;
        }
        return curEmp;
    }
}
3.3、Emp 哈希表
// 创建HashTab管理多条链表
class HashTab {


    private EmpLinkedList[] empLinkedListArray;
    private int size; // 表示有多少条链表

    // 构造器
    public HashTab(int size) {


        this.size = size;
        // 初始化empLinkedListArray
        empLinkedListArray = new EmpLinkedList[size];
        // 要初始化hashTab中的每一个链表
        for (int i = 0; i < size; i++) {


            empLinkedListArray[i] = new EmpLinkedList();
        }
    }

    // 添加雇员
    public void add(Emp emp) {


        // 根据员工id,得到该员工应该添加到哪条链表
        int empLinkedListNo = hashFun(emp.id);
        // 将emp添加到对应的链表中
        empLinkedListArray[empLinkedListNo].add(emp);
    }

    // 遍历所有的链表,遍历hashtable
    public void list() {


        for (int i = 0; i < size; i++) {


            empLinkedListArray[i].list(i);
        }
    }

    // 根据输入的id,查找雇员
    public void findEmpById(int id) {


        // 使用三列函数确定到哪条链表查找
        int empLinkedListNO = hashFun(id);
        Emp emp = empLinkedListArray[empLinkedListNO].findEmpById(id);
        if (emp != null) {

     // 找到
            System.out.printf("在第%d条链表中找到雇员 id = %d\n", (empLinkedListNO + 1), id);
        } else {


            System.out.println("在哈希表中,没有找到该雇员!");
        }
    }


    // 编写散列函数,使用一个简单取模法
    public int hashFun(int id) {


        return id % size;
    }
}
3.4、代码测试
public class HashTableDemo {


    public static void main(String[] args) {


        // 创建哈希表
        HashTab hashTab = new HashTab(7);
        // 写一个简单的菜单
        String key = "";
        Scanner scanner = new Scanner(System.in);
        while (true) {


            System.out.println("add : 添加雇员");
            System.out.println("list : 显示雇员");
            System.out.println("find : 查找雇员");
            System.out.println("exit : 退出系统");

            key = scanner.next();
            switch (key) {


                case "add":
                    System.out.println("输入id");
                    int id = scanner.nextInt();
                    System.out.println("输入名字");
                    String name = scanner.next();
                    // 创建雇员
                    Emp emp = new Emp(id, name);
                    hashTab.add(emp);
                    break;
                case "list":
                    hashTab.list();
                    break;
                case "find":
                    System.out.println("请输入要查找的id");
                    id = scanner.nextInt();
                    hashTab.findEmpById(id);
                    break;
                case "exit":
                    scanner.close();
                    System.exit(0);
            }
        }
    }
}