一、概述
前端路由和后端路由不一样。
后端路由,更多是URL数据交换的东西。但是前端路由,是用来切换界面的。
比如前端路由,在不同的URL中,这个网页有不同的东西出现。
一个VUE项目,一个App.vue,里面写到一个<router-view></router-view>,然后你访问http://localhost:8080/,会显示App.vue的页面+路由为/的页面。访问http://localhost:8080/page1,显示App.vue的页面+路由为/page1的页面
二、使用步骤(router-view例子)
在项目中,结构是这样的

1、Page1.vue
<template>
    <div>
        <h1>页面1</h1>
    </div>
</template>

<script>
    export default {


        name: "Page1"
    }
</script>

<style scoped>

</style>
2、Index.vue:
<template>
    <div>
        我是首页
    </div>
</template>

<script>
    export default {


        name: "Index"
    }
</script>

<style scoped>

</style>
3、index.js
上面的,我们已经写好了vue,要把他注册到路由中,而router/index.js就是注册的
import Vue from 'vue'
import VueRouter from 'vue-router'
import Home from '../views/Home.vue'
import Test from "../views/Test";
import App from "../App";
import Page1 from "../views/Page1";
import Page2 from "../views/Page2";
import Index from "../views/Index";

Vue.use(VueRouter)

  const routes = [
  {


    path: '/',
    name: '首页',
    component: Index
  },
  {


    path: '/page1',
    name: '页面1',
    component: Page1
  },
  {


    path: '/page2',
    name: '页面2',
    component: Page2
  },
  {


    path: '/about',
    name: 'About',
    // route level code-splitting
    // this generates a separate chunk (about.[hash].js) for this route
    // which is lazy-loaded when the route is visited.
    component: () => import(/* webpackChunkName: "about" */ '../views/About.vue')
  }

]

const router = new VueRouter({


  mode: 'history',
  base: process.env.BASE_URL,
  routes
})

export default router
import 名字 from "文件";-
{ path: '路由路径(URL)', name: '首页',//名字你随意 component: Index//(component的名字) }, - 在App.vue使用
<router-view></router-view><template> <div id="app"> 这是App.vue的一句话 <router-view></router-view> </div> </template>
- 这里的
<router-view></router-view>,相当于占位符,看URL路由是什么,就转移到index.js去看对应的path和绑定的component是什么,就显示那个vue页面


三、router-link
这个有点像a标签,应为其底层就是一个a标签,但是网上说最好用这个,因为经过VUE处理过的。
<template>
  <div id="app">
    这是App.vue的一句话 <br>
    <router-link to="/" tag="button">去首页</router-link>
    <br>
    <router-link to="/page1">去page1</router-link>
    <router-view></router-view>
  </div>
</template>
- 一个属性,
to="path路径"path跳转到哪里,tag可以设定你自己的标签样式什么的

点了去page1

URL也变了
四、redirect
就和普通的redirect一样啦。。
我上面的例子不是很规范,比如改一下,把index.vue的路由改成/index
    path: '/index',
    name: '首页',
    component: Index
<template>
  <div id="app">
    这是App.vue的一句话 <br>
    <router-link to="/index" >去首页</router-link>
    <br>
    <router-link to="/page1">去page1</router-link>
    <router-view></router-view>
  </div>
</template>

访问http://localhost:8080/,下面就什么也没有了
加多一个
 {


    path: '/',
    redirect : '/index'
  },
这样,访问http://localhost:8080/,默认转移到http://localhost:8080/index了
五、选中路由高亮
人话模式:你点中哪个router-link,就高亮
当你比如你点了一个router-link,他会自带一个class="router-link-active"属性

方法1:
他都帮我们做好了,点哪个,就有class为router-link-active。那就定义router-link-active样式咯
<template>
  <div id="app">
    这是App.vue的一句话 <br>
    <router-link to="/index" >去首页</router-link>
    <br>
    <router-link to="/page1">去page1</router-link>
    <router-view></router-view>
  </div>
</template>

<style>
  .router-link-active{


    color: green;
    font-size: 30px;
    background: red;
  }
</style>

方法2:
但,比如用了bootstrap框架,里面的样式他定好了,总不能打开源代码抄一份到router-link-active吧。
router-link添加属性active-class="xxxx"
<template>
  <div id="app">
    这是App.vue的一句话 <br>
    <router-link to="/index" active-class="myClass">去首页</router-link>
    <br>
    <router-link to="/page1" active-class="myClass">去page1</router-link>
    <router-view></router-view>
  </div>
</template>

<style>
  .router-link-active{


    color: green;
    font-size: 30px;
    background: red;
  }
  .myClass{


    color: antiquewhite;
    font-size: 50px;
  }
</style>

六、传参数
query传参数(this.$route.query.id)
比如/index?id=10&name=666,只需要在对应的那个vue文件,使用this.$route.query.xxx就可以获得
App.vue
<template>
  <div id="app">
    这是App.vue的一句话 <br>
    <router-link to="/index?id=10&name=666" >去首页</router-link>
    <br>
    <router-link to="/page1" >去page1</router-link>
    <router-view></router-view>
  </div>
</template>
Index.vue
<template>
    <div>
        我是首页
        {

   {$route.query.id}}
    </div>
</template>

<script>
    export default {


        name: "Index",
        created() {


            console.log(this.$route.query.id)
        }
    }
</script>

params传参数(this.$route.params.id)
相当于一个占位符啦。
- 在路径中加占位符,占位符格式为
path: '/路径/:xx占位符的参数'(:参数为占位符){ path: '/page1/:id', name: '页面1', component: Page1 }, - 在router-link中,传参,格式和path的一样
<template> <div id="app"> 这是App.vue的一句话 <br> <router-link to="/index" >去首页</router-link> <br> <router-link to="/page1/12" >去page1</router-link> <router-view></router-view> </div> </template> - Page1.vue中输出
<template>
    <div>
        <h1>页面1</h1>
        {

     {$route.params.id}}
    </div>
</template>

<script>
    export default {


        name: "Page1",
        created() {


            console.log(this.$route.params.id)
        }
    }
</script>
id=12就传过去了
七、router-view里面再用router-view
小朋友,你是否想过App.vue中用一个router-view,然后里面的页面再用一个router-view?
我试过,但是失败了,然后上网查,说要加一个children属性才可以。
比如这个结构

App.vue里面有个router-view,展示index.vue的东西,然后index.vue里面又有个router-view,展示page1或者page2的东西。
注册组件的时候,注册index,然后有个属性children数组,里面写page1和page2
index.js
import Vue from 'vue'
import VueRouter from 'vue-router'
import Home from '../views/Home.vue'
import Test from "../views/Test";
import App from "../App";
import Page1 from "../views/Page1";
import Page2 from "../views/Page2";
import Index from "../views/Index";

Vue.use(VueRouter)

  const routes = [
  {


    path: '/index',
    name: '首页',
    component: Index,
    //children属性,数组形式,然后里面的也是和平常写的一样
    children: [
      {


        path: 'page1',
        name: '页面1',
        component: Page1
      },
      {


        path: 'page2',
        name: '页面2',
        component: Page2
      },
    ]
  },
  {


    path: '/about',
    name: 'About',
    // route level code-splitting
    // this generates a separate chunk (about.[hash].js) for this route
    // which is lazy-loaded when the route is visited.
    component: () => import(/* webpackChunkName: "about" */ '../views/About.vue')
  }

]

const router = new VueRouter({


  mode: 'history',
  base: process.env.BASE_URL,
  routes
})

export default router
- children里面的写法和平常的一样,但是!!,path前面不要+
/
App.vue
就一个routerlink走向/index,和一个rouer-view
<template>
  <div id="app">
    这是App.vue的一句话 <br>
    <router-link to="/index" >去首页</router-link>
    <br>
    <router-view></router-view>
  </div>
</template>
Index.vue
<template>
    <div>
        我是首页
        <router-link to="/index/page1">page1</router-link>
        <router-link to="/index/page2">page2</router-link>

        <router-view></router-view>
    </div>
</template>

<script>
    export default {


        name: "Index"
    }
</script>
- Index.vue里面也用了router-view了,里面的东西是什么呢?就是children属性的东西
- 主意啊,跳转是
/index/page2不是/page2
Page1.vue,Page2.vue都一样啦
<template>
    <div>
        <h1>页面1</h1>
    </div>
</template>

<script>
    export default {


        name: "Page1"
    }
</script>
八、$router和$route
比如我们采用占位符进行传参数,看看输出分别是什么
path: 'page1/:id',和<router-link to="/index/page1/1">page1</router-link>
console.log(this.$route);
console.log(this.$router)

可以大概看到,$route是关于当前的路由的信息,什么地址,传值什么的
$router则是全局的东西
九、components
小朋友,你是否又有一个疑惑,上面的router-view,只能展示一个vue文件的内容,同一个页面写多几个router-view,还是显示同样的东西。有没有可以在一个路由页面中,显示几个VUE?
有的,用components属性
  const routes = [
  {


    path: '/',
    name: '首页',
    //一个path,多个容器
    components: {


      'default': Index,
      'one': Page1,
      'two': Page2
    }
  },
- components左边用
'定义要展示的名字',右边写容器的名字,default就是默认,你不写name就默认展示默认的东西
<template>
  <div id="app">
    这是App.vue的一句话 <br>
	<!--显示defualt,对应VUE页面为Index-->
    <router-view ></router-view>
    <!--显示one,对应VUE页面为Page1-->
    <router-view name="one"></router-view>
    <router-view name="two"></router-view>

  </div>
</template>

十、安装Vue.js devtools
直接去chrome商店下载,不过要开飞机


这样就可以查看element-ui和VUE的东西了
十一、设置动态路由
人话就是,类似router-link的东西。虽然router-link有tag属性可选变成button,p标签其他的。但是!!只能变为原生html的样式,element-ui的样式却变不了。
比如现在这个页面

但是这个标签是element的,router-link用不了

但是!!vue帮我们做好了,我们只需要一下几步
- 在
el-menu标签添加router属性 - 添加
router-view el-menu-item为选项的标签,其index值就是跳转的router
<template>
  <div id="app">

      <el-container style="height: 500px; border: 1px solid #eee">
        <el-aside width="200px" style="background-color: rgb(238, 241, 246)">
<!--          1、添加router-->
          <el-menu :default-openeds="['1', '2']" router>
            <el-submenu index="1">
              <template slot="title"><i class="el-icon-message"></i>导航一</template>
              <el-menu-item-group>
<!--          3、index的值就是跳转的router-->
                <el-menu-item index="/page1">选项1</el-menu-item>
                <el-menu-item index="/page2">选项2</el-menu-item>
              </el-menu-item-group>

            </el-submenu>
            <el-submenu index="2">
              <template slot="title"><i class="el-icon-menu"></i>导航二</template>
              <el-menu-item-group>
<!--            即使没有path为/2-1的,也会跳转-->
                <el-menu-item index="2-1">选项3</el-menu-item>
                <el-menu-item index="2-2">选项4</el-menu-item>
              </el-menu-item-group>

            </el-submenu>

          </el-menu>
        </el-aside>

        <el-container>
          <el-header style="text-align: right; font-size: 12px">
          </el-header>
<!--      添加 router-view-->
          <router-view></router-view>

        </el-container>
      </el-container>


  </div>
</template>


十二、跳转
1、this.$router.push(“xxx”)
在方法中使用this.$router.push("/xxx"),就可以跳到指定路径,从而配合router-view.
2、在el-menu标签中添加router属性
这个方法不一定实用于所有,因为el-menu中有el-menu-item子标签,而这个子标签的index属性就是跳转的路径,这个是特殊的
- 在
el-menu标签添加router属性 - 添加
router-view el-menu-item为选项的标签,其index值就是跳转的router
十三、跳转并且传数据(前端与前端)
就一个页面跳转到一个页面,并且携带数据,例如改数据。虽然上面的第六章:传参数也有,但是,方法总不能嫌多的
1、<template slot-scope="scope">(显示数据)
这个东西,很神奇,一般这样用,只能用于template的属性
<el-table
        :data="tableData"
        border
        style="width: 40%">
    <el-table-column
            fixed
            prop="id"
            label="ID"
            width="150">
    </el-table-column>
    <el-table-column
            prop="name"
            label="姓名"
            width="120">
    </el-table-column>
    <el-table-column
            prop="author"
            label="作者"
            width="120">
    </el-table-column>
    <el-table-column
            fixed="right"
            label="操作"
            width="100">
        <template slot-scope="scope">
            <el-button @click="handleClick(scope.row)" type="text" size="small">查看</el-button>
            <el-button type="text" size="small">编辑</el-button>
        </template>
    </el-table-column>
</el-table>

<script>
 export default {


     methods: {


         test(){


             this.$router.push("/addbook")
         	}
   		}
}
</script>

点一下查看,就是26.27行的那些代码,定义了一个slot-scope="scope",利用什么滚动的。。我也不懂。然后下一行@click="handleClick(scope.row)",表示点这个查看用到这个方法,并且有个参数,方法中,传的这个scopne.row,可以展示这个框的数据

2、this.$router.push(“xxx”)进行传数据
也是用push,不过有点不一样
发送:
    this.$router.push({


        path: '/editbook',
        query:{


            id: row.id,
            name: row.name,
            author: row.author
        }
    })
这个,row啊,就是我们当前这个框的值,不要在意,比如当前框的值是id=1&name=三体&author=刘慈欣,点一下,就是

这个和上面的一样啦。。。
接受
  created() {


      this.ruleForm.id=this.$route.query.id;
      this.ruleForm.name=this.$route.query.name;
      this.ruleForm.author=this.$route.query.author;
  }
这个和第六章的query接受数据一样。。差不多的
3、params方式传数据
这个和上面的有点不一样,上面的有点类似传统的,就是xxx?id=1这种。接下来这种可以说是路由占位符。一般用于a标签比较多?
先看路由这里router/index.js
{


	  path: '/activity',
	  name :'ActivityIndex',
	  component: ActivityIndex
  },{


  		//:id 是占位符,比如 xxx/activity/1
	  path:'/activity/:id',
	  name:'AcitivityItem',
	  component: AcitivityItem
  }
activity这里跳转个id过去
ActivityIndex.vue
<!--  比如 activity/1 -->
	<a :href="'activity/'+item.id" "></a>
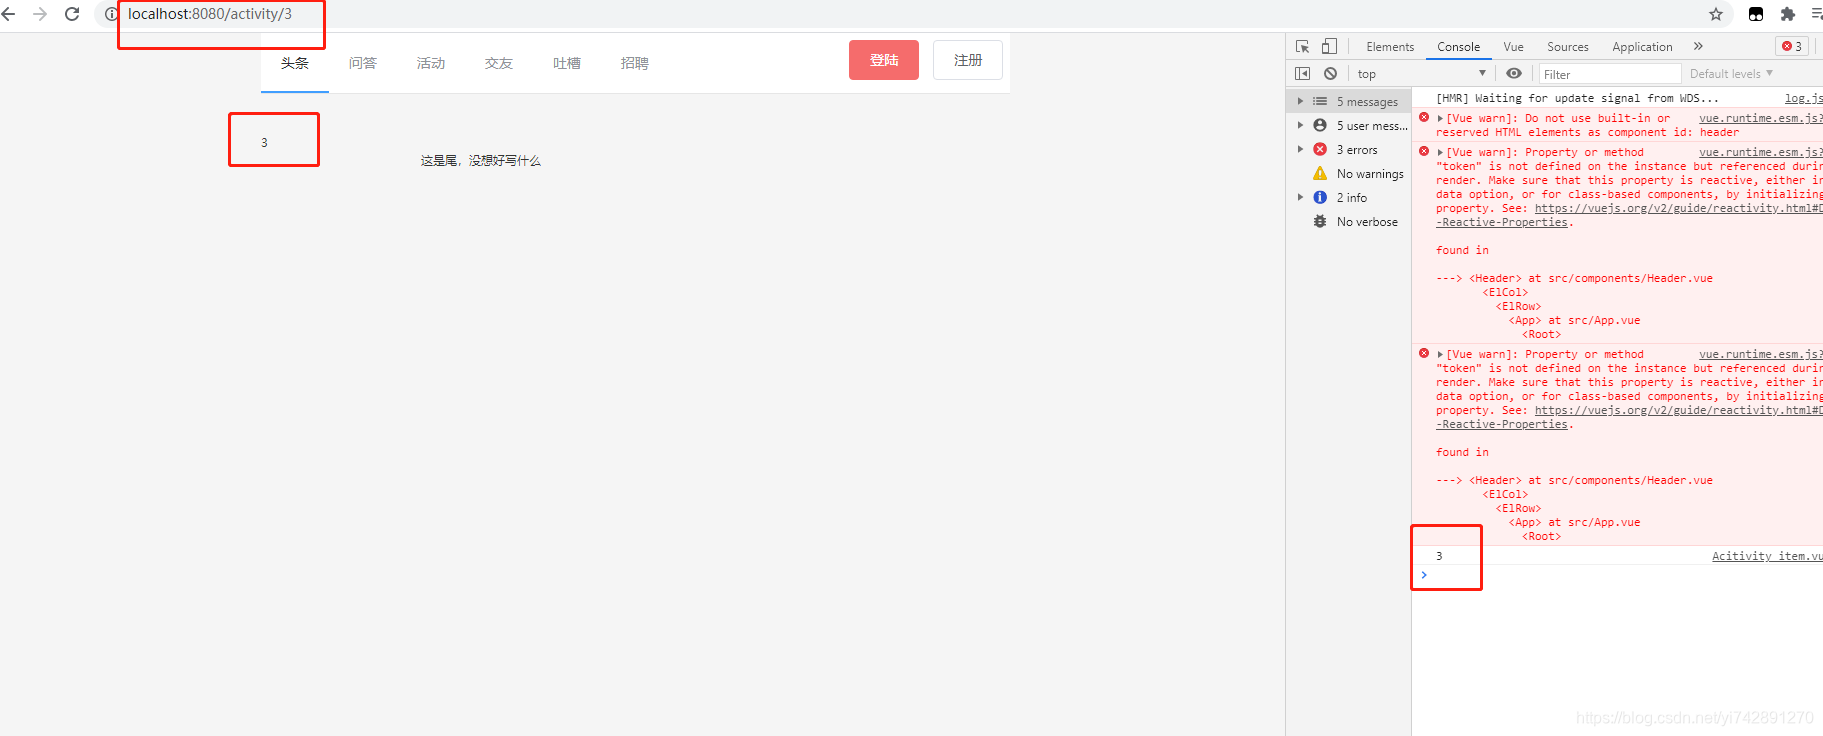
AcitivityItem.vue
<template>
	这里可以显示传过来的参数
	<div>{

   {$route.params.id}}</div>
</template>

<script>
	export default{


		name:"AcitivityItem",
		created() {


		//这里可以显示传过来的参数
			console.log(this.$route.params.id)
		}
	}
</script>

<style>
</style>