最近学习了模仿制作天猫商场,做一些必要的笔记,一来是对自己学习的知识的巩固,二来对有同样问题的人有参考作用
一 概述
1 maven配置
 <dependency>
  <groupId>org.apache.shiro</groupId>
  <artifactId>shiro-spring</artifactId>
  <version>1.3.2</version>
 </dependency>
2 核心概念
- Subject
-
代表当前正在执行操作的用户,但Subject代表的可以是人,也可以是任何第三方系统帐号。当然每个subject实例都会被绑定到SercurityManger上。 - SecurityManger
-
SecurityManager是Shiro核心,主要协调Shiro内部的各种安全组件,这个我们不需要太关注,只需要知道可以设置自定的Realm。 - Realm
-
用户数据和Shiro数据交互的桥梁。比如需要用户身份认证、权限认证。都是需要通过Realm来读取数据。
3 主要类
springboot中集成shiro相对简单,只需要两个类:一个是shiroConfig类,一个是CustonRealm类。
- ShiroConfig类
-
顾名思义就是对shiro的一些配置,相对于之前的xml配置。包括:过滤的文件和权限,密码加密的算法,其用注解等相关功能。 - CustomRealm类
-
自定义的CustomRealm继承AuthorizingRealm,用来实现认证和权限分配,并且重写父类中的doGetAuthorizationInfo(权限相关)、doGetAuthenticationInfo(身份认证)这两个方法。
二 代码实现
1 自定义Realm
UserService的实现参考我的下一篇文章springboot整合shiro之数据库实现[dbReaml实现]
public class CustomRealm extends AuthorizingRealm {

    @Autowired
    UserService userService;

	/**
	* 进行权限分配
	*/
    @Override
    protected AuthorizationInfo doGetAuthorizationInfo(PrincipalCollection principalCollection) {
        int userId = (Integer) SecurityUtils.getSubject().getPrincipal();
        List<String> roles = userService.getRolesByUser(userId);
        SimpleAuthorizationInfo info = new SimpleAuthorizationInfo();
        Set<String> rolesSet = new HashSet<>(roles);
        info.setRoles(rolesSet);
        return info;
    }

    /**
     * 进行身份验证(通俗讲就是登陆验证)
     */
    @Override
    protected AuthenticationInfo doGetAuthenticationInfo(AuthenticationToken authenticationToken) throws AuthenticationException {
        String userName = (String) authenticationToken.getPrincipal();
        if (StringUtils.isEmpty(userName)){
            throw new AccountException("用户名格式错误");
        }
        User user = userService.get(userName);
        if (user == null){
            throw new AccountException("用户名不存在");
        }
        int userId = user.getId();
        String dbPassword = user.getPassword();
        String salt = user.getSalt();

        SimpleAuthenticationInfo simpleAuthenticationInfo = new SimpleAuthenticationInfo(userId, dbPassword, ByteSource.Util.bytes(salt), getName());
        return simpleAuthenticationInfo;
    }

}
特别的:
- 自定义的Realm类继承AuthorizingRealm类,并且重载doGetAuthorizationInfo和doGetAuthenticationInfo两个方法。
- doGetAuthorizationInfo: 权限认证,即登录过后,每个身份不一定,对应的所能看的页面也不一样。会在被login()方法自动调用
doGetAuthenticationInfo:身份认证。即登录通过账号和密码验证登陆人的身份信息。会在权限或角色认证的时候被自动调用 - SimpleAuthenticationInfo simpleAuthenticationInfo = new SimpleAuthenticationInfo(userId, dbPassword, ByteSource.Util.bytes(salt), getName());中的userId可以随意(因为认证过程只需要密码的匹配,不涉及第一个参数),尽量是你需要的东西,比如大部分人放的是userName用来标识用户,而我放的是userId这样方便在权限分配时候查找数据库。
2 shiroConfig配置
/**
 * @author yangosng
 * @create 2020.04.01
*/

@Configuration
public class ShiroConfig {

    @Bean(name = "shiroFilter")
    public ShiroFilterFactoryBean shiroFilter(SecurityManager securityManager) {
        ShiroFilterFactoryBean shiroFilterFactoryBean = new ShiroFilterFactoryBean();
        //当认证未通过时访问的路径
        shiroFilterFactoryBean.setSecurityManager(securityManager);
        shiroFilterFactoryBean.setLoginUrl("/test/login");
        //权限不足时自动跳转的路径
        shiroFilterFactoryBean.setUnauthorizedUrl("/test/notRole");
        Map<String, String> filterChainDefinitionMap = new LinkedHashMap<>();
        // <!-- authc:所有url都必须认证通过才可以访问; anon:所有url都都可以匿名访问-->
        filterChainDefinitionMap.put("/test/login", "anon");
        filterChainDefinitionMap.put("/", "anon");
        filterChainDefinitionMap.put("/config/addUser", "anon");
        filterChainDefinitionMap.put("/addUser.html", "anon");
        filterChainDefinitionMap.put("/test/notRole", "anon");

        filterChainDefinitionMap.put("/admin/**", "authc,roles[supper]");
        //主要这行代码必须放在所有权限设置的最后,不然会导致所有 url 都被拦截 剩余的都需要认证
        filterChainDefinitionMap.put("/**", "authc");
        shiroFilterFactoryBean.setFilterChainDefinitionMap(filterChainDefinitionMap);
        return shiroFilterFactoryBean;

    }

    @Bean
    public SecurityManager securityManager() {
        DefaultWebSecurityManager defaultSecurityManager = new DefaultWebSecurityManager();
        defaultSecurityManager.setRealm(customRealm());
        return defaultSecurityManager;
    }

    @Bean
    public CustomRealm customRealm() {
        CustomRealm customRealm = new CustomRealm();
        customRealm.setCredentialsMatcher(hashedCredentialsMatcher());
        return customRealm;
    }

    /**
     * 配置密码加密
     * md5算法
     * 散列2次
     * @return
     */
    @Bean
    public HashedCredentialsMatcher hashedCredentialsMatcher(){
        HashedCredentialsMatcher hashedCredentialsMatcher = new HashedCredentialsMatcher();
        hashedCredentialsMatcher.setHashAlgorithmName("md5");
        hashedCredentialsMatcher.setHashIterations(2);
        return hashedCredentialsMatcher;
    }

    /**
     * 开启注解
     */
    @Bean
    public LifecycleBeanPostProcessor lifecycleBeanPostProcessor() {
        return new LifecycleBeanPostProcessor();
    }

    /**
     * *
     * 开启Shiro的注解(如@RequiresRoles,@RequiresPermissions),需借助SpringAOP扫描使用Shiro注解的类,并在必要时进行安全逻辑验证
     * 配置以下两个bean(DefaultAdvisorAutoProxyCreator(可选)和AuthorizationAttributeSourceAdvisor)即可实现此功能
     * * @return
     */
    @Bean
    @DependsOn({"lifecycleBeanPostProcessor"})
    public DefaultAdvisorAutoProxyCreator advisorAutoProxyCreator() {
        DefaultAdvisorAutoProxyCreator advisorAutoProxyCreator = new DefaultAdvisorAutoProxyCreator();
        advisorAutoProxyCreator.setProxyTargetClass(true);
        return advisorAutoProxyCreator;
    }

    @Bean
    public AuthorizationAttributeSourceAdvisor authorizationAttributeSourceAdvisor() {
        AuthorizationAttributeSourceAdvisor authorizationAttributeSourceAdvisor = new AuthorizationAttributeSourceAdvisor();
        authorizationAttributeSourceAdvisor.setSecurityManager(securityManager());
        return authorizationAttributeSourceAdvisor;
    }

}
特别的:
- shiroFilter方法
这个方法看名字就知道了:shiro的过滤器,可以设置登录页面(setLoginUrl)、权限不足跳转页面(setUnauthorizedUrl)、具体某些页面的权限控制或者身份认证。
注意:这里是需要设置SecurityManager(setSecurityManager)。默认的过滤器还有:anno、authc、authcBasic、logout、noSessionCreation、perms、port、rest、roles、ssl、user过滤器。
具体的大家可以查看package org.apache.shiro.web.filter.mgt.DefaultFilter。这个类,常用的也就authc、anno。 - securityManager 方法
查看源码可以知道 securityManager是一个接口类,我们可以看下它的实现类:
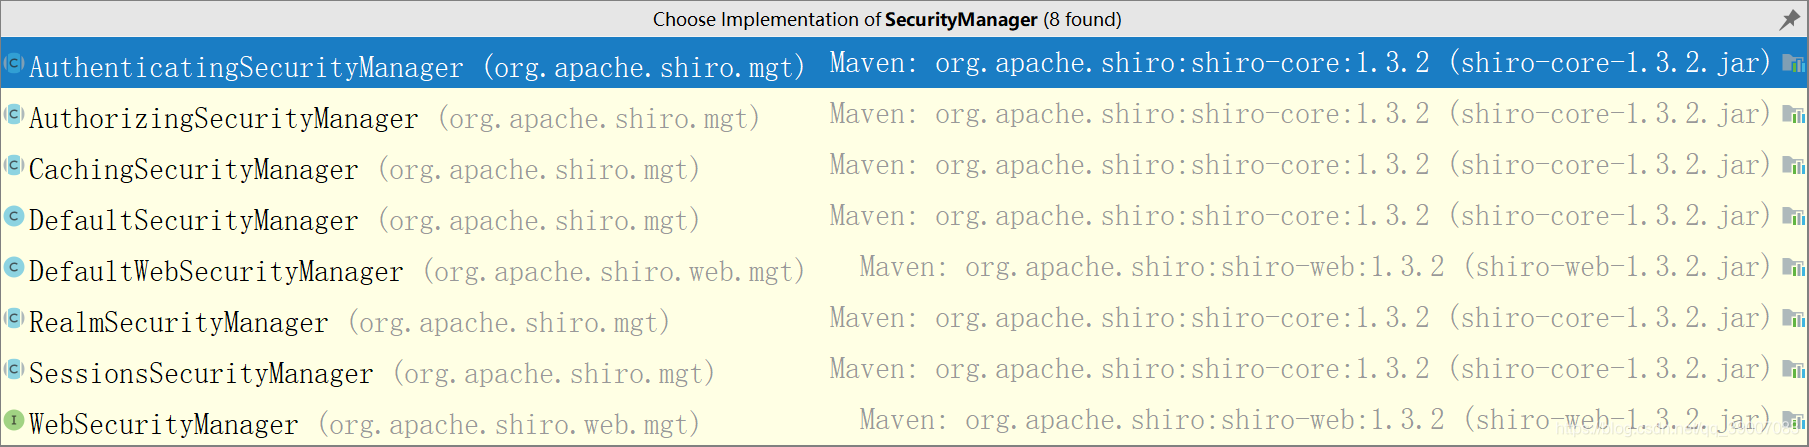
具体怎么实现的,感兴趣的同学可以看下。由于项目是一个web项目,所以我们使用的是DefaultWebSecurityManager ,然后设置自己的Realm。 - MD5加密
hashedCredentialsMatcher()是用来配置MD5加密的,千万记住要用customRealm.setCredentialsMatcher(hashedCredentialsMatcher());进行声明,否则验证过正不会被使用,登录验证总是出现用户名密码错误的提示。
三 总结
shiro最主要的作用就是认证和权限分配。
如有错误恳请指正,如有侵权请联系我删除
参考文章: SpringBoot2.0集成Shiro