Thymeleaf 简介
Thymeleaf是适用于Web和独立环境的现代服务器端Java模板引擎。
另外,由于 Thymeleaf 模板后缀为 .html,可以直接被浏览器打开,因此,预览时非常方便。
整合
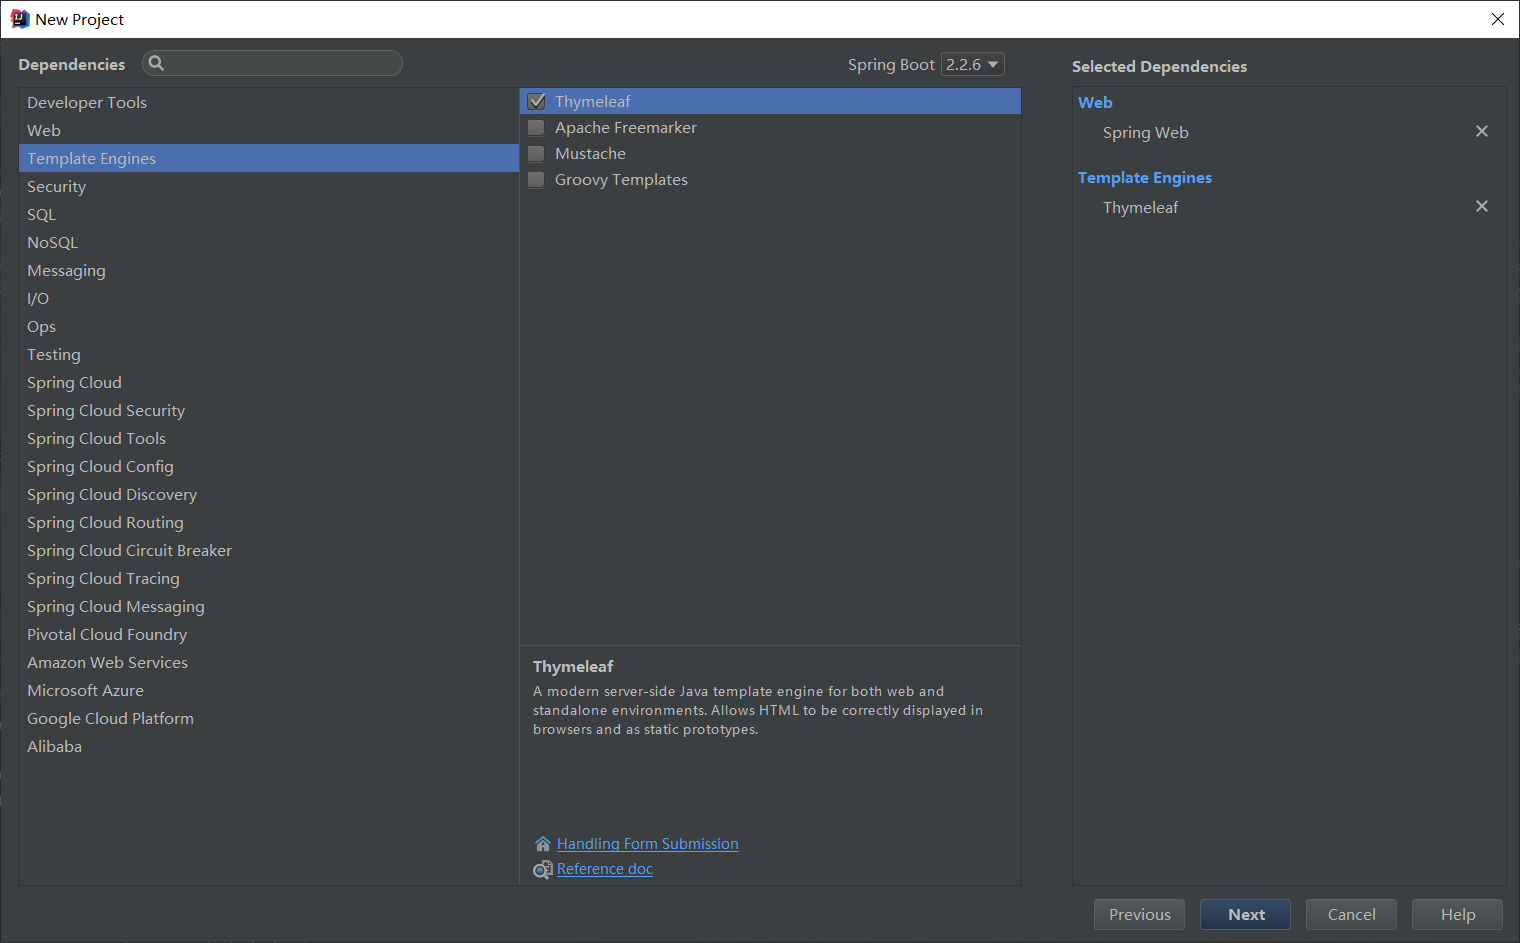
创建项目,添加依赖
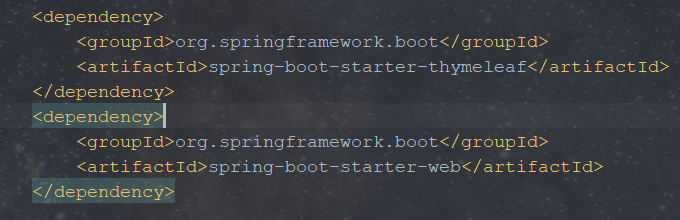
创建完成后发现pom.xml已经添加好了依赖
然后再创建实体类
public class User {
    private int id;
    private String name;
    private String address;

    public int getId() {
        return id;
    }

    public void setId(int id) {
        this.id = id;
    }

    public String getName() {
        return name;
    }

    public void setName(String name) {
        this.name = name;
    }

    public String getAddress() {
        return address;
    }

    public void setAddress(String address) {
        this.address = address;
    }
}
创建控制器
@Controller
public class UserController {

    @RequestMapping(value = "index",method = RequestMethod.GET)
    public String index(Model model){
        List<User> users=new ArrayList<User>();
        for (int i=1;i<4;i++){
            User user=new User();
            user.setId(i);
            user.setName("小明"+i);
            user.setAddress("东莞"+i);
            users.add(user);
        }
        model.addAttribute("users",users);
        return "index";
    }

}
默认的编码格式: UTF-8
视图解析器的前缀: classpath:/templates/(resources/template)
后缀: .html
然后去templates下创建index.html
<!DOCTYPE html>
<html lang="en" xmlns:th="http://www.w3.org/1999/xhtml">
<head>
    <meta charset="UTF-8">
    <title>index</title>
</head>
<body>
   <table>
       <tr>
           <th>编号</th>
           <th>姓名</th>
           <th>住址</th>
       </tr>
       <tr th:each="user : ${users}">
           <td th:text="${user.id}"></td>
           <td th:text="${user.name}"></td>
           <td th:text="${user.address}"></td>
       </tr>
   </table>
</body>
</html>
在 Thymeleaf 中,通过 th:each 指令来遍历一个集合,数据的展示通过 th:text 指令来实现,
注意 index.html 最上面要引入 thymeleaf 名称空间。
官方文档
启动项目,测试
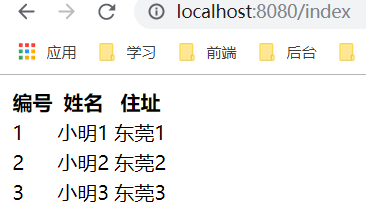
这样一个springboot整合thymeleaf的小案例就成功了。
如果需要不想使用默认的配置,可以自己通过spring.thymeleaf来进行配置
下面再application.properties添加如下配置
#前缀
spring.thymeleaf.prefix=classpath:/html/
#后缀
spring.thymeleaf.suffix=.html
#编码格式
spring.thymeleaf.encoding=utf-8
#使用HTML5标准
spring.thymeleaf.mode=HTML5
UserController中添加
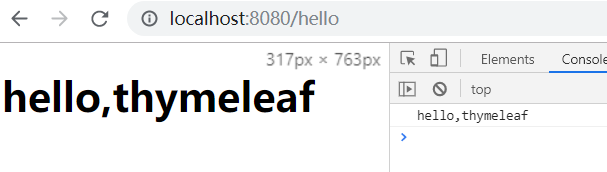
@RequestMapping(value = "hello",method=RequestMethod.GET)
    public String hello(Model model){
        model.addAttribute("name","hello,thymeleaf");
        return "hello";
    }
然后再classpath:下先创建一个html文件夹,再创建hello.html文件
另外,Thymeleaf 支持在 js 中直接获取 Model 中的变量。
<!DOCTYPE html>
<html lang="en" xmlns:th="http://www.w3.org/1999/xhtml">
<head>
    <meta charset="UTF-8">
    <title>hello</title>
</head>
<body>
   <h1 th:text="${name}"></h1>
   //在页面模板中,可以直接在 js 中获取到这个变量
   <script th:inline="javascript">
       var name = [[${name}]];
       console.log(name)
   </script>
</body>
</html>
运行,测试
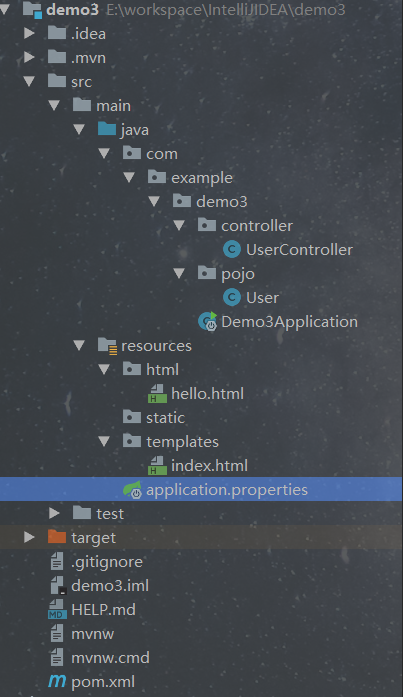
最后,完整的文件结构