Thymeleaf页面布局
熟悉Thymeleaf的语法和表达式后,后面开发起来会更加得心应手。接下来好好研究一下Thymeleaf如何实现完整的Web系统页面布局。
1.引入代码片段
在模板中经常希望包含来自其他模板页面的内容,如页脚、页眉、菜单等。为了做到这一点,Thymeleaf提供了th:fragment属性。下面通过在页面中添加标准的版权页脚的场景来演示如何引入代码片段。
步骤01 定义版权页脚代码片段。
在templates目录下创建版权模板页面footer.html,示例代码如下:
<!DOCTYPE html>
<html lang="en" xmlns:th="http://www.thymeleaf.org">
<body>
<div th:fragment="copyright">
© 2020 The Thymeleaf footer
</div>
</body>
</html>
在上面的示例中,我们创建了版权页面footer.html,使用th:fragment属性定义了一个代码片段,名为copyright。
步骤02 引入代码片段模板。
创建一个普通的模板页面layout.html。使用th:insert或th:replace属性引入之前定义的copyright版权页面,示例代码如下:
<!DOCTYPE html>
<html lang="en" xmlns:th="http://www.thymeleaf.org">
<body>
<h1>Thymeleaf模板引擎</h1>
<h3>页面布局</h3>
<div th:insert="~{footer :: copyright}"></div>
</body>
</html>
在上面的示例中,在layout.html中通过th:insert引入先前定义的footer.html中的copyright代码片段,“~{footer :: copyright}”就是在当前模板页面引入的footer.html模板中的copyright片段。
步骤03 启动验证。
启动项目后,在浏览器中输入地址http://localhost:8080/layout,验证主页是否能正常引入footer.html代码片段,如图所示。
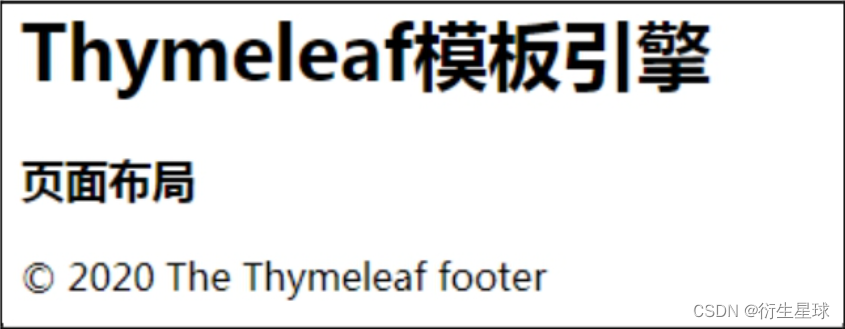
layout.html页面通过th:insert属性成功将footer页面的版权信息包含在主页中。
2.片段表达式语法规范
Thymeleaf片段表达式非常实用,可以实现模板页面的复用,避免相同内容需要修改多个页面的情况。
2.1 标记选择器
片段表达式的语法非常简单,其核心是标记选择器,由底层的AttoParser解析库定义,类似于XPath表达式或CSS选择器。片段表达式有以下3种不同的格式:
1)~{templatename::selector}:包含templatename和selector两个参数,其中templatename为页面模板的名称,selector为模板中定义的代码片段。例如上面示例中的“~{footer :: copyright}”就是在当前模板页面引入footer.html模板中的copyright片段。
2)~{templatename}:引入名为templatename的完整模板。
3)~{::selector}或~{this::selector}:Thymeleaf支持从同一个模板插入一个片段,如果在当前的模板上找不到,将向最初处理的模板遍历,直到选择器匹配上对应的模板。
此外,标记选择器的模板名和选择器还可以包含条件判断或三目运算等其他表达式语法,比如:
<div th:insert="footer :: (${user.isAdmin}? #{footer.admin} : #{footer.normaluser})"></div>
通过判断后台用户是否是管理员从而引入相应的代码片段,实现管理员和普通用户的页面区分。
2.2 引用普通的模板
标记选择器非常强大,可以包含不使用任何th:fragment属性的片段,甚至可以是来自完全不了解Thymeleaf的不同应用程序的标记代码:
<div id="copy-section">
© 2023 The Thymeleaf footer
</div>
我们可以使用上面的片段,只需通过它的id属性引用,类似于CSS选择器:
<div th:insert="~{footer :: #copy-section}"></div>
2.3 th:insert、th:replace和th:include的区别
th:insert、th:replace和th:include的功能基本类似,三者之间的差异如下:
- th:insert是最简单的,它简单地插入指定的片段作为其宿主标签的主体。
- th:replace实际上用指定的片段替换它的主机标签。
- th:include与th:insert类似,但它并不插入片段,只插入该片段的内容。
3.可参数化片段
Thymeleaf支持在th:fragment定义的片段中指定一组参数,这使得模板片段更像一个可重复调用的函数。通过不同的参数控制模板的显示,从而达到模板共用的效果。
下面用th:fragment定义的片段指定一组参数:
    <div th:fragment="frag(onevar, twovar)">
        <p th:text="${onevar} + '-' + ${twovar}">...</p>
    </div>
定义的frag片段包含两个参数,不需要定义参数的类型。
使用th:insert或th:replace调用此片段时,需要传入两个参数:
    <div th:replace="::frag (${value1},${value2})">...</div>
    <div th:replace="::frag (onevar=${value1},twovar=${value2})">...</div>
片段的参数传递与函数调用类似,通过传入的参数控制页面显示。
实战:实现页面整体布局
一般业务处理系统页面整体布局基本上固定的。常用的框架模式将页面分为头部、左侧菜单栏、尾部和中间的展示区等页面。我们可以使用Thymeleaf的代码片段功能,实现应用系统页面整体布局。
下面通过示例演示Thymeleaf如何实现页面整体布局。
步骤01 在templates/layout目录下新建footer.html、header.html、left.html等各区域模板页面。
footer.html的内容如下:
<!DOCTYPE html>
<html lang="en" xmlns:th="http://www.thymeleaf.org">
<head>
    <meta charset="UTF-8">
    <title>footer</title>
</head>
<body>
    <footer th:fragment="footer">
        <div style="position: fixed; bottom: 0px; background-color: green; width:100%">
            <h1 style="text-align:center">我是底部</h1>
        </div>
    </footer>
</body>
</html>
left.html的内容如下:
<!DOCTYPE html>
<html lang="en" xmlns:th="http://www.thymeleaf.org">
<head>
    <meta charset="UTF-8">
    <title>left</title>
</head>
<body>
<left th:fragment="left">
    <div style="background-color: red; width:200px;height: 80vh">
        <h1 style="margin: 0;">我是左侧</h1>
    </div>
</left>
</body>
</html>
header.html的内容如下:
<!DOCTYPE html>
<html lang="en" xmlns:th="http://www.thymeleaf.org">
<head>
    <meta charset="UTF-8">
    <title>header</title>
</head>
<body>
<header th:fragment="header">
    <div style="background-color: blue; height: 100px">
        <h1 style="margin: 0;text-align: center;">我是头部</h1>
    </div>
</header>
</body>
</html>
步骤02 在templates目录下新建index.html页面,内容如下:
<!DOCTYPE html>
<html lang="en" xmlns:th="http://www.thymeleaf.org">
<head>
    <meta charset="UTF-8">
    <title>Layout</title>
</head>
<body style="margin: 0px;">
    <div th:replace="layout/header :: header"></div>
    <div th:replace="layout/left :: left"></div>
    <div th:replace="layout/footer :: footer"></div>
</body>
</html>
在上面的示例中,我们在index.html页面中使用th:replace的语法将网站的头部、尾部、左侧引入页面中。
步骤03 在后端添加访问入口。
    @RequestMapping("/index")
    public String index() {


        return "index";
    }
步骤04 运行验证。
前面3个步骤完成之后,启动后访问地址http://localhost:8080/layout/index,可以看到页面显示效果如图所示。
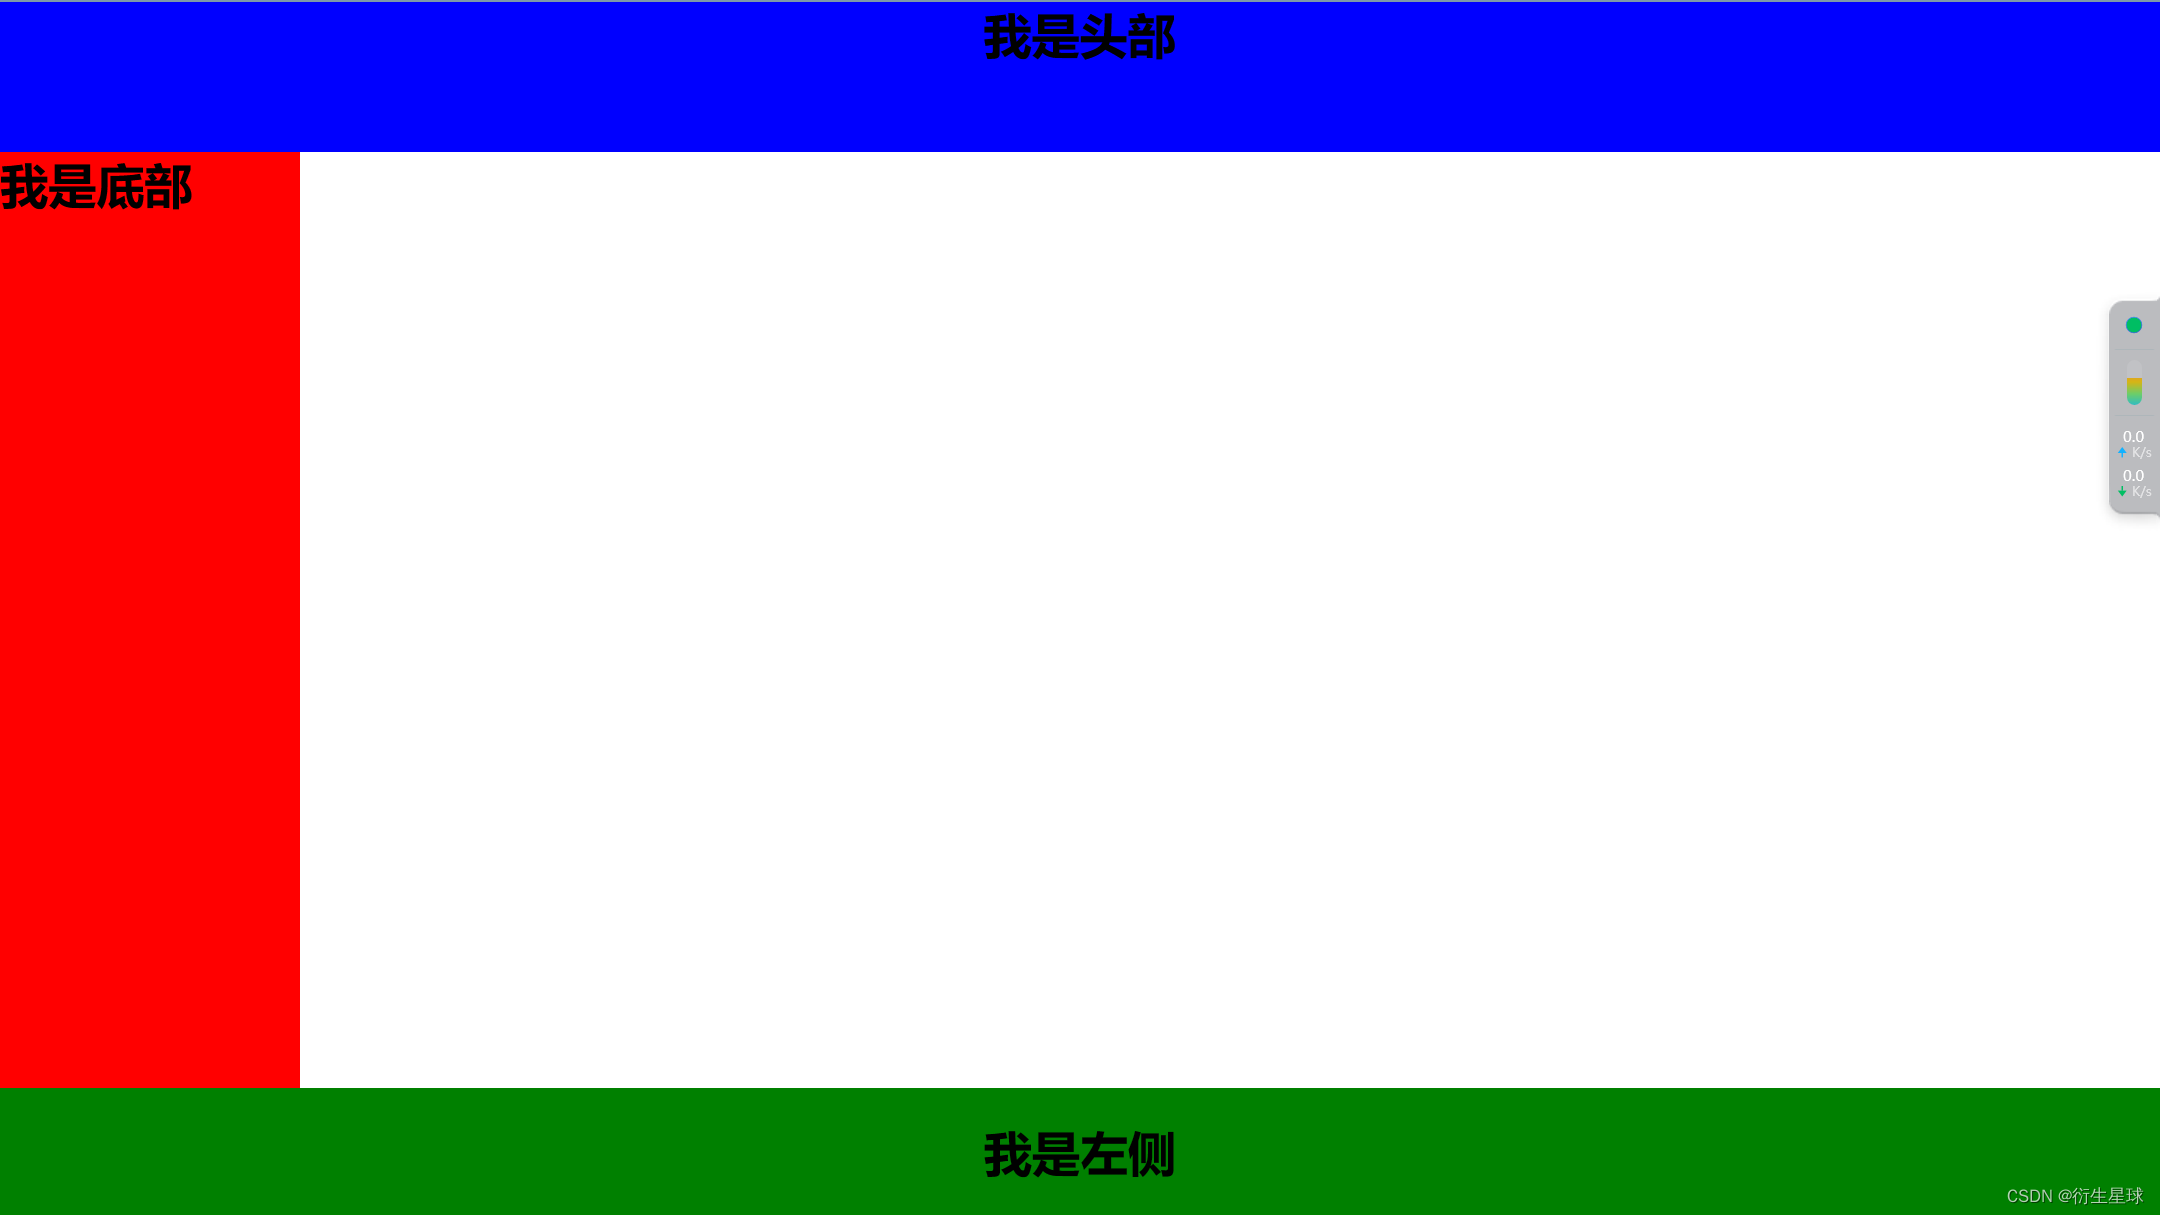
index.html页面已经成功地引入了页面的头部、尾部、左侧,实现了页面的整体布局。实际项目中以index.html为模板,任何页面使用此布局时,只需要替换中间的内容即可。