目录
0 前言
2019年10月Tensorflow正式放出版本2.0,不少网友使用后表示,Tensorflow2.0比Pytorch更好用。
1 准备
我的系统是windows 10,使用Anaconda来管理python环境,通过Anaconda来安装Tensorflow2.0非常简单。
Anaconda安装具体见Anaconda安装教程
2 Tensorflow2.0 CPU版本安装
2.1 新建虚拟环境
使用Anaconda创建一个虚拟环境,具体见Anaconda安装使用教程
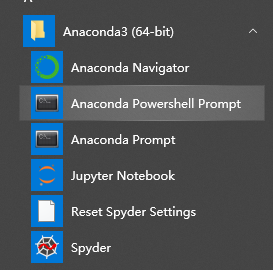
选择Anaconda Prompt
先更新conda
conda update conda
然后新建一个虚拟环境
conda create -n tensorflow2.0-cpu python=3.7
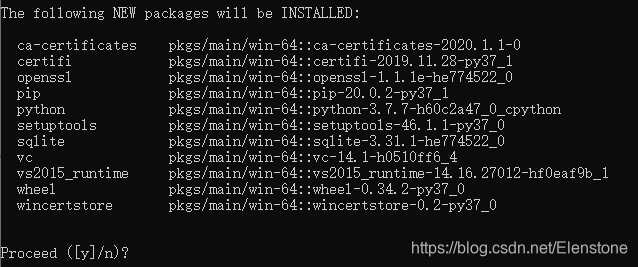
选择y

然后激活虚拟环境:
activate tensorflow2.0-cpu

可以看出环境已经改变,已经进入新建的虚拟环境。
2.2 安装Tensorflow2.0 CPU版本
使用国内清华源来下载,速度快得多
pip install tensorflow==2.0.0 -i https://pypi.tuna.tsinghua.edu.cn/simple
若安装失败,需要多执行上述命令几次。
2.3 验证Tensorflow2.0 CPU版本
新建一个.py文件,用tensorflow2.0-cpu虚拟环境运行
import tensorflow as tf
version = tf.__version__
gpu_ok = tf.test.is_gpu_available()
print("tf version:",version,"\nuse GPU",gpu_ok)
如果没有问题就会出现下列情况:
tf version: 2.0.0
use GPU False
3 tensorflow3.0 GPU 版本安装
3.1 Anaconda创建虚拟环境
同CPU版本一样创建虚拟环境:tensorflow2.0-gpu
先更新conda
conda update conda
然后新建一个虚拟环境
conda create -n tensorflow2.0-gpu python=3.7
选择y
然后激活虚拟环境:
activate tensorflow2.0-gpu
3.2 安装tensorflow2.0 GPU版本的NVINDA驱动
安装GPU版本支持,拥有Nvidia的GPU的windows一般都有默认驱动的,只需要安装cudatoolkit 与 cudnn包就可以了,要注意一点需要安装cudatoolkit 10.0 版本,注意一点,如果系统的cudatoolkit小于10.0需要更新一下至10.0。
conda install cudatoolkit=10.0 cudnn
3.3 安装tensorflow2.0 GPU版本
从国内清华源下载
pip install tensorflow-gpu==2.0.0 -i https://pypi.tuna.tsinghua.edu.cn/simple
失败时,可以多试几次。
3.4 验证安装
import tensorflow as tf
version = tf.__version__
gpu_ok = tf.test.is_gpu_available()
print("tf version:",version,"\nuse GPU",gpu_ok)
结果:
tf version: 2.0.0
use GPU True
