一、创建scrapy项目
1.首先我们通过命令行先创建项目
# 创建项目
kouhuideMacBook-Air:scrapy框架 kouhui$ scrapy startproject Zhanzhangpic

执行完命令行后会出现如下提示,大概意思就是进入创建的项目后,执行scrapy genspider
蜘蛛文件名 任务网址
New Scrapy project 'Zhanzhangpic', using template directory '/Users/kouhui/Documents/python/search/venv/lib/python3.6/site-packages/scrapy/templates/project', created in:
    /Users/kouhui/Documents/python/search/scrapy框架/Zhanzhangpic

You can start your first spider with:
    cd Zhanzhangpic
    scrapy genspider example example.com

# 这边我们就按提示来执行一下命令行
(venv) kouhuideMacBook-Air:scrapy框架 kouhui$ cd Zhanzhangpic/
(venv) kouhuideMacBook-Air:Zhanzhangpic kouhui$ scrapy genspider zhanzhangpic 'www.xxx.com'
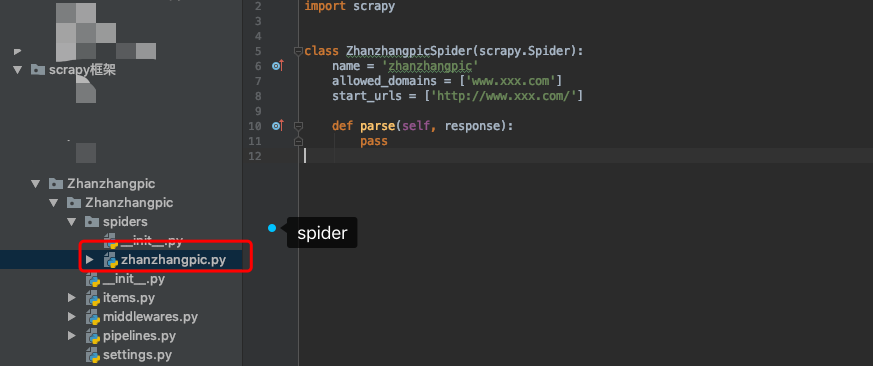
执行完以后我们果然发现了一个spider文件!!!
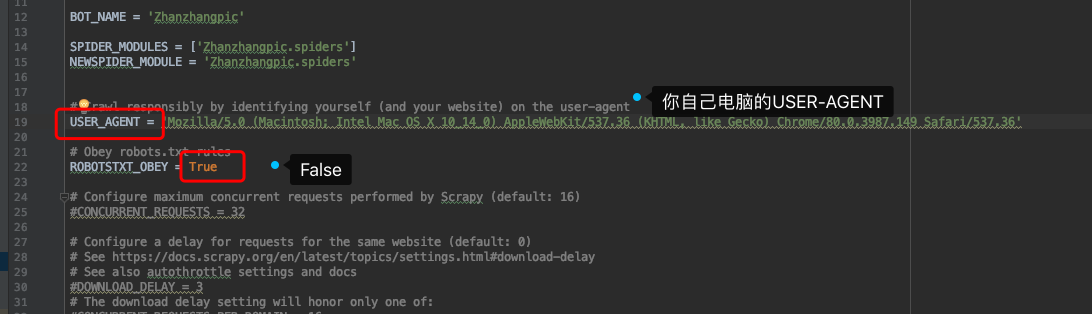
OK目前项目已经建好了,首先我们要去settings 中修改一些配置内容。
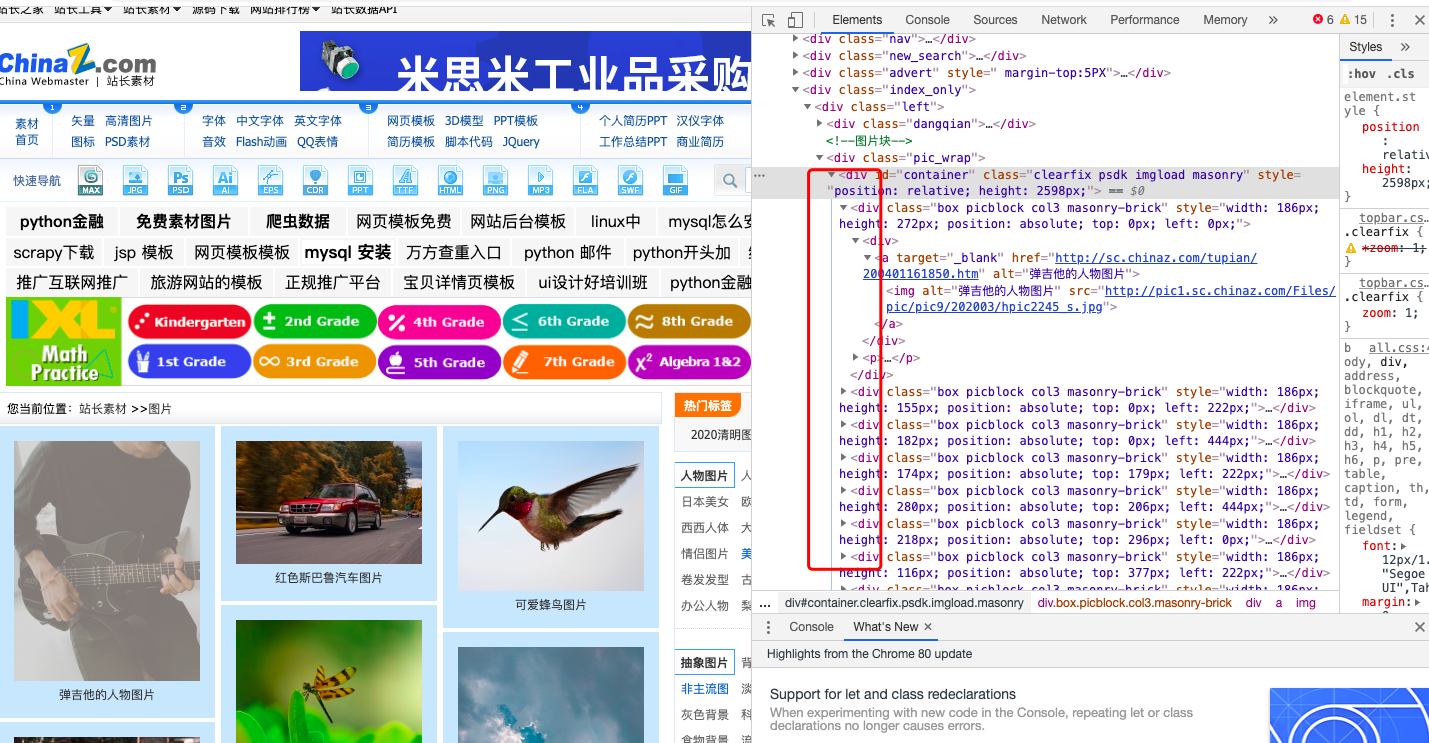
好了配置文件改完以后,我们先去分析一下页面,发现所有的照片都在一个div下,所以先把最上层的div定位到,再循环去取图片路径。
 1 # zhanzhangpic.py
 2 # -*- coding: utf-8 -*-
 3 import scrapy
 4
 5
 6 class ZhanzhangpicSpider(scrapy.Spider):
 7     name = 'zhanzhangpic'
 8     # allowed_domains = ['www.xxx.com']
 9     start_urls = ['http://sc.chinaz.com/tupian/']  # 先将站长图片的网址粘到start_url中
10
11     def parse(self, response):
12         div_list = response.xpath('//*[@id="container"]/div')
13         for div in div_list:
14             pic_url = div.xpath('./div/a/img/@src').extract_first()
15             print(pic_url)
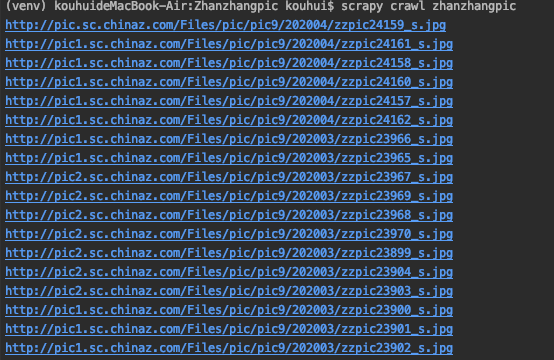
我们先打印一下看看是否把所有图片的路径都找到了?

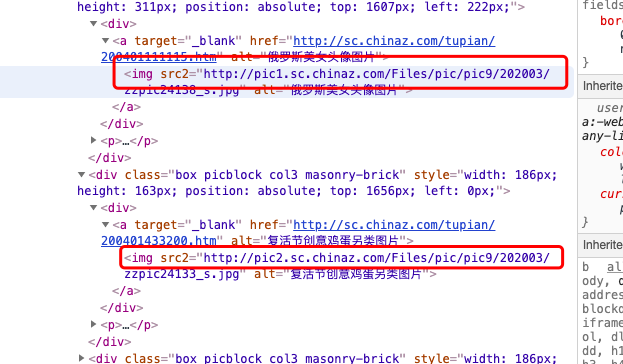
咦?明明已经抓取到了,可是为什么显示是None呢?这里涉及到一个反爬技术:图片的软加载,如下图所示,没有加载的图片的属性都是@src2,所以把抓取的属性改成src2。
 1 # zhanzhangpic.py
 2 # -*- coding: utf-8 -*-
 3 import scrapy
 4
 5
 6 class ZhanzhangpicSpider(scrapy.Spider):
 7     name = 'zhanzhangpic'
 8     # allowed_domains = ['www.xxx.com']
 9     start_urls = ['http://sc.chinaz.com/tupian/']  # 先将站长图片的网址粘到start_url中
10
11     def parse(self, response):
12         div_list = response.xpath('//*[@id="container"]/div')
13         for div in div_list:
14             pic_url = div.xpath('./div/a/img/@src2').extract_first()
15             print(pic_url)
在看下爬取到的url,OK!
接下来我们需要用管道来存储数据,第一步先去items文件中创建items中的变量。
# items.py

# -*- coding: utf-8 -*-

# Define here the models for your scraped items
#
# See documentation in:
# https://docs.scrapy.org/en/latest/topics/items.html

import scrapy


class ZhanzhangpicItem(scrapy.Item):
    # define the fields for your item here like:
    pic_url = scrapy.Field()  # 这里定义属性时为了好区别尽量定义成spider文件中需要获取的数据变量名
    pass
然后在spider文件中导入items文件,将items中的pic属性赋值给pic_url变量传输给管道
 1 # zhanzhangpic.py
 2 # -*- coding: utf-8 -*-
 3 import scrapy
 4 from Zhanzhangpic.items import zhanzhangpicItems
 5
 6
 7 class ZhanzhangpicSpider(scrapy.Spider):
 8     name = 'zhanzhangpic'
 9     # allowed_domains = ['www.xxx.com']
10     start_urls = ['http://sc.chinaz.com/tupian/']  # 先将站长图片的网址粘到start_url中
11
12     def parse(self, response):
13         div_list = response.xpath('//*[@id="container"]/div')
14         for div in div_list:
15             pic_url = div.xpath('./div/a/img/@src2').extract_first()
16
17             item = zhanzhangpicItems
18             item['pic_url'] = pic_url
19
20             yield item  # 将item传输给管道
将item传送给管道后,我们就可以去写管道类了,这里我们要用到ImagesPipeline模块
 1 # pipelines.py
 2 # -*- coding: utf-8 -*-
 3
 4 # Define your item pipelines here
 5 #
 6 # Don't forget to add your pipeline to the ITEM_PIPELINES setting
 7 # See: https://docs.scrapy.org/en/latest/topics/item-pipeline.html
 8
 9
10 # class ImgsPipeline(object):
11 #     def process_item(self, item, spider):
12 #         return item
13 from scrapy.pipelines.images import ImagesPipeline
14 import scrapy
15 #
16 class ImginsPipeline(ImagesPipeline):  # 新建图片管道类
17
18     # 根据图片地址进行图片数据的请求
19     def get_media_requests(self, item, info):
20
21         yield scrapy.Request(item['img_url'])
22     # 添加文件夹路径
23     def file_path(self, request, response=None, info=None):
24         imgName = request.url.split('/')[-1]
25         return imgName #返回文件名
26
27     # 这个方法与其他管道类类似,如果后面还有管道类,会将item传给下个管道
28     def item_completed(self, results, item, info):
29         return item
到了这里已经差不多大功告成了,最后还差一步,去配置文件中写入下载下来图片存储的文件夹和添加新增的管道类
1 # settings.py
2
3 ITEM_PIPELINES = {
4    #'Zhanzhangpic.pipelines.ZhanzhangpicPipeline': 300, # 因为在pipelines文件中已经把ZhanzhangpicPipeline注释掉了,所以对应settings里面也要把这条注释掉
5    'Zhanzhangpic.pipelines.ImginsPipeline': 290 # 新增的管道类
6 }
7
8 IMAGES_STORE = './imgs_gaogao'
好了最后执行项目,见证奇迹的时刻!


图片就都拉下来喽!
如果您觉得好请点赞 谢谢!