目录
api分类和api模块
-
与project表有关联projectId
-
分类列表(懒加载对应的api)
-
新增分类
-
删除分类
-
查询所有api接口
-
按条件查询api接口
-
查询出对应分类id的api
-
添加接口(查询接口分类的name)
-
删除接口
-
根据Id查询api
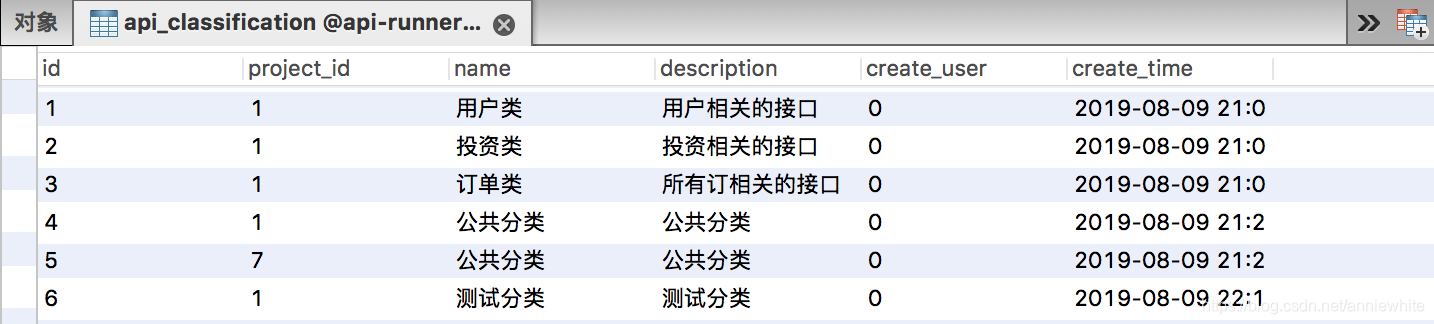
接口分类表
api_classification:接口分类表(接口类别表)
- id:主键。自动增长。
- 【核心】project_id:外键。因为按照项目做分类,一个项目有很多分类。
- 【核心】name:类名。
- description:描述。
- create_user:创建用户。mybatis-plus自动填充,创建用户就是登录用户。
- create_time:创建时间。添加分类的时间。
接口表
api:接口表
- id:主键,自动增长。
- api_classification_id:外键。接口分类id。
- 【核心】name:接口名称。
- method:接口请求方式。
- url:接口路径地址。接口本身的url,调用这个接口的时候,还需要加上基准路径host。
- description:对于接口的简单描述。
- create_user:创建者。mybatis-plus自动填充,创建用户就是登录用户。
- create_time:创建时间。添加分类的时间。

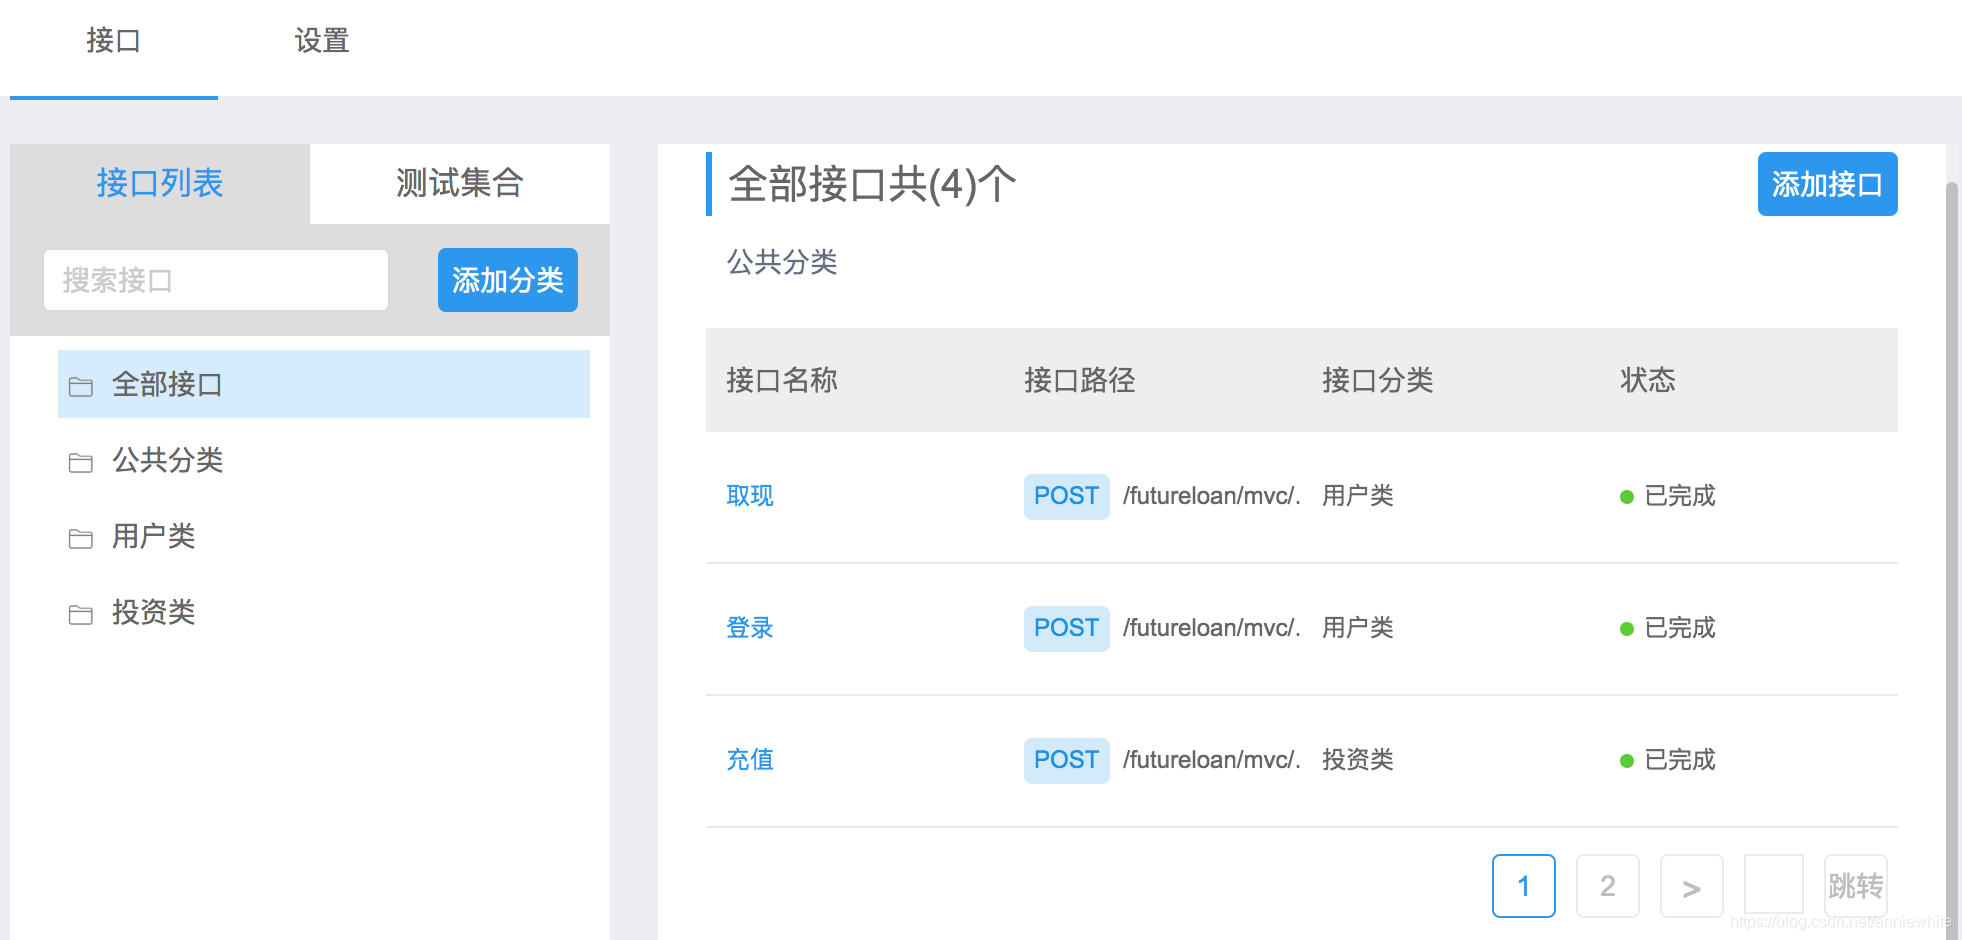
接口分类和接口页面
- 进入index.html页面,需要显示该项目下的所有接口,同时显示该项目下的接口分类。
- 全部接口为父菜单,接口信息展示在右侧。除了有接口信息,还有分类信息。
- 这个页面要进行两表连接。
- 删除项目的时候,会有集联关系,把这个项目下面的接口用例一起删除,进行集联删除。集联删除,最好是逻辑删除,加一列状态列,还有历史数据在这里。
- 单表的增删改查CRUD,mybatis-plus有代码生成器,可以自己生成代码。
- 涉及到子查询&高级查询都得自己写,不是用JDBC,是用注解来写。
- 还是运用mybatis-plus框架,需要自己写SQL语句,通过注解告诉mybatis-plus,让mybatis-plus封装。
两表连接SQL
两边连接会产生笛卡尔集,如果两个大表的连接操作,运用延迟加载。对于大表来说,消耗内存比较多。
延迟加载也叫懒加载,按需加载==先查一张表,然后按需查询另一张表得到关联数据。
-- 两表连接
select * from api_classification,api where
-- 延迟加载
select * from api_classification where project_id=1;
select * from api where api_classification_id=1;
ApiListVO
public class ApiListVO{
	private String id;
	private String name;
	private String method;
	private String url;
	private String classificationName;
}
ApiClassificationVO.java的代码
在com.one.common下创建类ApiClassificationVO.java
package com.one.common;

import java.util.List;

import com.one.pojo.Api;
import com.one.pojo.ApiClassification;

@Data
public class ApiClassificationVO extends ApiClassification{
	//关联对象
	List<Api> apis;
}
ApiClassificationMapper.java的代码
在com.one.mapper找到ApiClassificationMapper.java
#{projectId}等价于占位符问号?
可参阅@Results用法总结:blog.csdn.net/cherlshall/article/details/80950150
所谓@Many,就是一个分类,对应多个api。
可参阅:Mybatis @Many注解一对多关联映射
package com.one.mapper;

import com.one.common.ApiClassificationVO;
import com.one.pojo.ApiClassification;

import java.util.List;

import org.apache.ibatis.annotations.Many;
import org.apache.ibatis.annotations.Result;
import org.apache.ibatis.annotations.Results;
import org.apache.ibatis.annotations.Select;

import com.baomidou.mybatisplus.core.mapper.BaseMapper;

/**
 * <p>
 *  Mapper 接口
 * </p>
 *
 * @author annie
 * @since 2020-02-16
 */
public interface ApiClassificationMapper extends BaseMapper<ApiClassification> {
	//两表 延迟加载 先查询分类信息(List<Api>),按需加载(即此时查另一张表)
	@Select("select * from api_classification where project_id=#{projectId}")
	@Results({
		@Result(property="id",column="id"),
		@Result(property="apis",column="id",many=@Many(select="com.one.mapper.ApiMapper.findApi"))
	})
	public List<ApiClassificationVO> getWithApi(Integer projectId);
}
ApiMapper.java的代码
package com.one.mapper;

import com.one.pojo.Api;

import java.util.List;

import org.apache.ibatis.annotations.Select;

import com.baomidou.mybatisplus.core.mapper.BaseMapper;

/**
 * <p>
 *  Mapper 接口
 * </p>
 *
 * @author annie
 * @since 2020-02-16
 */
public interface ApiMapper extends BaseMapper<Api> {
	@Select("select * from api where api_classification_id = #{apiClassificationId}")
	public List<Api> findApi(Integer apiClassificationId);
}
ApiClassificationService的代码
先写dao
再写service业务层
再写controller控制层
package com.one.service;

import com.one.common.ApiClassificationVO;
import com.one.pojo.ApiClassification;

import java.util.List;

import com.baomidou.mybatisplus.extension.service.IService;

/**
 * <p>
 *  服务类
 * </p>
 *
 * @author annie
 * @since 2020-02-16
 */
public interface ApiClassificationService extends IService<ApiClassification> {
	public List<ApiClassificationVO> getWithApi(Integer projectId);
}
ApiClassificationServiceImpl.java的代码
业务层的实现类
package com.one.service.impl;

import com.one.pojo.ApiClassification;
import com.one.common.ApiClassificationVO;
import com.one.mapper.ApiClassificationMapper;
import com.one.service.ApiClassificationService;
import com.baomidou.mybatisplus.extension.service.impl.ServiceImpl;

import java.util.List;

import org.springframework.beans.factory.annotation.Autowired;
import org.springframework.stereotype.Service;

/**
 * <p>
 *  服务实现类
 * </p>
 *
 * @author annie
 * @since 2020-02-16
 */
@Service
public class ApiClassificationServiceImpl extends ServiceImpl<ApiClassificationMapper, ApiClassification> implements ApiClassificationService {
	@Autowired
	ApiClassificationMapper apiClassificationMapper;

	@Override
	public List<ApiClassificationVO> getWithApi(Integer projectId){
		return apiClassificationMapper.getWithApi(projectId);
	}
}
ApiClassificationController.java的代码
标示1–进入接口集合
标示2–进入测试集合
package com.one.controller;


import java.util.List;

import org.springframework.beans.factory.annotation.Autowired;
import org.springframework.web.bind.annotation.GetMapping;
import org.springframework.web.bind.annotation.RequestMapping;

import org.springframework.web.bind.annotation.RestController;

import com.one.common.ApiClassificationVO;
import com.one.common.Result;
import com.one.service.ApiClassificationService;

/**
 * <p>
 *  前端控制器
 * </p>
 *
 * @author annie
 * @since 2020-02-16
 */
@RestController
@RequestMapping("/apiClassification")
public class ApiClassificationController {
	@Autowired
	ApiClassificationService apiClassificationService;

	@GetMapping("/toIndex")
	public Result getWithApi(Integer projectId, Integer tab){
		Result result = null;
		if(tab==1){
			//接口列表
			List<ApiClassificationVO> list = apiClassificationService.getWithApi(projectId);
			result = new Result("1",list,"查询分类同时也延迟加载api");
		}else{
			//测试集合
		}
		return result;
	}
}
前端编码index.html
找到挂载点
<script type="text/javascript" src="/lemon/js/jquery.cookie.js" charset="UTF-8"></script>
<script src="/lemon/js/vue.js"></script>
<script src="/lemon/js/axios.min.js"></script>
<script>
    var myvue = new Vue({
        el: "#listInter",
        data: {
            info: []
        },
        methods: {

        },
        created () {
            let url = lemon.config.global.adminUrl + "/apiClassification/toIndex";
            let projectId = sessionStorage.getItem("projectId");
            axios.get(url,{
                headers: {"Authorization":$.cookie("sessionId")},
                params: {"projectId": projectId, "tab":1}
            }).then(response=>{
                let result = response.data;
                if(result.status==1&result.data!=null){
                    this.info = result.data;
                }else{
                    location.href = lemon.config.global.rootUrl+"/html/login.html";
                }
            })
        }
    })
</script>
全部接口下面留一个<li>即可,删除前后两个<li>
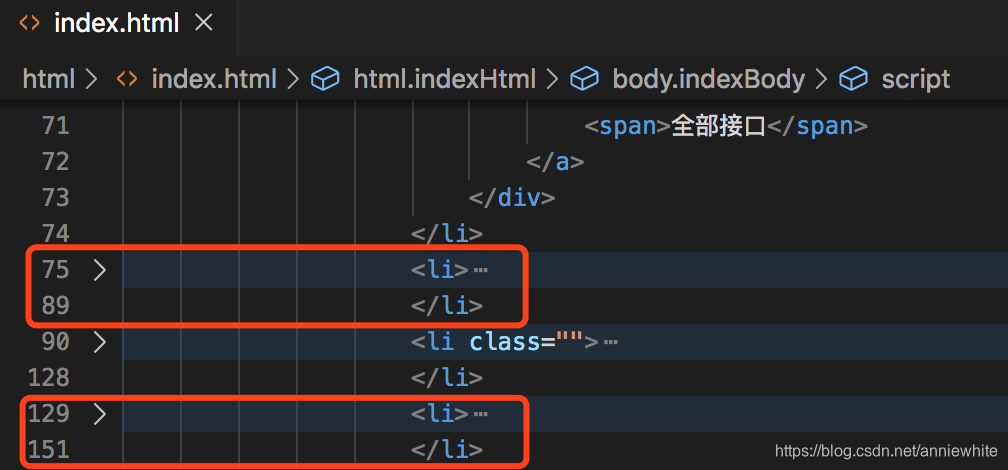
也是留一个<li>即可,删除后面两个<li>
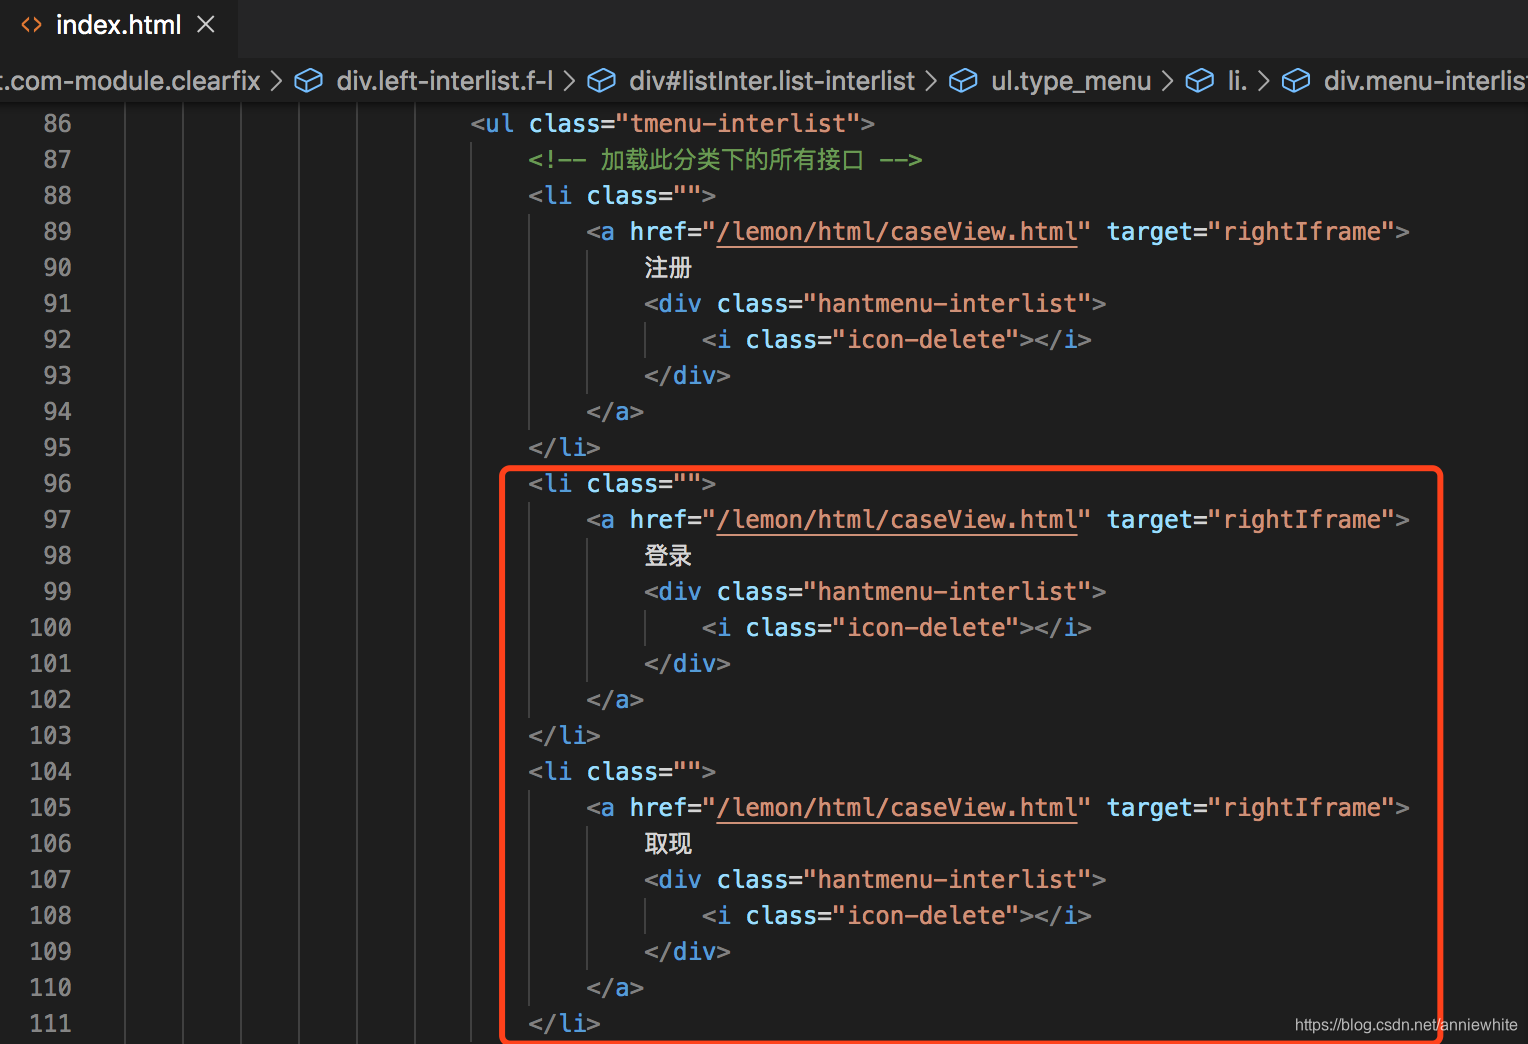
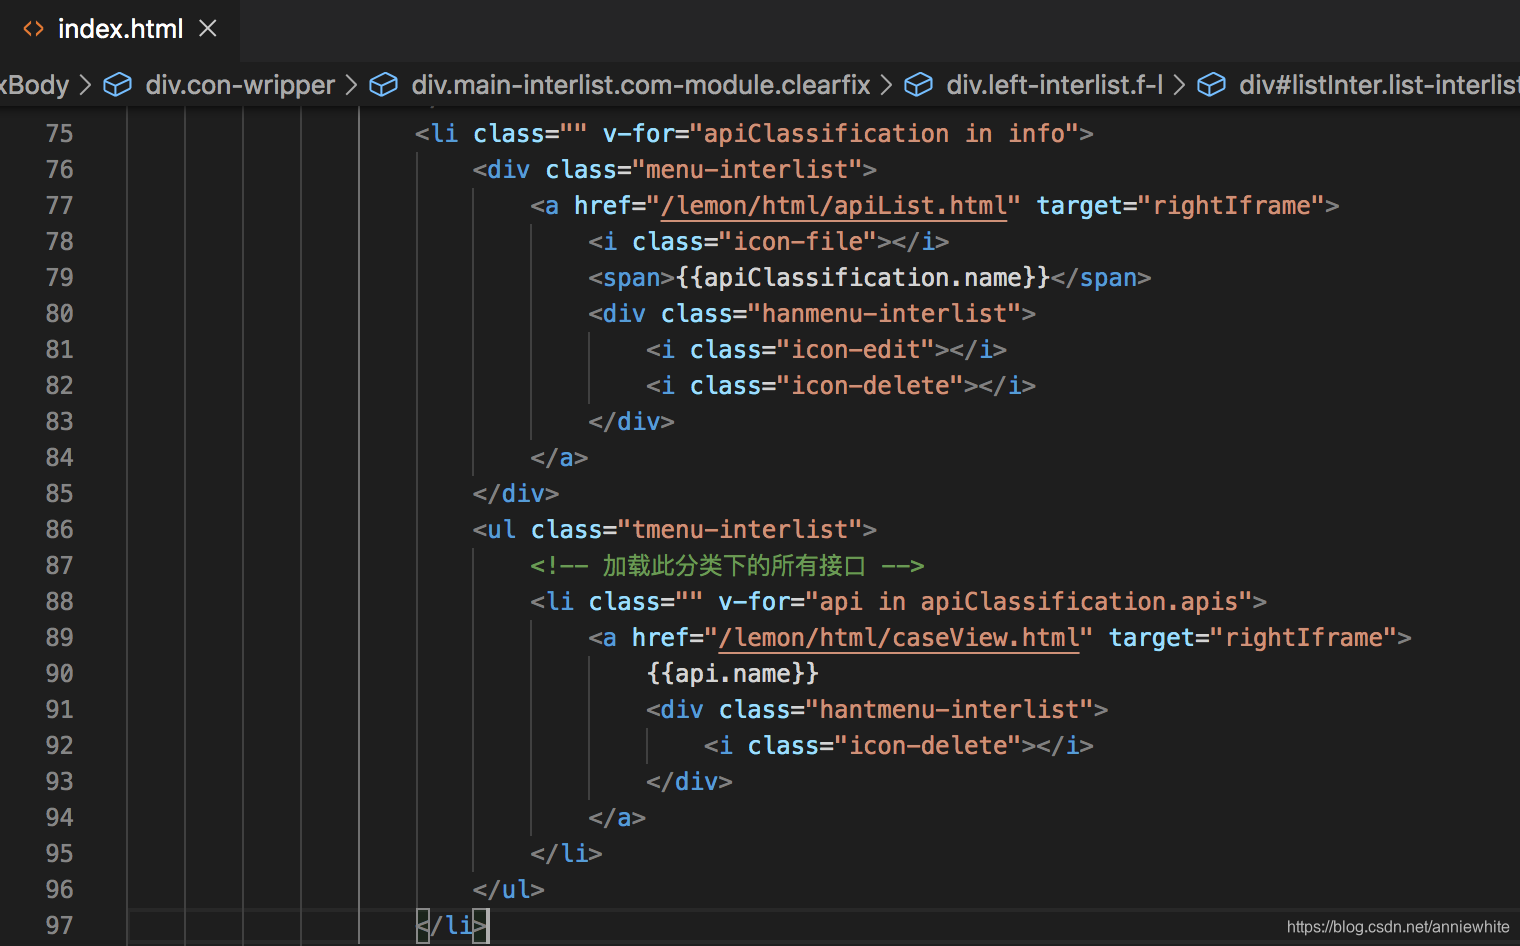
修改以后的前端代码index.html
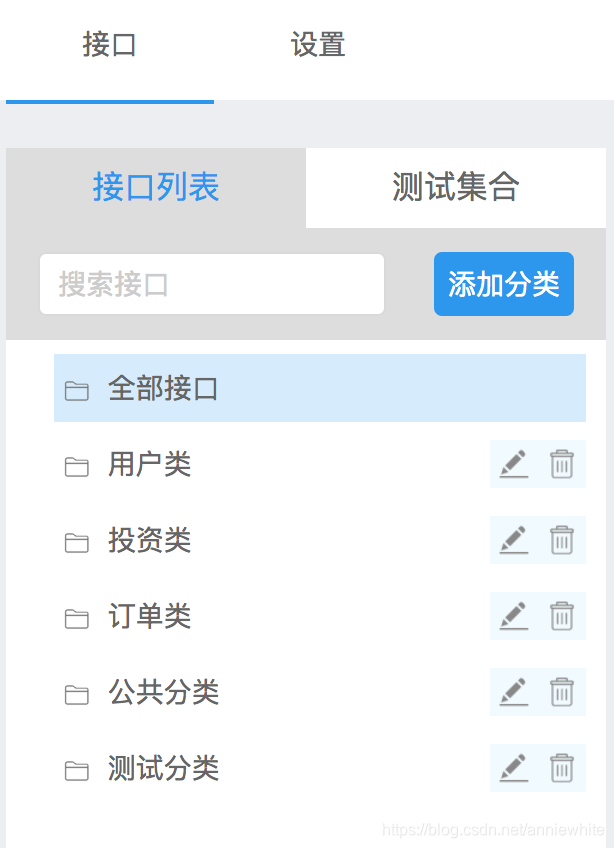
添加接口分类
搜索接口(模糊查询)
可以搜索分类,又可以搜索接口。
可以搜索到接口或者接口分类的模糊信息。
可以显示编辑和删除的小图标。
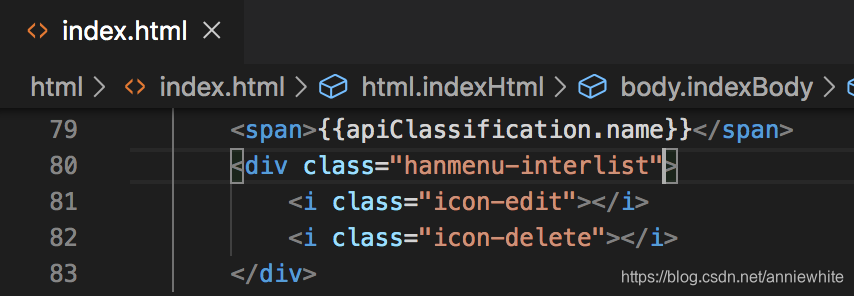
修改后的index.html代码
<div class="hanmenu-interlist active">
	<i class="icon-edit"></i>
	<i class="icon-delete"></i>
</div>
编辑和删除的小图标出现后如下图所示:
删除分类功能index.html的代码
icon-delete上绑定点击删除事件,methods中添加delClassification方法。
<i class="icon-delete" @click="delClassification(apiClassification.id)"></i>

<script type="text/javascript" src="/lemon/js/jquery.cookie.js" charset="UTF-8"></script>
<script src="/lemon/js/vue.js"></script>
<script src="/lemon/js/axios.min.js"></script>
<script>
    var myvue = new Vue({
        el: "#listInter",
        data: {
            info: []
        },
        methods: {
            delClassification(id){
                alert(id);
                let url = lemon.config.global.adminUrl + "/apiClassification/"+id;
                axios.delete(url,{
                headers: {"Authorization":$.cookie("sessionId")},
            }).then(response=>{
                let result = response.data;
                if(result.status==1&result.message=="删除成功"){
                    alert(result.message);
                }else{
                    location.href = lemon.config.global.rootUrl+"/html/login.html";
                }
            })
            }
        },
        created () {
            let url = lemon.config.global.adminUrl + "/apiClassification/toIndex";
            let projectId = sessionStorage.getItem("projectId");
            axios.get(url,{
                headers: {"Authorization":$.cookie("sessionId")},
                params: {"projectId": projectId, "tab":1}
            }).then(response=>{
                let result = response.data;
                if(result.status==1&result.data!=null){
                    this.info = result.data;
                }else{
                    location.href = lemon.config.global.rootUrl+"/html/login.html";
                }
            })
        }
    })
</script>
apiList.html运用两表连接
返回新的List<ApiVo>
分页功能已经在apiList.js里面写好了,用了分页组件。
